
How to Make a Miniature Bathroom Sink from Cardboard (Easy 1:12 Tutorial)
- Difficulty
- Beginner
- Scale
- 1:12
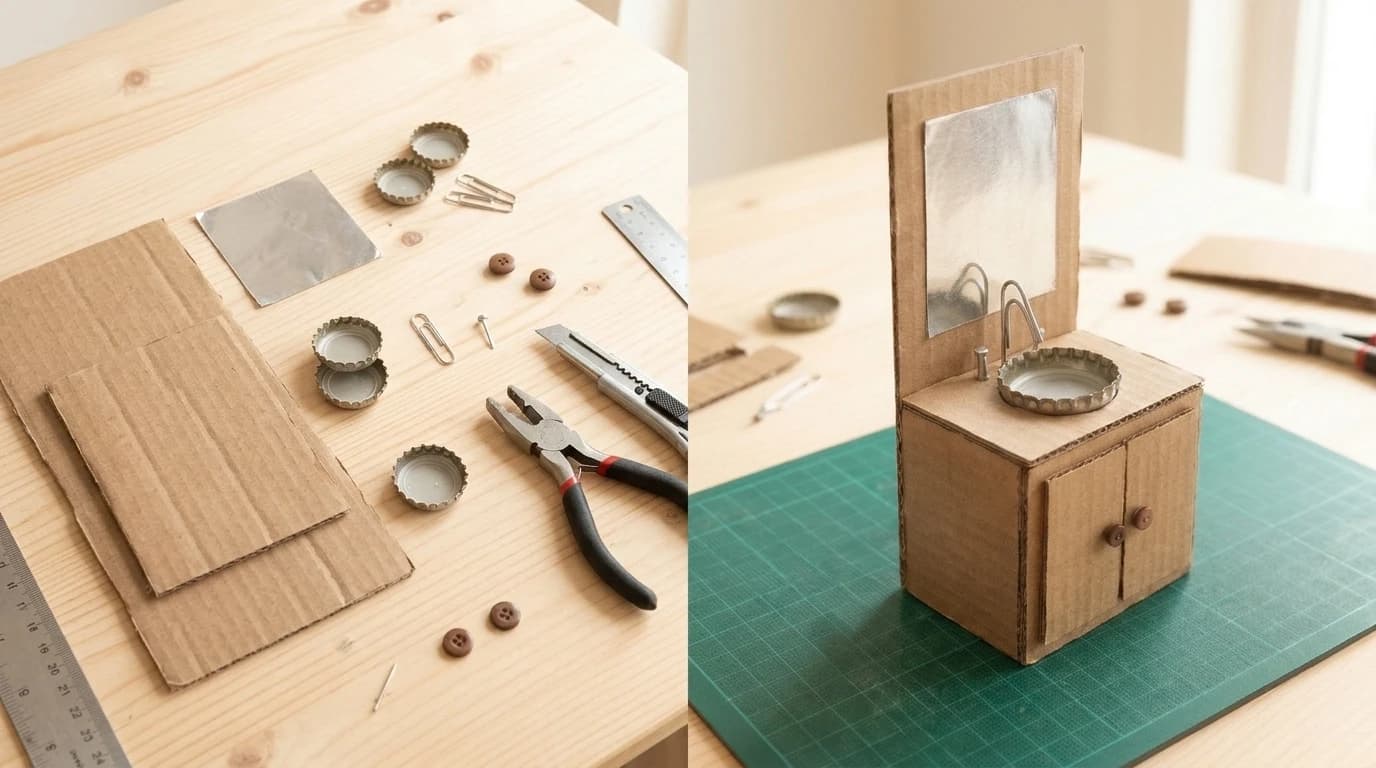
If you are looking for an easy and budget-friendly project, learning how to make a miniature bathroom sink from cardboard is a great place to start. This simple DIY dollhouse bathroom vanity uses everyday recycled materials like cardboard box scraps, bottle caps, and a paperclip to create a realistic 1:12 scale piece. In just an afternoon, you can build a charming vanity complete with a mirror and sink basin without needing expensive craft supplies.

What You'll Need
The main material for this miniature sink tutorial is standard corrugated cardboard, which provides sturdy walls for the vanity base. You can easily recycle pieces from an old shipping box. For the sink basin and fixtures, we will use metal bottle caps and a paperclip, which are perfect for 1:12 scale bathroom furniture.
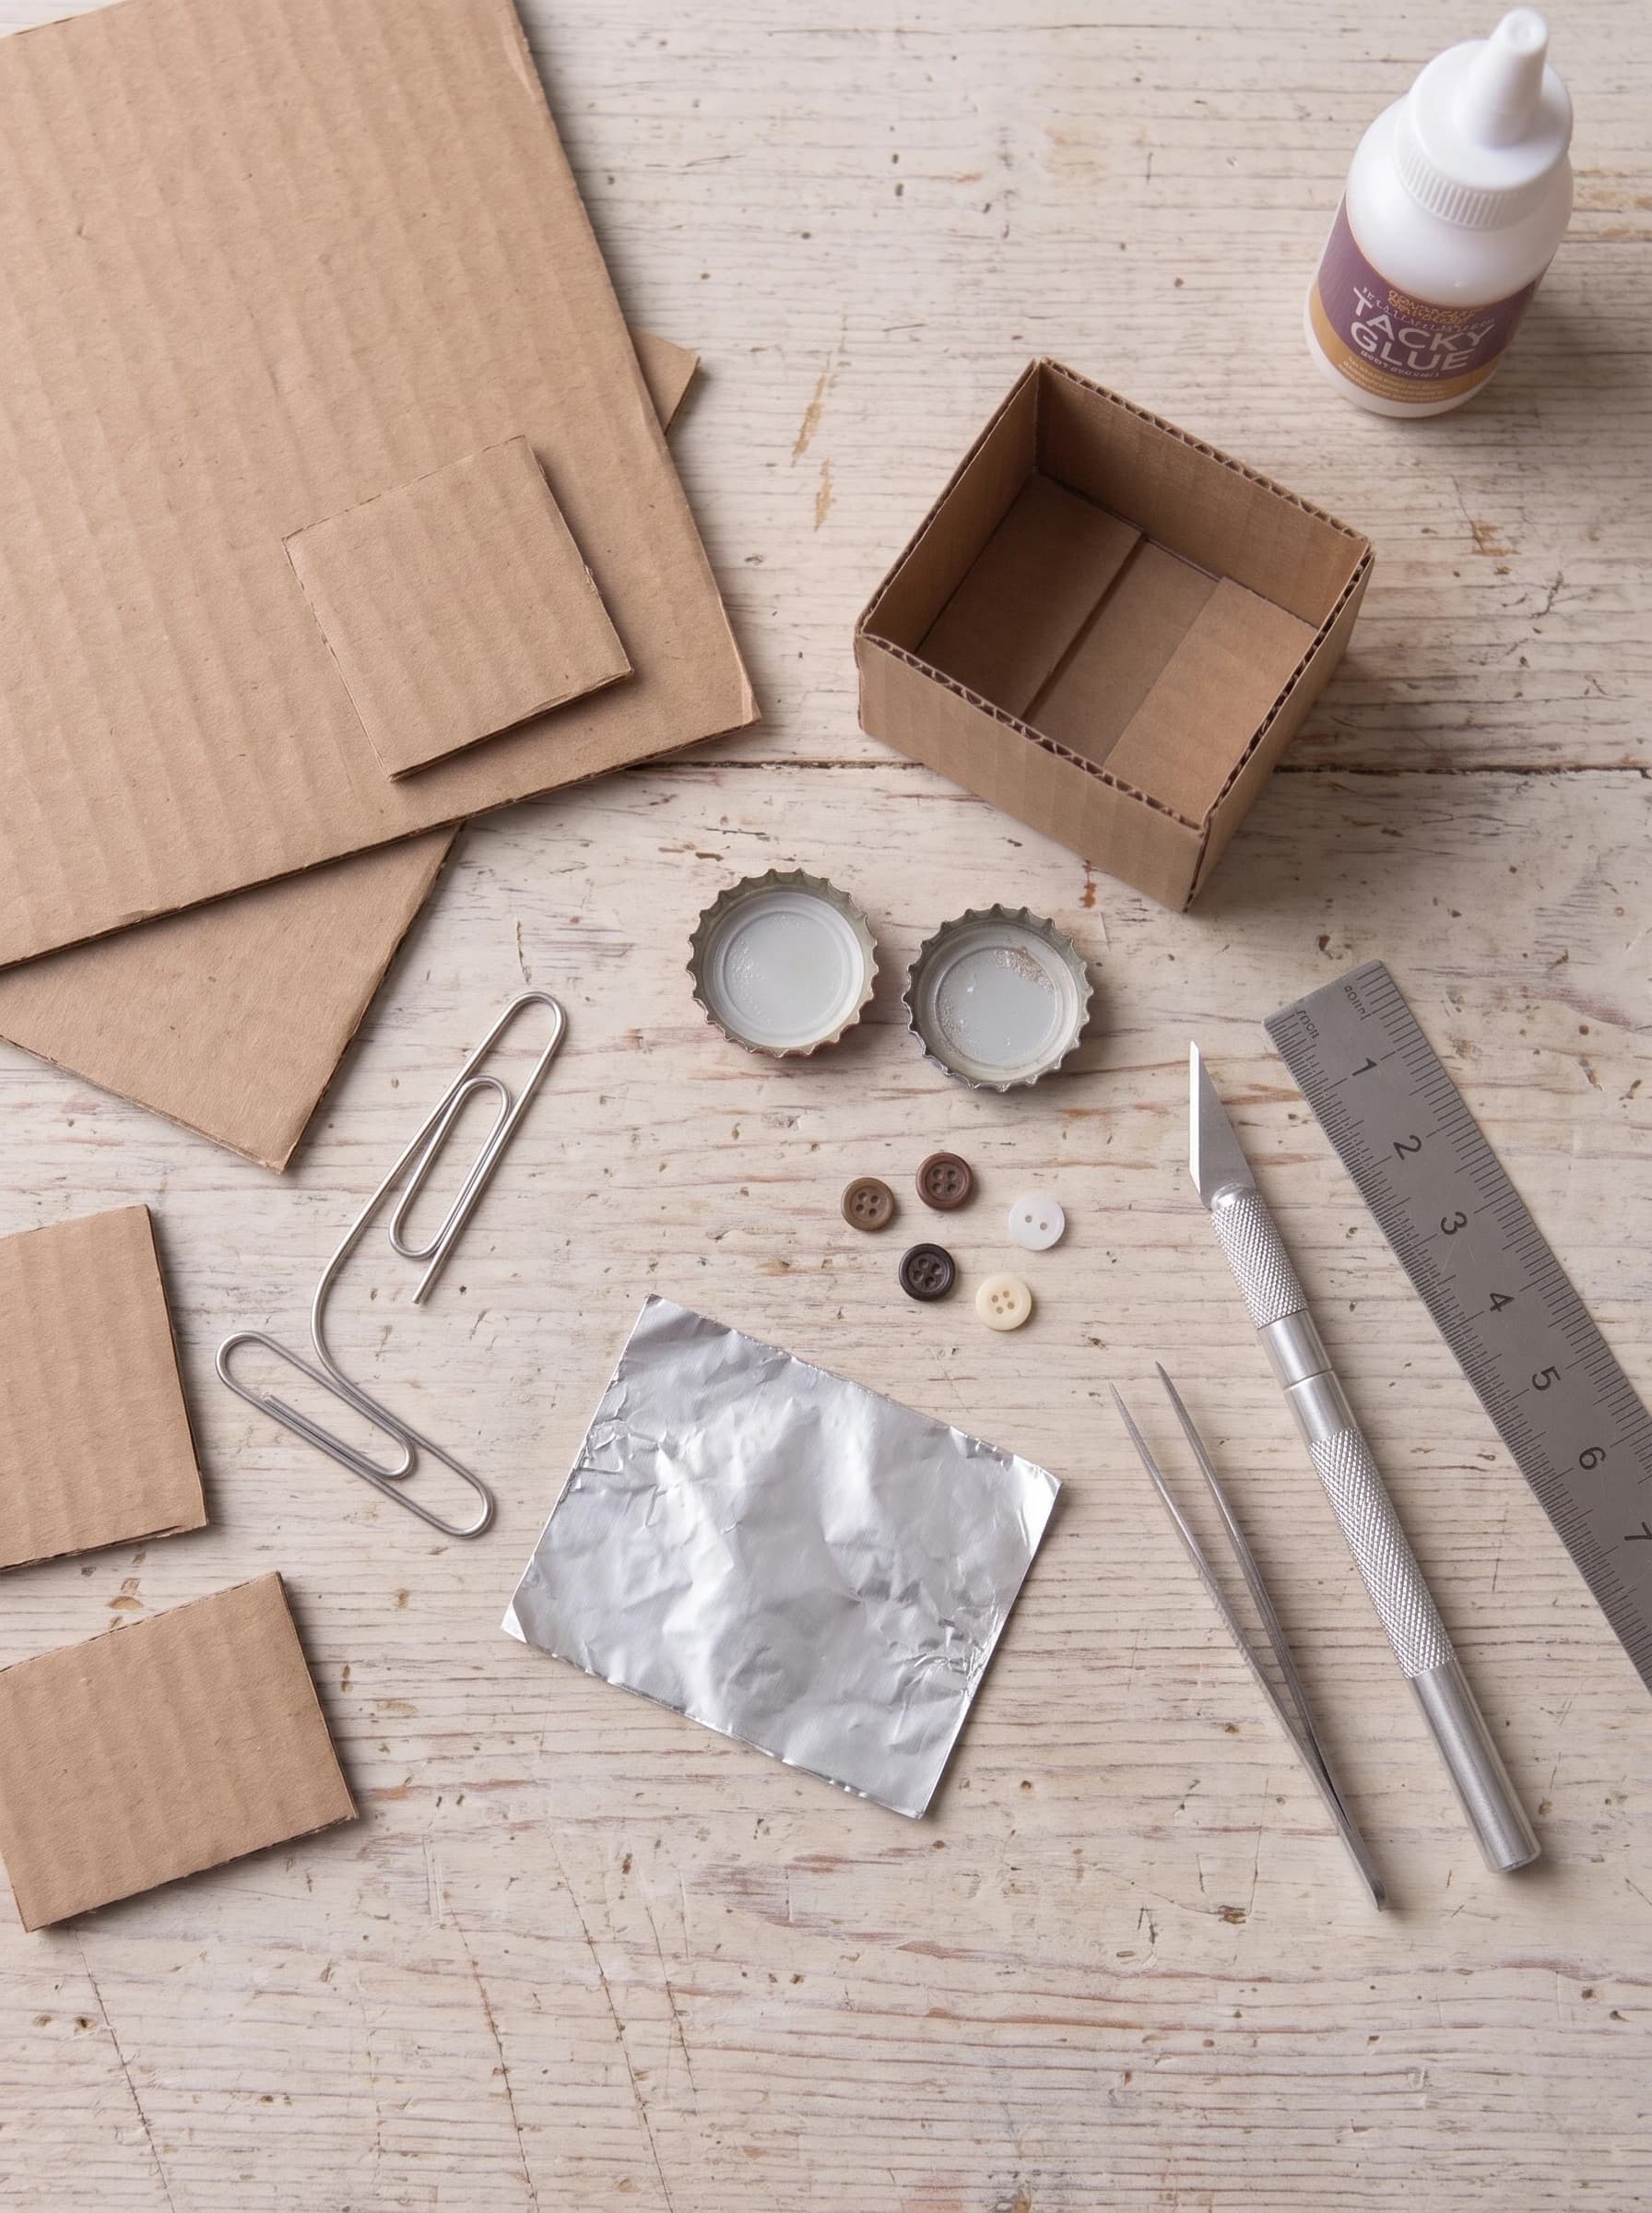
- Corrugated cardboardScraps from a shipping box
- Metal bottle caps2 pieces, clean and dry
- Aluminum foilA small square for the mirror
- Large paperclipFor the faucet spout
- Small buttons4 pieces (2 for knobs, 2 for handles)
- Small white bead or capFor the drain
- Tacky glueOr any strong craft glue
- Craft knife (X-Acto)With a sharp blade
- Metal rulerFor straight cuts
- TweezersFor handling small parts
- Wire cuttersTo cut the paperclip
Before You Start
Step 1: Cut the Cardboard Pieces
Start by cutting the corrugated cardboard into the main panels for the vanity base. You will need a front piece, two side pieces, a top counter, and a tall back panel. Use your metal ruler and a sharp craft knife to ensure the edges are straight and clean. Pro tip: Always cut on a self-healing mat to protect your table and get sharper cuts.

Step 2: Assemble the Vanity Base
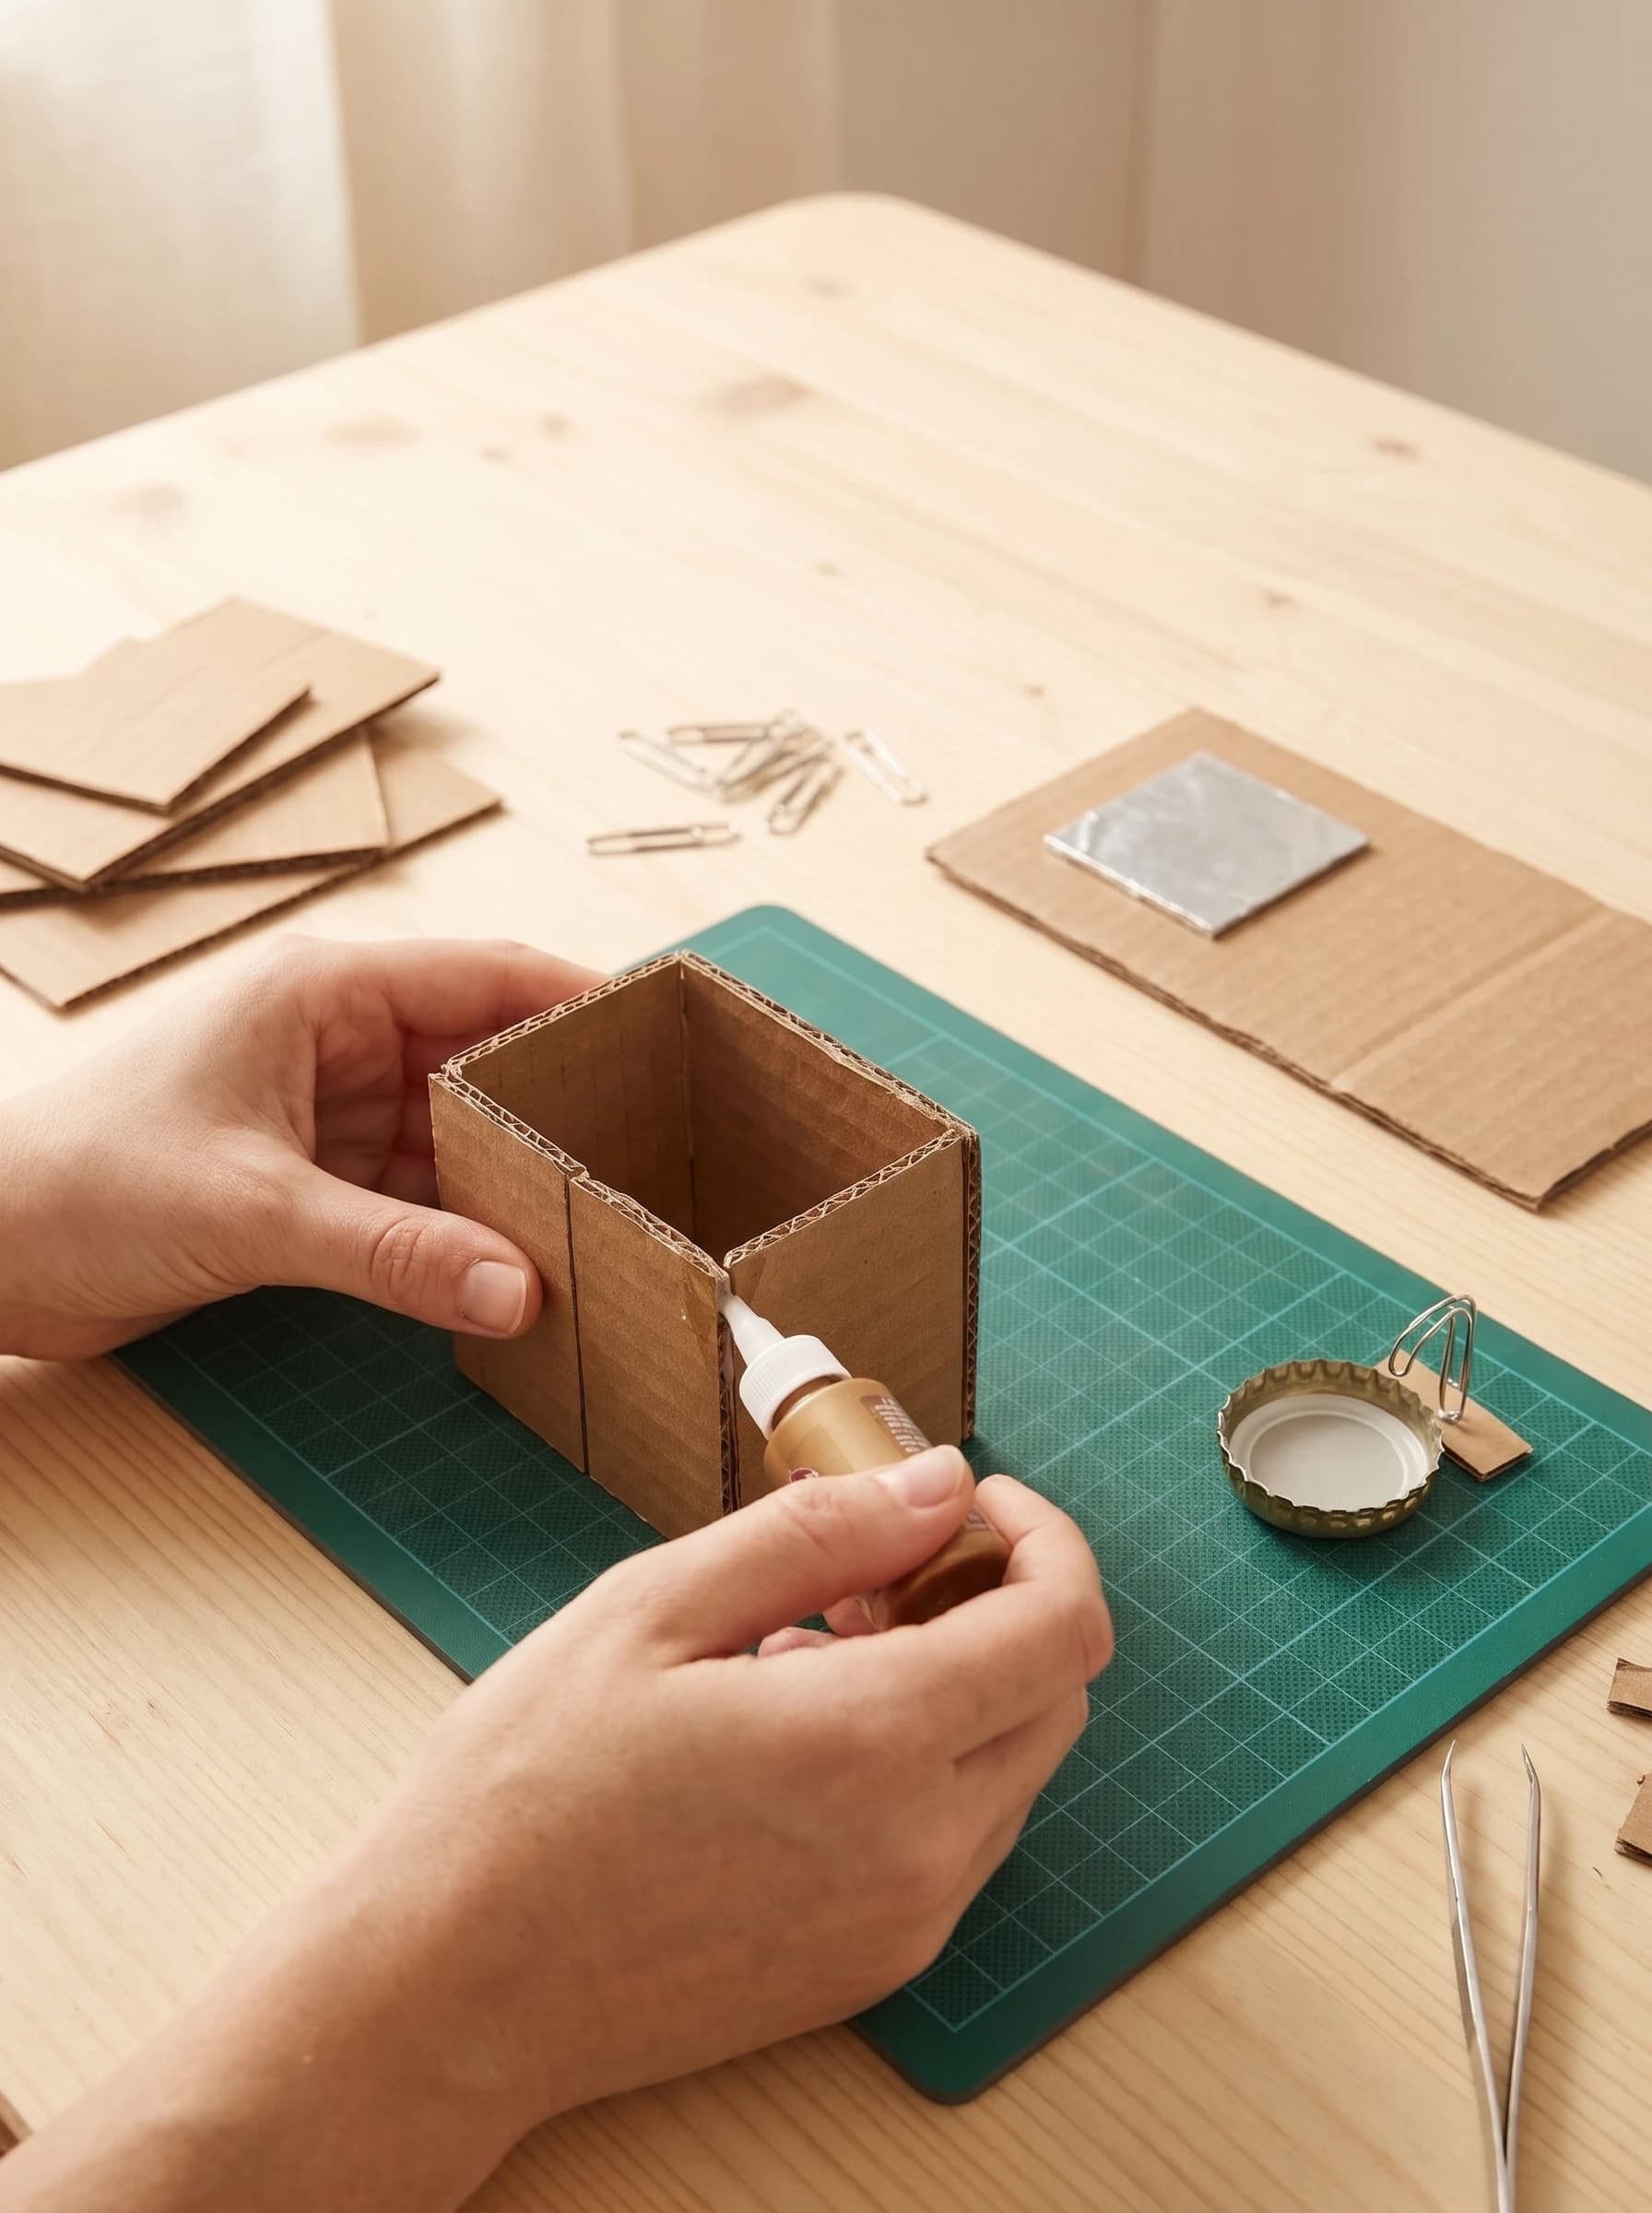
Apply tacky glue along the edges of the cardboard panels and assemble the box shape of the vanity. Attach the two sides to the front panel, then glue on the top counter piece. Finally, attach the tall back panel, which will hold the mirror later. Hold the pieces together gently for a minute until the glue tacks up. Let the basic structure dry completely for about 30 minutes before adding details.
Step 3: Add Doors and Knobs
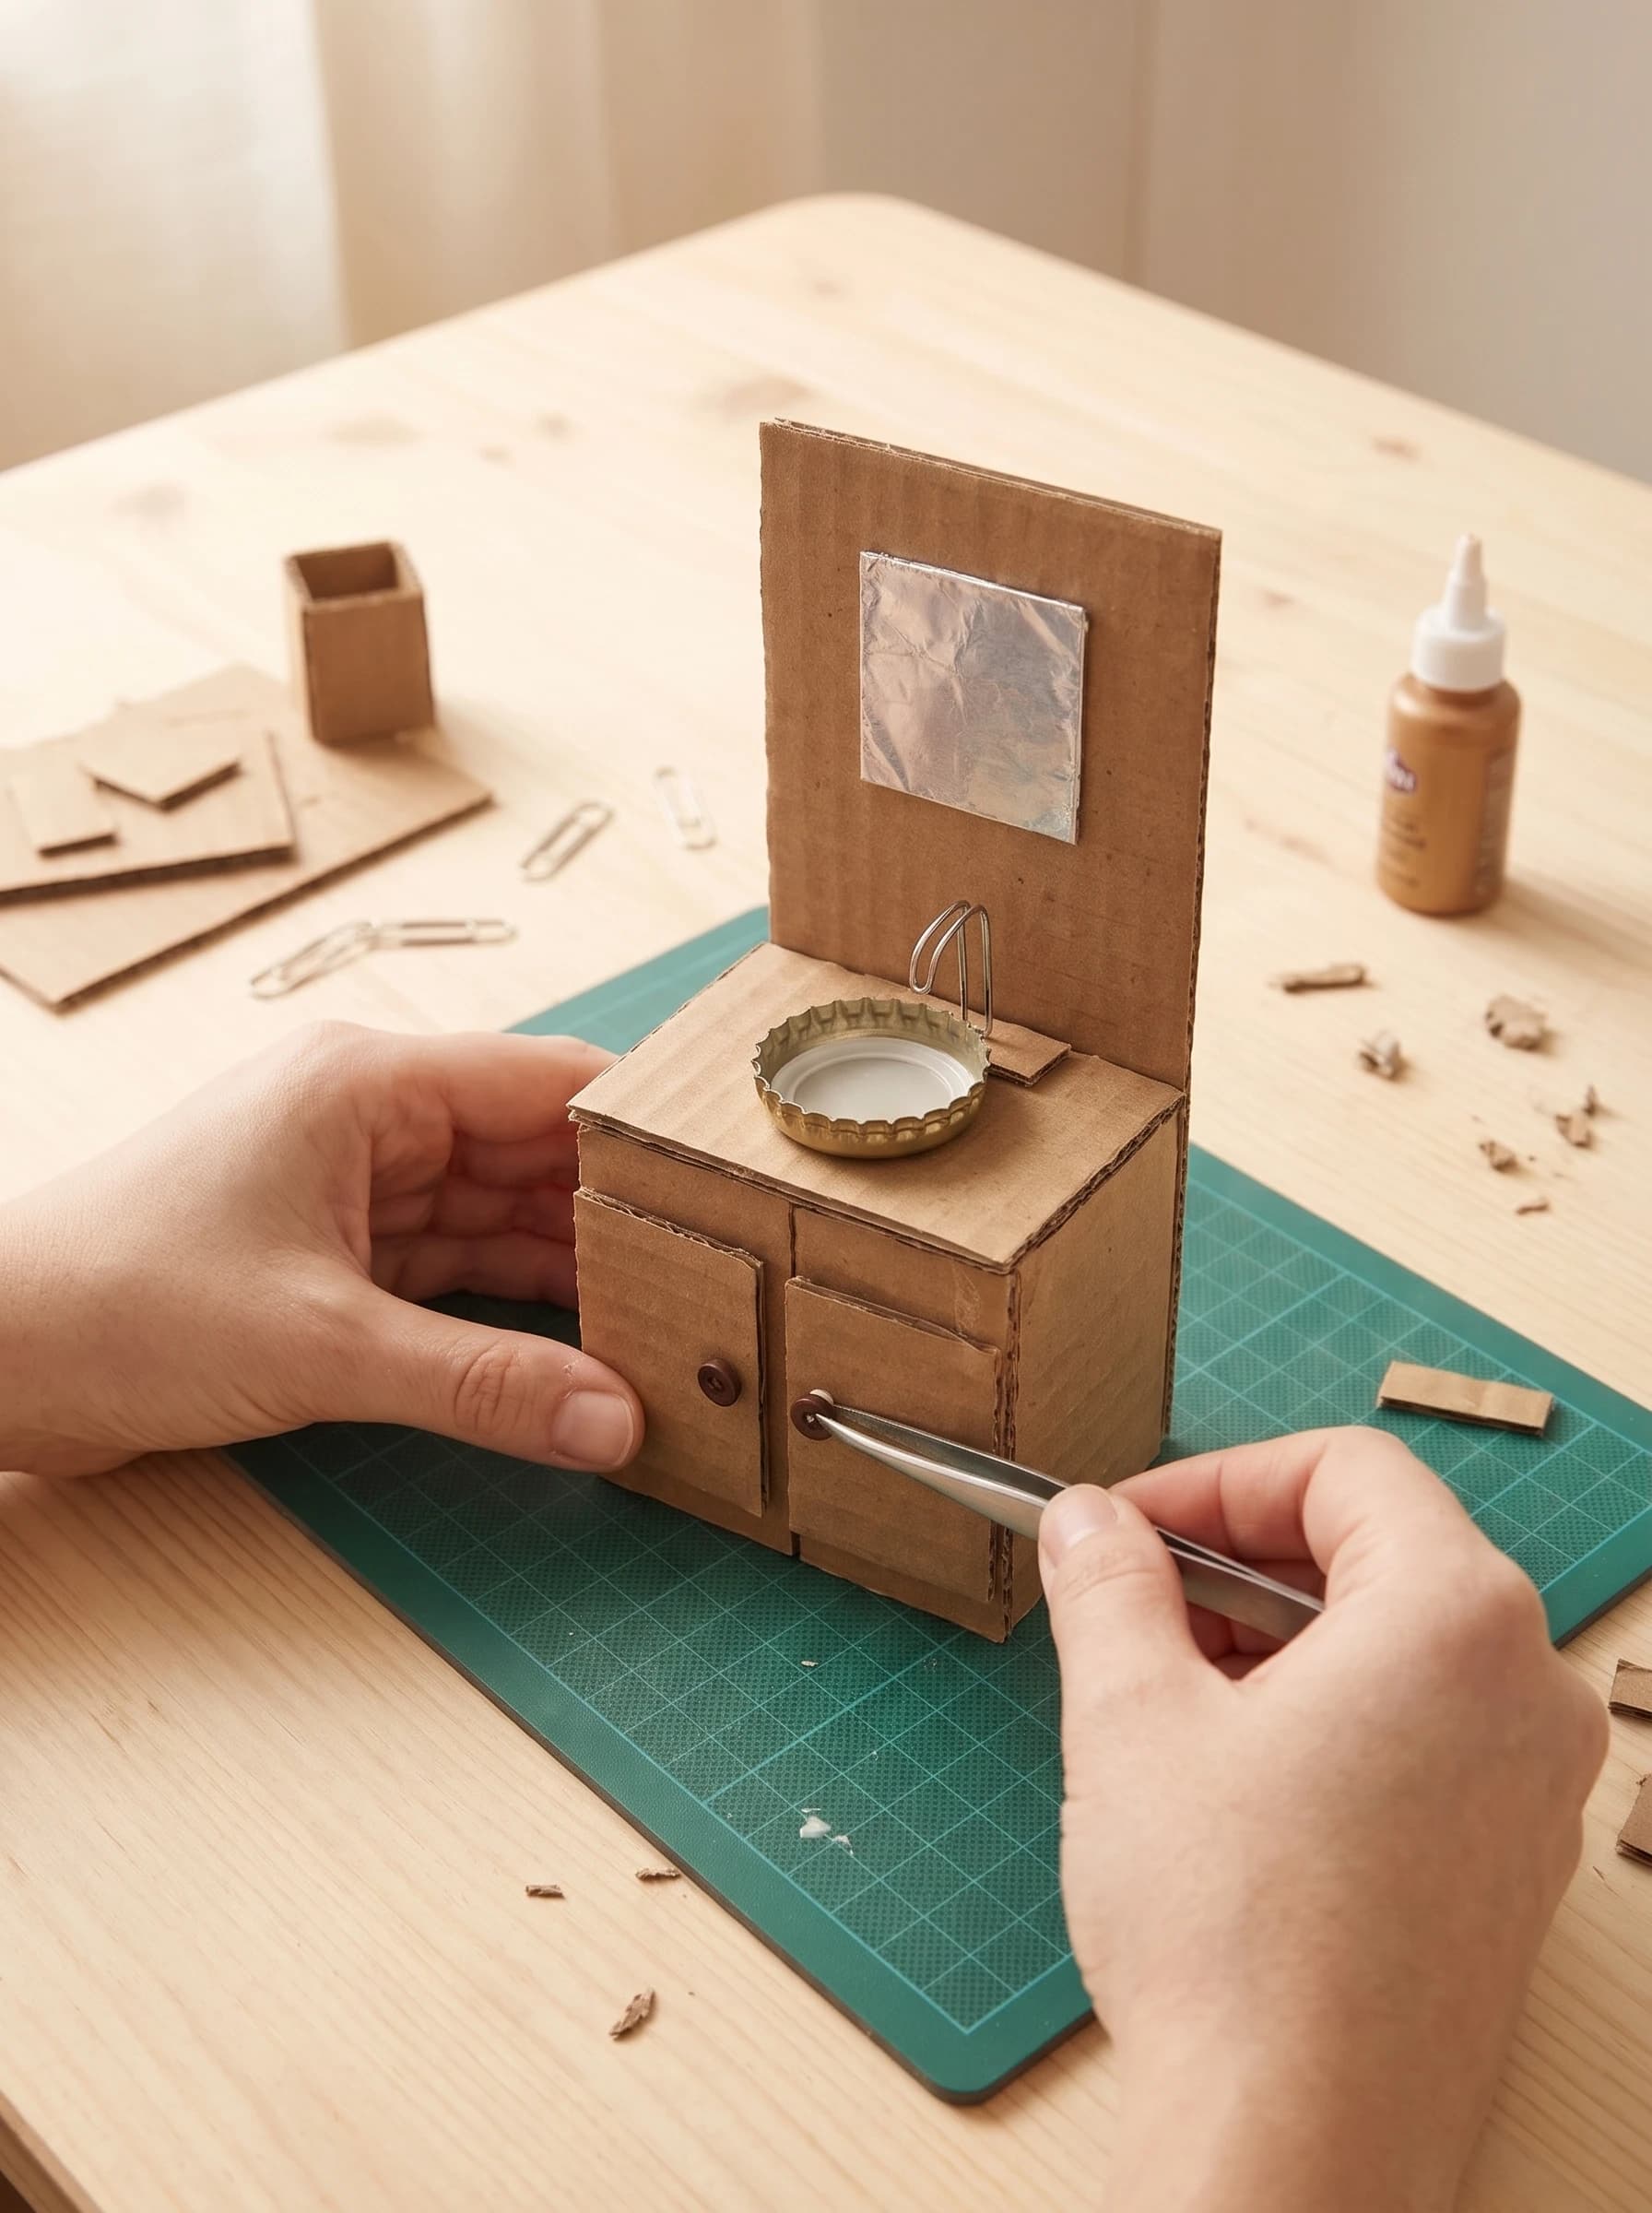
Cut two small rectangles of cardboard to represent the cabinet doors. Glue them flat onto the front panel of the vanity base, leaving a small gap in the center. Once dry, use tweezers to place a tiny drop of glue and attach two small buttons as door knobs. Make sure they are level. Avoid using too much glue, or it will squeeze out around the buttons.
Step 4: Create the Foil Mirror
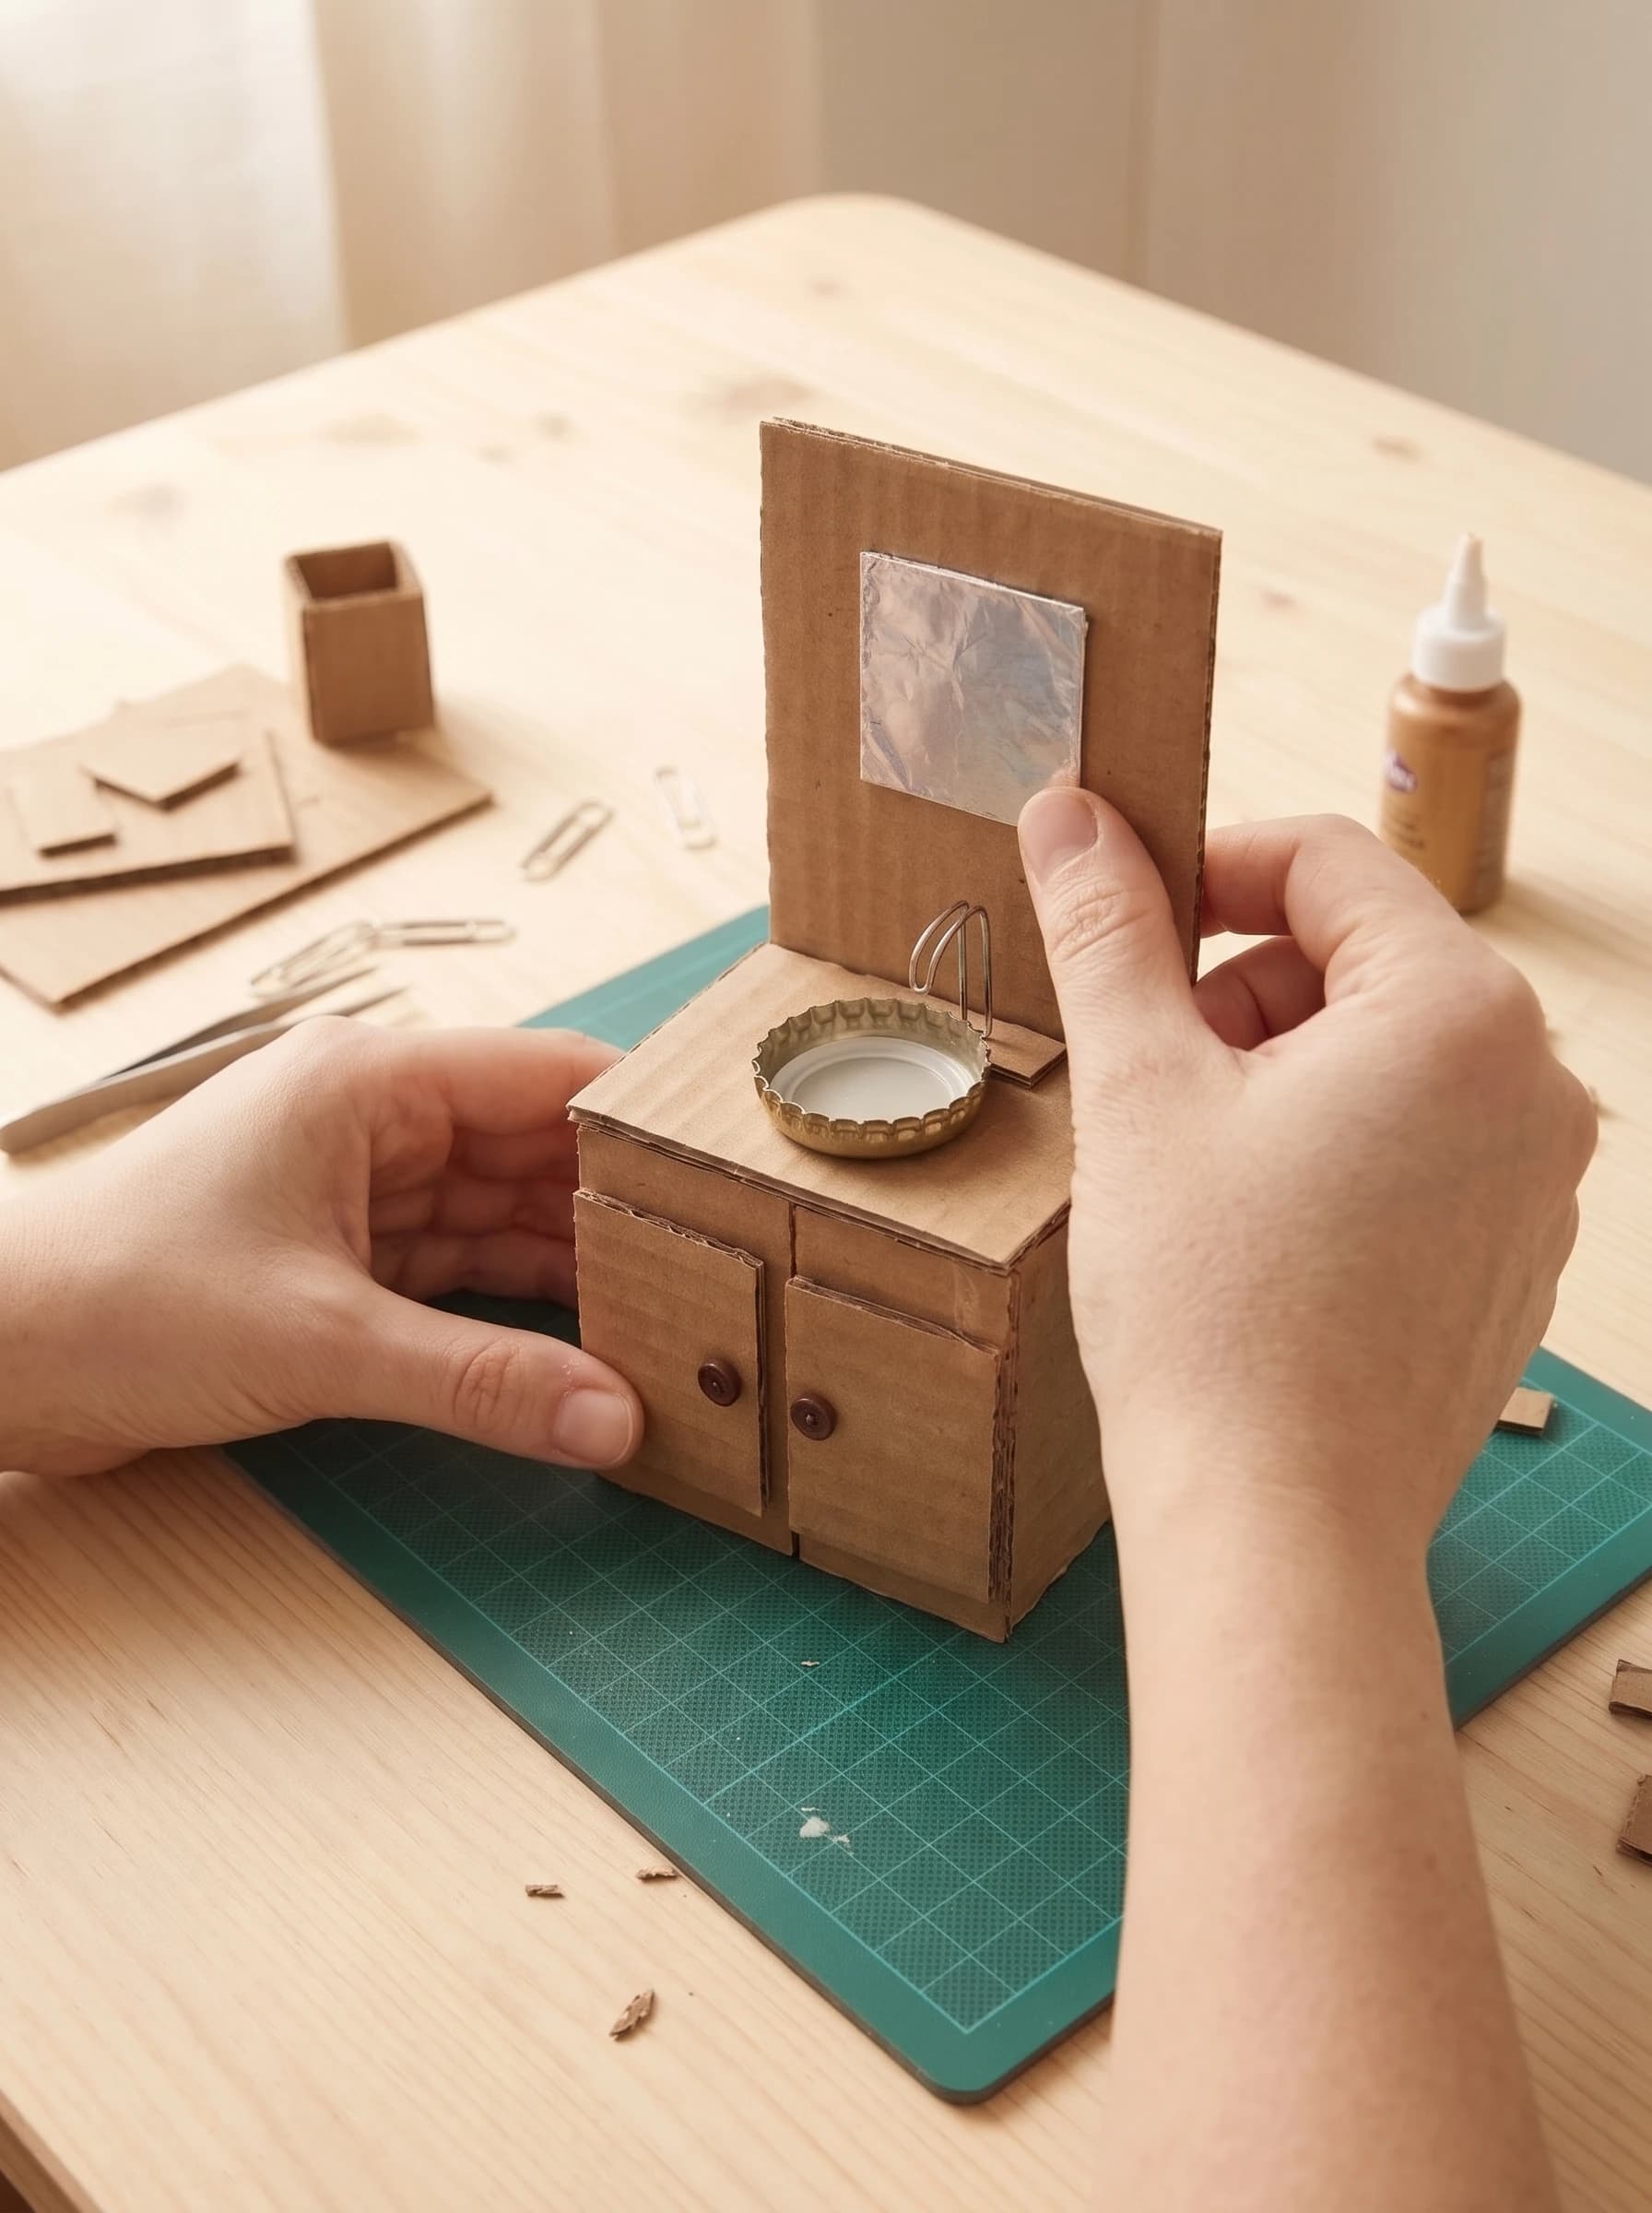
Cut a square of aluminum foil slightly smaller than the width of the tall back panel. To make it smooth, gently rub the foil flat on your cutting mat with the side of a pen before gluing. Apply a very thin, even layer of glue to the back of the foil and press it onto the center of the cardboard back panel. Smooth out any wrinkles carefully with your fingers.
Step 5: Prepare the Sink Basin and Faucet
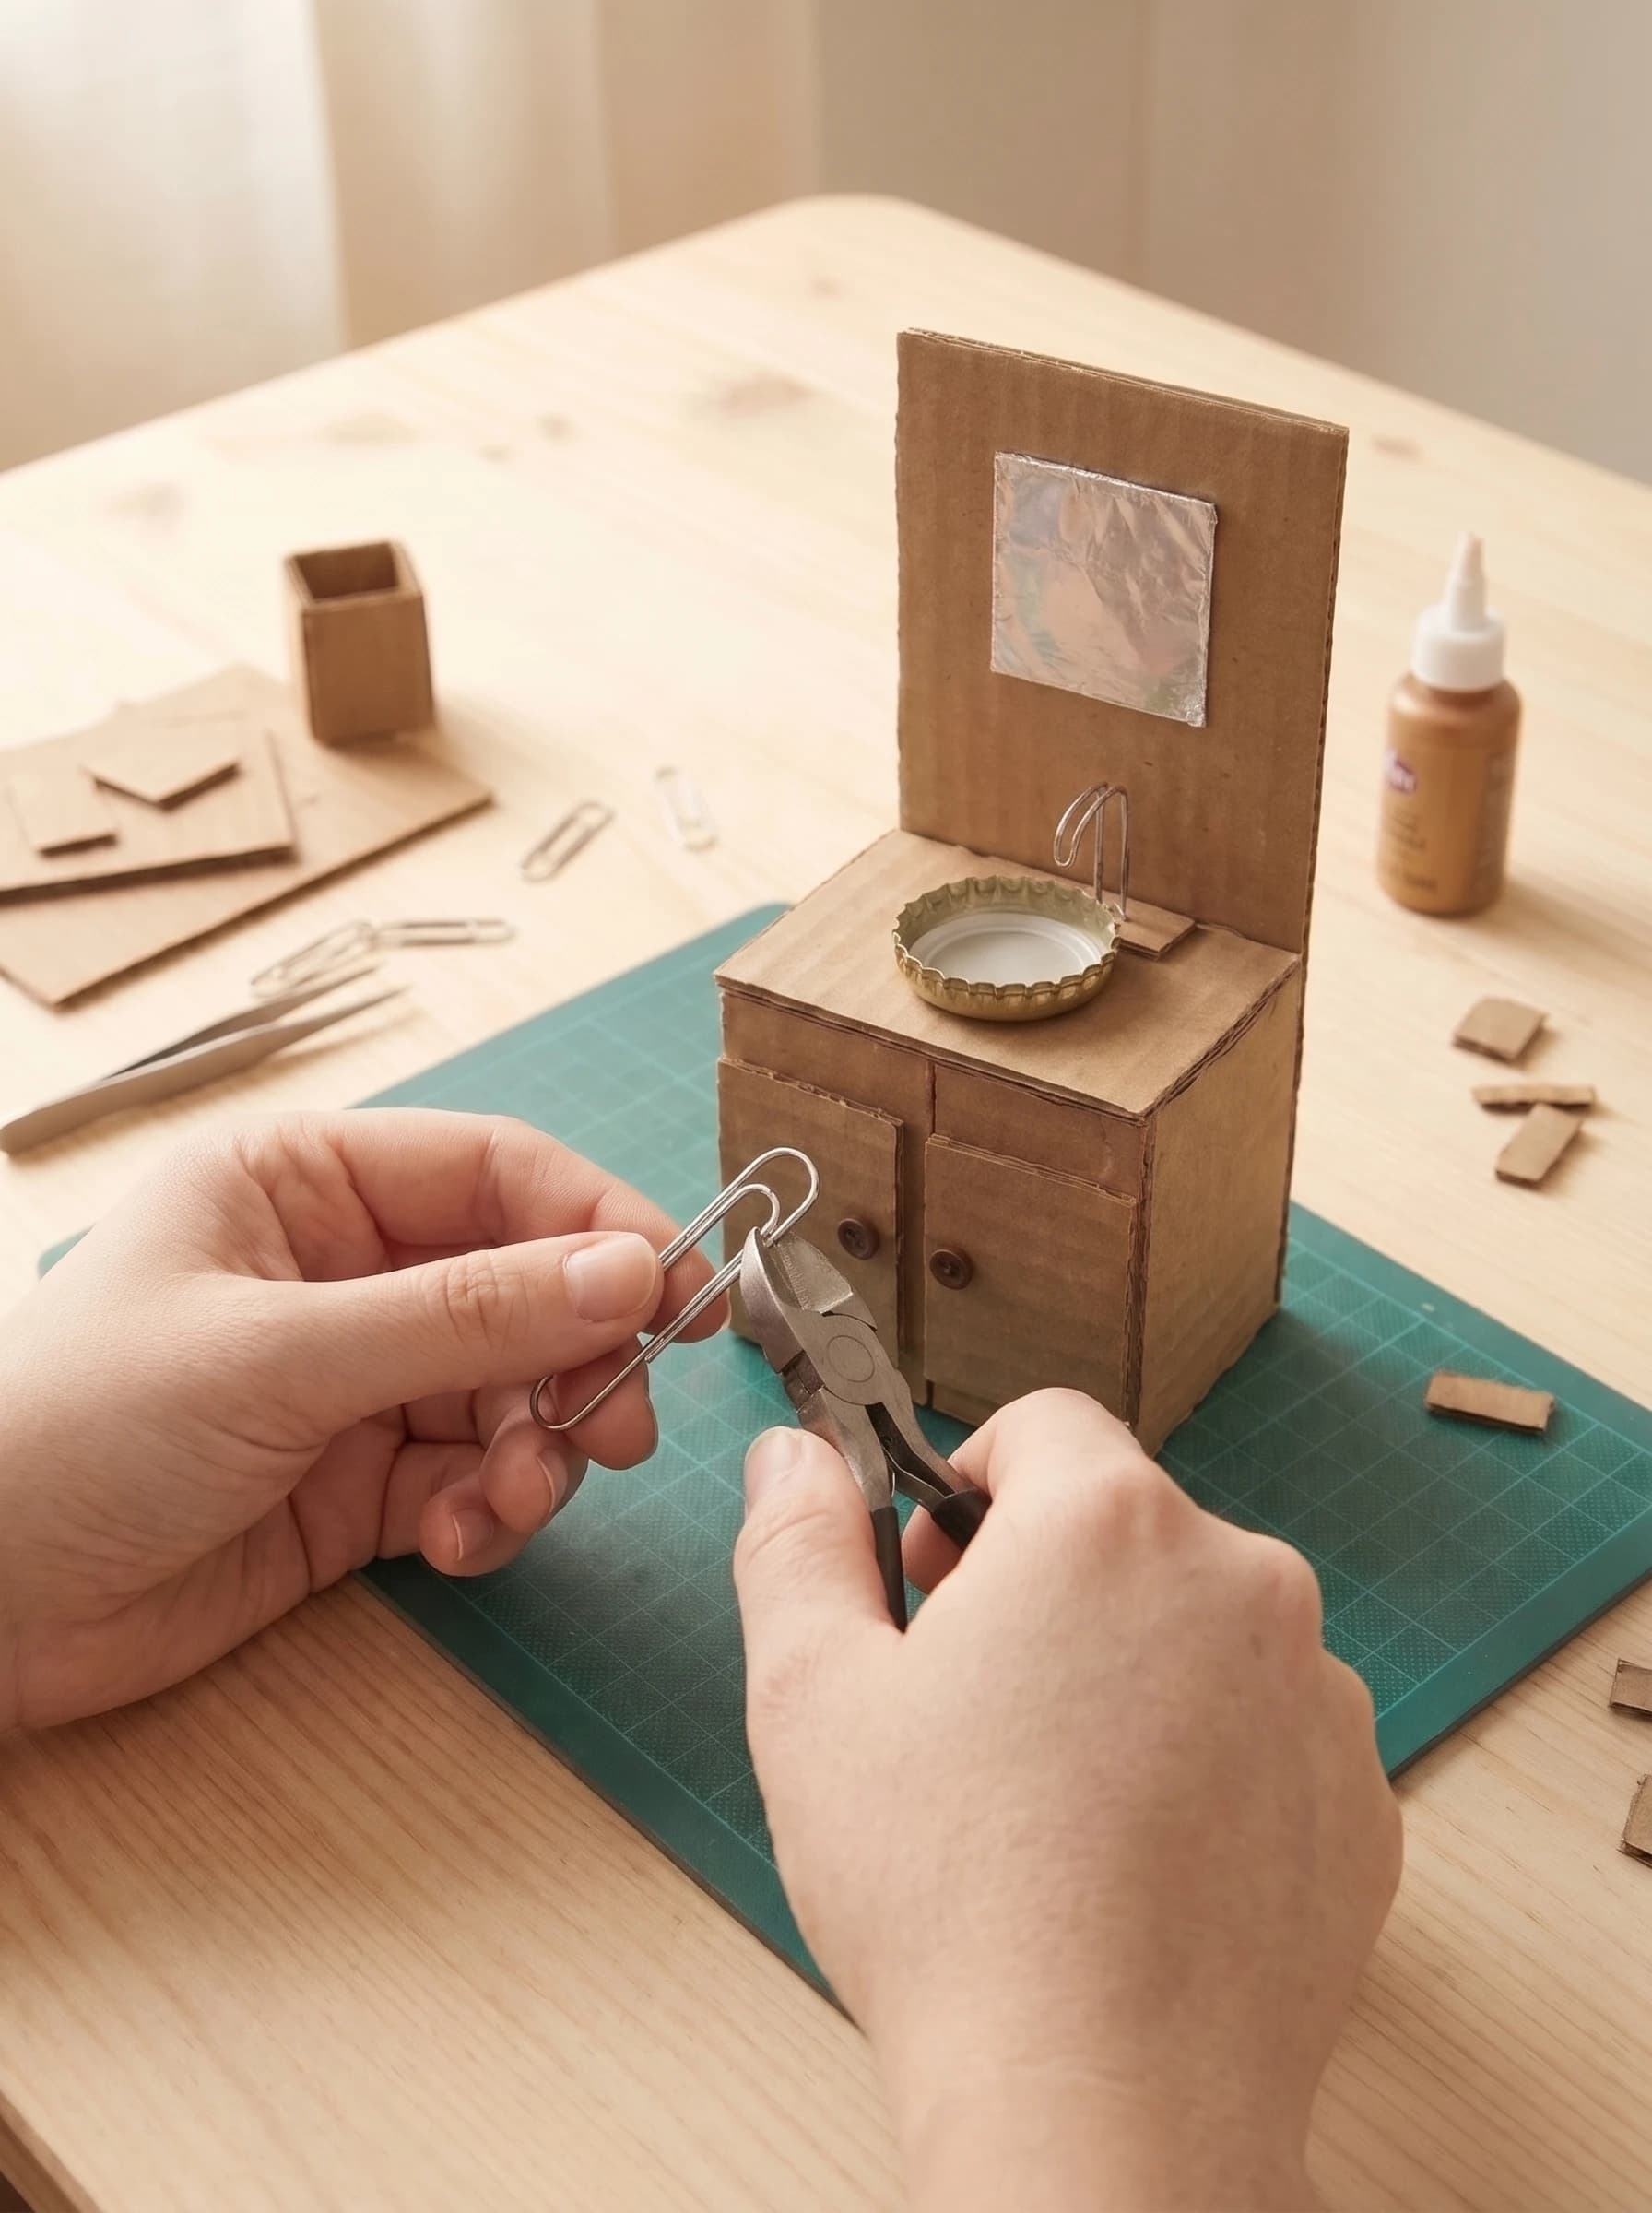
Take one clean metal bottle cap and flip it upside down—this will be your sink basin. Using wire cutters, snip a small curved section from the large paperclip to create the faucet spout, about 1 inch (2.5 cm) long. If the cut ends are sharp, gently file them or add a tiny dab of glue to dull the edges. Gather two tiny buttons for the hot and cold water handles.
Step 6: Assemble and Attach the Sink
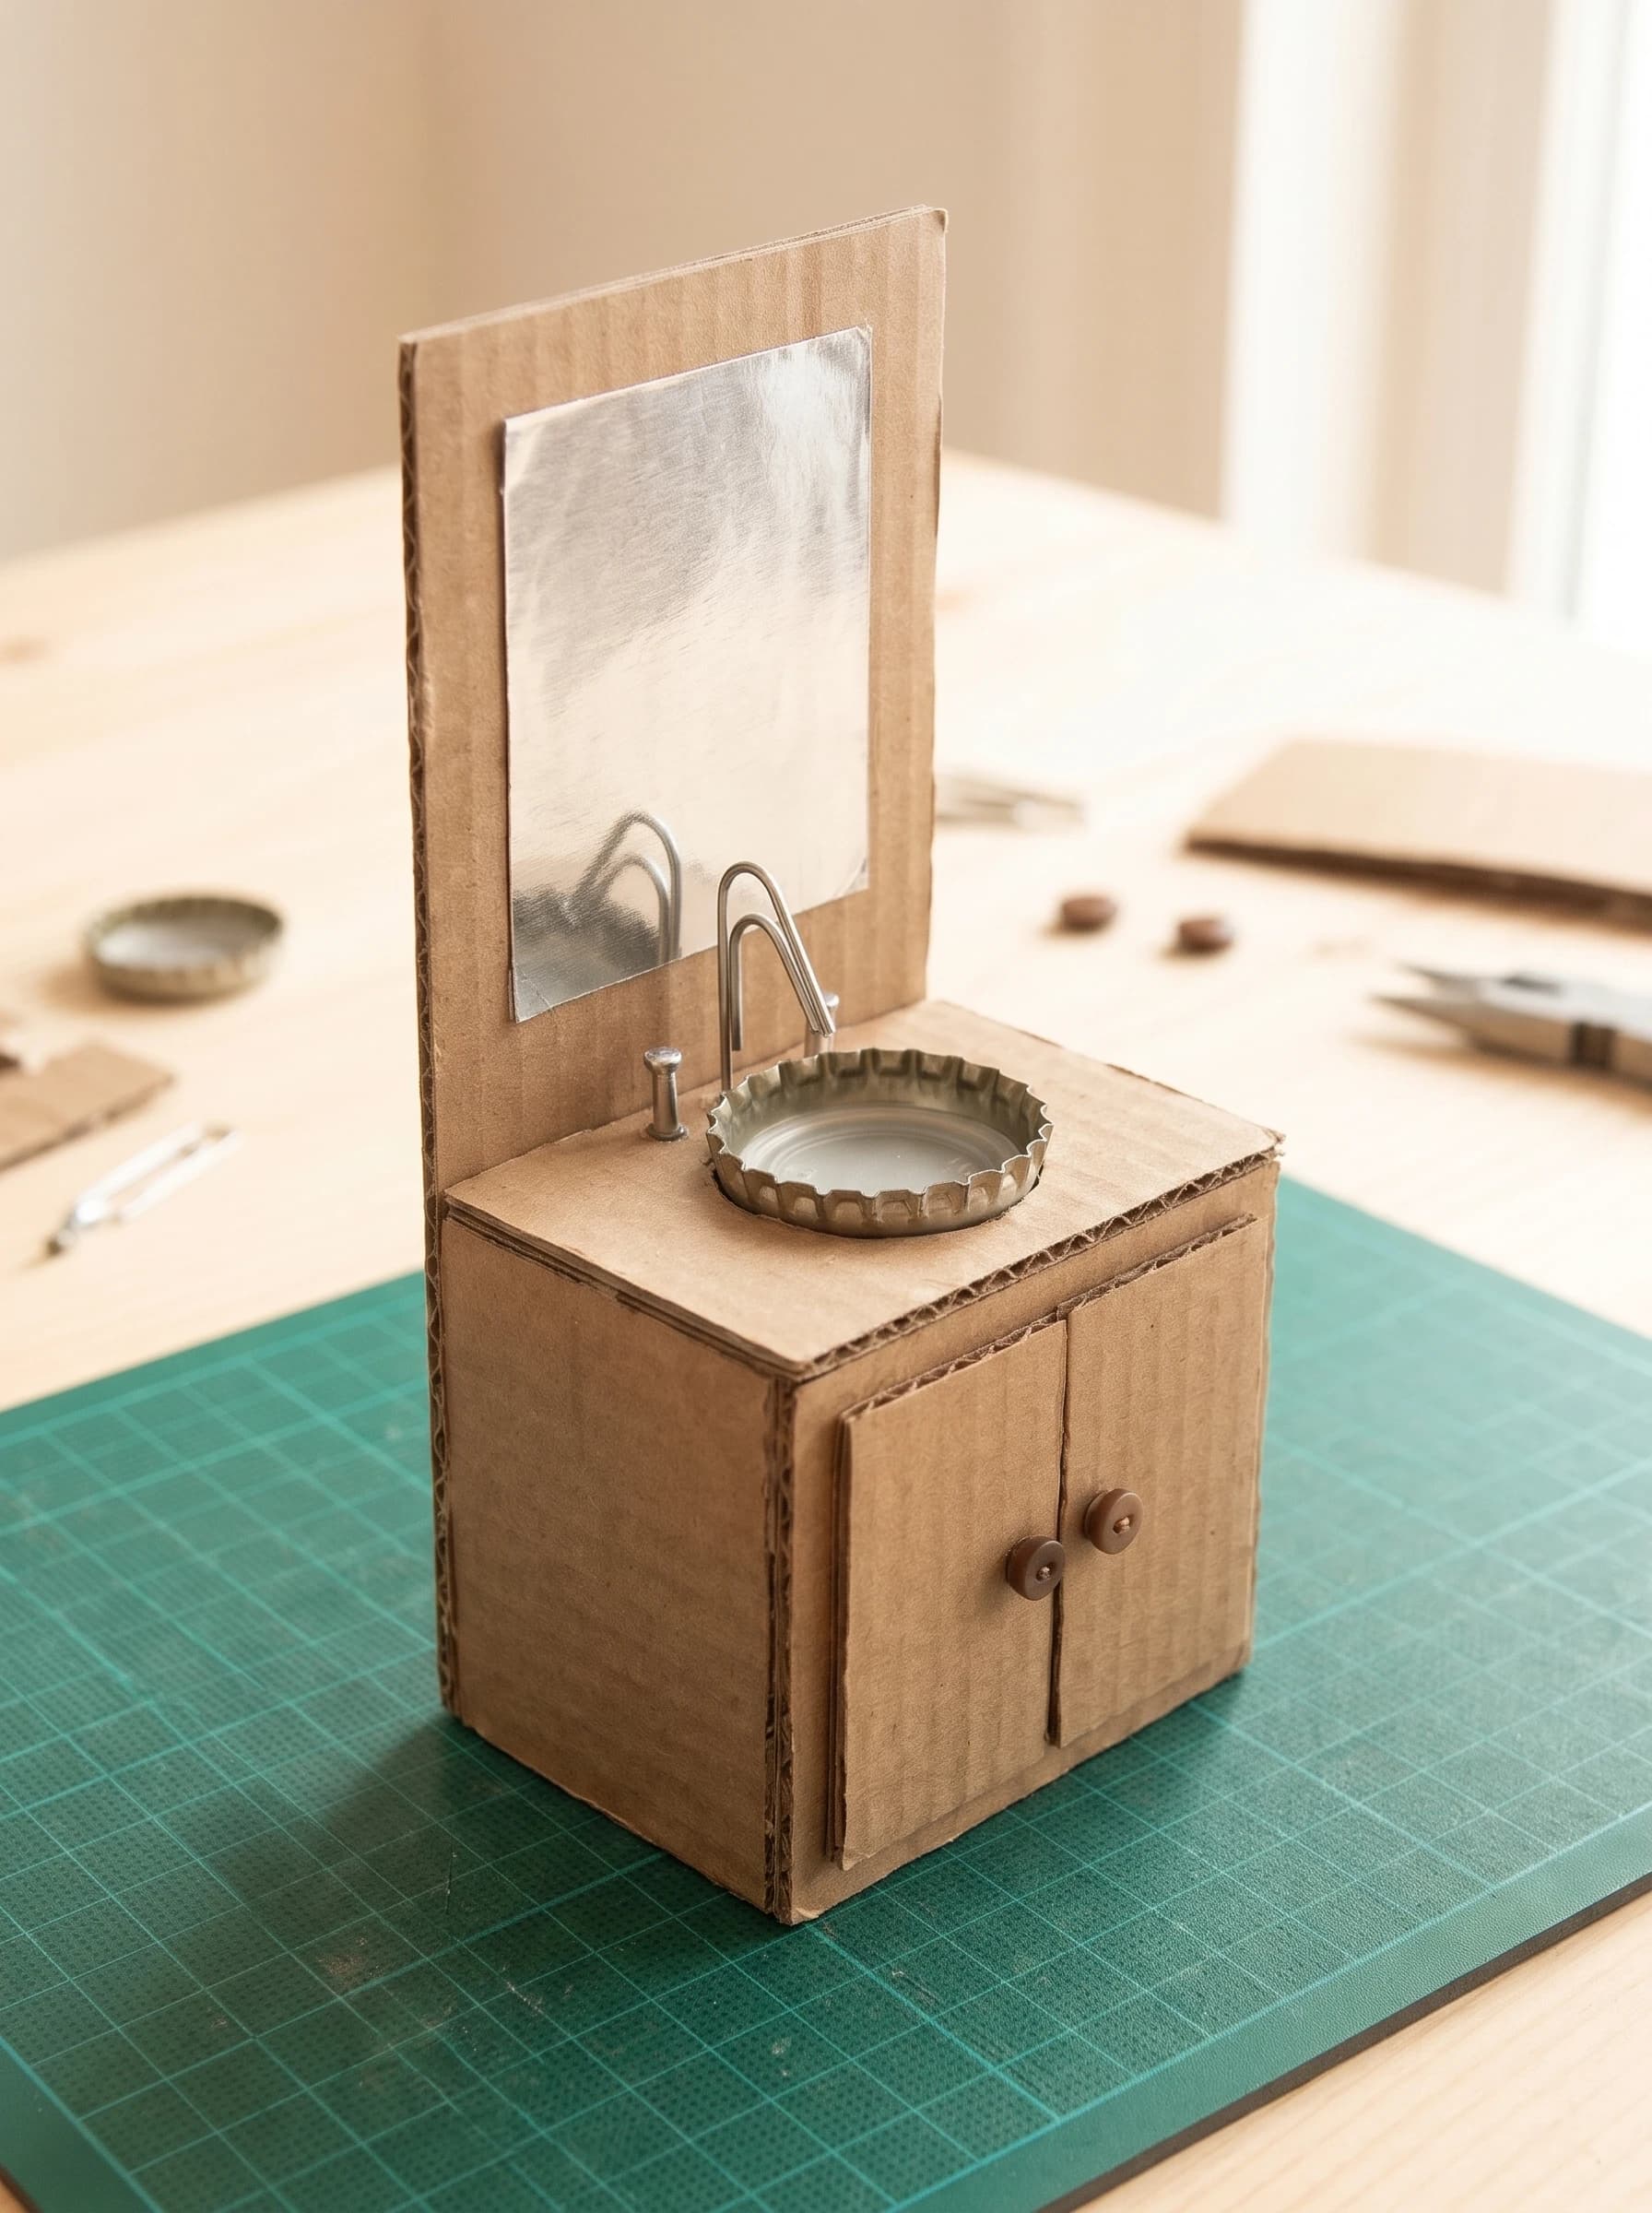
Apply a generous amount of tacky glue to the bottom rim of the inverted bottle cap and press it onto the center of the cardboard counter. Next, use tweezers to glue the small white bead inside the center of the cap to act as the drain. Glue the paperclip faucet just behind the basin, and place the two small button handles on either side. Allow the entire assembly to dry for at least an hour.

The Finished Project
Tips for a Professional Finish
- Paint the cardboard with white or wood-toned acrylic paint before adding the mirror and sink fixtures.
- Use a fine grit sandpaper to smooth the cut edges of the cardboard before painting.
- To hide the corrugated edges of the cardboard, glue thin strips of paper or cardstock over them.
- Add a coat of clear gloss varnish to the inside of the bottle cap basin to mimic porcelain.
- Use real glass mirror tiles instead of foil if you prefer a sharper reflection.
Frequently Asked Questions
Can I use hot glue instead of tacky glue?
You can use hot glue for a faster hold, but it often leaves thick, visible seams in miniature work. Tacky glue takes longer to dry but provides a much cleaner finish for cardboard miniatures.
How do I make the sink basin look like real ceramic?
To make the bottle cap look more like ceramic, paint the inside with thick white acrylic paint or gesso. Once dry, seal it with a high-gloss Mod Podge or clear nail polish.
What can I use if I don't have suitable buttons?
If you don't have small buttons for the knobs and handles, you can use tiny beads, small dots of dried hot glue painted metallic, or even tiny balls of polymer clay.
Is this sink suitable for Barbie dolls (1:6 scale)?
No, this specific project is scaled for 1:12 dollhouses. For a Barbie-sized sink (1:6 scale), you would need to double all the measurements and use larger items, like a small plastic cup for the basin.
Conclusion
Learning how to make a miniature bathroom sink from cardboard shows that you do not need expensive materials to create beautiful dollhouse furniture. By upcycling simple items like shipping boxes and bottle caps, you can build custom pieces for every room. Once you master this basic vanity structure, try adapting the design to create a matching cardboard kitchen counter or experiment with different basin shapes.
More in this topic: all Cardboard tutorials