
How to Make a Miniature Bathtub from a Plastic Container (Easy 1:12 Tutorial)
- Difficulty
- Beginner
- Scale
- 1:12
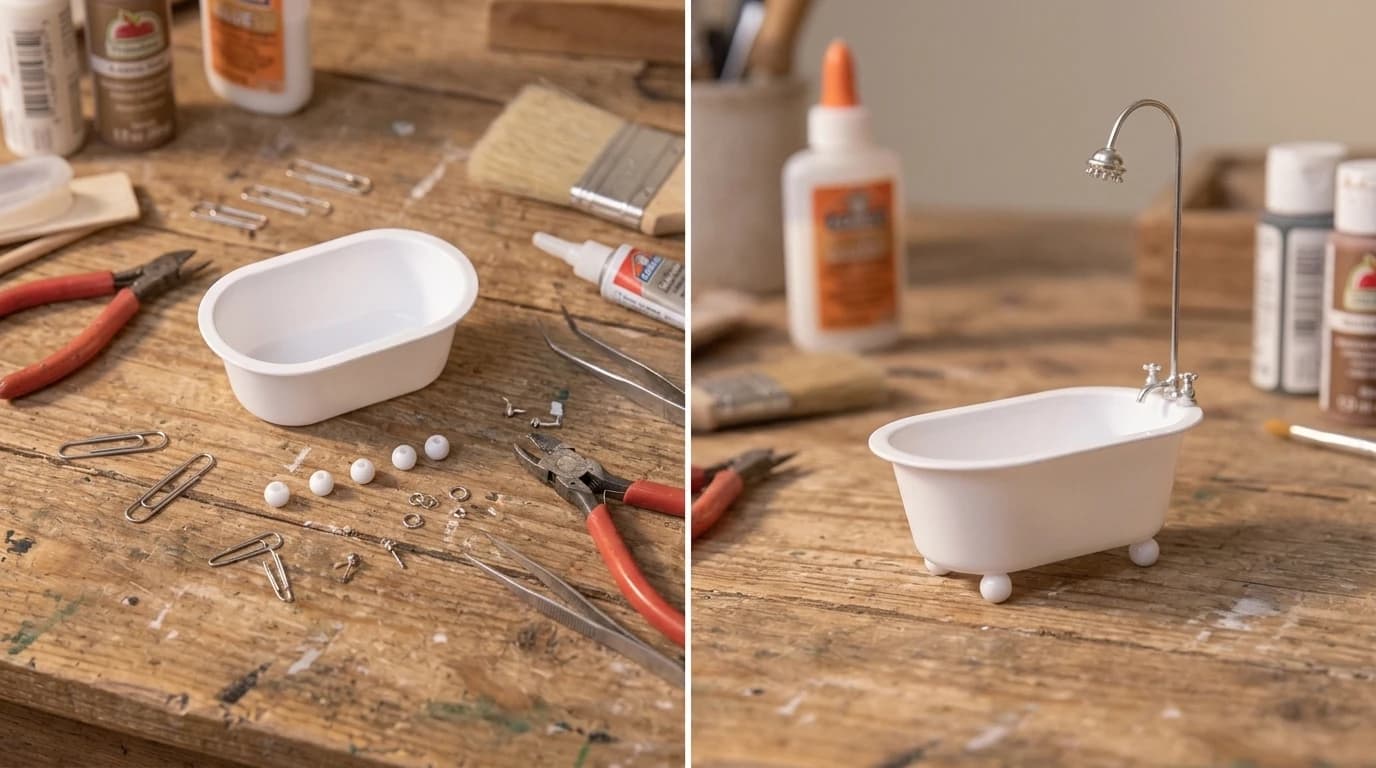
Welcome to another fun DIY Miniature Building guide! If you have been wondering how to make a miniature bathtub from a plastic container, you are in the perfect place to start your miniature plumbing journey. Creating realistic dollhouse bathroom fixtures can often feel intimidating and expensive if you are buying pre-made porcelain pieces. However, with a little creativity, you can transform everyday recycled materials from your recycling bin into a stunning vintage-style soaking tub. This step-by-step tutorial will guide you through turning a simple single-serve food tub and a few paperclips into a beautiful centerpiece for your miniature home.
What You'll Need
The magic of this DIY dollhouse bathroom project lies in its simplicity and accessibility. The main body of the tub is constructed from a small, oval-shaped plastic container—the kind typically used for individual butter portions, cream cheese, or dipping sauces at restaurants. By combining this recycled base with standard office supplies and a few jewelry findings, you achieve an incredible 1:12 scale bathtub without spending a fortune. Make sure to thoroughly wash and dry your plastic container before beginning.

- 1 small oval plastic containerCleaned and dried thoroughly
- 4 small round white beadsFor the bathtub feet
- 1 large metal paperclipFor the shower pipe
- Small metal jewelry findingsBead caps, tiny gears, or miniature nuts for the faucet
- Tacky glueDries clear and holds plastic well
- Craft knifeWith a sharp new blade
- Fine-tip tweezersEssential for placing tiny pieces
- Metal rulerFor measuring the shower pipe
- Needle-nose pliersFor bending and cutting the paperclip
Before You Start
Step 1: Prepare the Plastic Tub
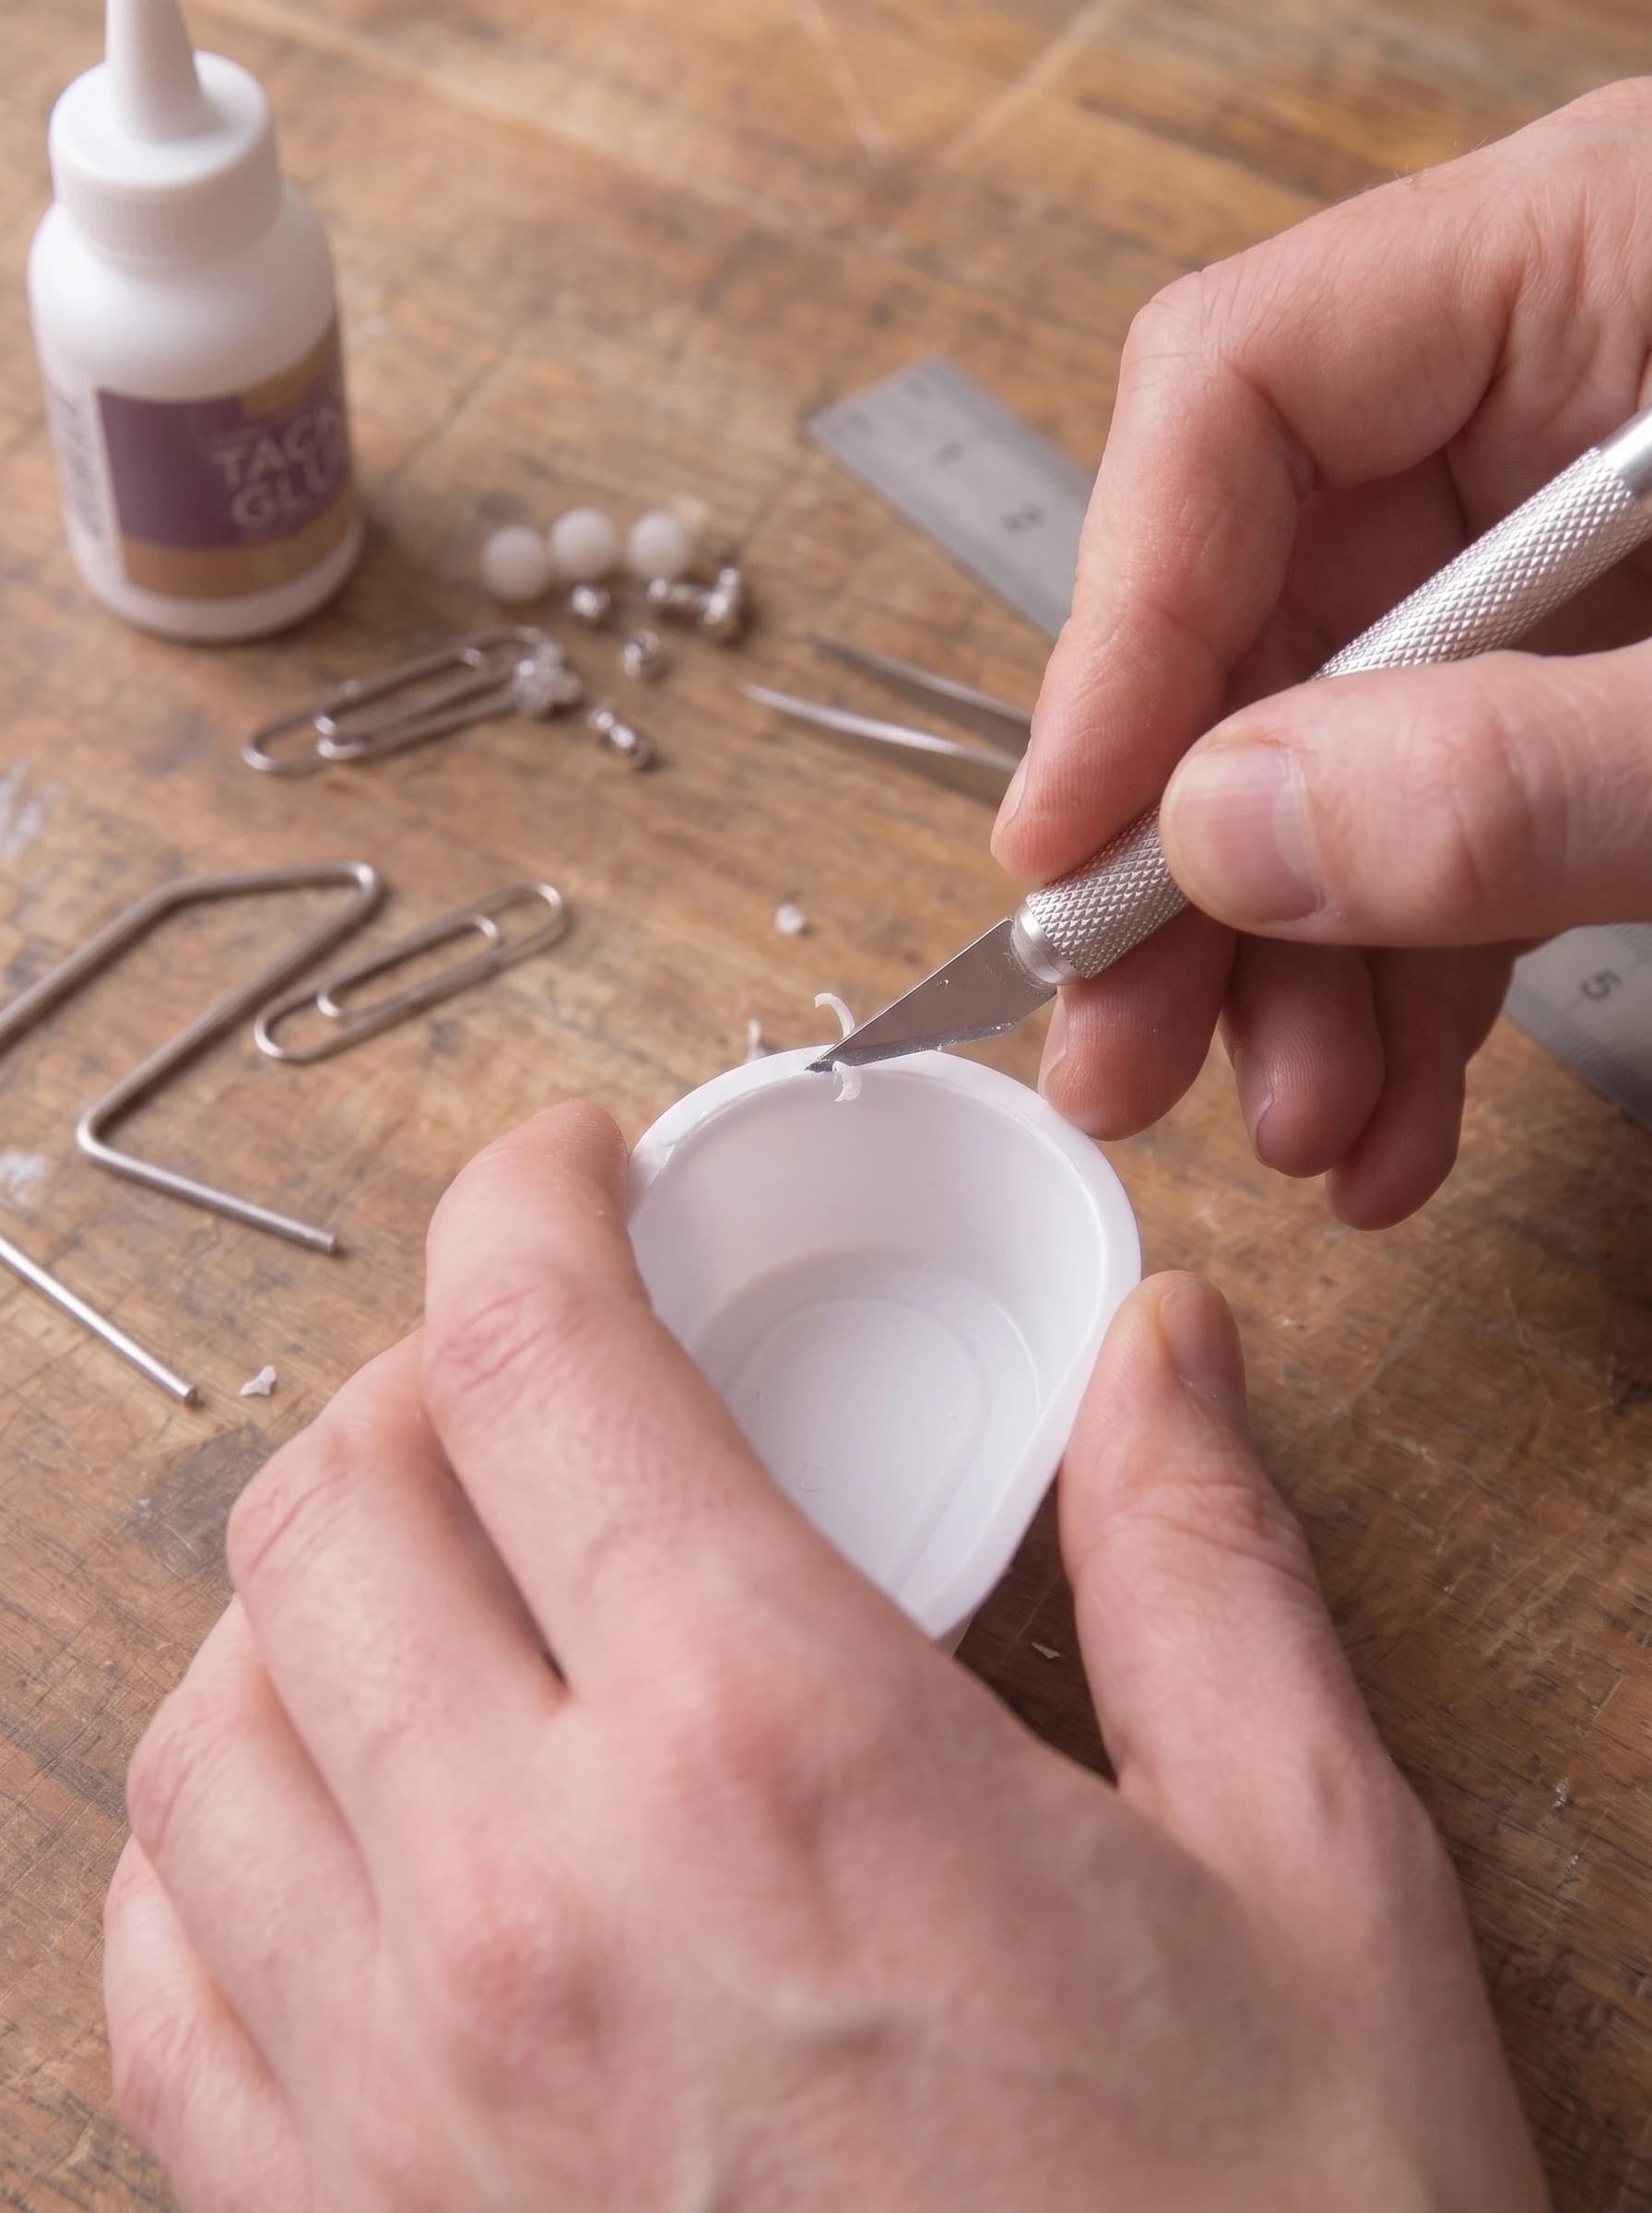
Begin by inspecting your clean plastic container. If there are any sharp edges from manufacturing or a wide plastic rim that ruins the miniature illusion, lay the container flat on your cutting mat. Using your craft knife and a metal ruler as a guide, carefully score along the top edge to create a clean, even rim. Sand any rough spots lightly with fine-grit sandpaper so the tub looks like smooth porcelain or enamel. Wipe away any plastic dust with a damp cloth so your glue will adhere properly.
Step 2: Attach the Bathtub Feet
Turn the plastic container upside down to begin working on the base. A classic miniature clawfoot tub tutorial isn't complete without elegant feet! Take your four small white beads and apply a small dab of tacky glue to one side of each bead. Using your tweezers, place the beads symmetrically on the four corners of the container's base, setting them in slightly from the edge. Press gently to secure them. It is absolutely vital to let the tub sit upside down for at least an hour to allow the glue to set firmly before flipping it over, ensuring your tub sits level.

Step 3: Shape the Shower Pipe
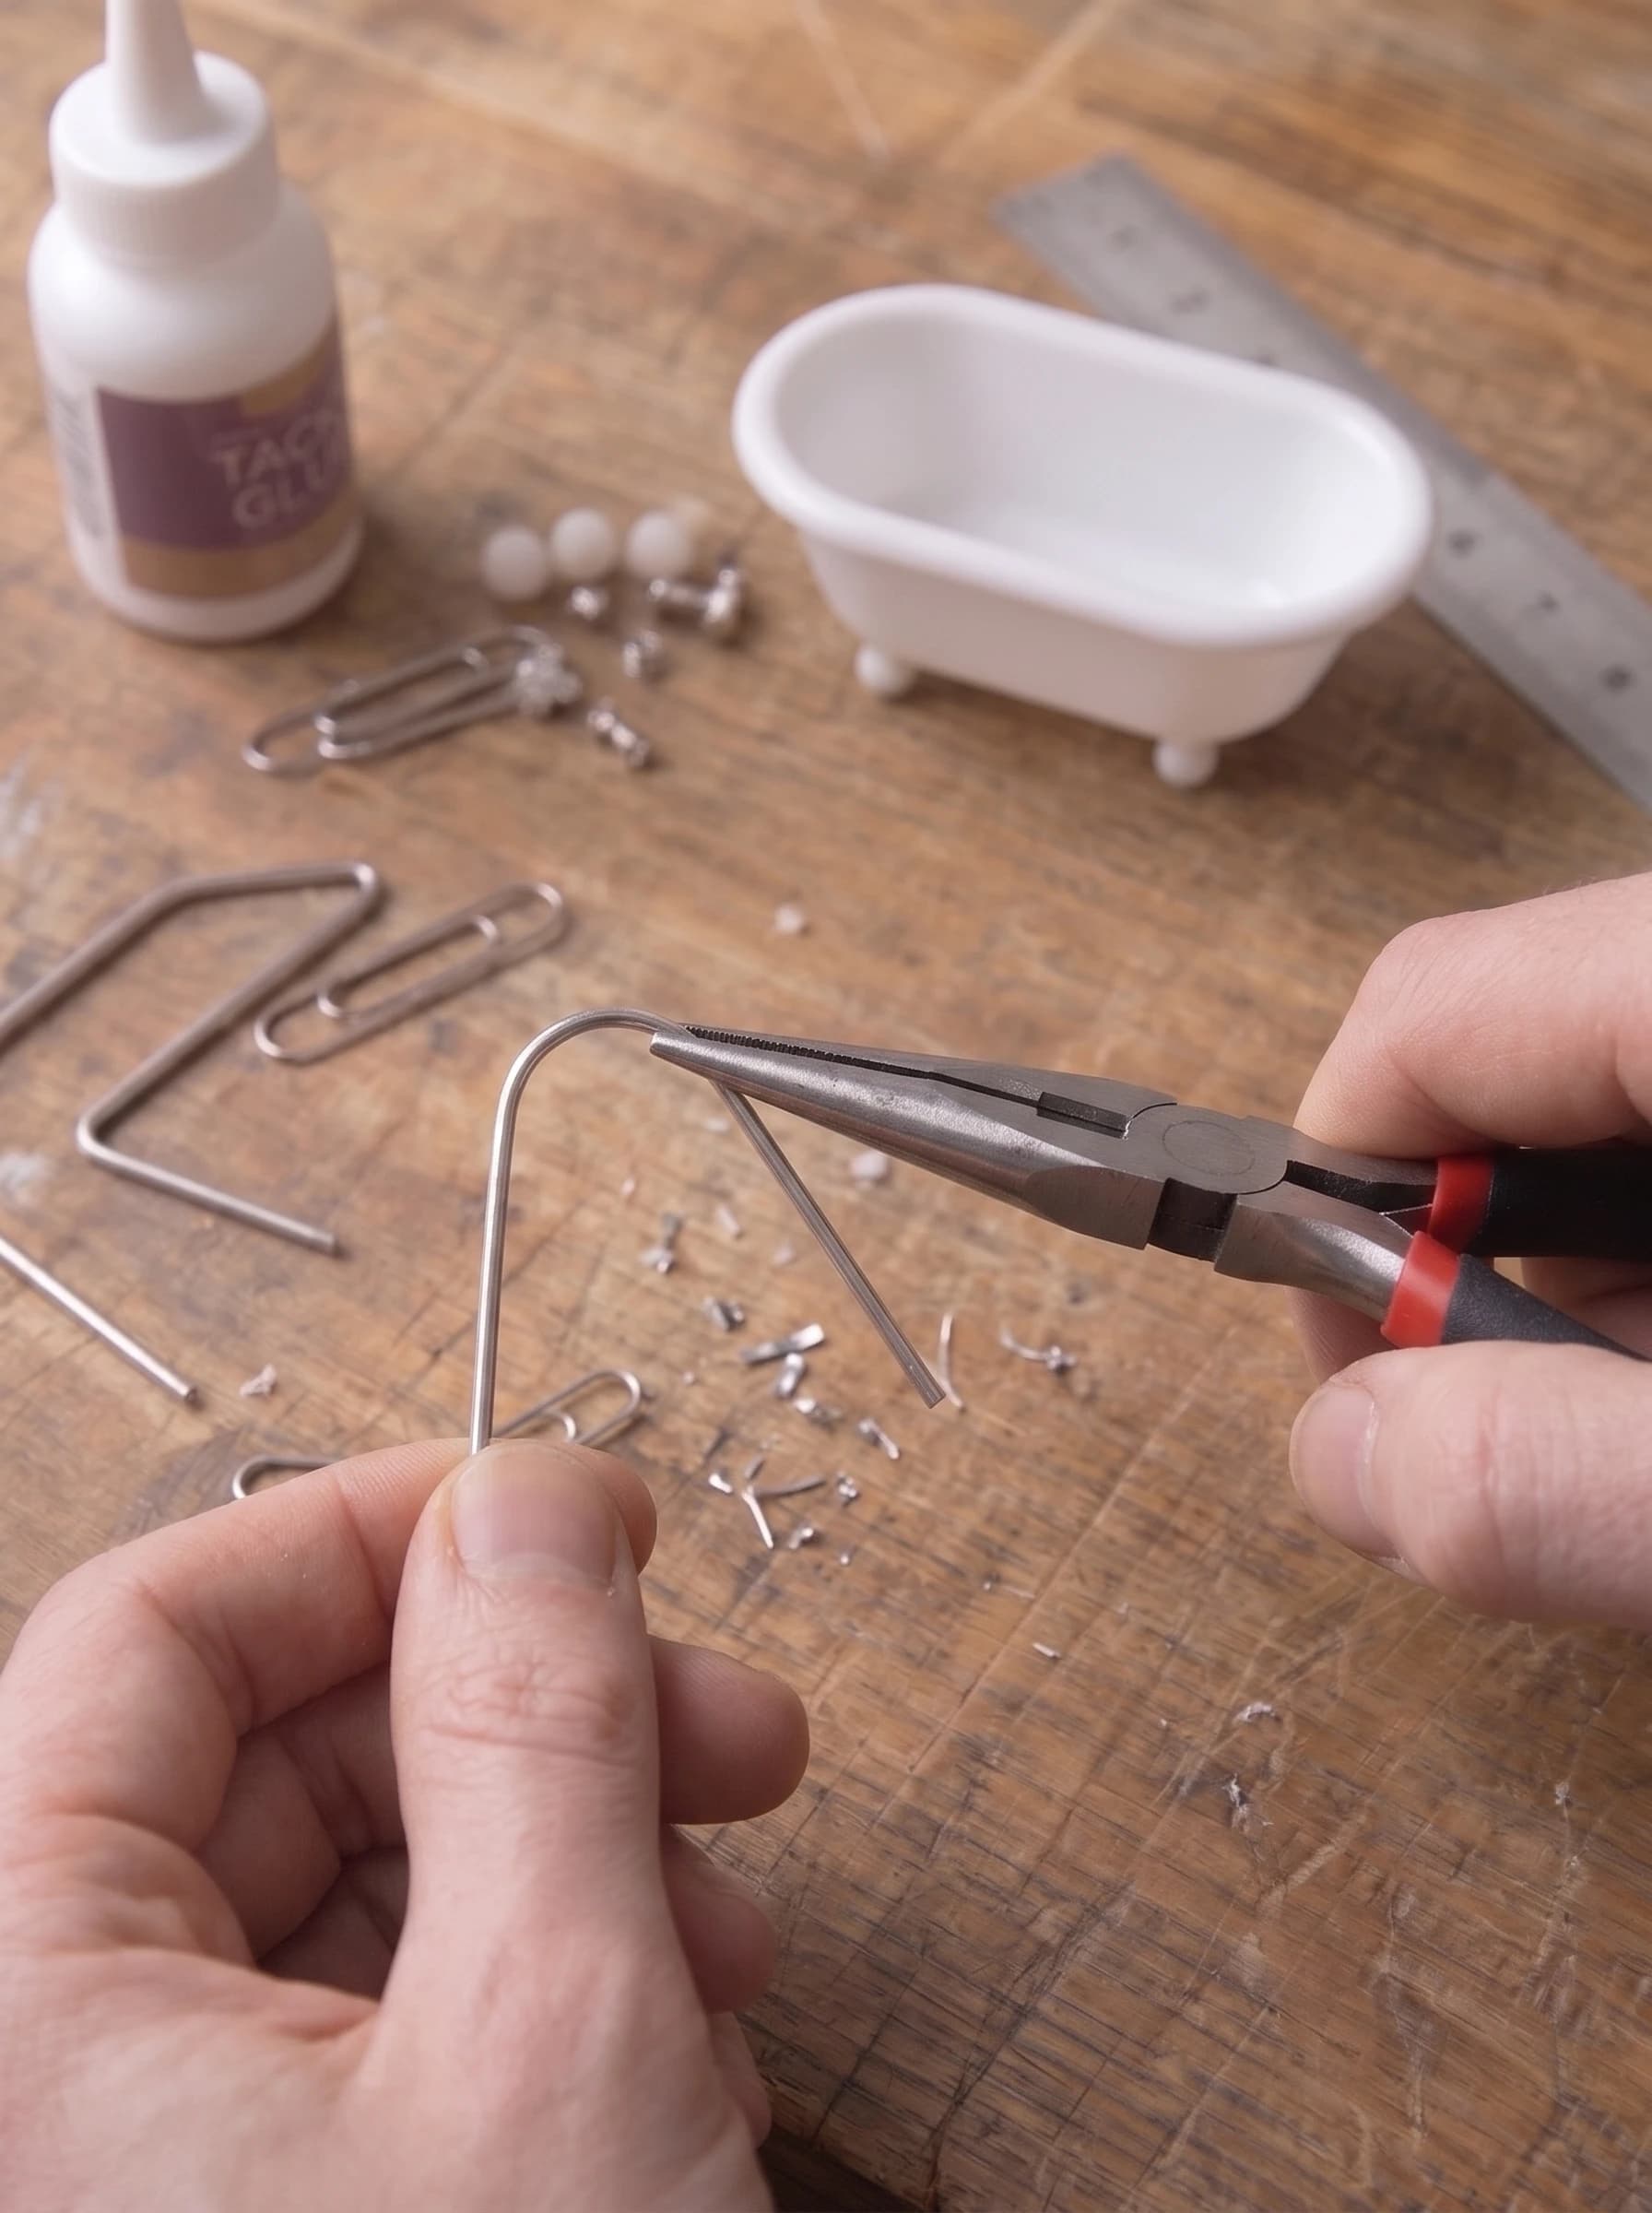
While the feet are drying, it is time to build the miniature shower fixture. Take your large metal paperclip and carefully unbend it until you have a straight piece of wire. Using your metal ruler, measure approximately 8 cm (about 3.1 inches) for the main height of the shower pipe. With your needle-nose pliers, bend the top 1.5 cm (0.6 inches) of the wire at a 90-degree angle, and then give the very tip a slight downward curve to form an inverted 'J' shape. Snip off any excess wire at the bottom. This paperclip framework provides a realistic, shiny metallic finish that mimics real plumbing beautifully.
Step 4: Assemble the Showerhead
To create the showerhead, you will need to dig into your stash of small metal jewelry findings. Look for a tiny fluted bead cap or a small, textured metal spacer that resembles the spray face of a shower. Apply a tiny droplet of tacky glue to the bent tip of your paperclip pipe. Using your fine-tip tweezers, carefully slide the bead cap onto the wire end. Hold it steady for a few moments until the glue begins to grab. You can add a second, smaller finding flat against the first one to give the showerhead more dimension and detail.

Step 5: Install the Faucet and Plumbing
Once your tub is completely dry and resting upright on its bead feet, it is time to install the plumbing. Determine which end of the tub will be the faucet end. Apply a generous dot of tacky glue to the inside rim of the tub and embed the straight bottom end of your shower pipe into the glue, making sure it stands perfectly vertical. Next, use your tweezers to arrange tiny metal gears or mini hardware nuts around the base of the pipe to simulate hot and cold water handles and a spout. The tacky glue will dry clear, but you must support the tall pipe against a sturdy object for a few hours until the bond is rock solid.

Step 6: Add Final Bathroom Details
The structure of your recycled miniature bathtub is now complete! To bring the piece to life and make it look truly integrated into your 1:12 scale home, it is time to accessorize. Roll a tiny strip of textured white fabric or thick cotton string to create a miniature bath towel and set it neatly beside the tub. You can also carve a tiny rectangle from an eraser or scrap of yellow clay to serve as a bar of soap, placing it on the edge of the tub. These micro-details are what elevate recycled miniature furniture from a craft project to a realistic diorama element.

The Finished Project

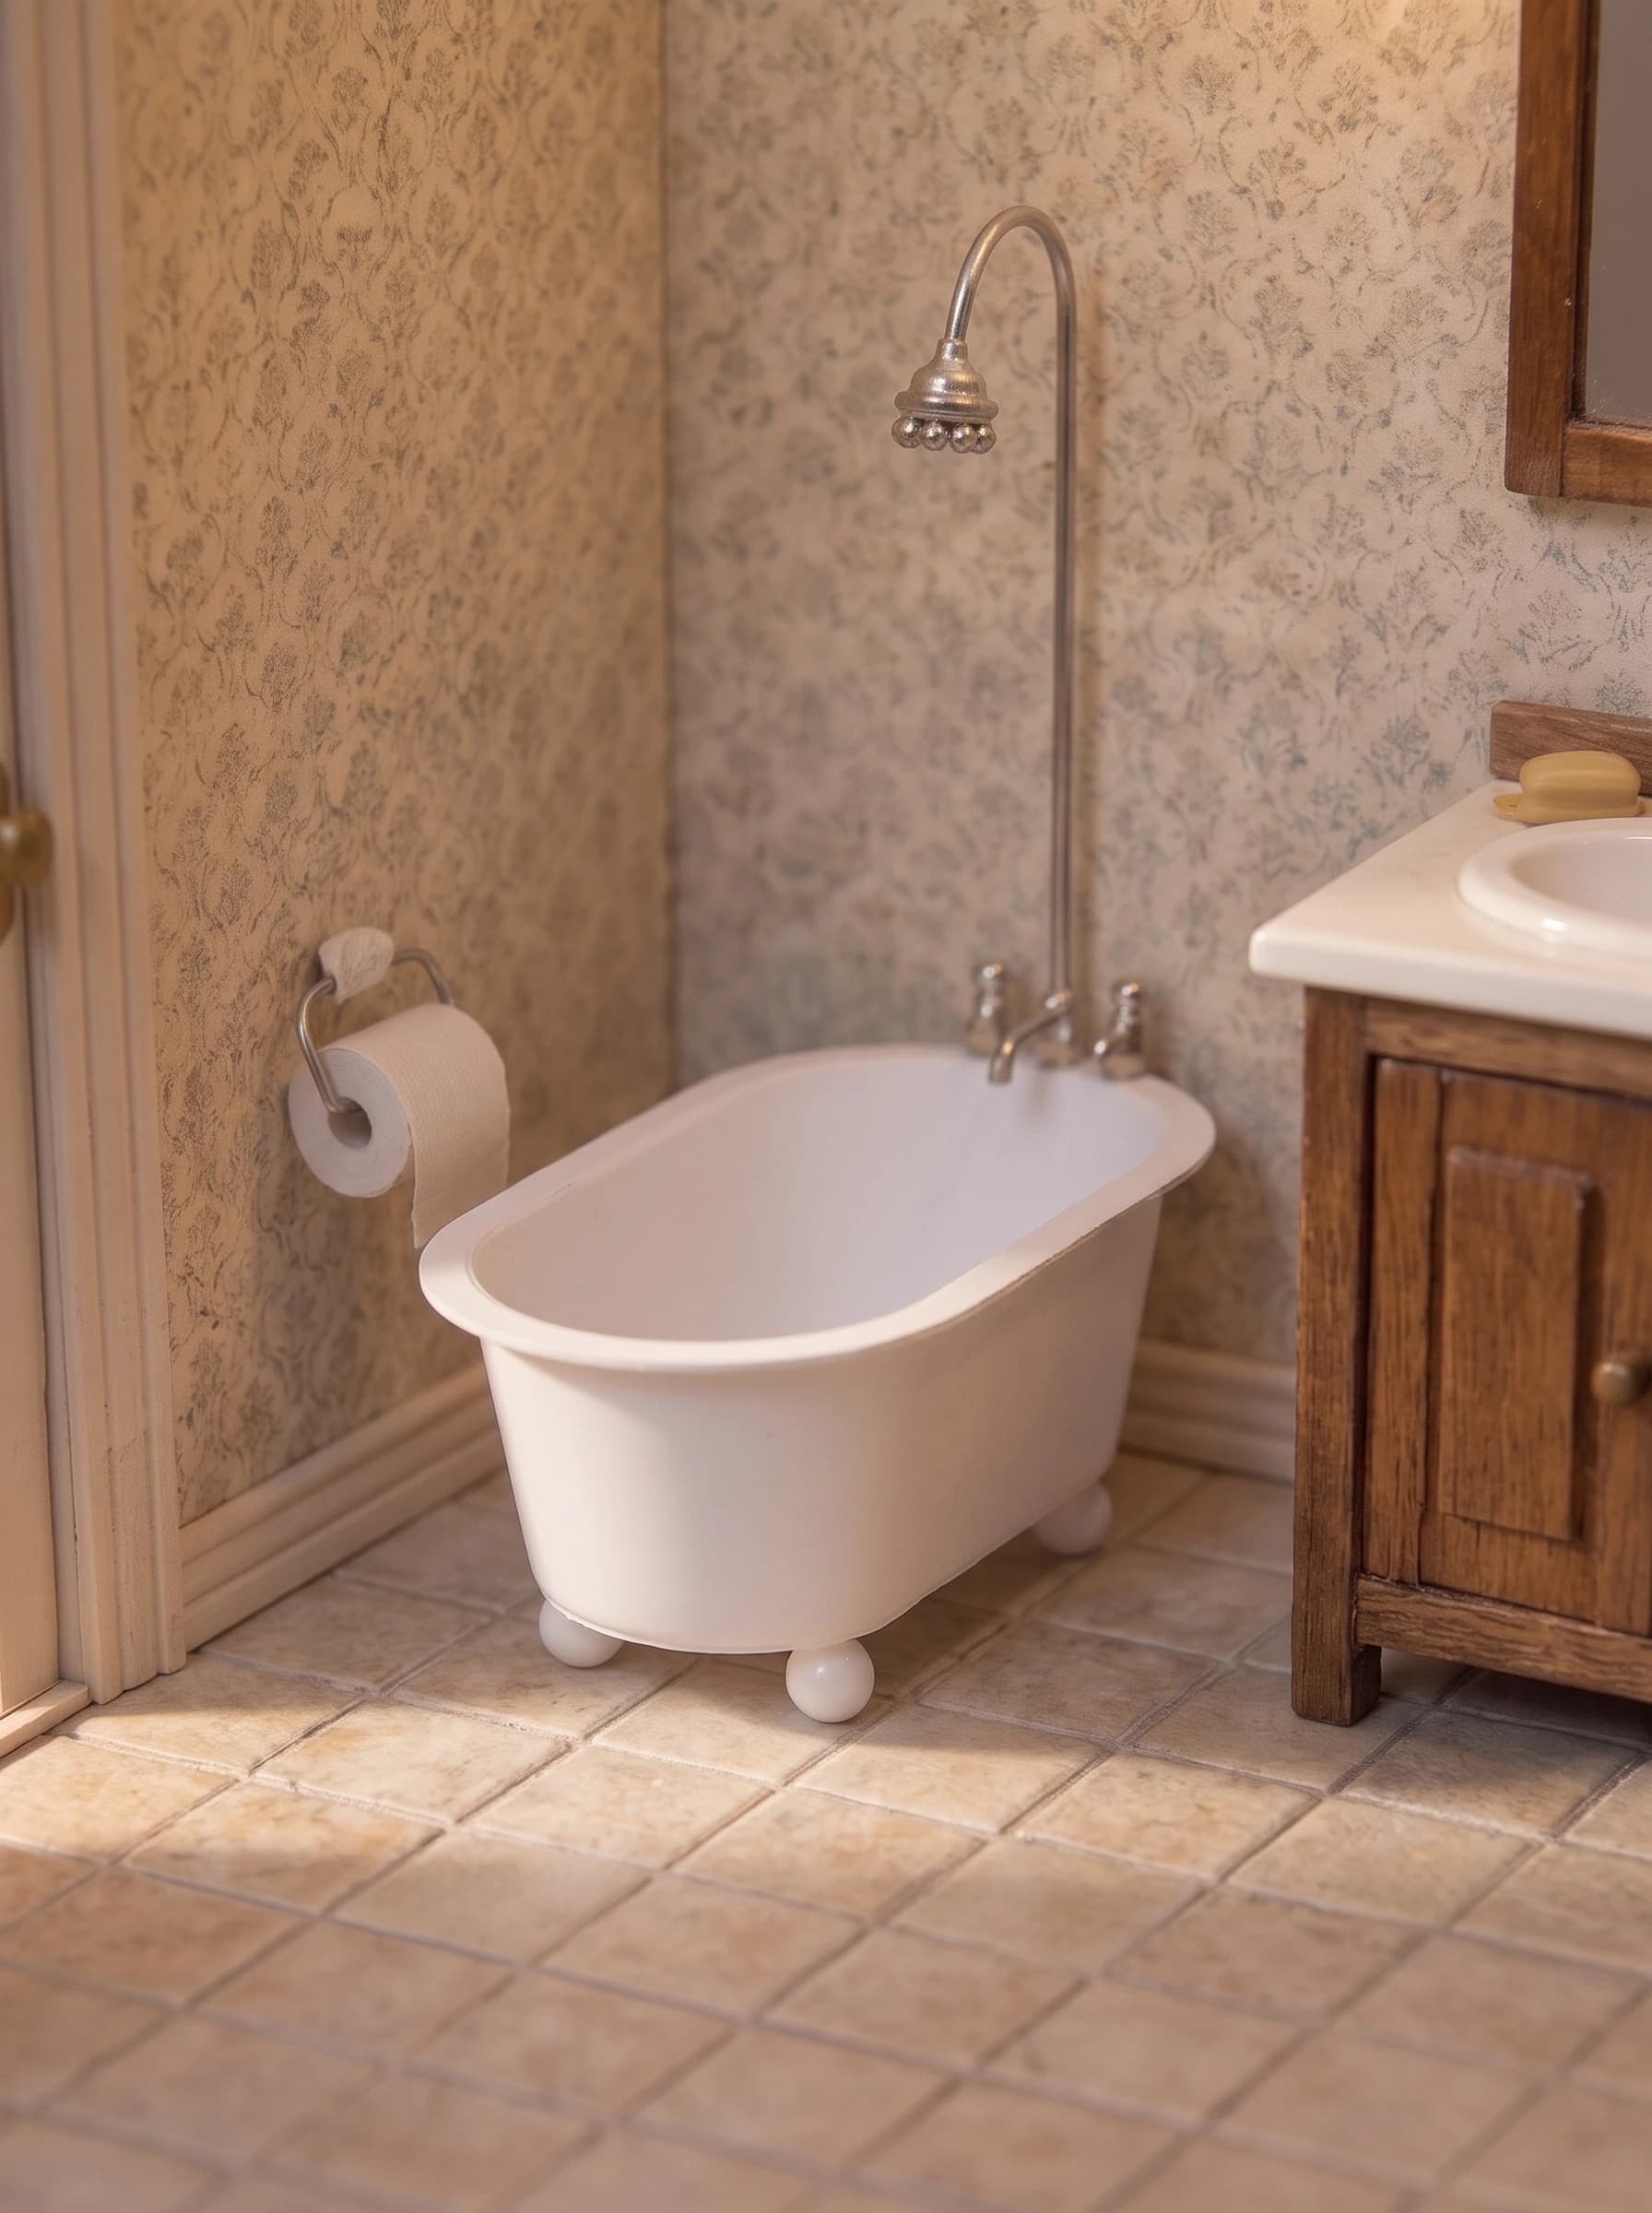
Seeing the finished project placed into a miniature room setting is incredibly rewarding. Placed against a backdrop of tiny floral wallpaper and resting on miniature floor tiles, it is hard to believe that this elegant clawfoot tub started its life as a disposable condiment container. The shiny metal of the paperclip and findings catches the light beautifully, providing a stunning contrast to the matte white plastic base. This project proves that repurposing plastic tubs for dollhouses is not only eco-friendly but visually spectacular.
Tips for a Professional Finish
- Paint the exterior of the plastic tub with a high-gloss spray paint if you want a colored tub (like vintage pink or mint green).
- Use a clear two-part epoxy instead of tacky glue if you want an unbreakable bond for the metal paperclip fixture.
- Add a thin line of silver paint around the rim of the plastic container to mimic a metal enamel lip.
- Create a tiny drain by gluing a small silver jump ring flat to the bottom interior of the tub.
- Ensure your bead feet are completely uniform in size so the bathtub doesn't rock back and forth.
Frequently Asked Questions
What else can I use for miniature bathtub feet?
If you don't have round beads, you can use small wooden finials, tiny buttons stacked together, or even shape your own ornate feet using polymer clay. Just ensure all four are exactly the same height.
Can I use hot glue instead of tacky glue?
It is not recommended. Hot glue can melt or warp the thin plastic of the container, and it often leaves bulky, unsightly mounds around delicate metal pieces. Tacky glue or super glue is much better for precision.
How do I make the tub look like it has water in it?
You can pour a thin layer of two-part clear craft resin into the bottom of the finished tub. Let it cure completely in a dust-free area. You can even embed tiny bubbles or a miniature bath toy before the resin sets!
Is this suitable for a 1:24 scale dollhouse?
The standard single-serve butter tub used here is generally too large for 1:24 scale. For a smaller scale, try using a deep blister pack from pill packaging or a very small toy capsule base.
Conclusion
Learning how to make a miniature bathtub from a plastic container is a fantastic weekend project that yields incredibly satisfying results. By looking at everyday objects differently, you can stock your entire dollhouse bathroom with custom, high-quality fixtures for pennies. We hope this guide inspires you to keep experimenting with recycled miniature furniture techniques. Don't be afraid to customize your tub with different colors, varied bead feet, or elaborate plumbing configurations. Happy building!
More in this topic: all Furniture tutorials