
How to Make a DIY Miniature A Frame Cabin from Cardboard
- Difficulty
- Beginner
Introduction
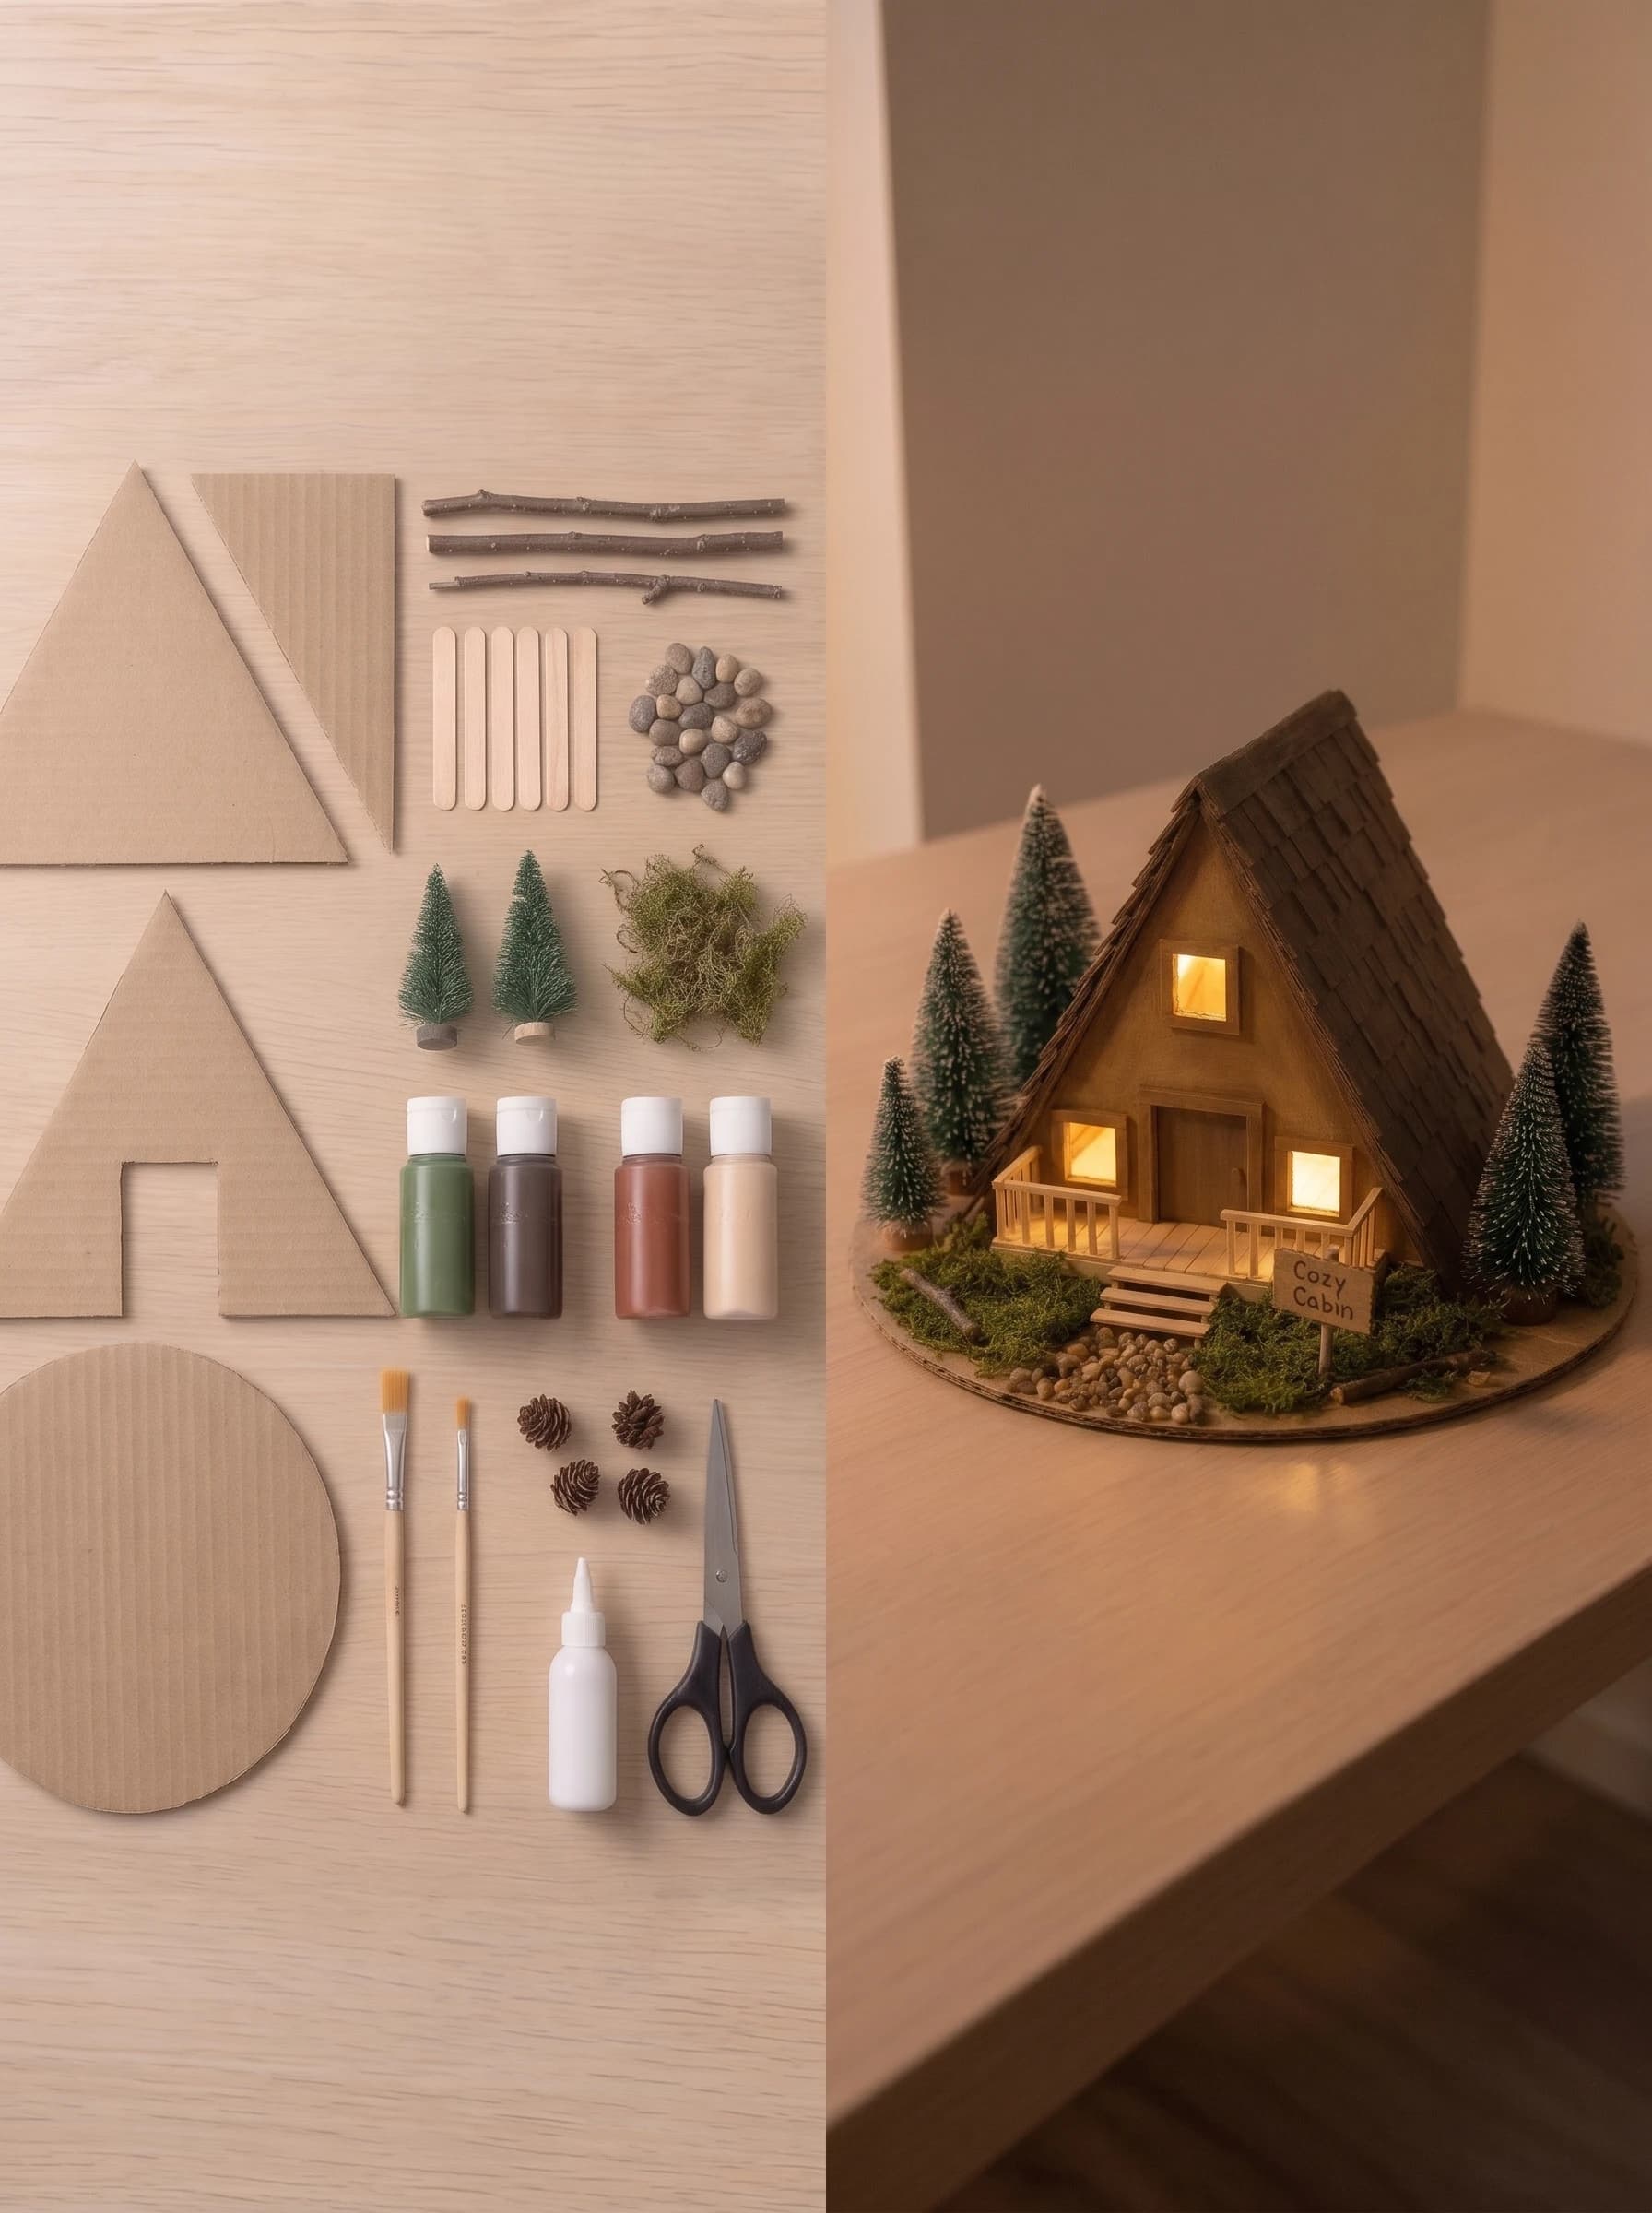
A miniature A-frame cabin is one of the cutest cardboard crafts you can make at home. It looks like a tiny forest getaway, and it costs almost nothing because most of the parts are free. You only need cardboard, craft sticks, paint, glue and a few natural items like moss and pebbles. In this guide, you will learn how to make a miniature A-frame cabin step by step, even if you are a complete beginner.
What You'll Need
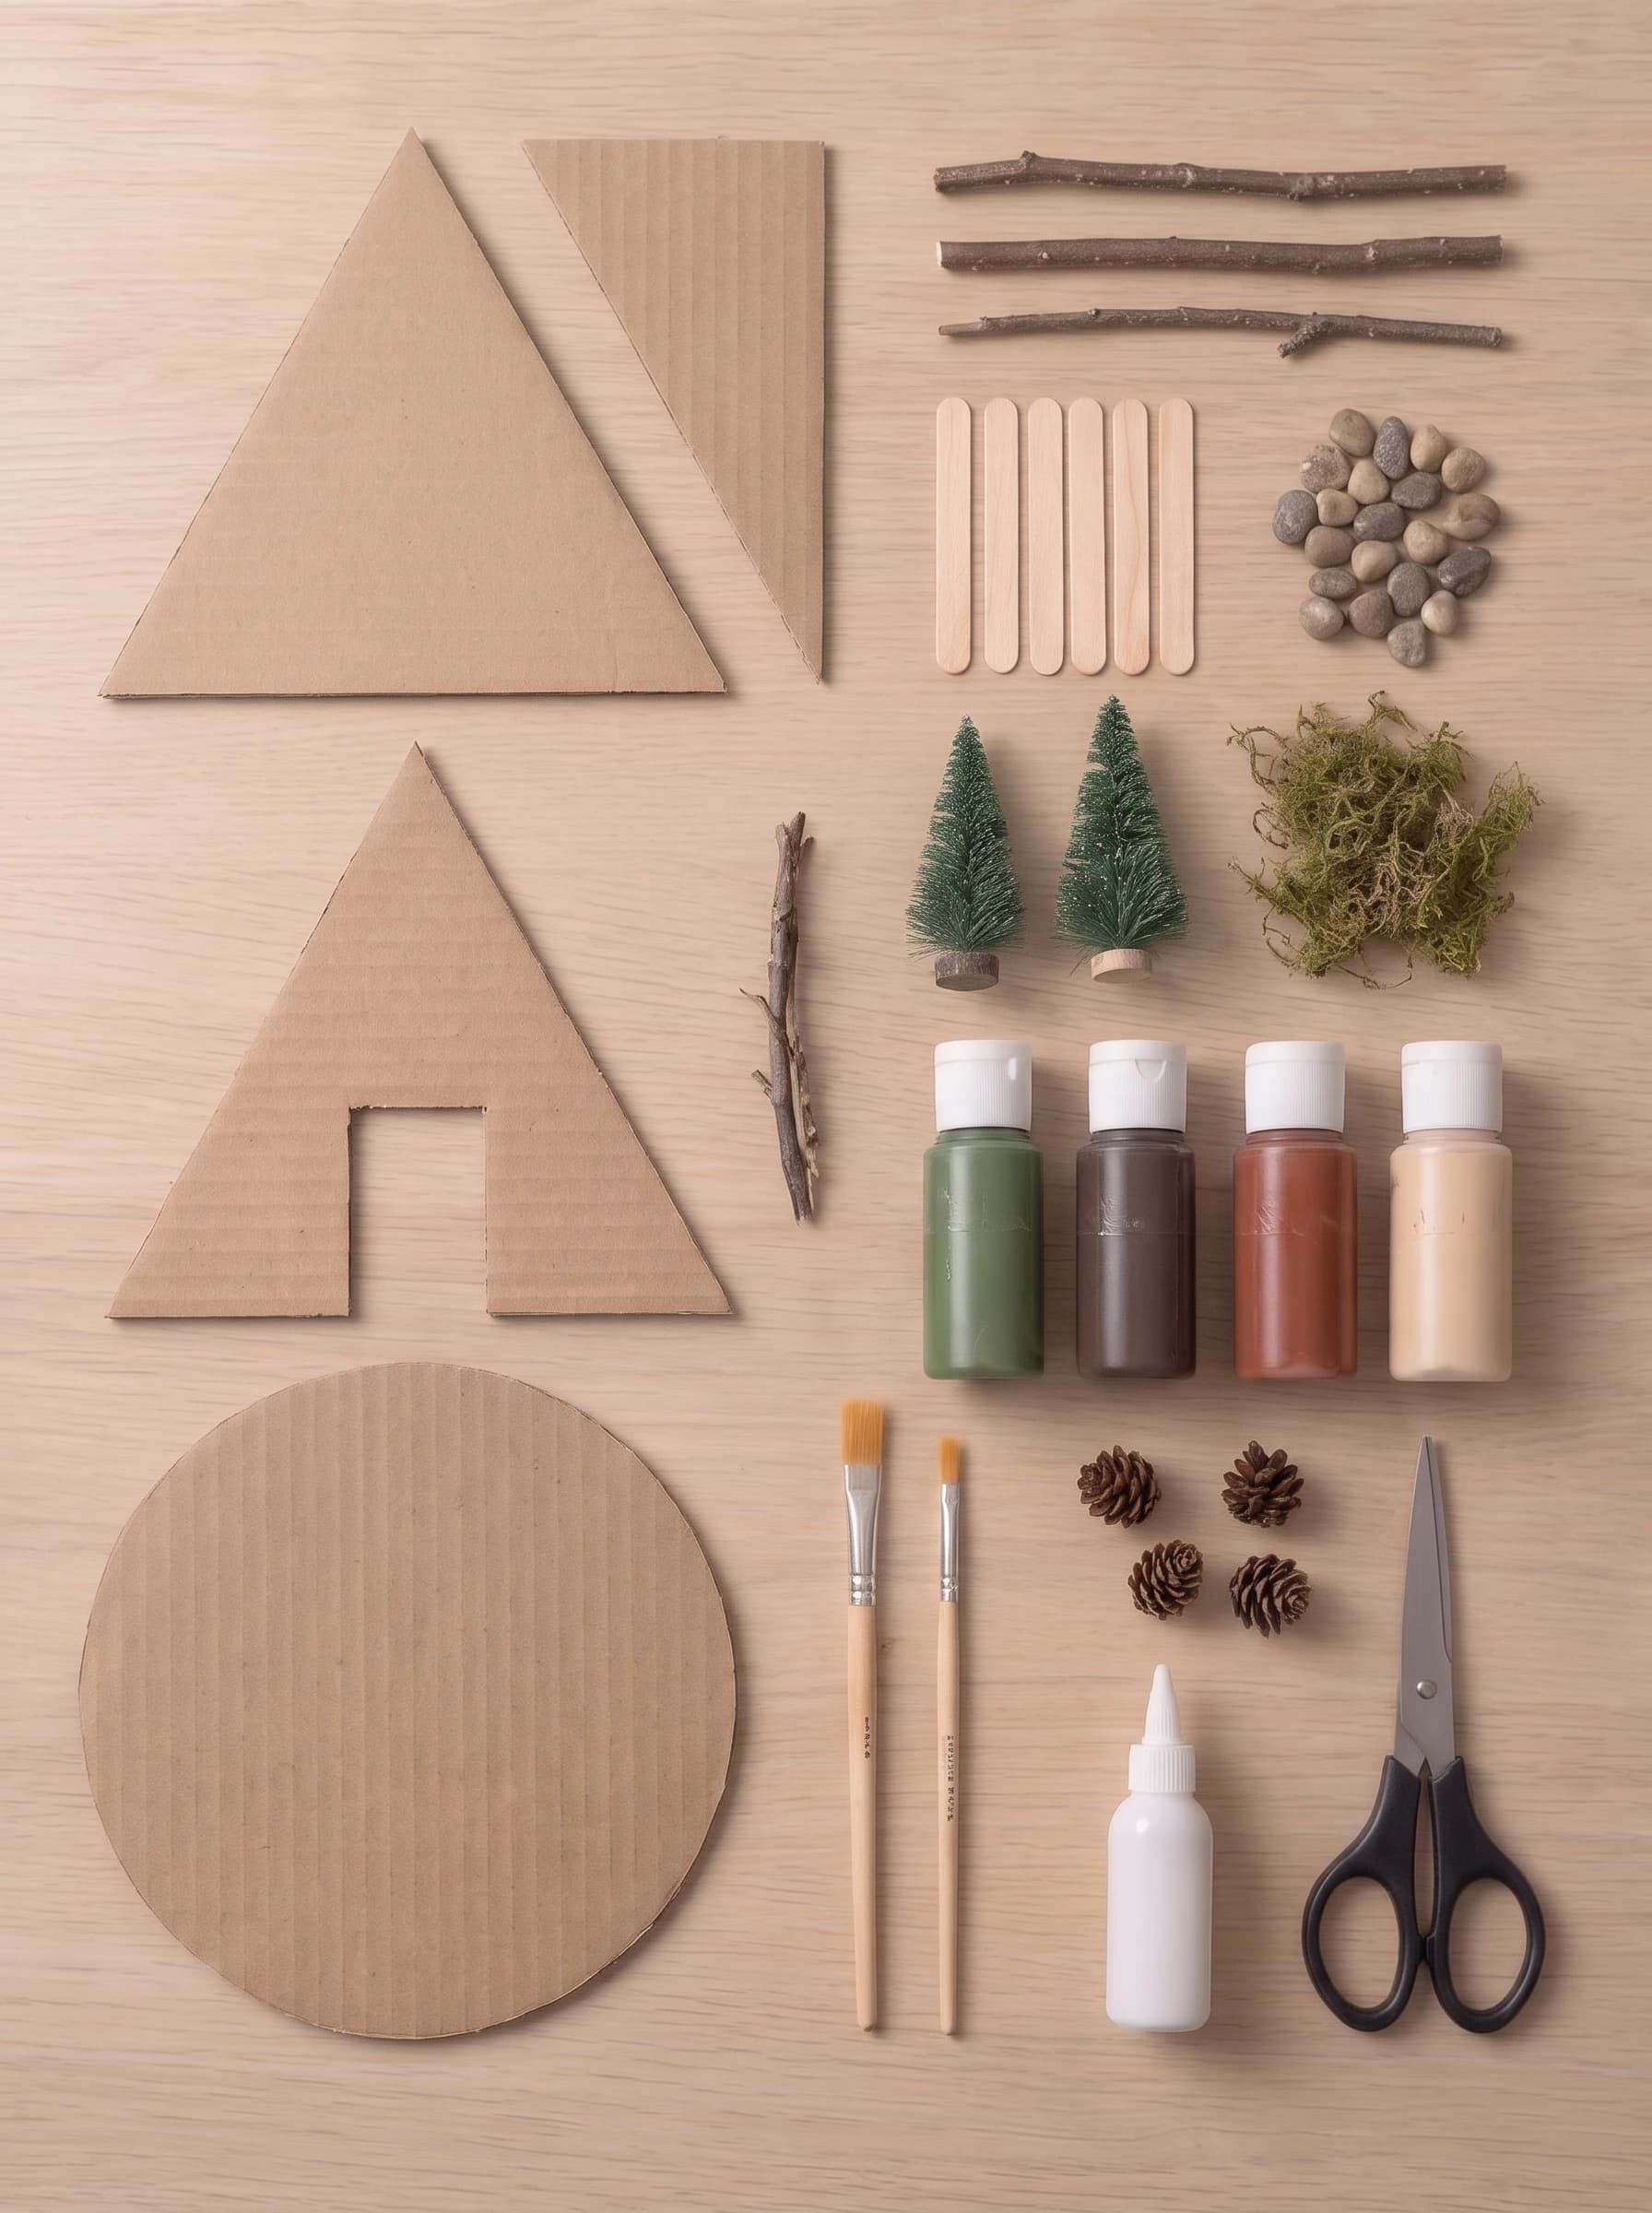
This project uses simple craft supplies and a few things you can collect outside. Cardboard is the main material, so you can reuse old shipping boxes. Pick paint colors in green, dark brown, terracotta and cream for a natural cabin look.
Materials: • Corrugated cardboard (for the walls, roof panels, shingles and base) • Round cardboard circle (for the base) • Craft sticks (popsicle sticks) • Small twigs • Small pebbles • Mini bottle-brush pine trees • Dried moss • Small pine cones • Acrylic paint in green, dark brown, terracotta and cream • White craft glue • Warm yellow LED tea light or yellow tissue paper (for the glow) Tools: • Scissors (a craft knife can help, but ask an adult if needed) • Two paintbrushes (one flat, one thin) • Pencil and ruler Scale tip: The cabin in the photos looks about 20 to 25 cm (8 to 10 inches) tall on a base of roughly 25 to 30 cm (10 to 12 inches). Make the front wall triangle about 15 cm wide and 20 cm tall. If you want a bigger cabin, increase every piece by the same amount so the shapes still fit together.
Step 1: Cut the Cardboard Pieces
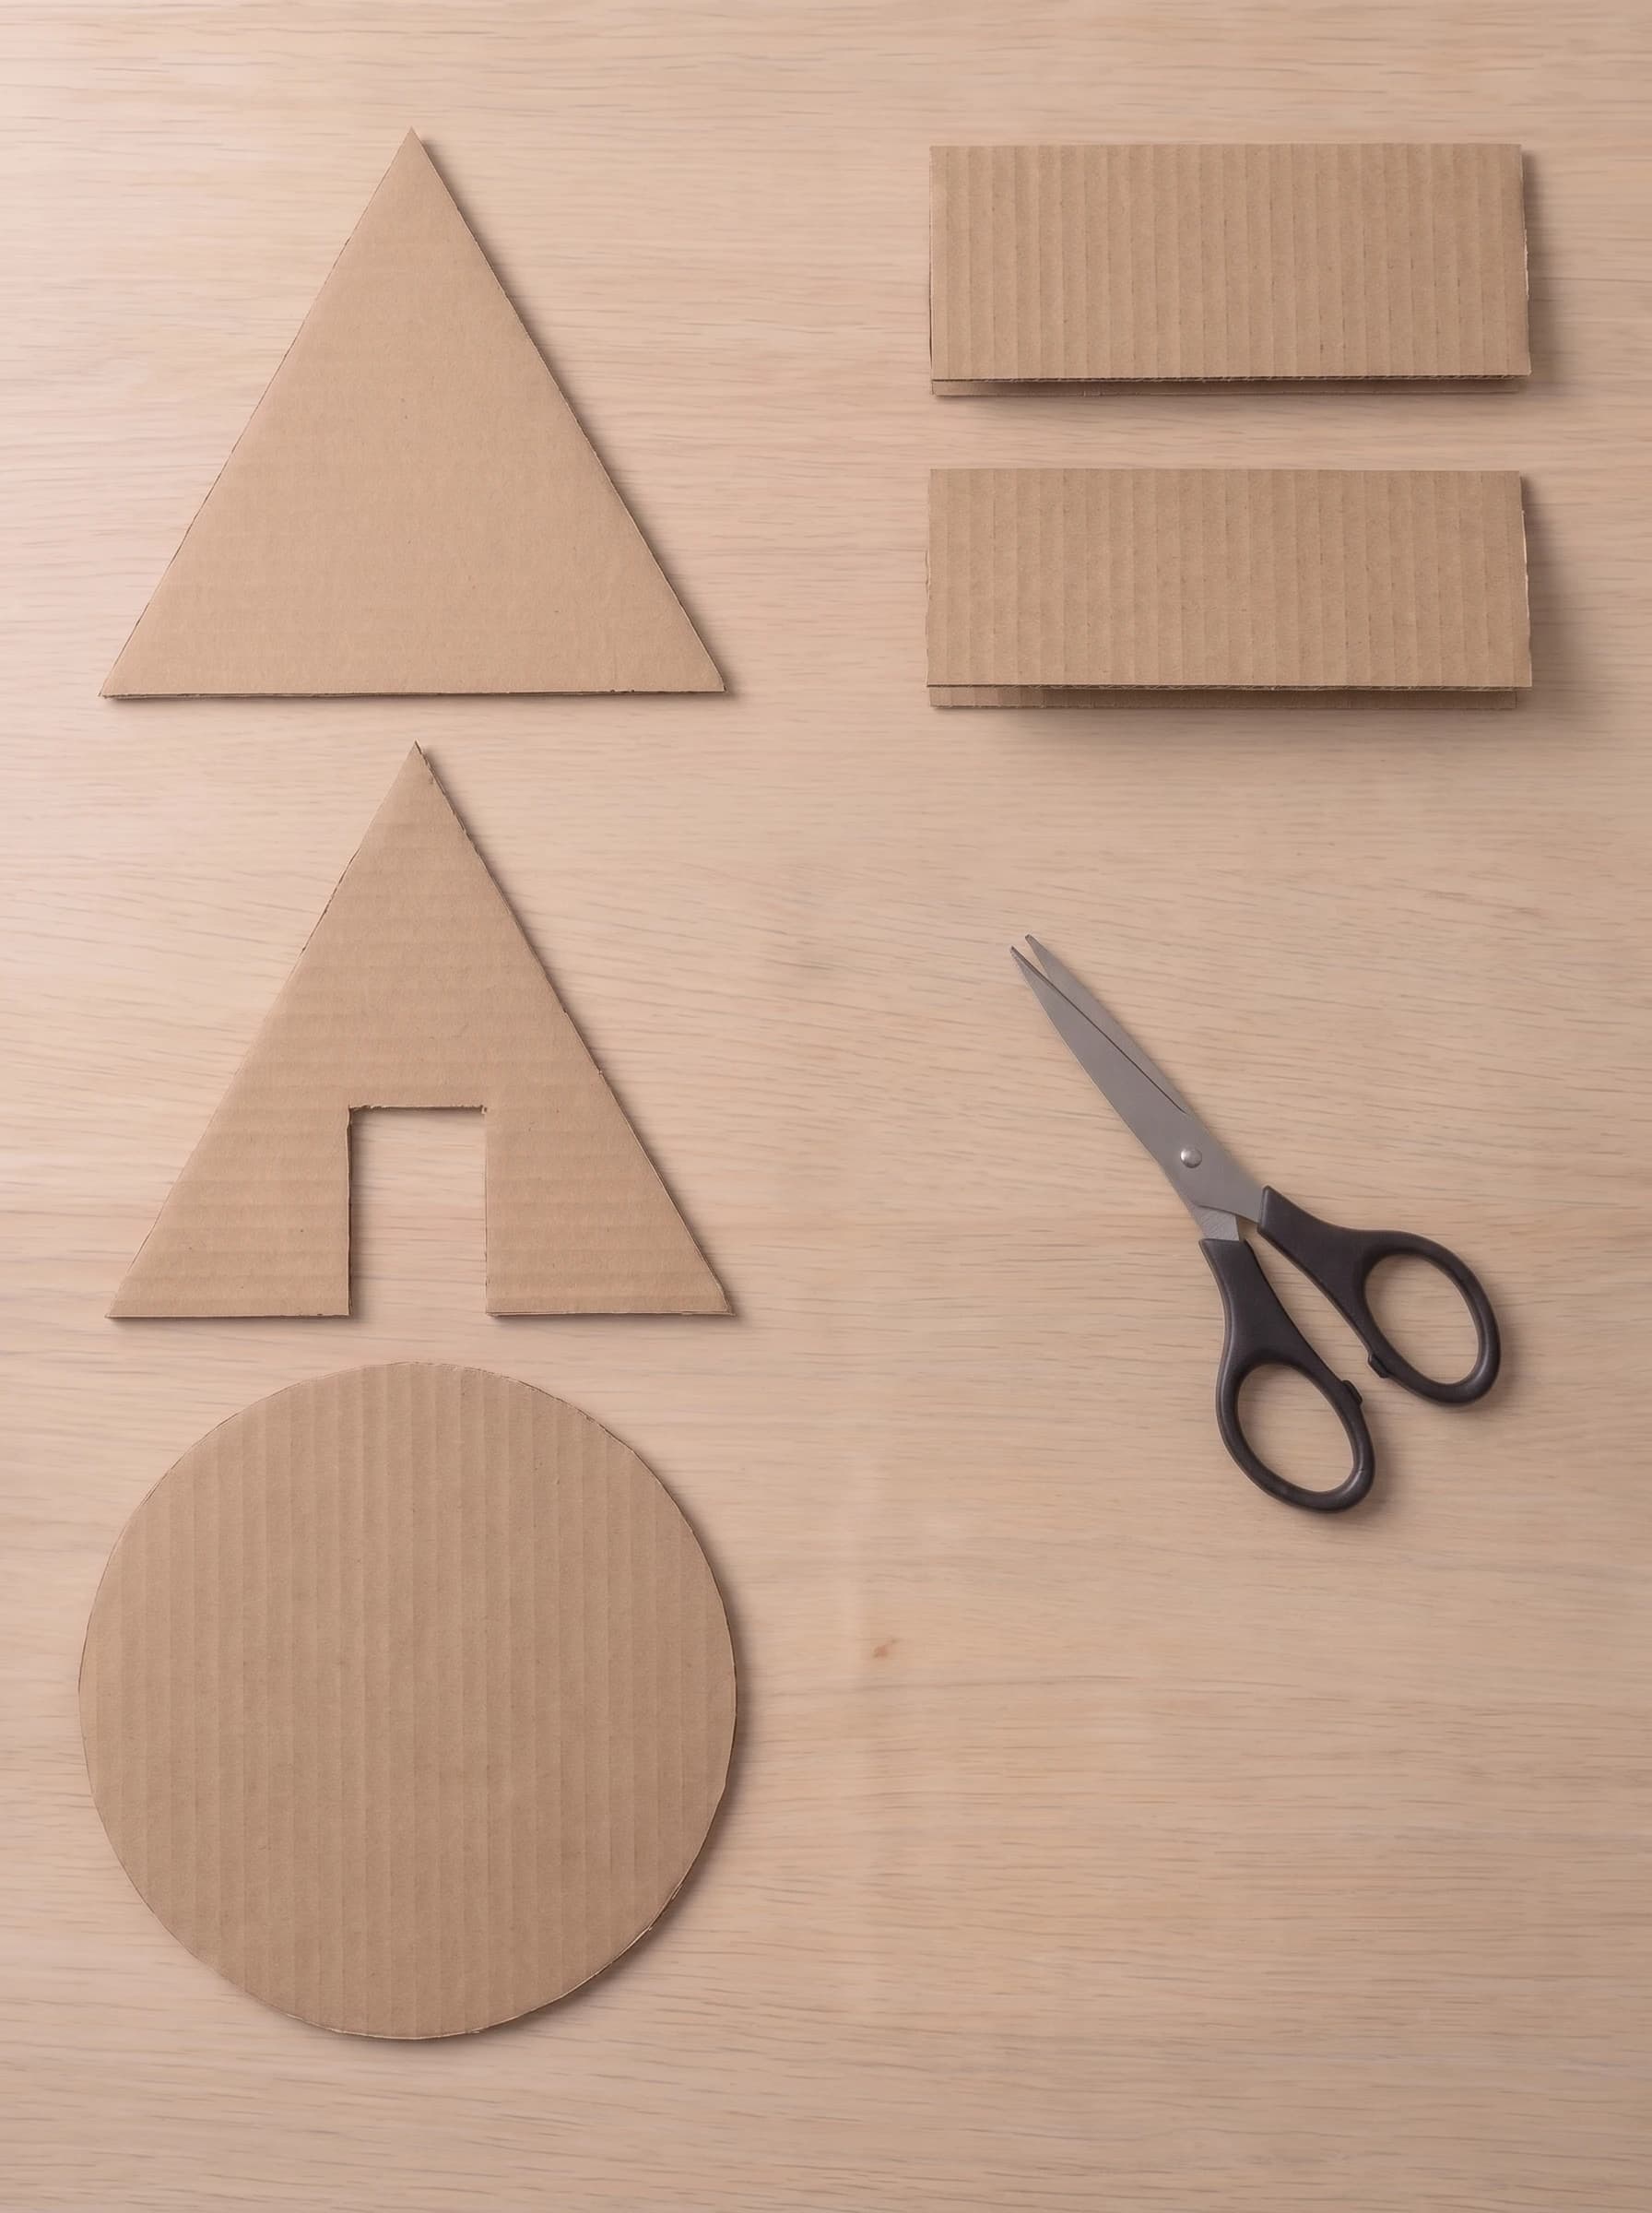
Start by drawing the main shapes on your cardboard with a pencil and ruler. You need two large triangles for the front and back walls, and two matching rectangles for the roof panels. Cut a door opening in the front triangle, and cut out one round piece for the base. Cut slowly and follow your lines so both triangles match exactly, because this makes the roof sit straight later. Pro tip: Cut the first triangle, then trace it onto the cardboard to make the second one. They will be identical.
Step 2: Build the A-Frame Structure
Place the round cardboard base on your table. Glue the bottom edge of the front triangle and the back triangle onto the base, facing each other. Then glue the two roof panels along the slanted edges so they meet at the top and form the A shape. Hold the pieces for a minute while the glue grips. If the walls lean, tape them lightly until the glue dries. Pro tip: Use a thick line of white glue on the edges, since corrugated cardboard soaks up glue fast.
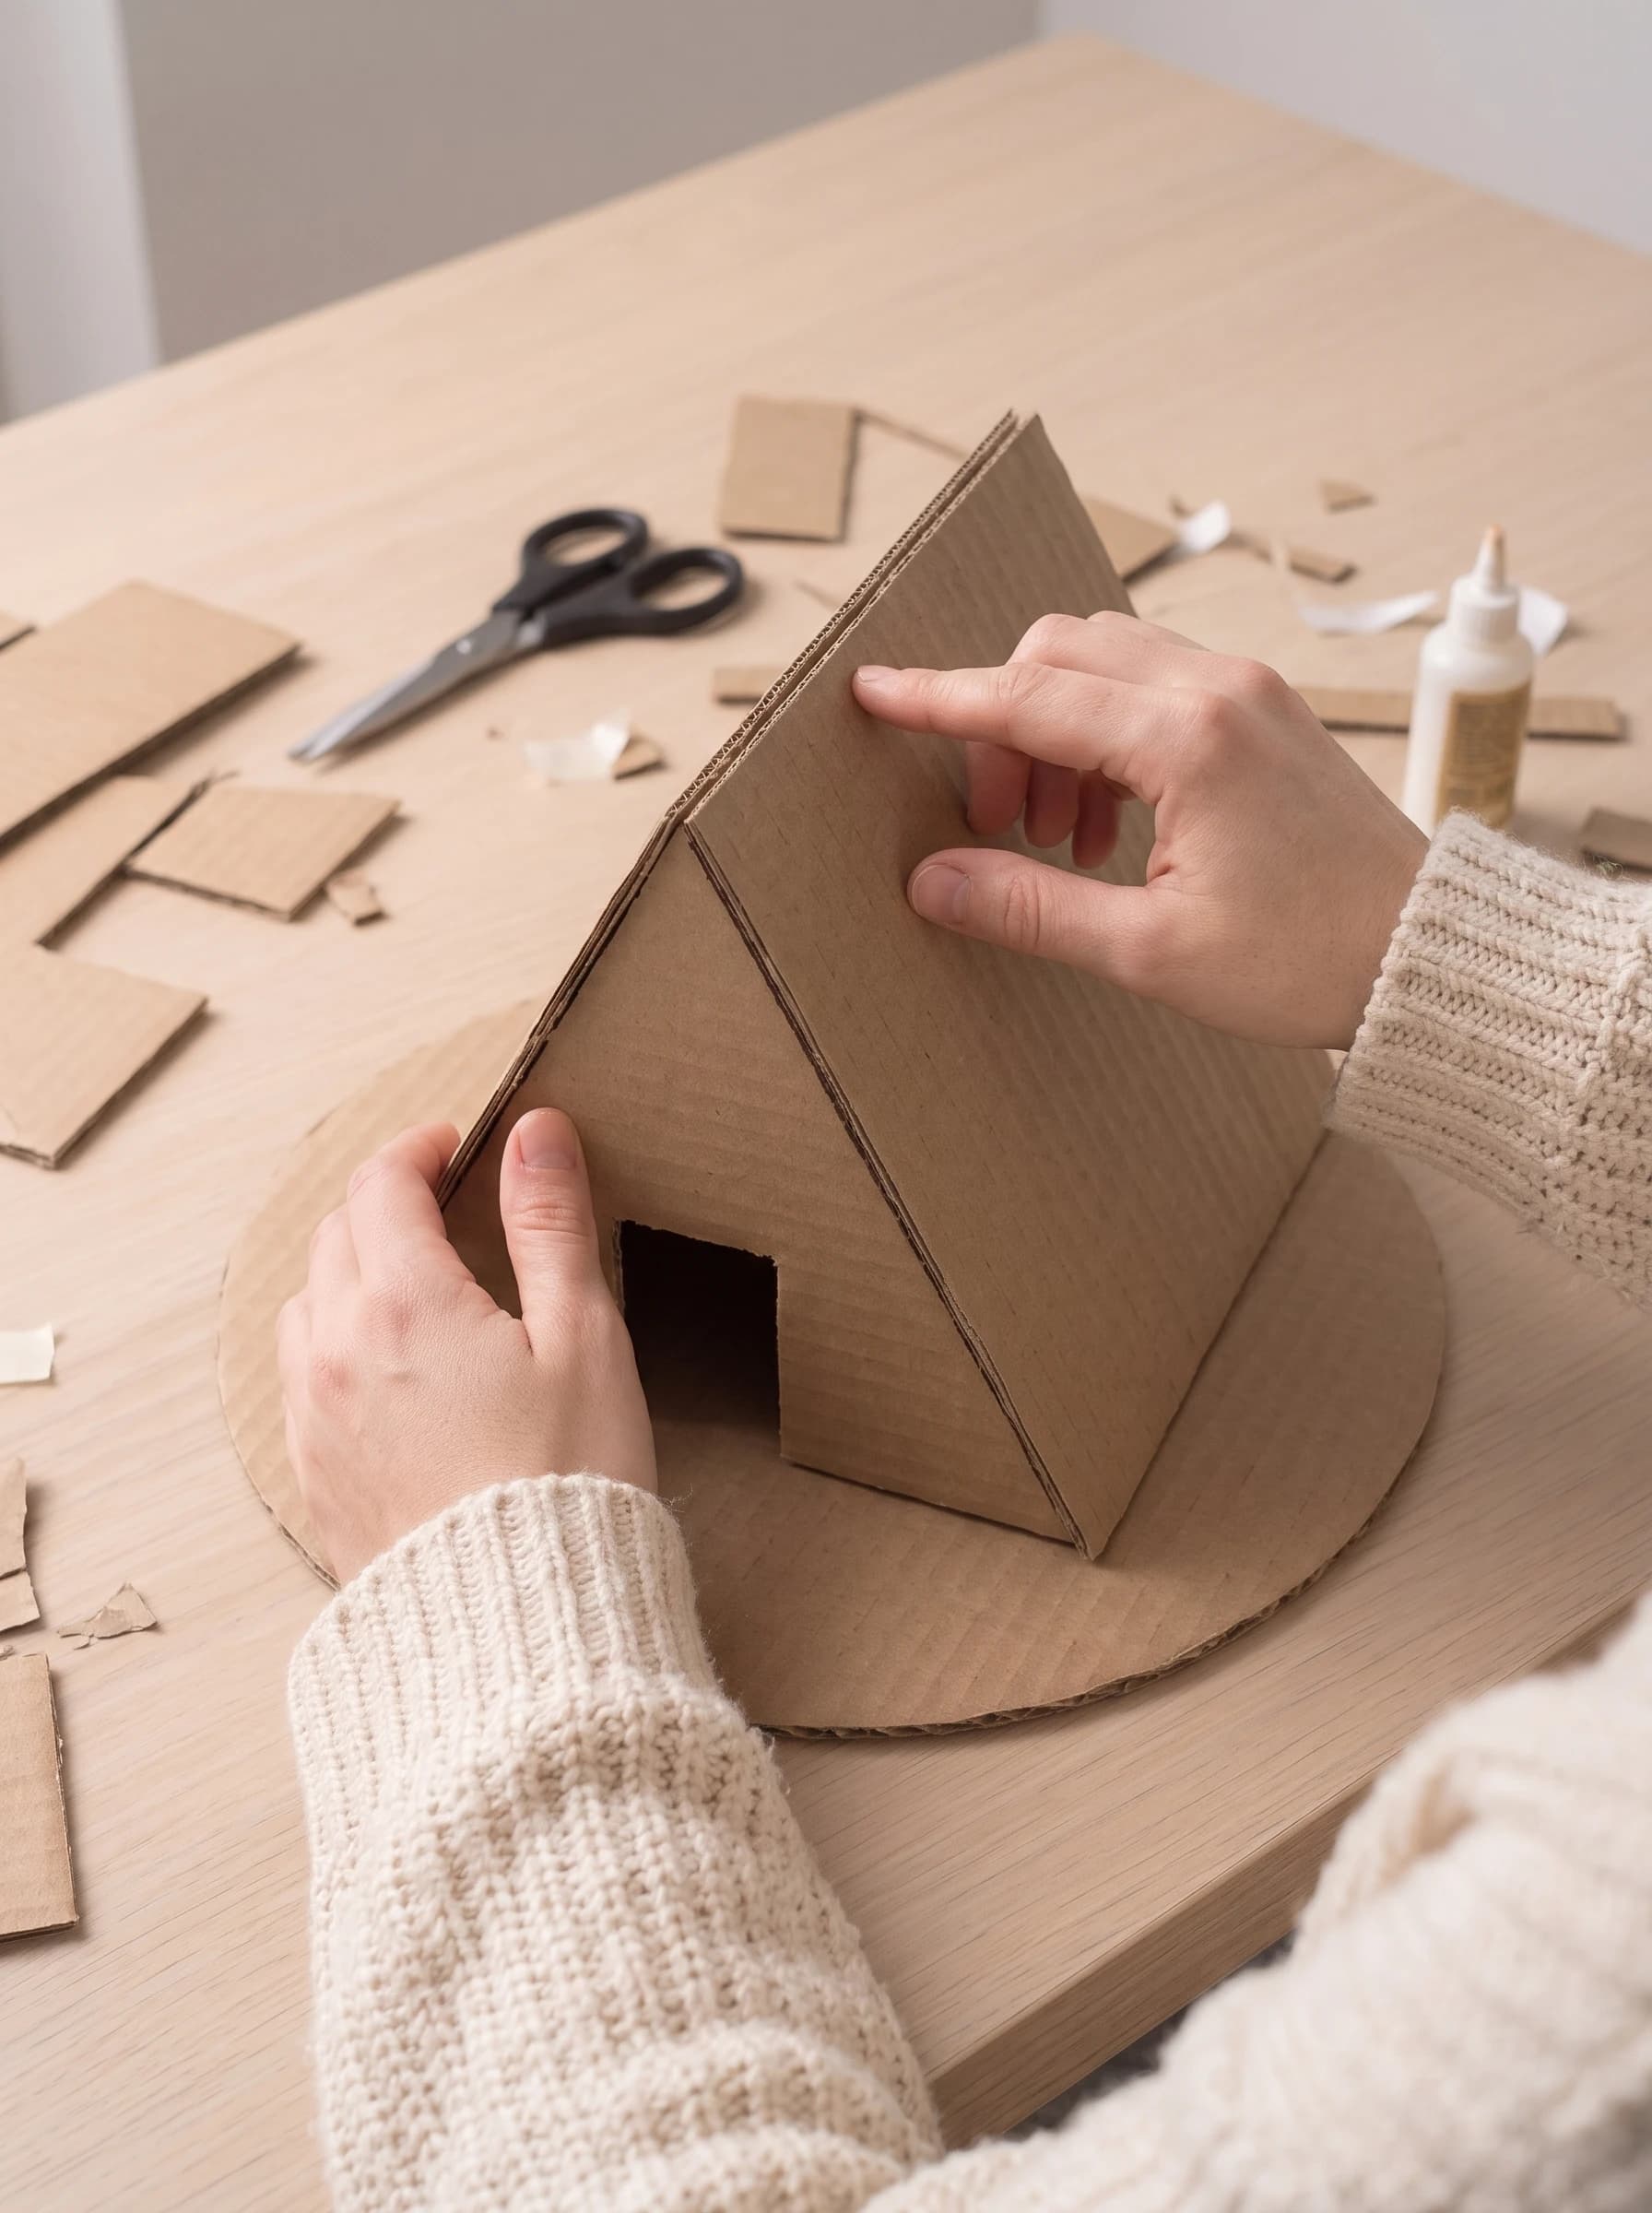
Step 3: Add the Windows, Door and Shingles
Cut small square windows into the front wall, and cut a thin door from cardboard to fit the opening. Add thin cardboard strips around the windows as frames. For the roof, cut many small rectangles and glue them in overlapping rows, starting at the bottom and working up. This makes the roof look like real wood shingles. Pro tip: Overlap each row by about half so no gaps show. Always start at the bottom edge.
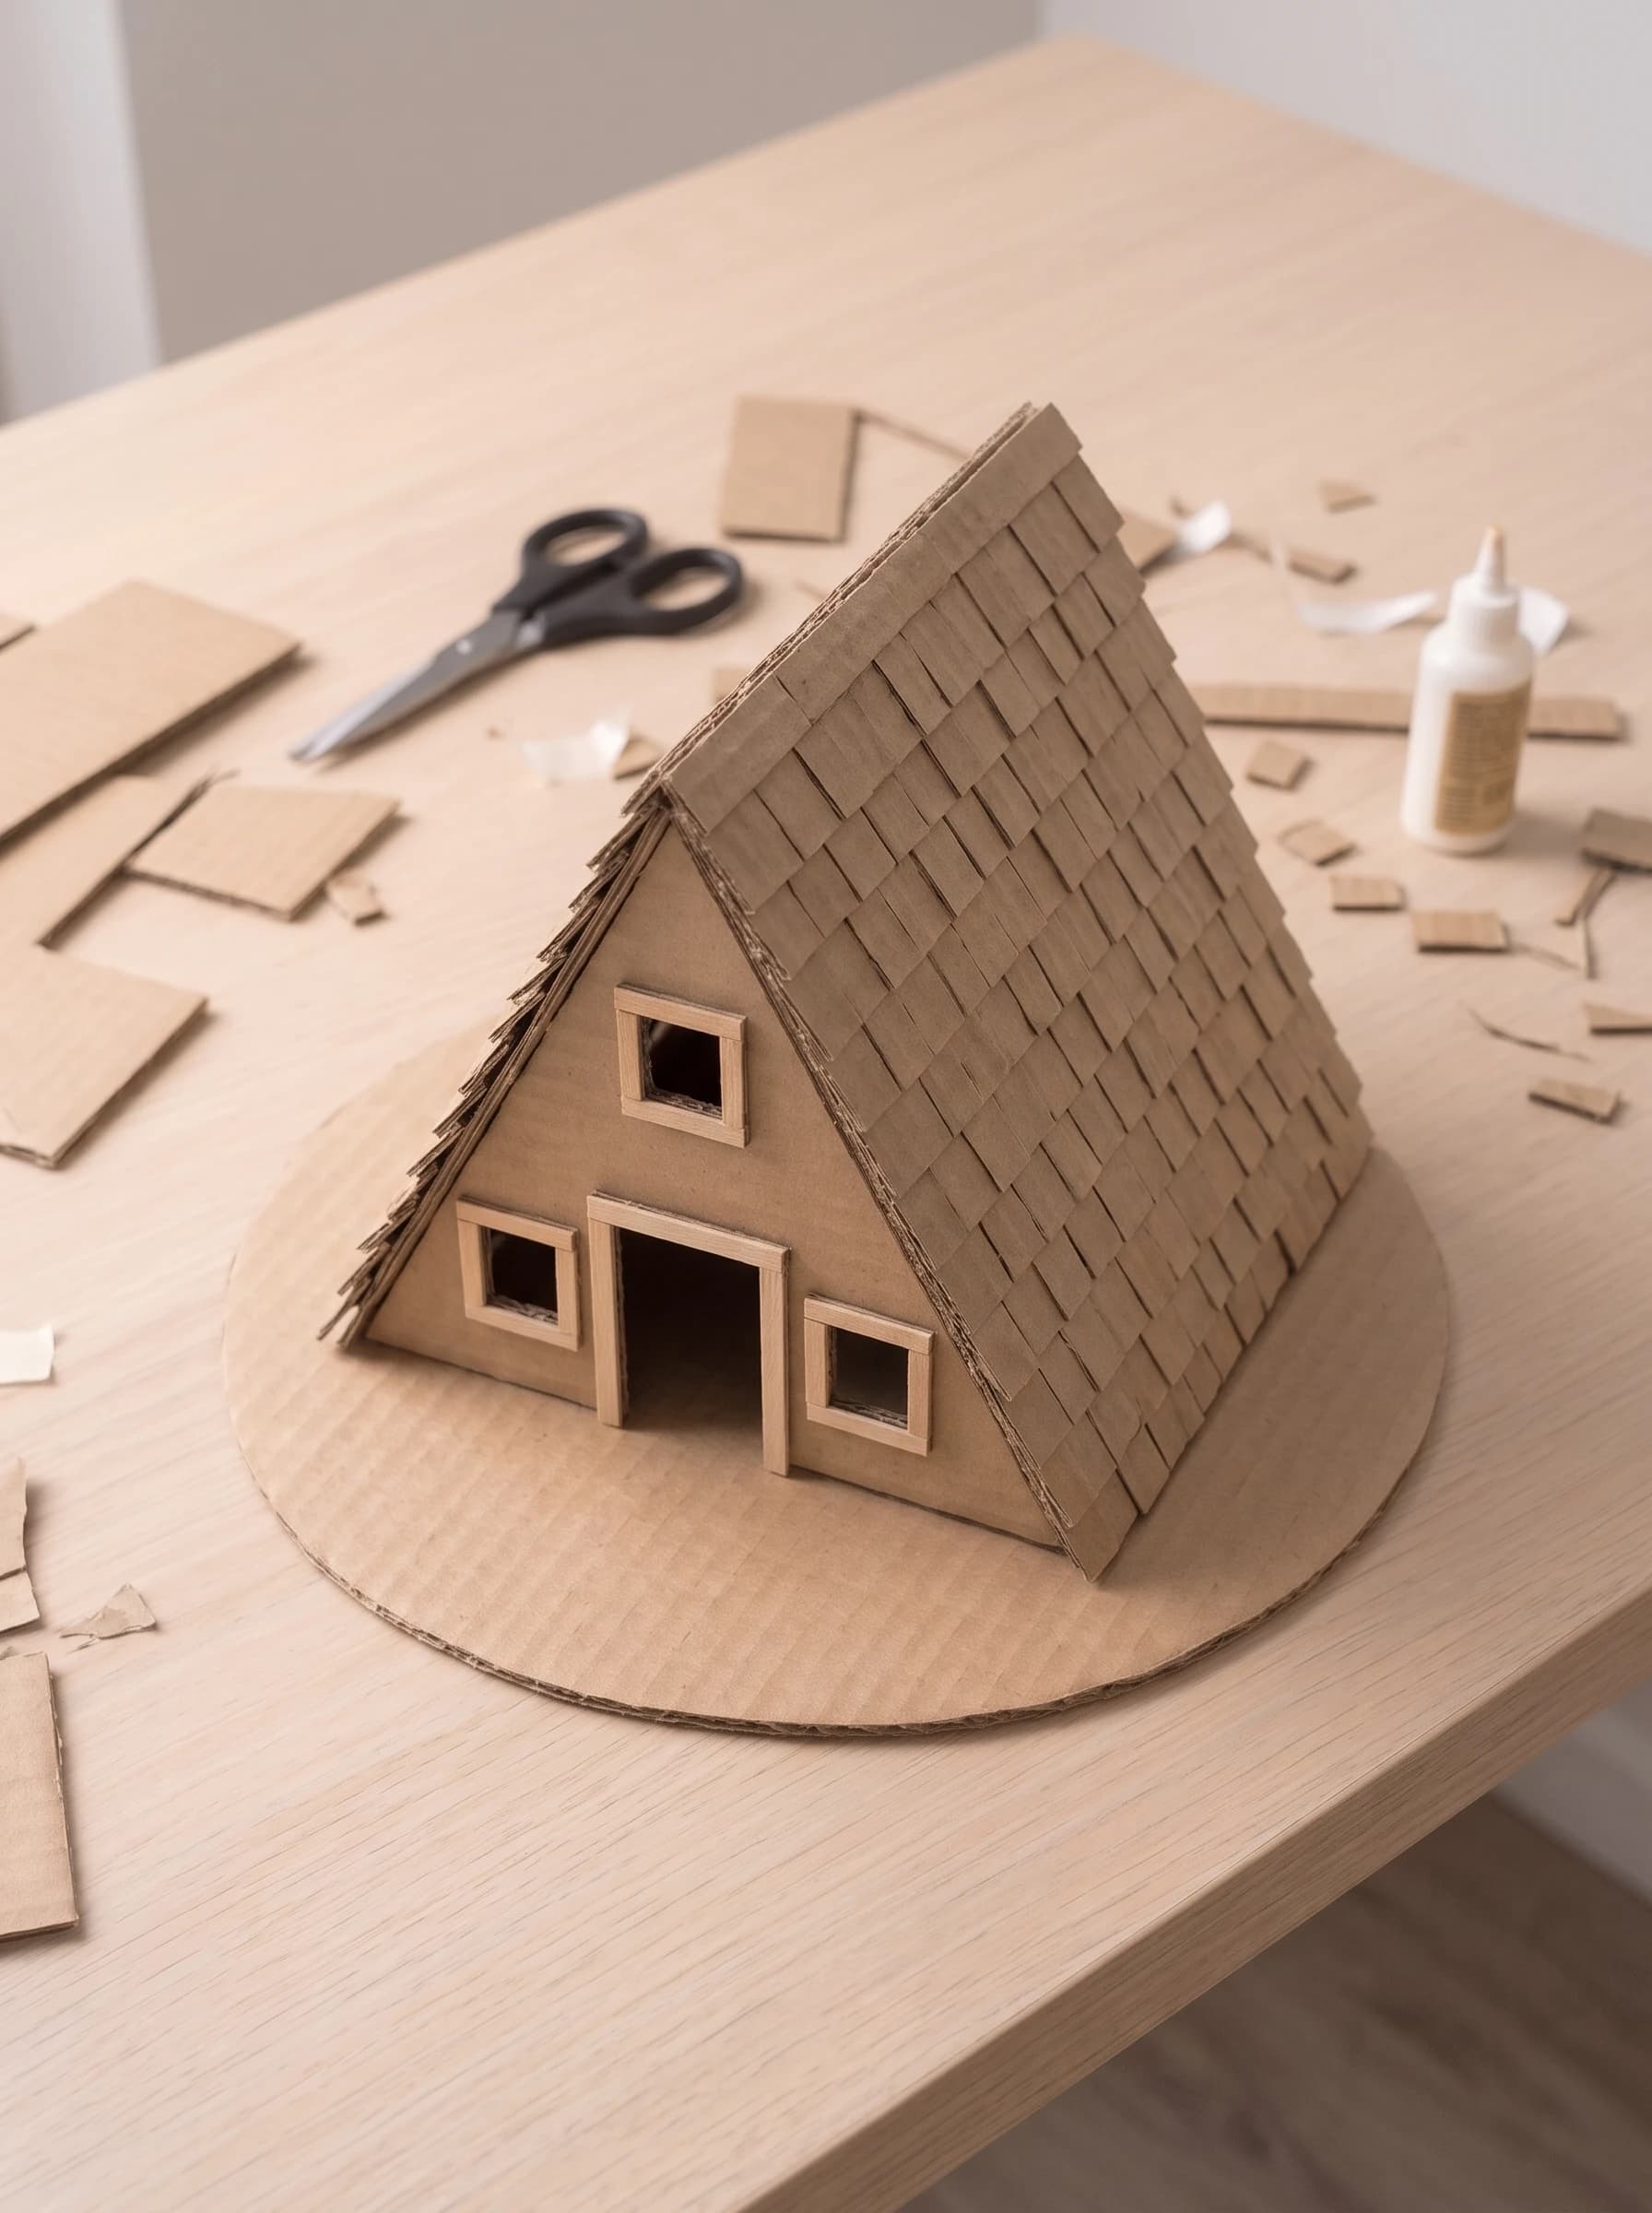
Step 4: Paint the Cabin
Paint the walls and door in dark brown, then add a little terracotta on top for a warm wood color. Use a dry brush with light strokes to create a wood grain effect. Paint the roof shingles in a lighter brown, and keep the window frames darker so they stand out. Let the first coat dry fully before adding a second one. Pro tip: Wipe most of the paint off the brush before painting. A dry brush gives better wood texture.
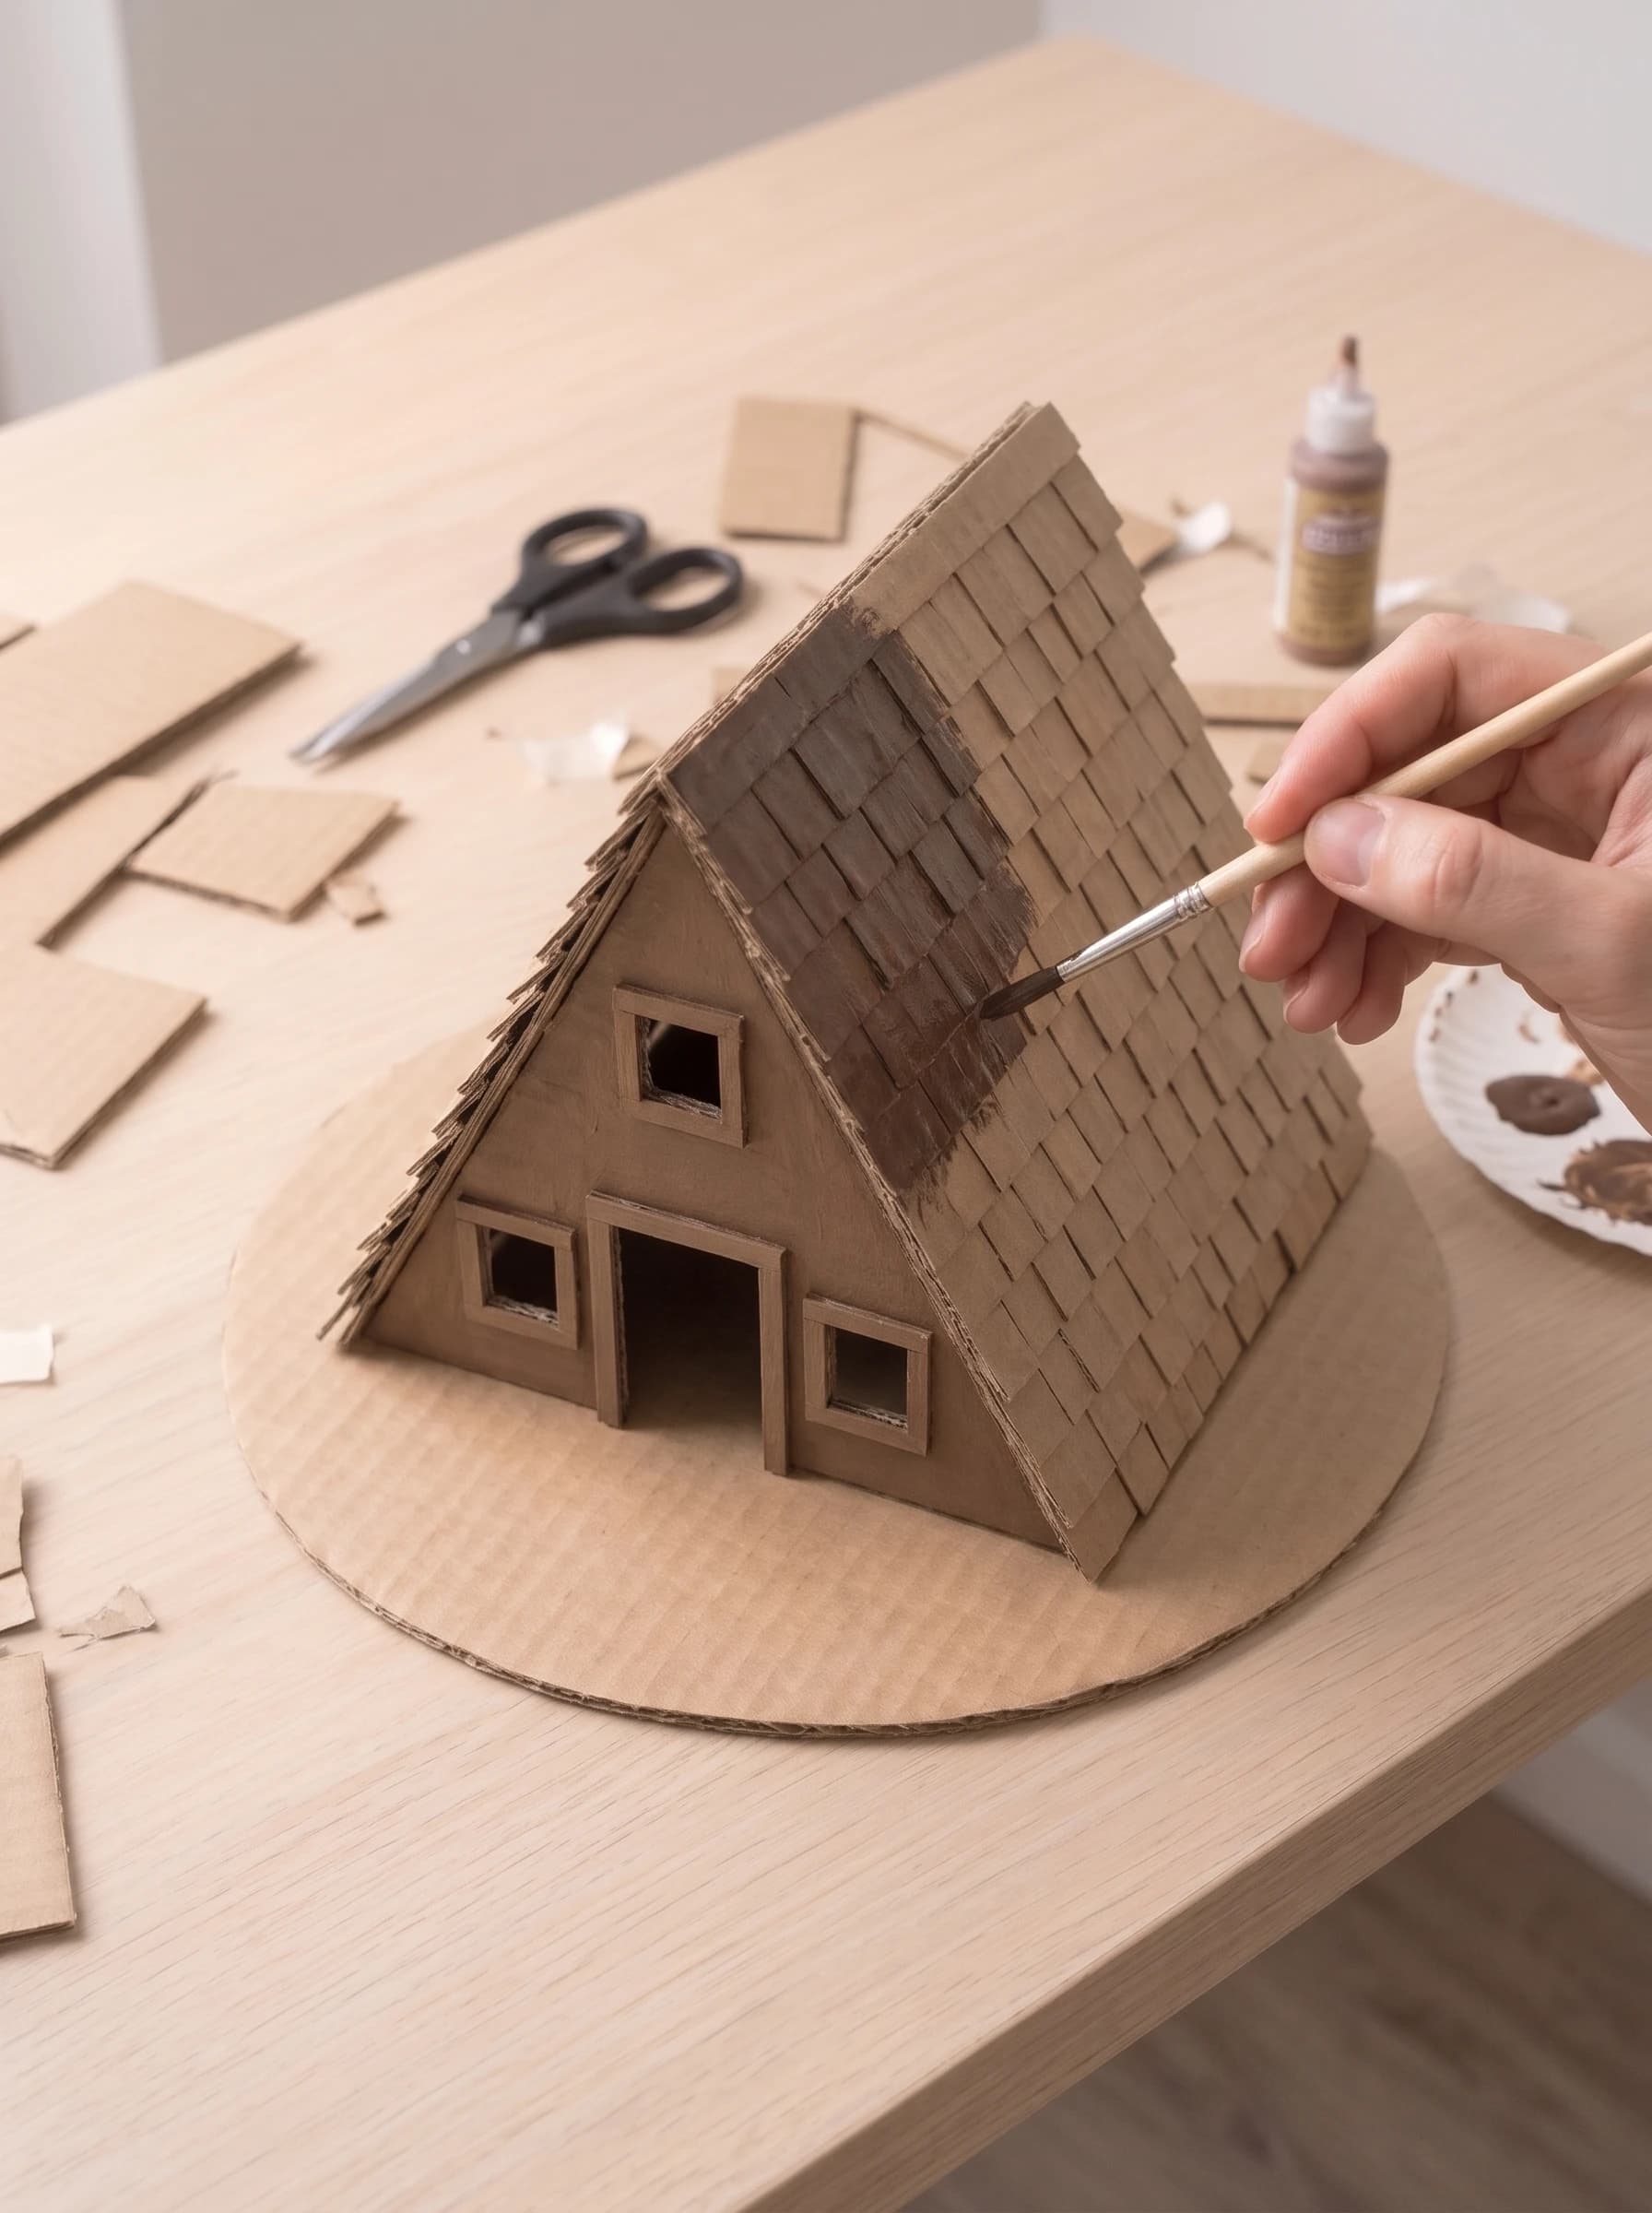
Step 5: Build the Porch and Steps
Cut craft sticks to size to make a small porch floor in front of the door. Glue short sticks upright as posts, then add two sticks across the top as railings. Make two or three tiny steps from small stick pieces. Paint the porch brown to match the cabin. Pro tip: Test the stick lengths in place before gluing. Small gaps are easy to fix, but glued sticks are hard to move.
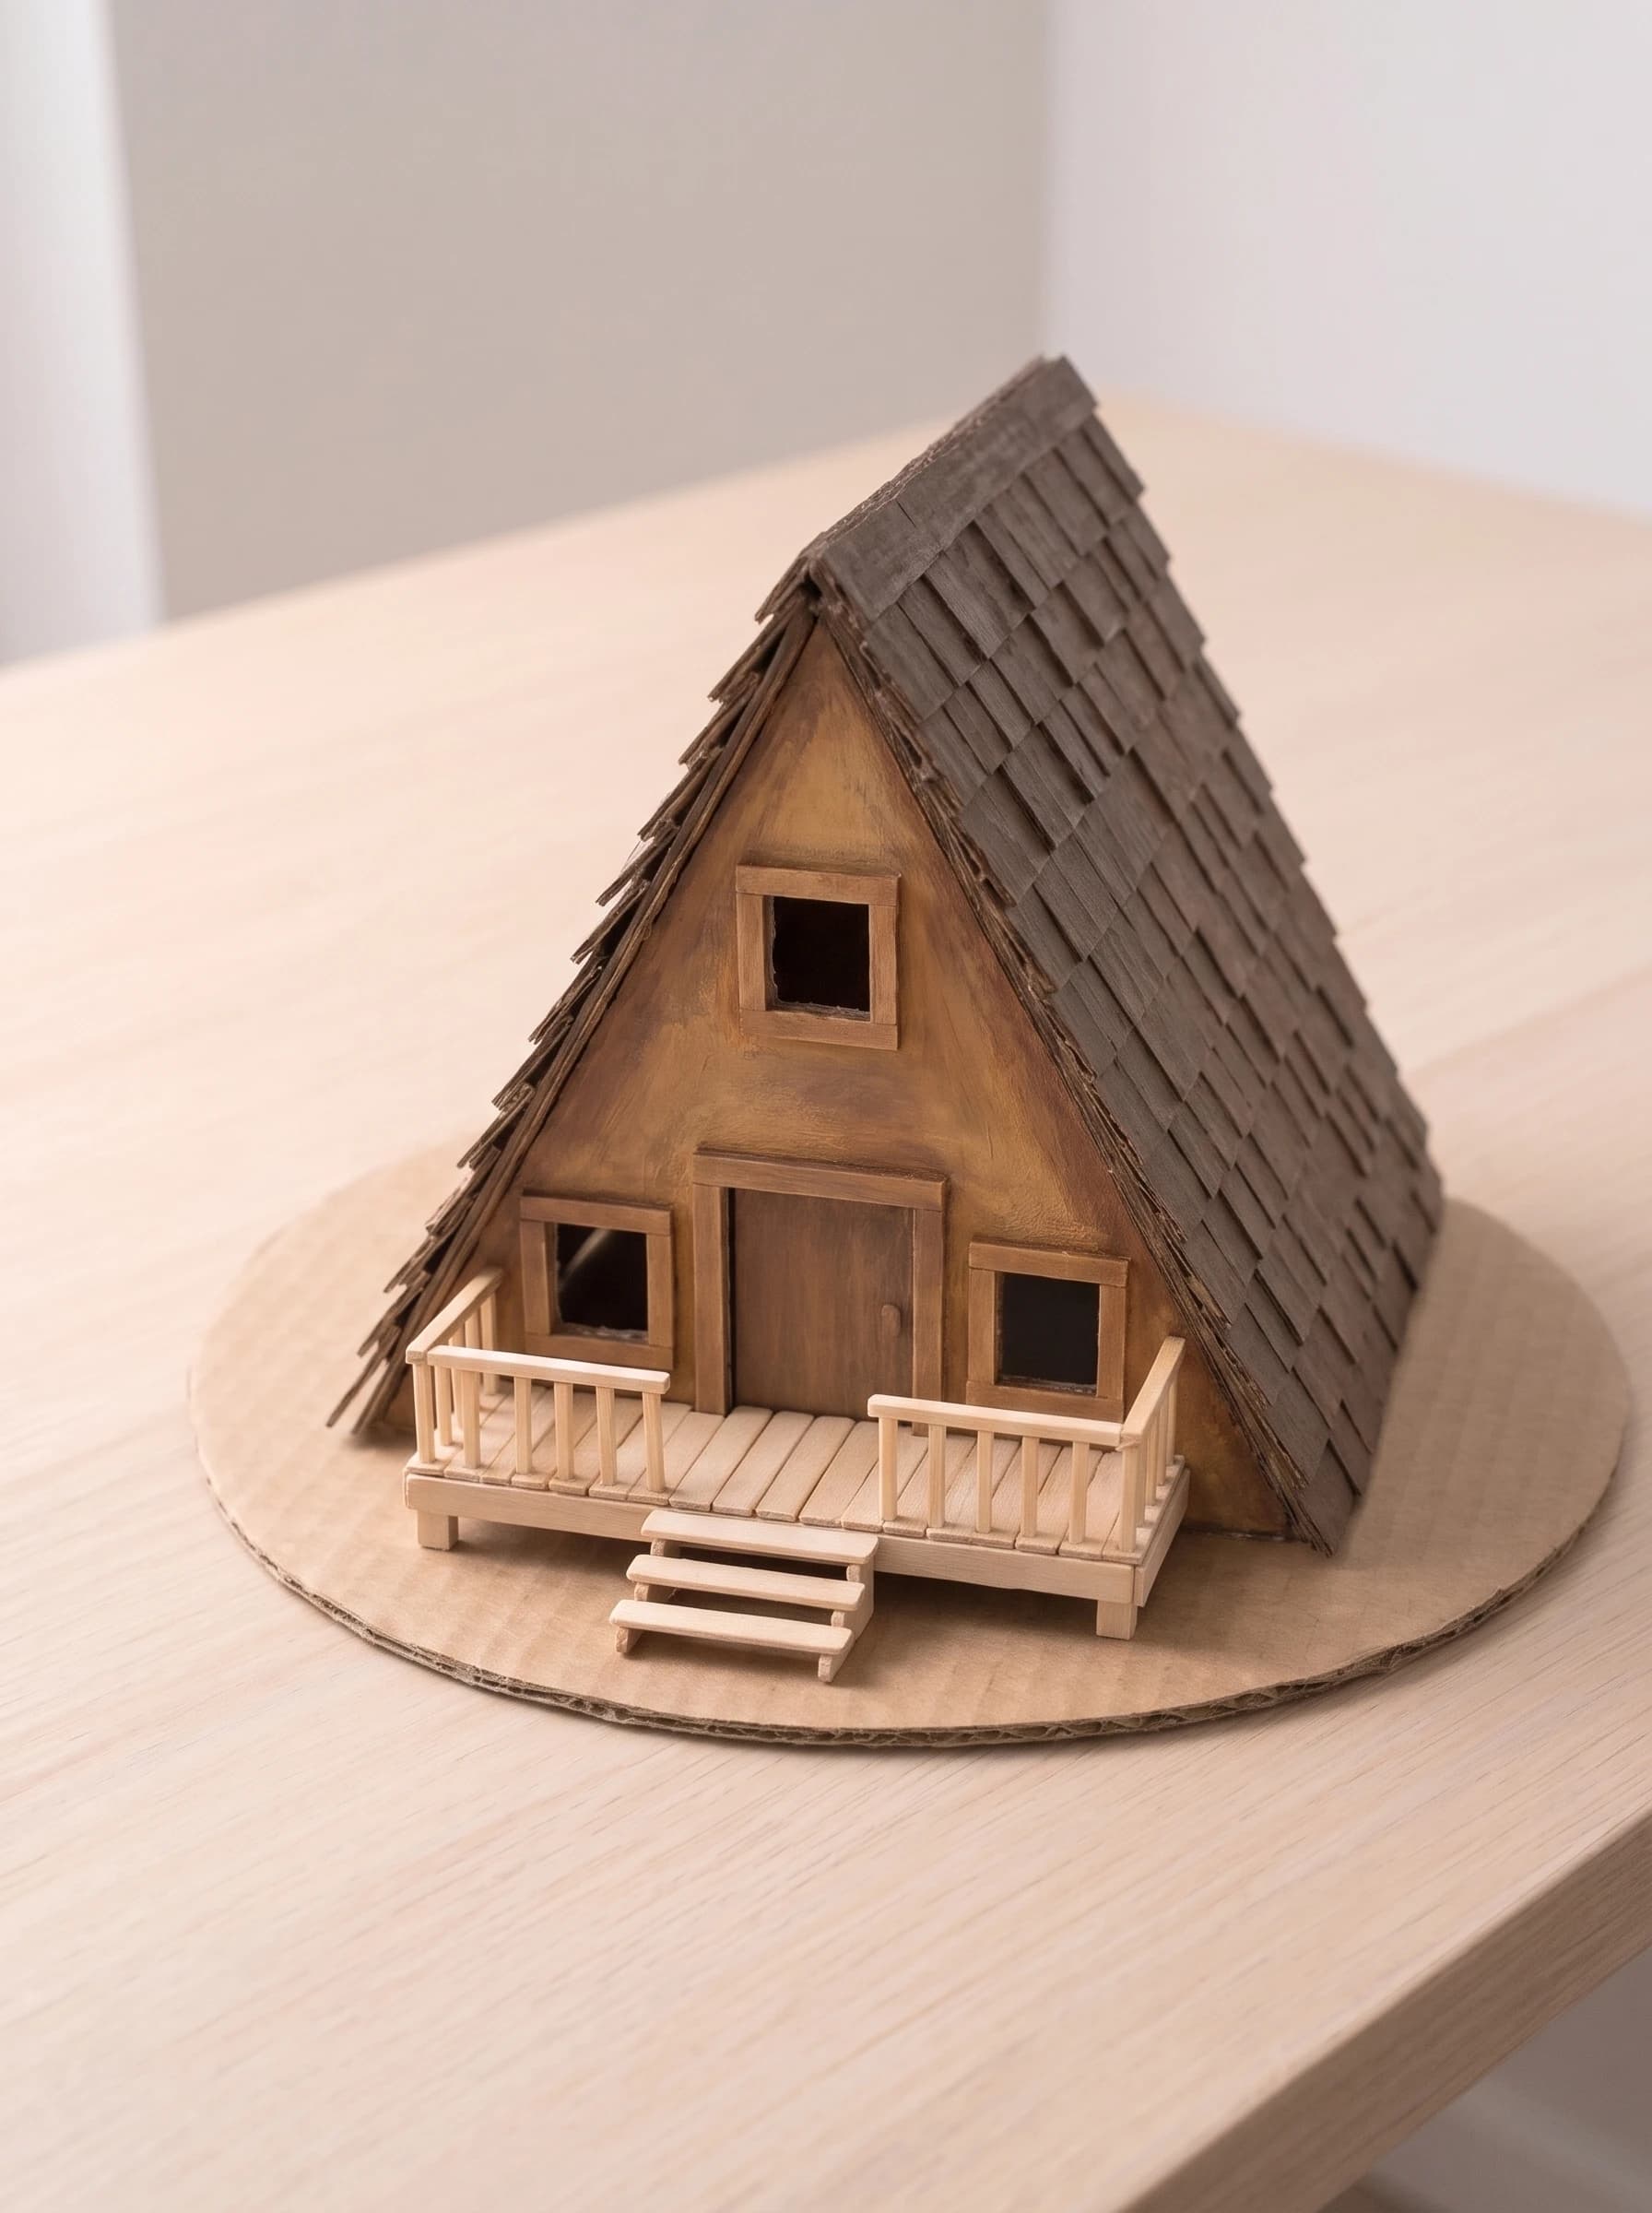
Step 6: Add the Forest Landscape
Spread glue on the base and press moss all around the cabin to make a grass floor. Glue the mini pine trees at the back and sides. Make a small path from pebbles leading to the porch, and place twigs and pine cones around for a forest feel. Add one or two tiny trees on the porch for extra charm. Pro tip: Use less glue on moss and press it down gently. Too much glue will leave shiny marks.
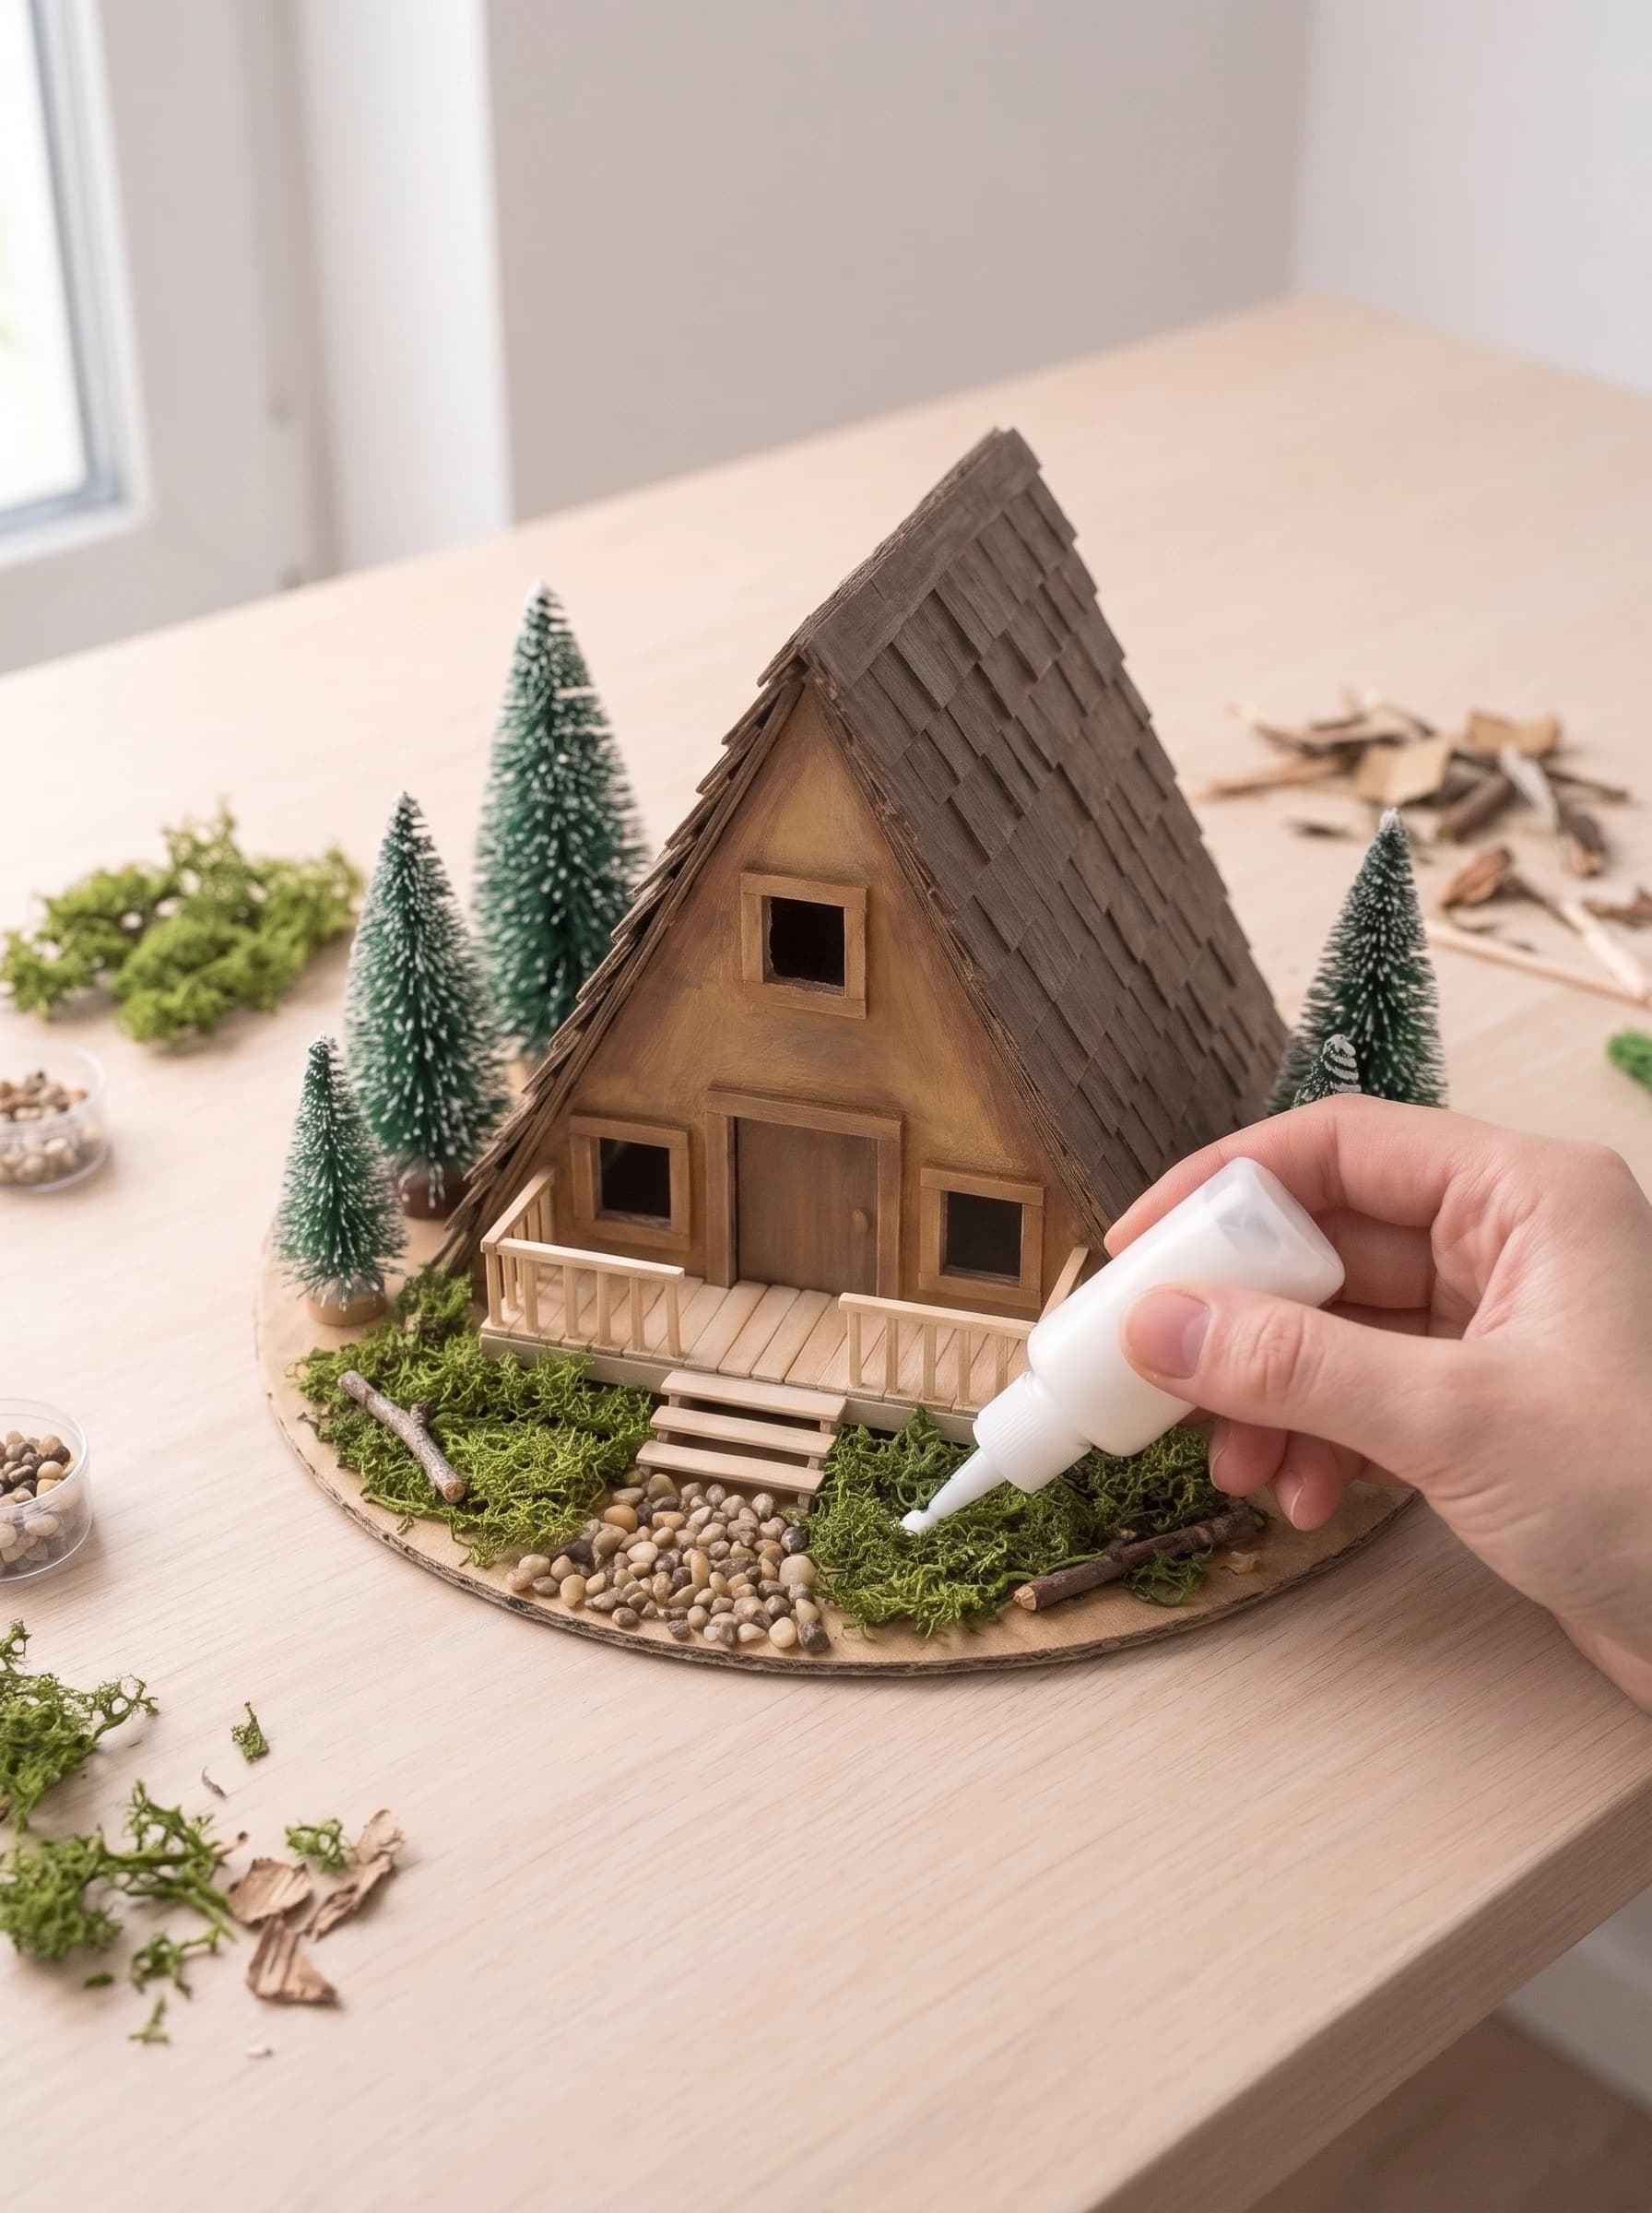
Step 7: Add the Warm Glow and Final Details
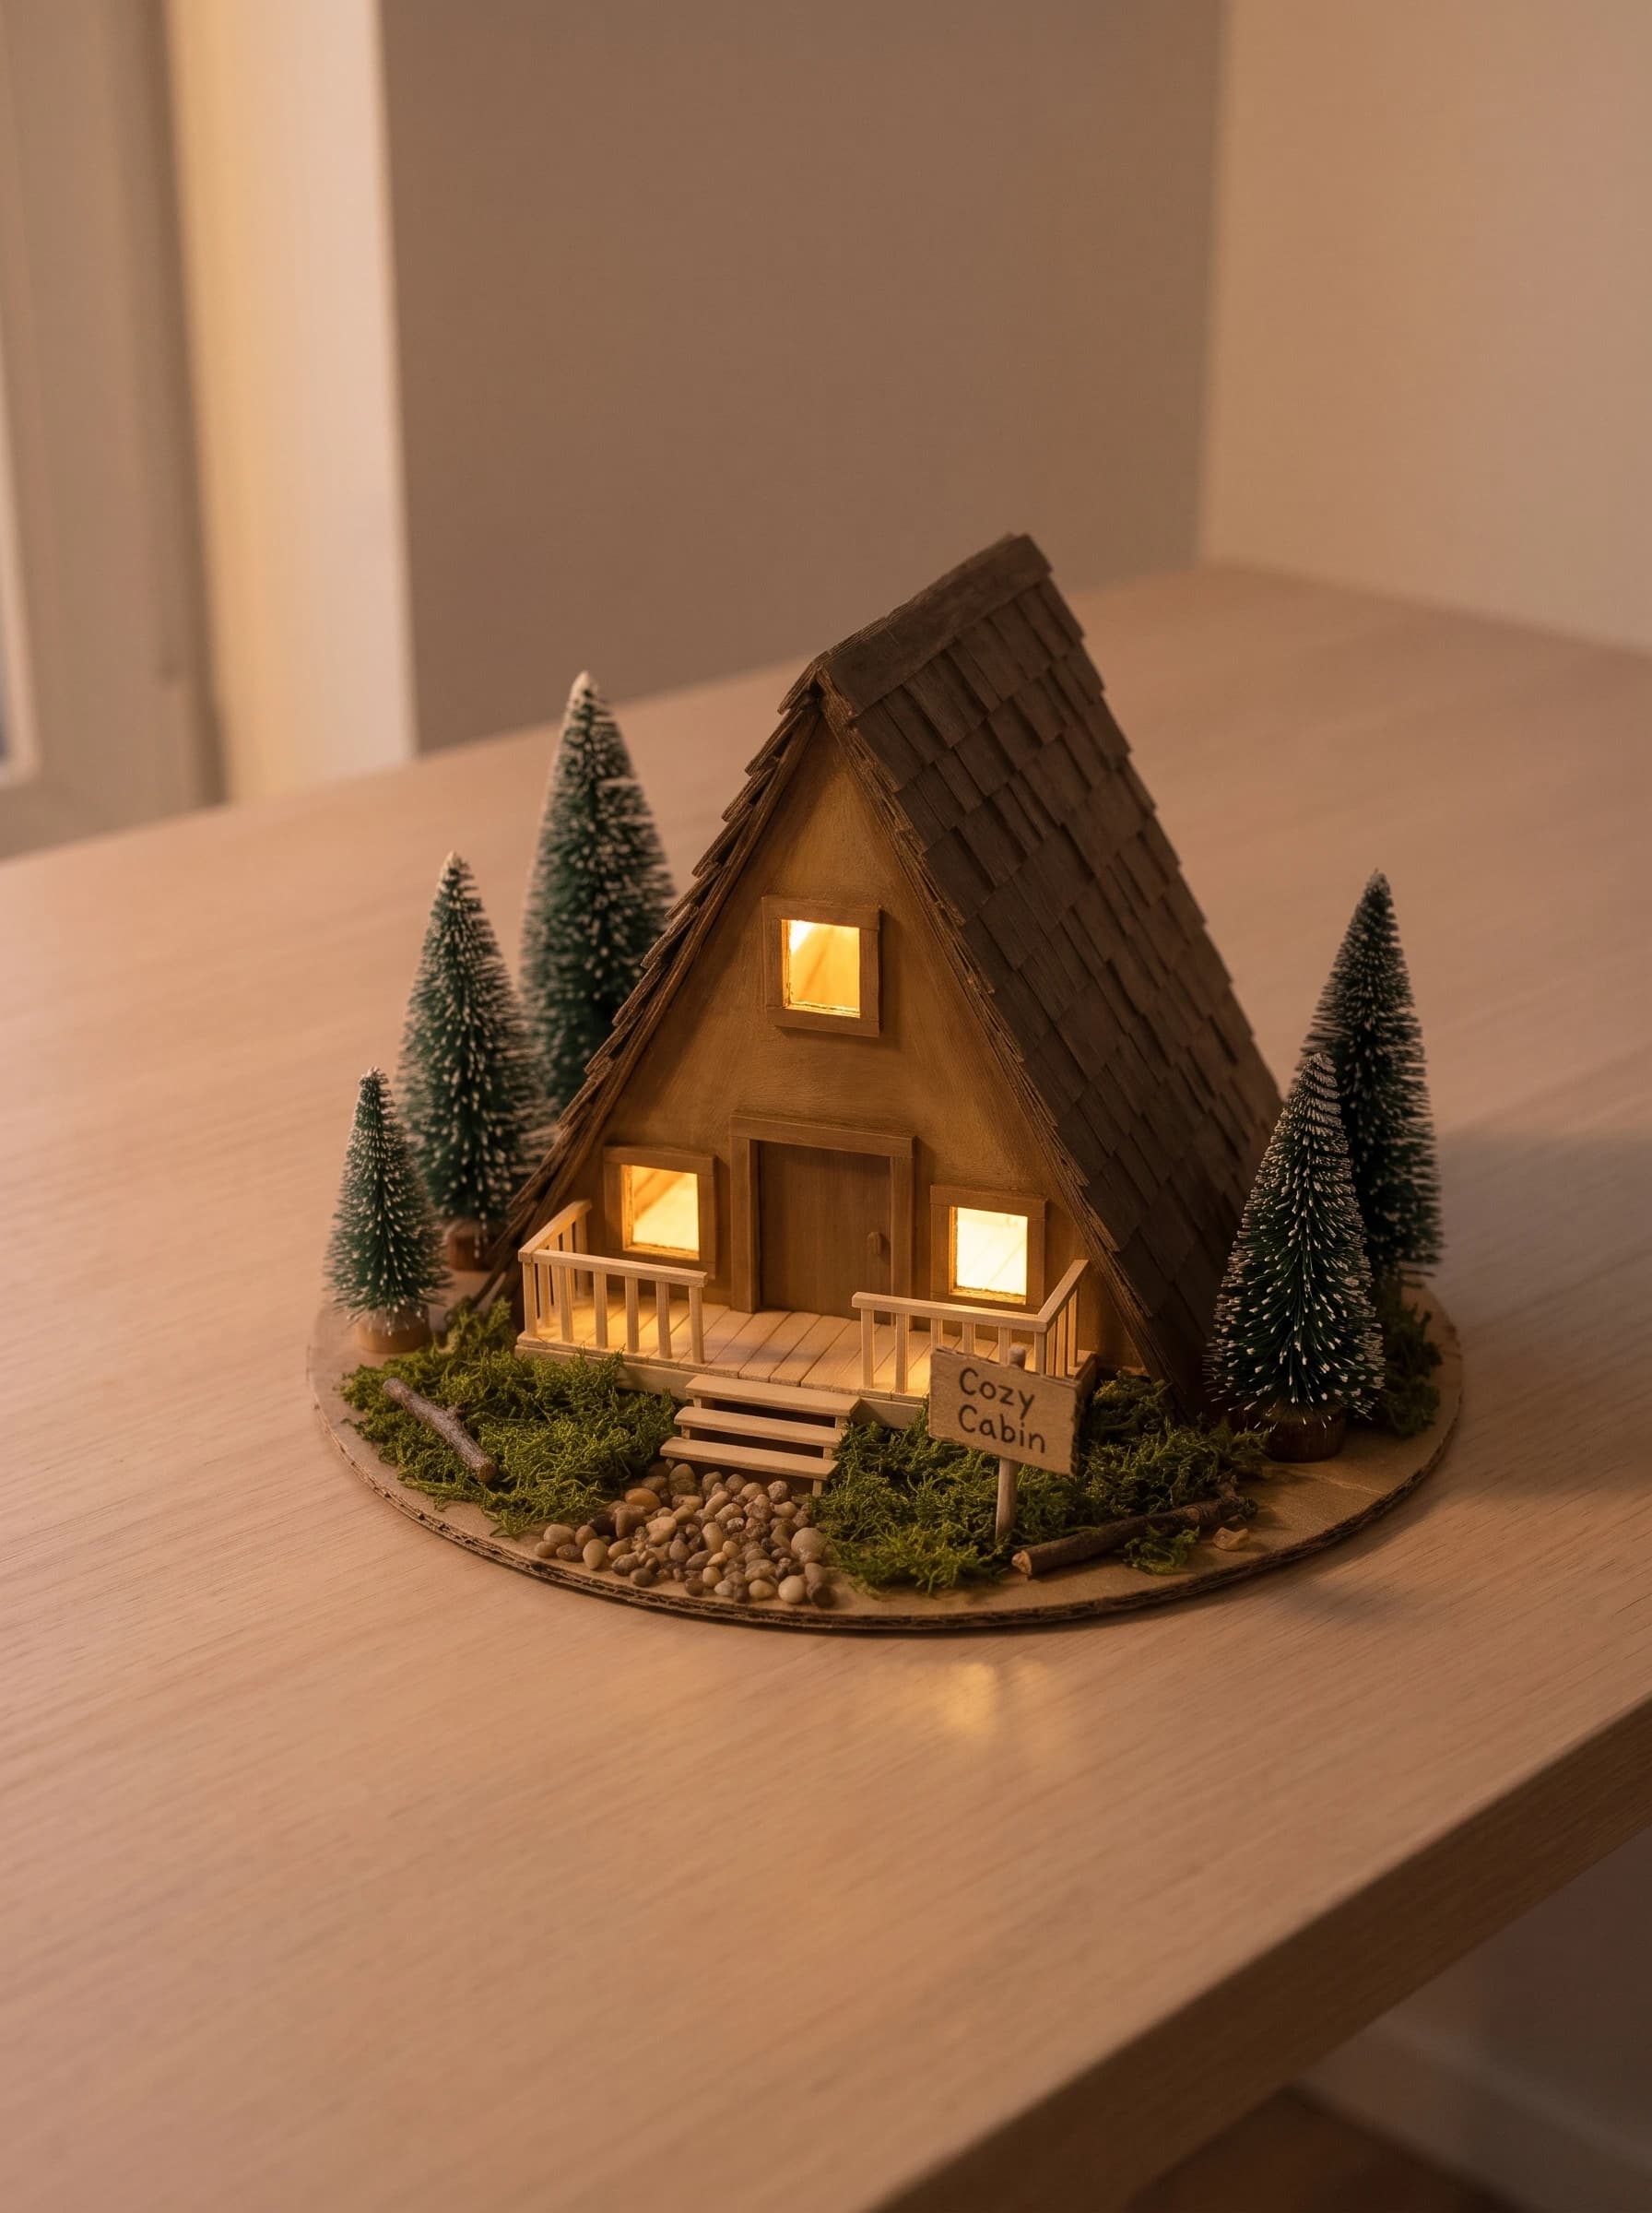
Cut a small piece of yellow tissue paper and glue it behind each window. Place a warm LED tea light inside the cabin through the back, so the windows glow. Add a tiny sign that says "Cozy Cabin" near the path as a last detail. Turn off the room lights to see the cabin glow. Safety note: Use an LED tea light only. Never use a real candle inside a cardboard model.
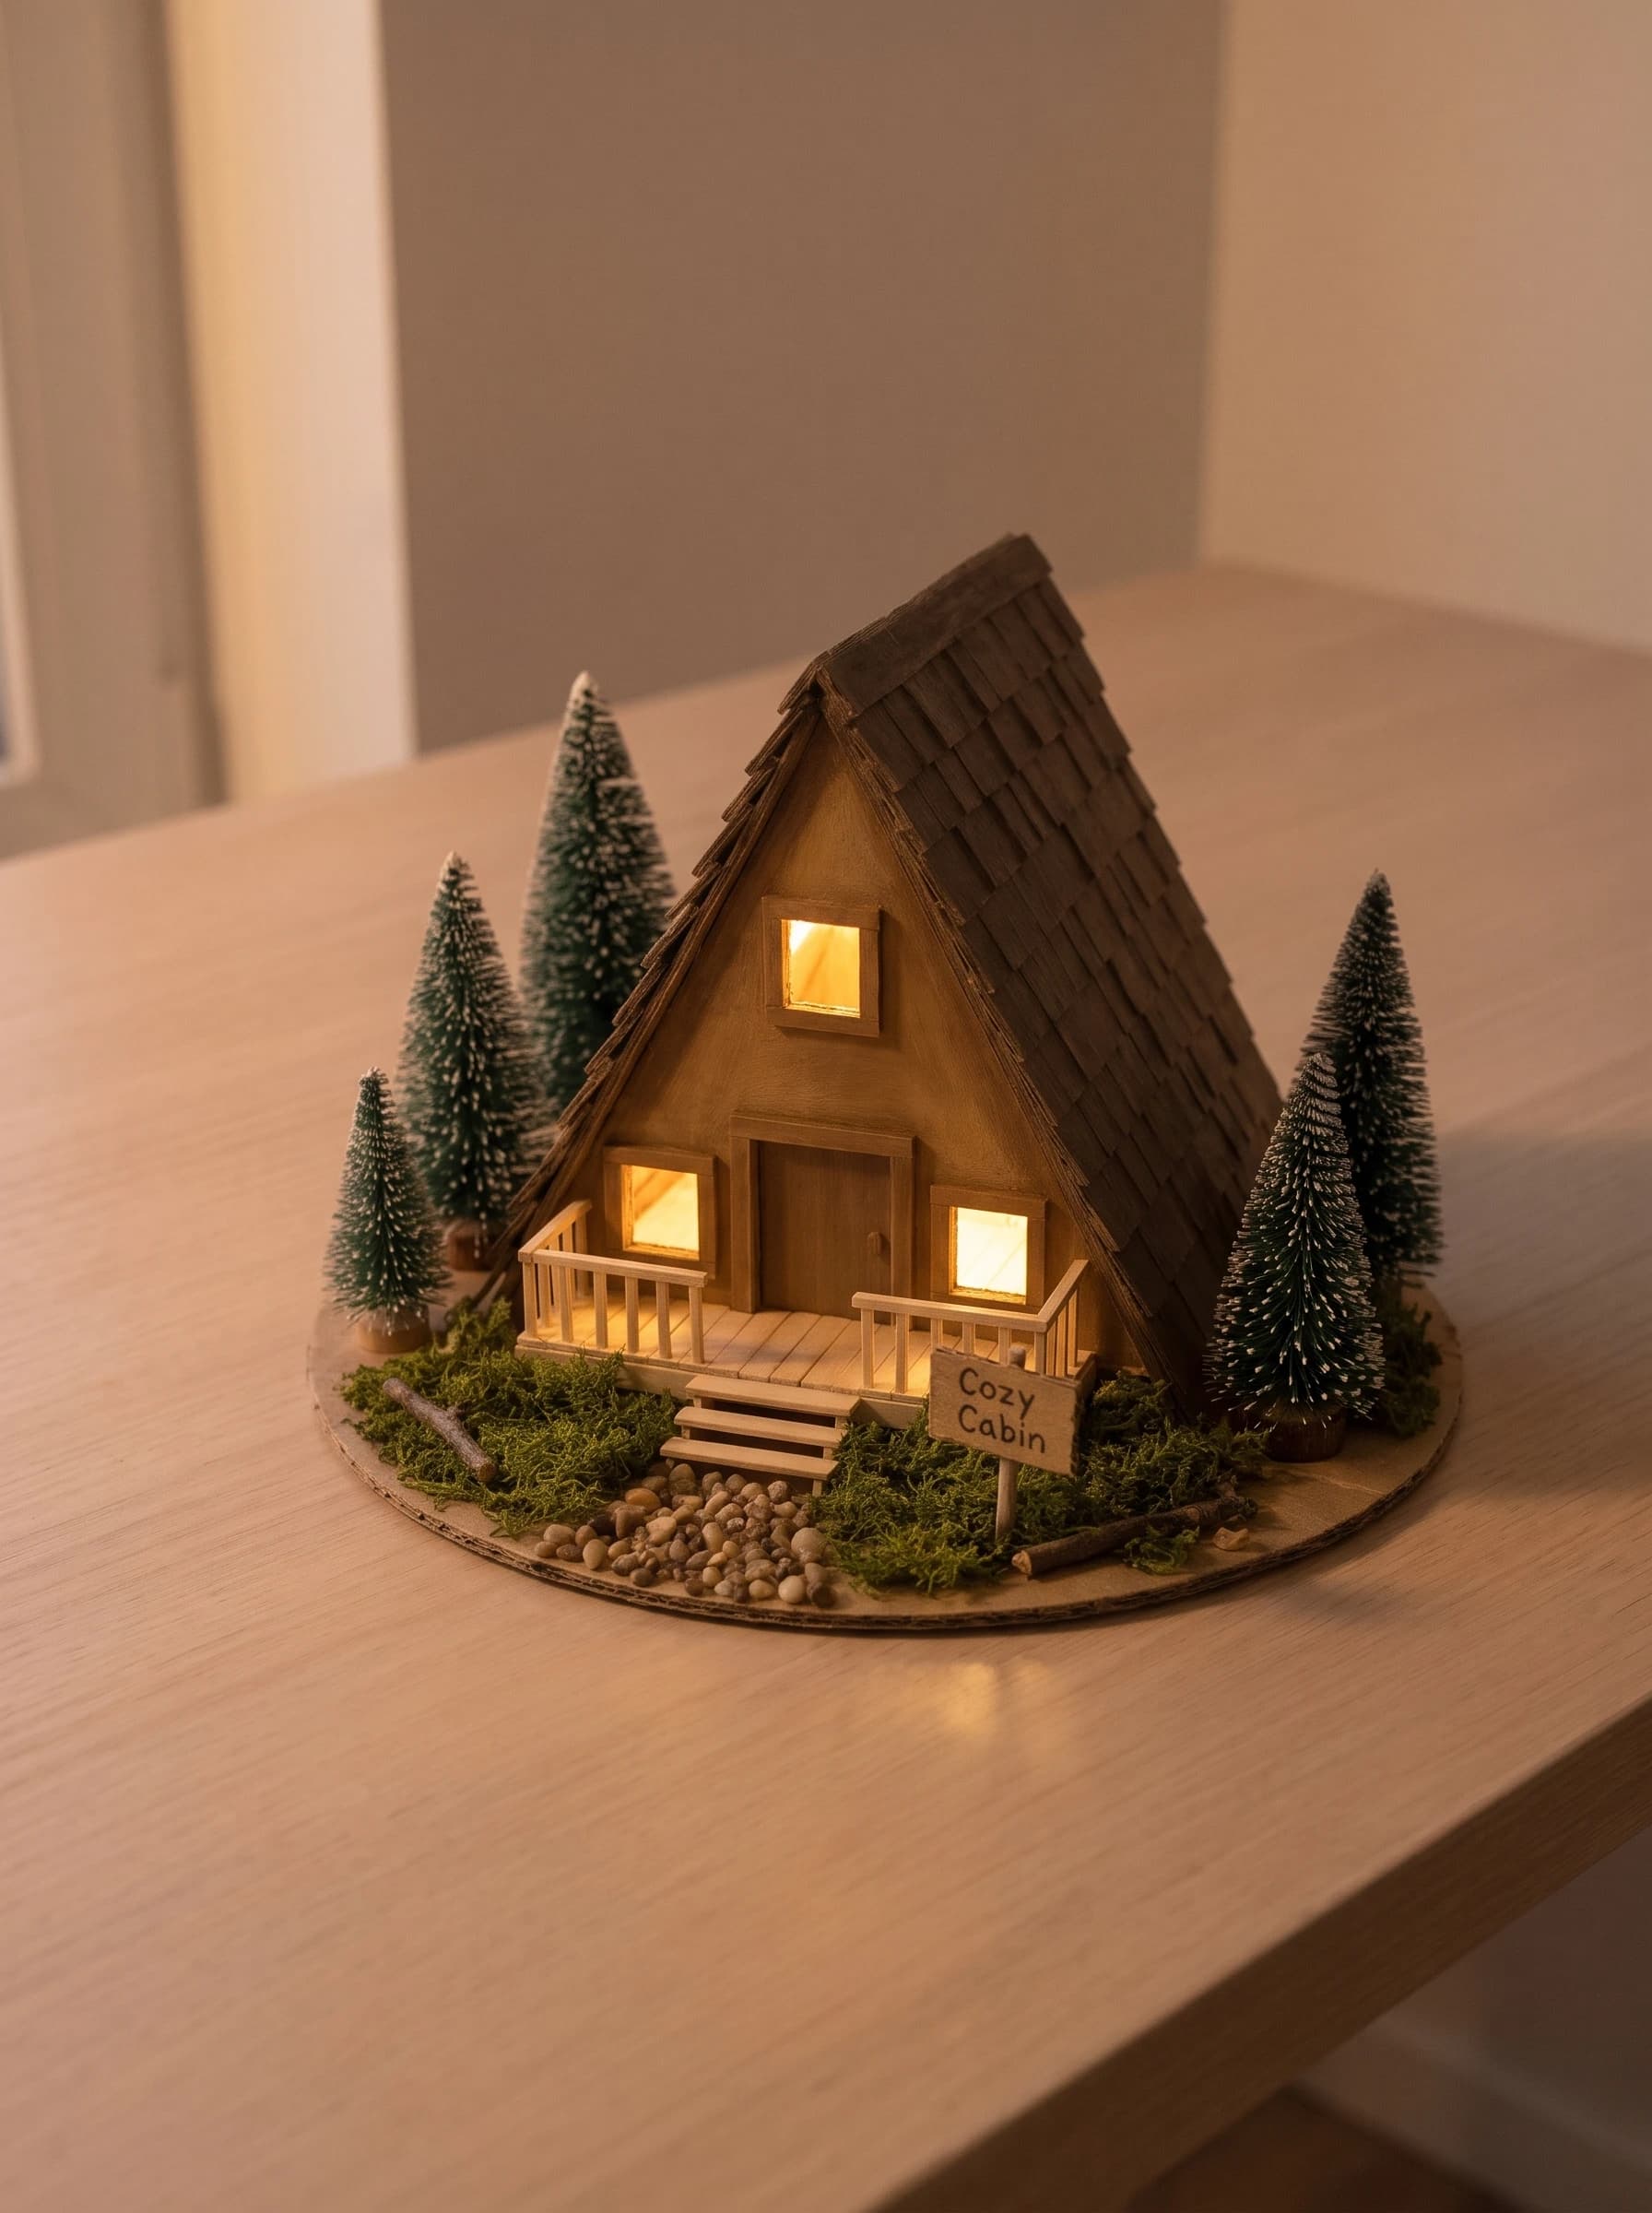
Tips for a Professional Finish
Cut clean edges. Use sharp scissors so the cardboard does not tear. Keep all pieces the same size. Matching triangles make the cabin stand straight. Use thin paint coats. Thick paint can make the cardboard bend. Vary the shingle colors slightly for a more real look. Use real natural items like twigs and pebbles for a realistic forest. Seal the finished cabin with a light coat of matte varnish if you want it to last longer. Take photos with soft side light so the glow in the windows looks warm and natural.
FAQ
1. How long does it take to make a miniature A-frame cabin? Most beginners finish in about 3 to 4 hours, not counting paint and glue drying time. You can split the work over two days. 2. What kind of cardboard is best? Use thick corrugated cardboard from shipping boxes. It is strong and easy to cut. Thin cereal box cardboard works well for shingles and small details. 3. Can I make the cabin bigger? Yes. Scale all pieces up by the same amount. A larger cabin needs thicker cardboard and a bigger base for support. 4. Is it safe to add lights? Yes, if you use a battery LED tea light or fairy lights. Never use a real flame, because cardboard burns quickly.
Conclusion
Now you know how to make a miniature A-frame cabin from simple cardboard, sticks and moss. It makes a lovely desk decoration, a gift, or a cozy shelf display. Try it this weekend, and share a photo of your finished cabin in the comments. Tell us which small detail you added! Internal link ideas: • 10 Easy Cardboard House Crafts for Beginners • How to Make Tiny Wooden Furniture from Craft Sticks • DIY Fairy Garden Ideas Using Moss and Pebbles • How to Paint Cardboard Like Real Wood • Cozy Home Decor Crafts with LED Lights
More in this topic: all Cardboard tutorials