
How to Make a Miniature Log Cabin from Twigs (Easy 1:24 Tutorial)
- Difficulty
- Beginner
- Scale
- 1:24
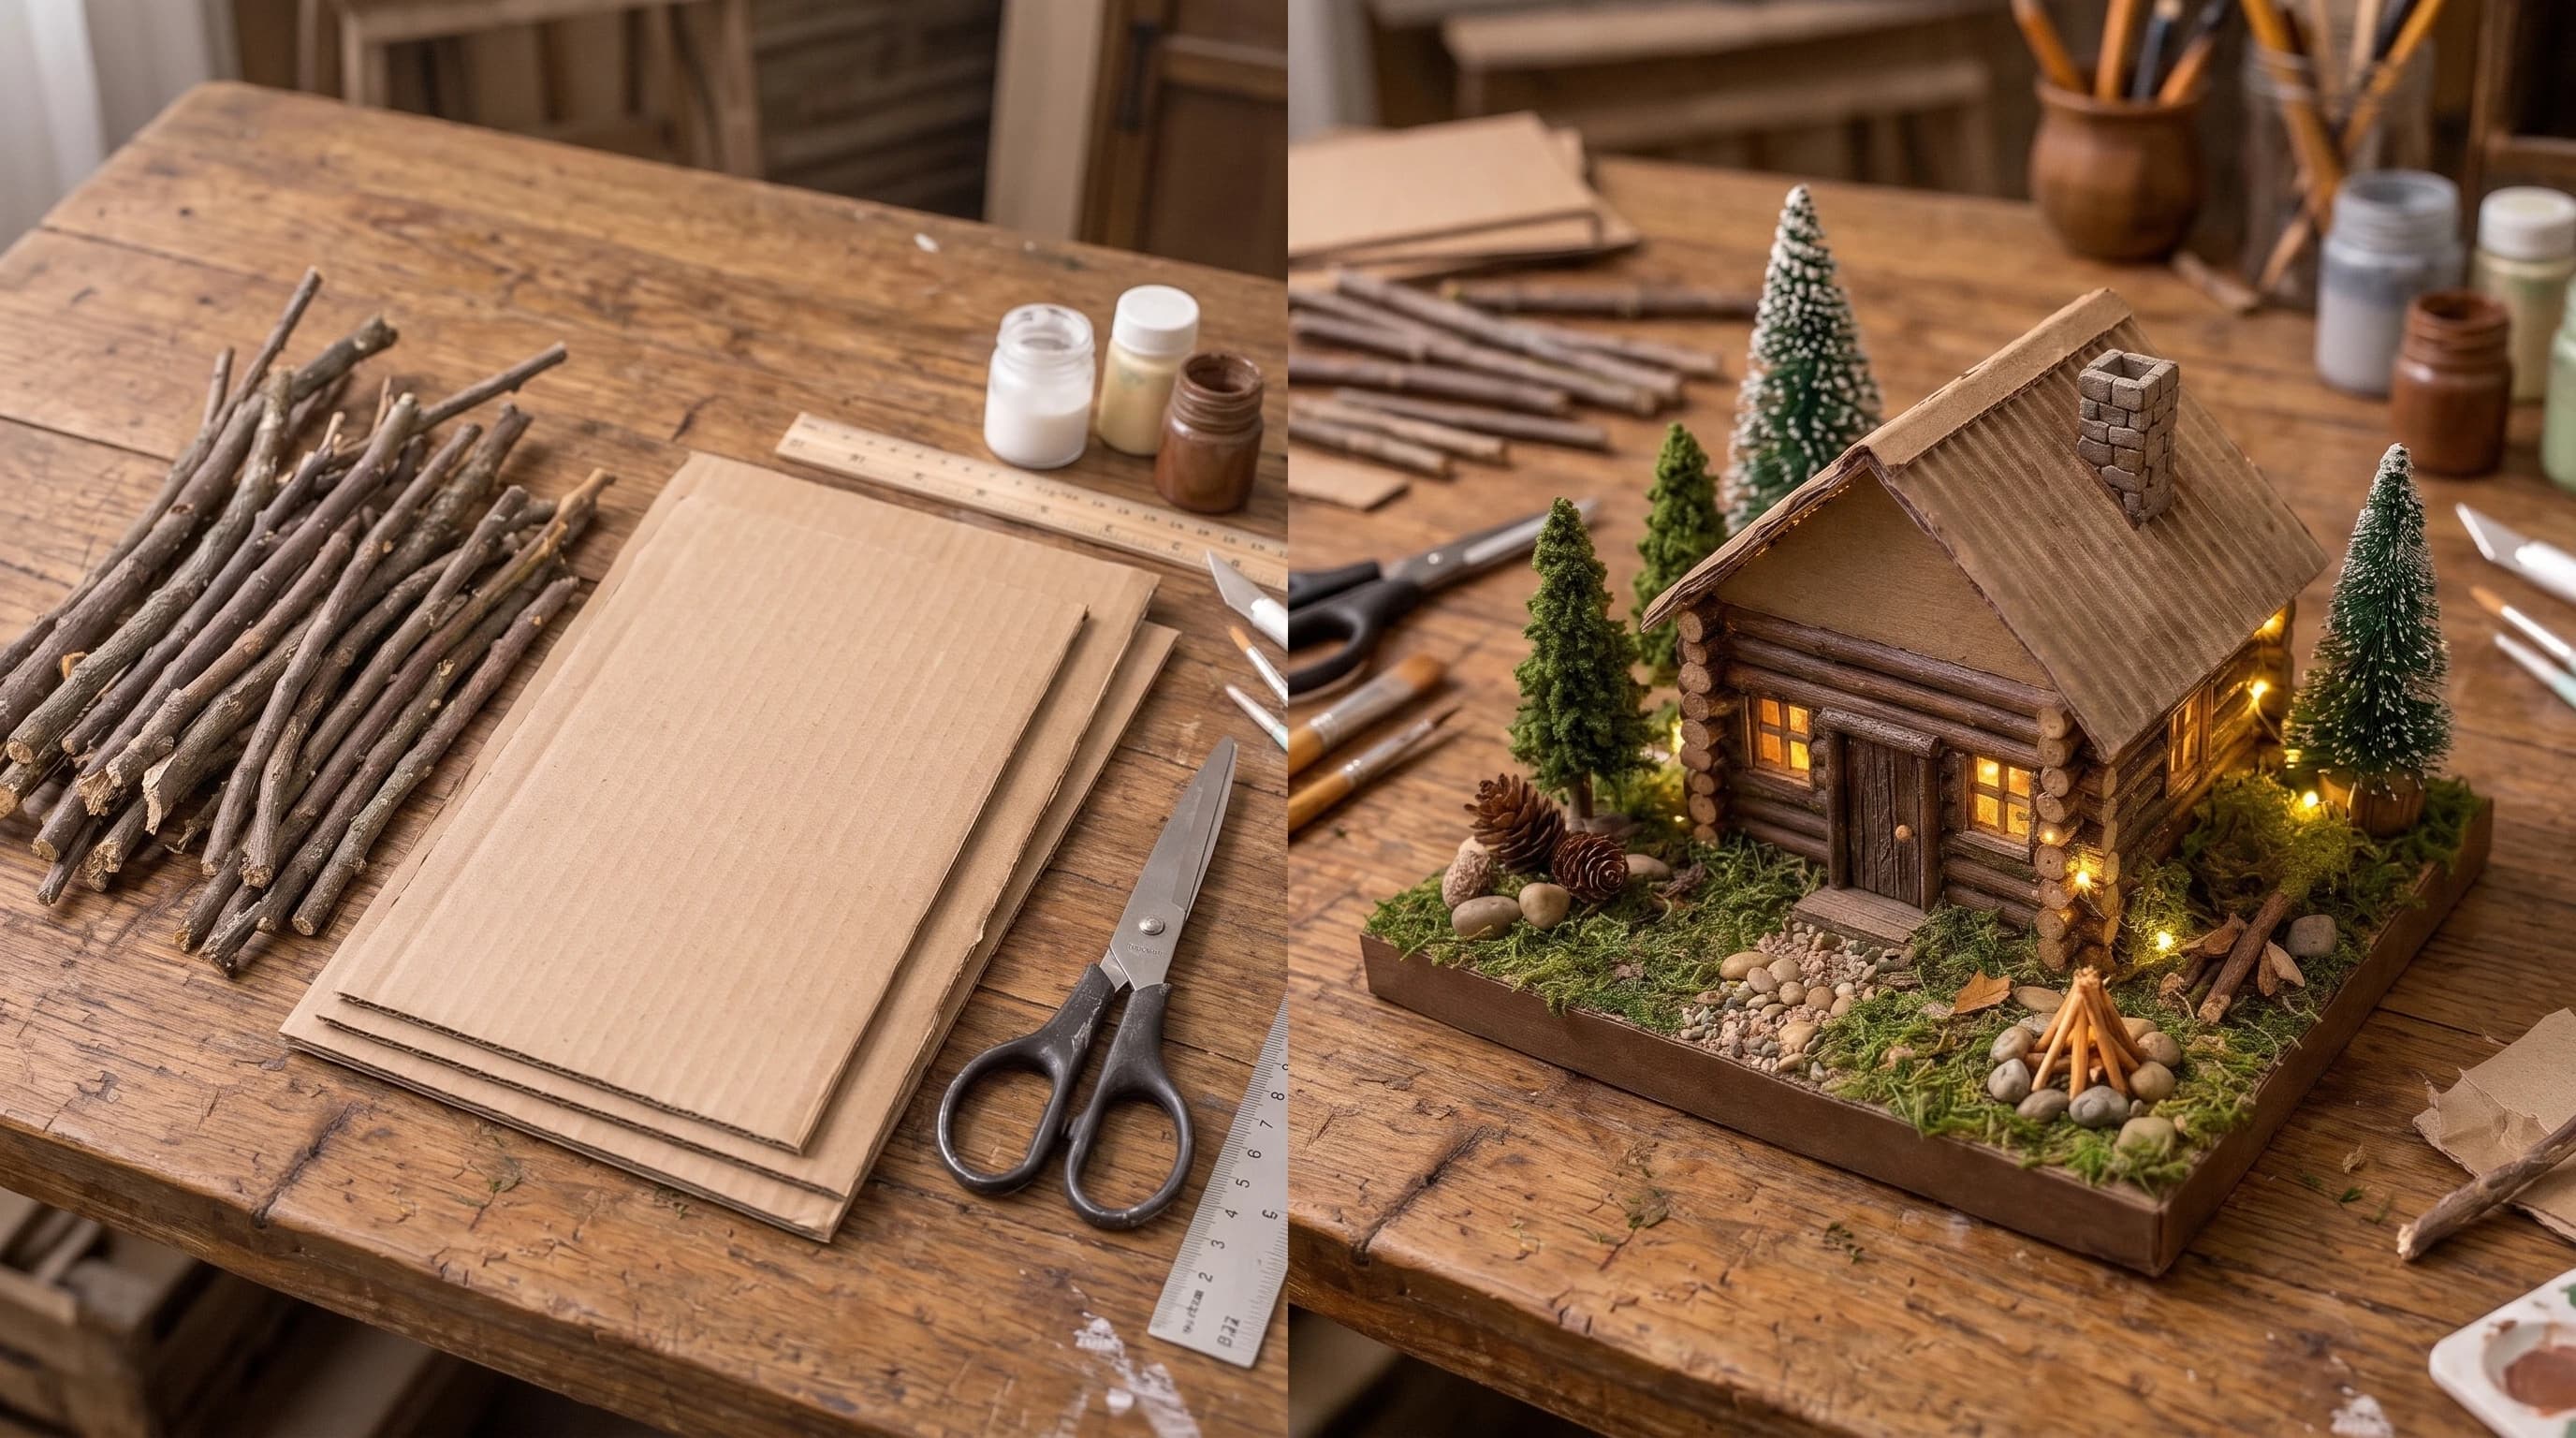
Welcome to DIY Miniature Building! If you love rustic dioramas, learning how to make a miniature log cabin is a wonderful weekend project. Using accessible materials like natural twigs and recycled cardboard, you can construct a highly detailed 1:24 scale woodland retreat. Let's dive into the step-by-step process of building this cozy miniature house.
What You'll Need
This miniature house tutorial relies heavily on items you can find in your yard or recycling bin. Natural twigs give the cabin its authentic look, while corrugated cardboard makes the perfect tin-style roof. If you don't have twigs, tightly rolled kraft paper tubes work great too.
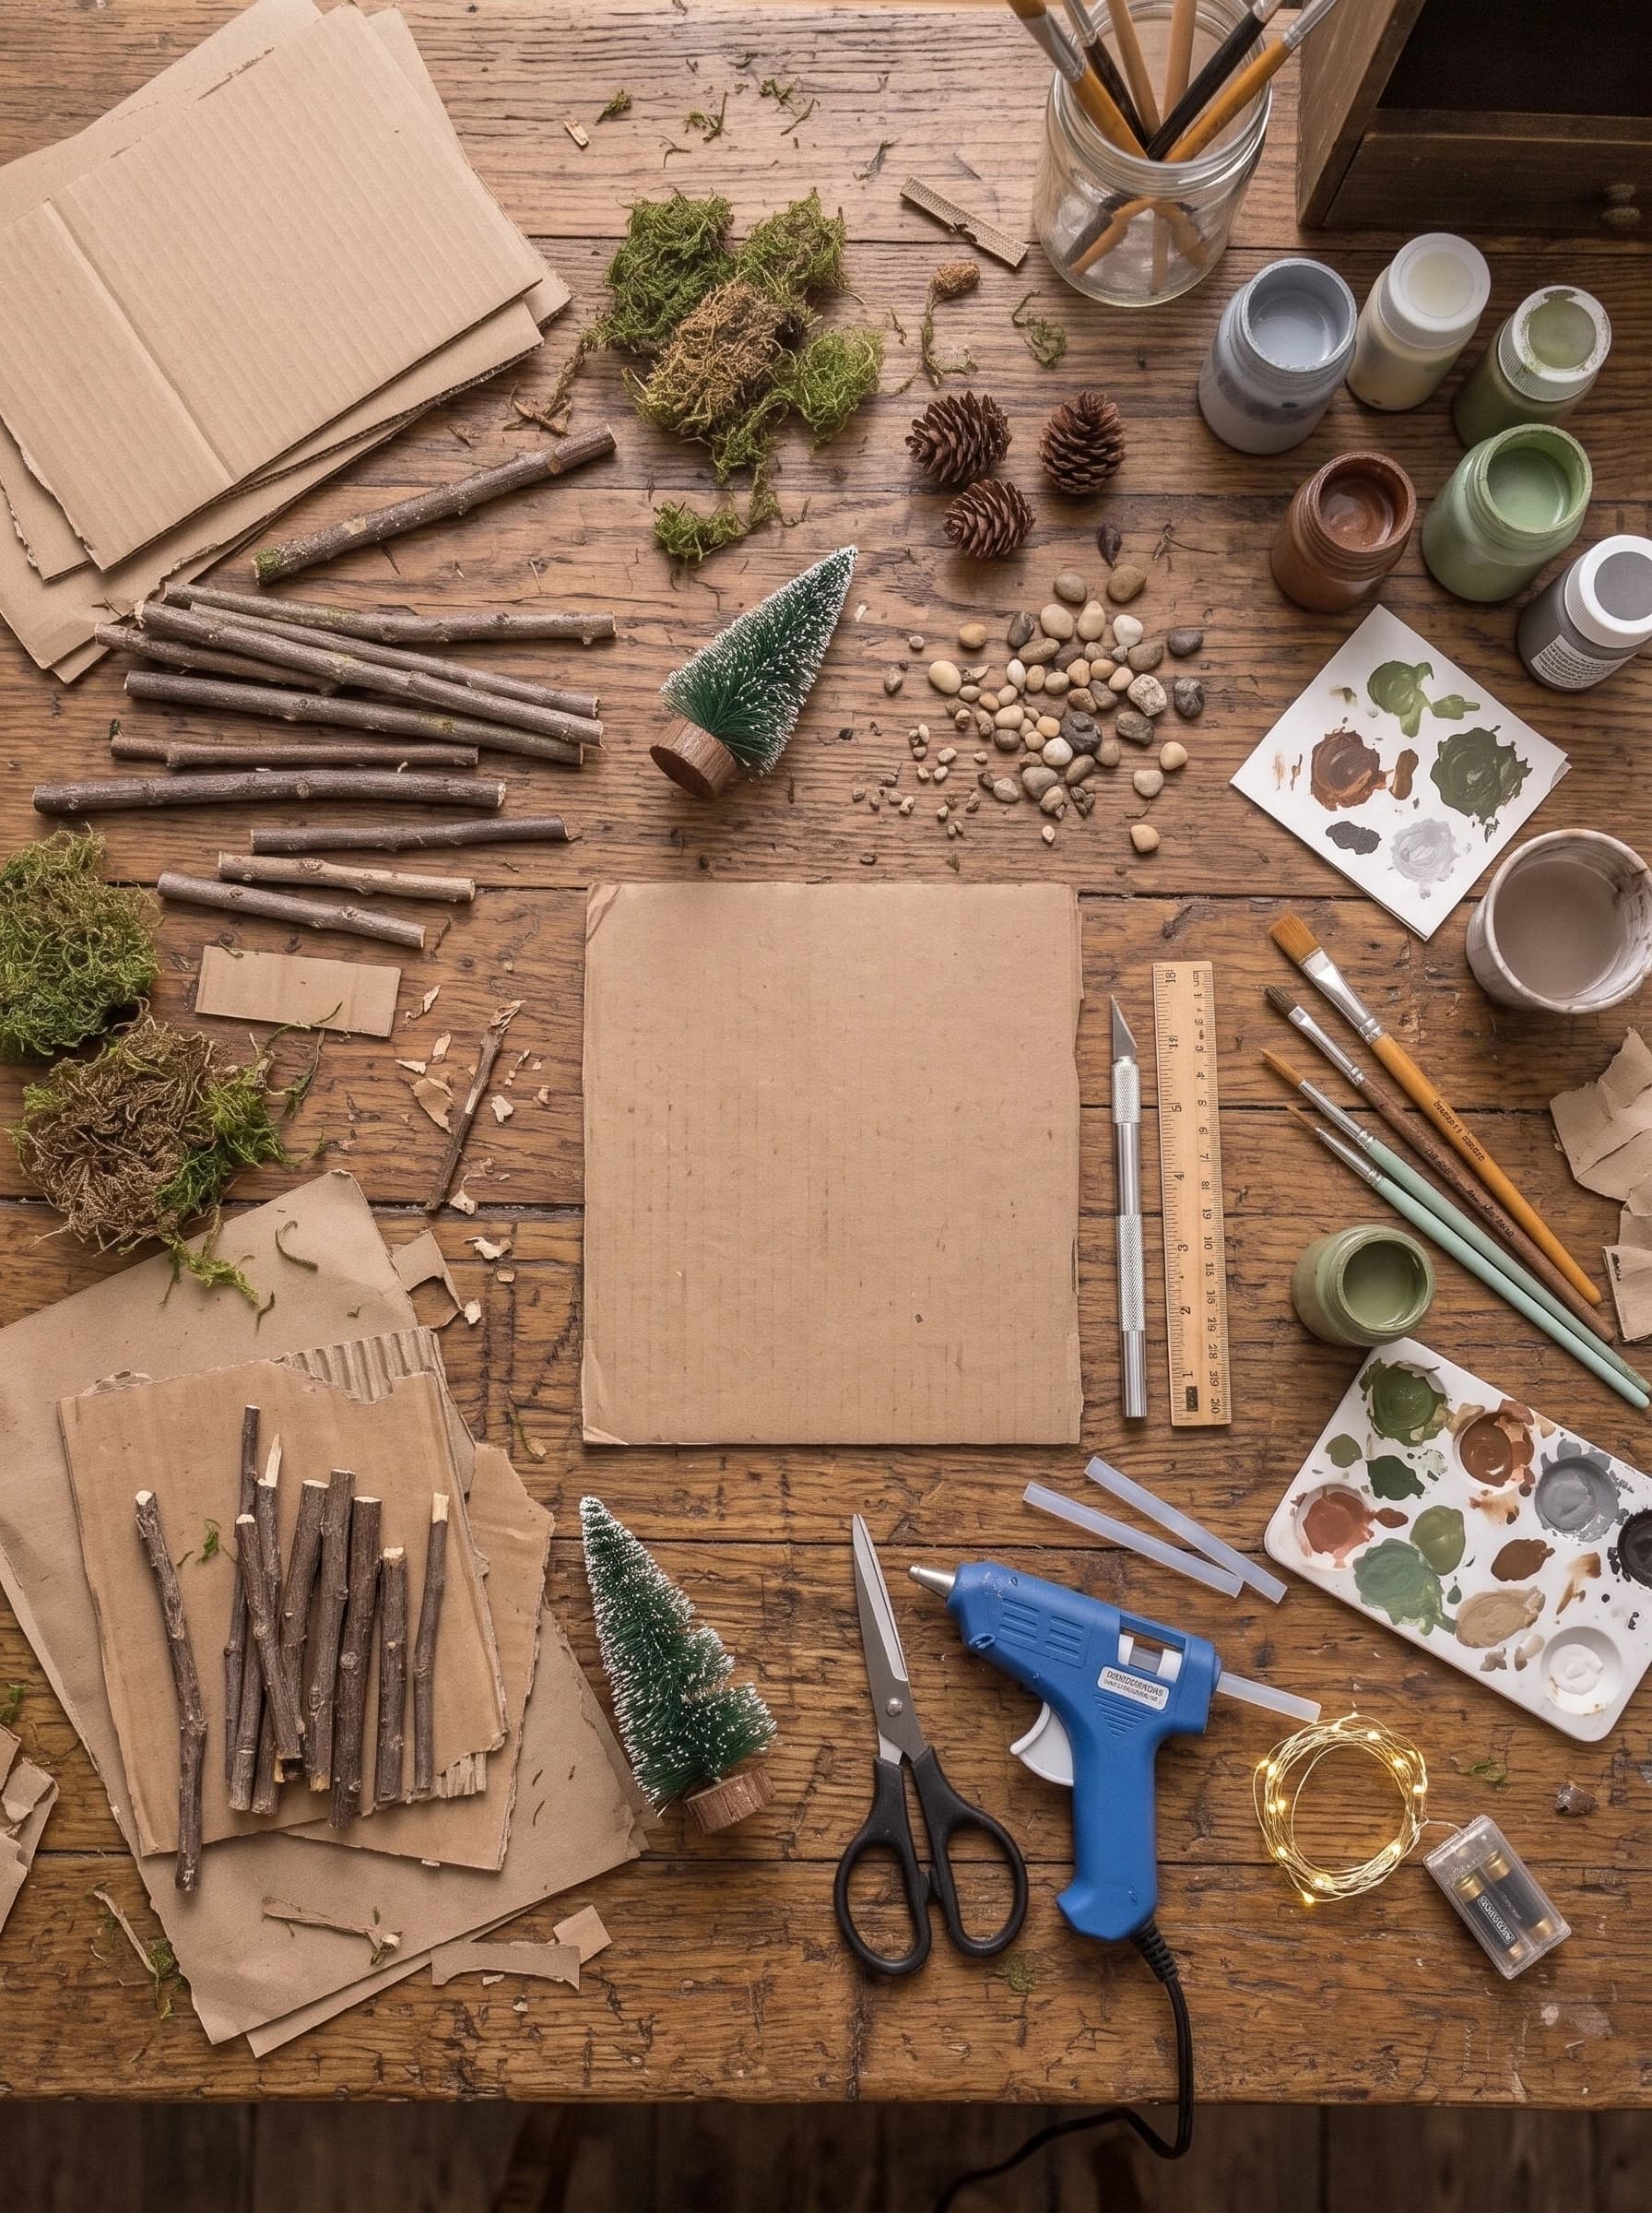
- Flat cardboardFor the base and gables
- Corrugated cardboardFor the roof
- Straight twigs or sticksApprox. 0.25 inches thick
- Acrylic paintsBrown, black, and white
- Faux moss and pebblesFor landscaping
- Miniature pine treesVarious sizes
- Fairy string lightsBattery operated
- Hot glue gun and sticks
- Heavy-duty scissorsOr pruning shears for twigs
- Craft knife
- PaintbrushesSmall and medium sizes
Step 1: Cut the Base and Twigs
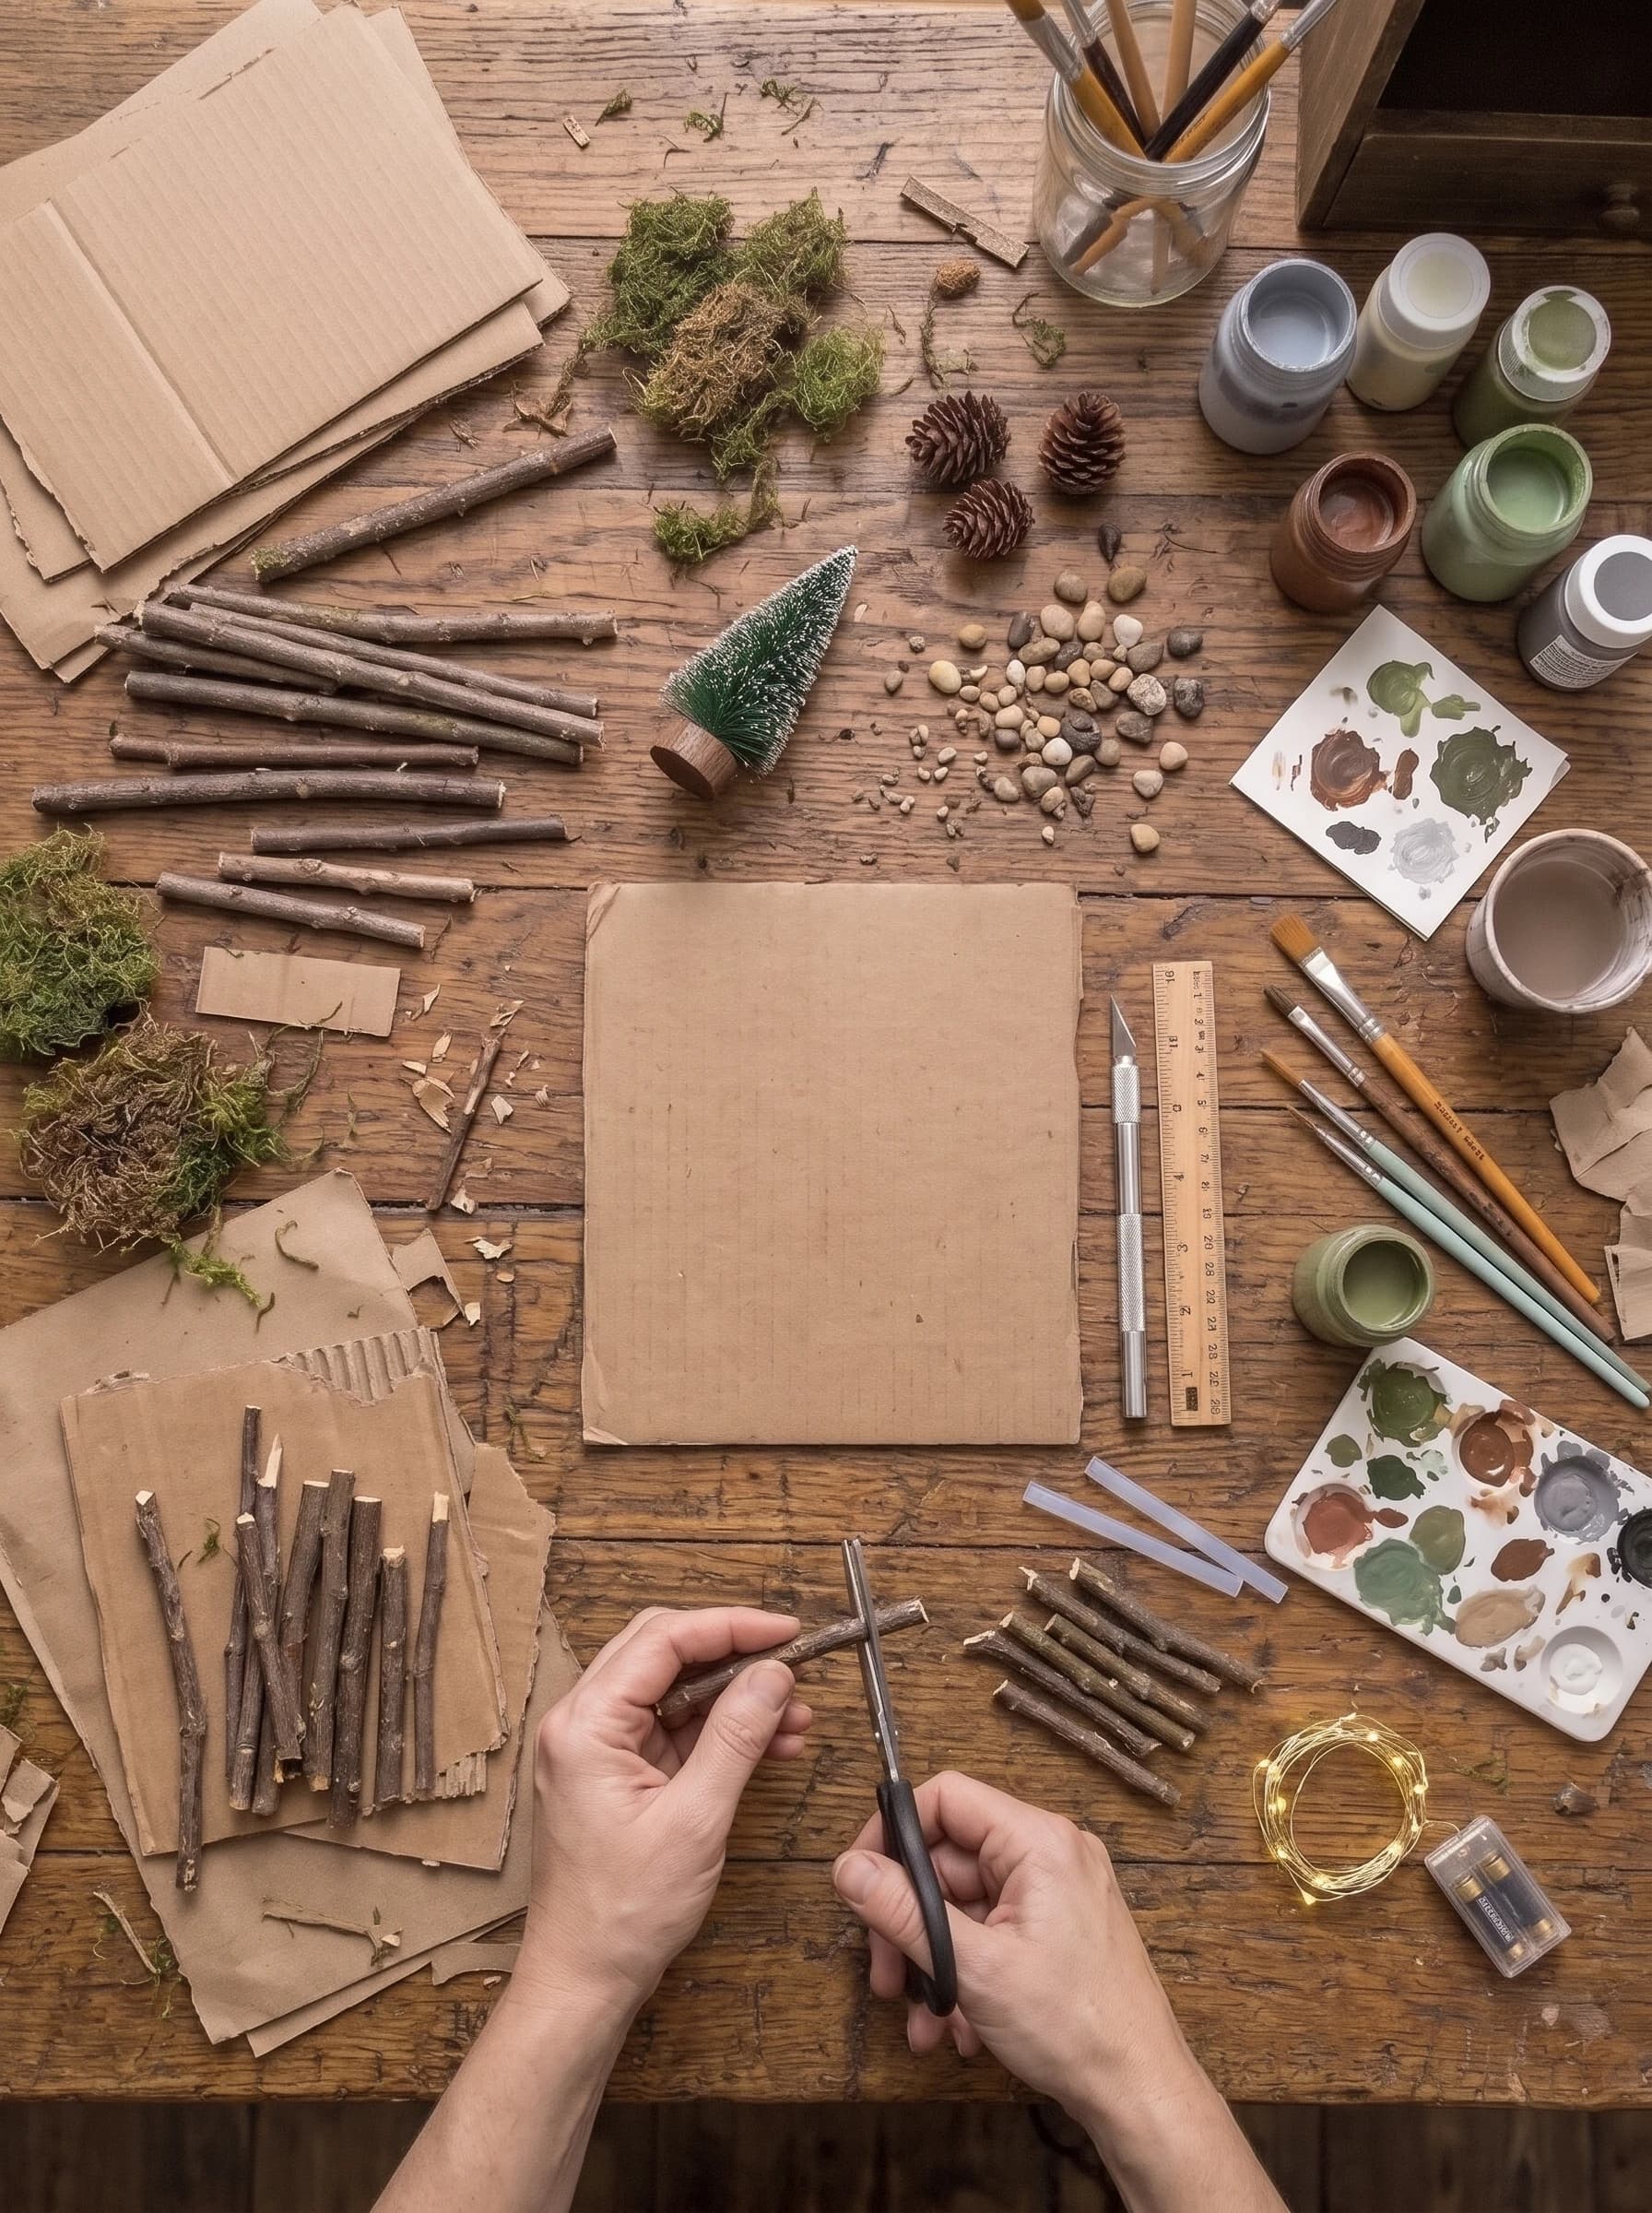
Start by cutting a sturdy 8x8 inch square of flat cardboard for your landscape base. Next, use heavy-duty scissors or small pruning shears to cut your twigs to size. You will need roughly forty 4-inch pieces for the side walls and twenty 2-inch pieces for the front and back sections.
Step 2: Build the Log Walls
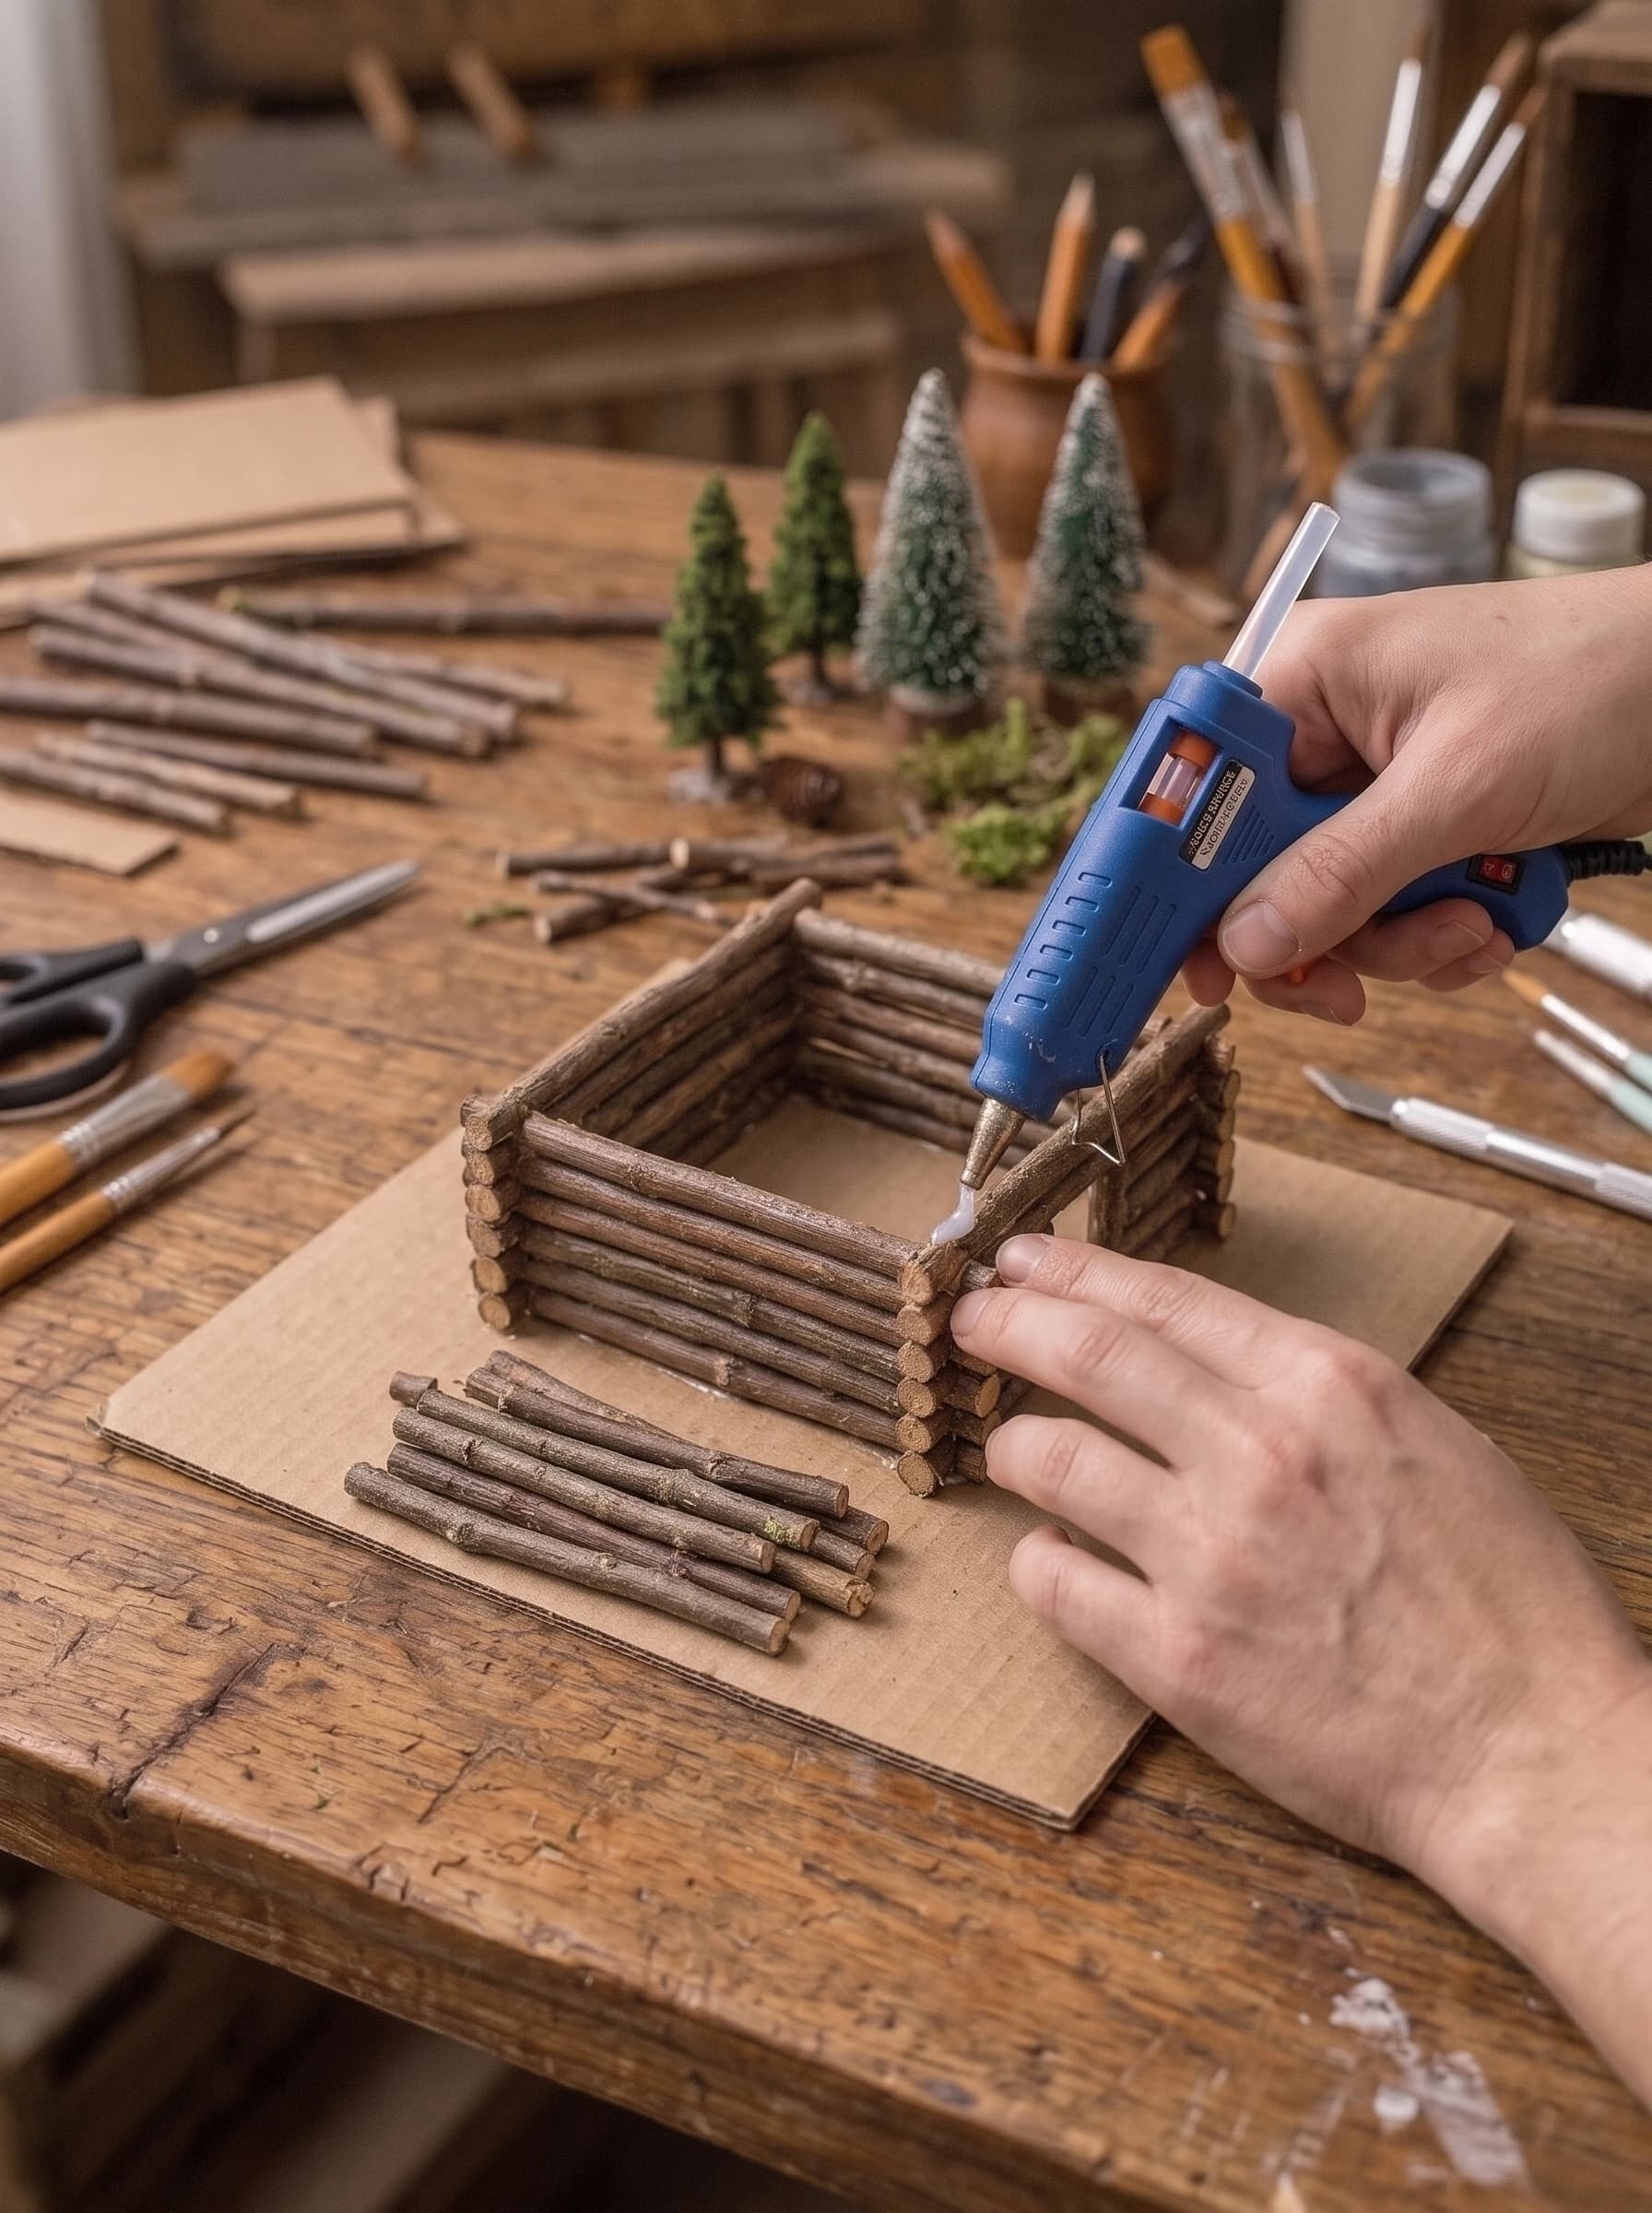
Apply a dab of hot glue to the ends of the twigs to stack them, alternating corners like a real log cabin. Leave a 2-inch wide gap in the front wall for the door, and smaller gaps on the sides if you want windows. Work slowly to ensure the walls stay perfectly straight as they get higher.
Step 3: Add Gables and Paint
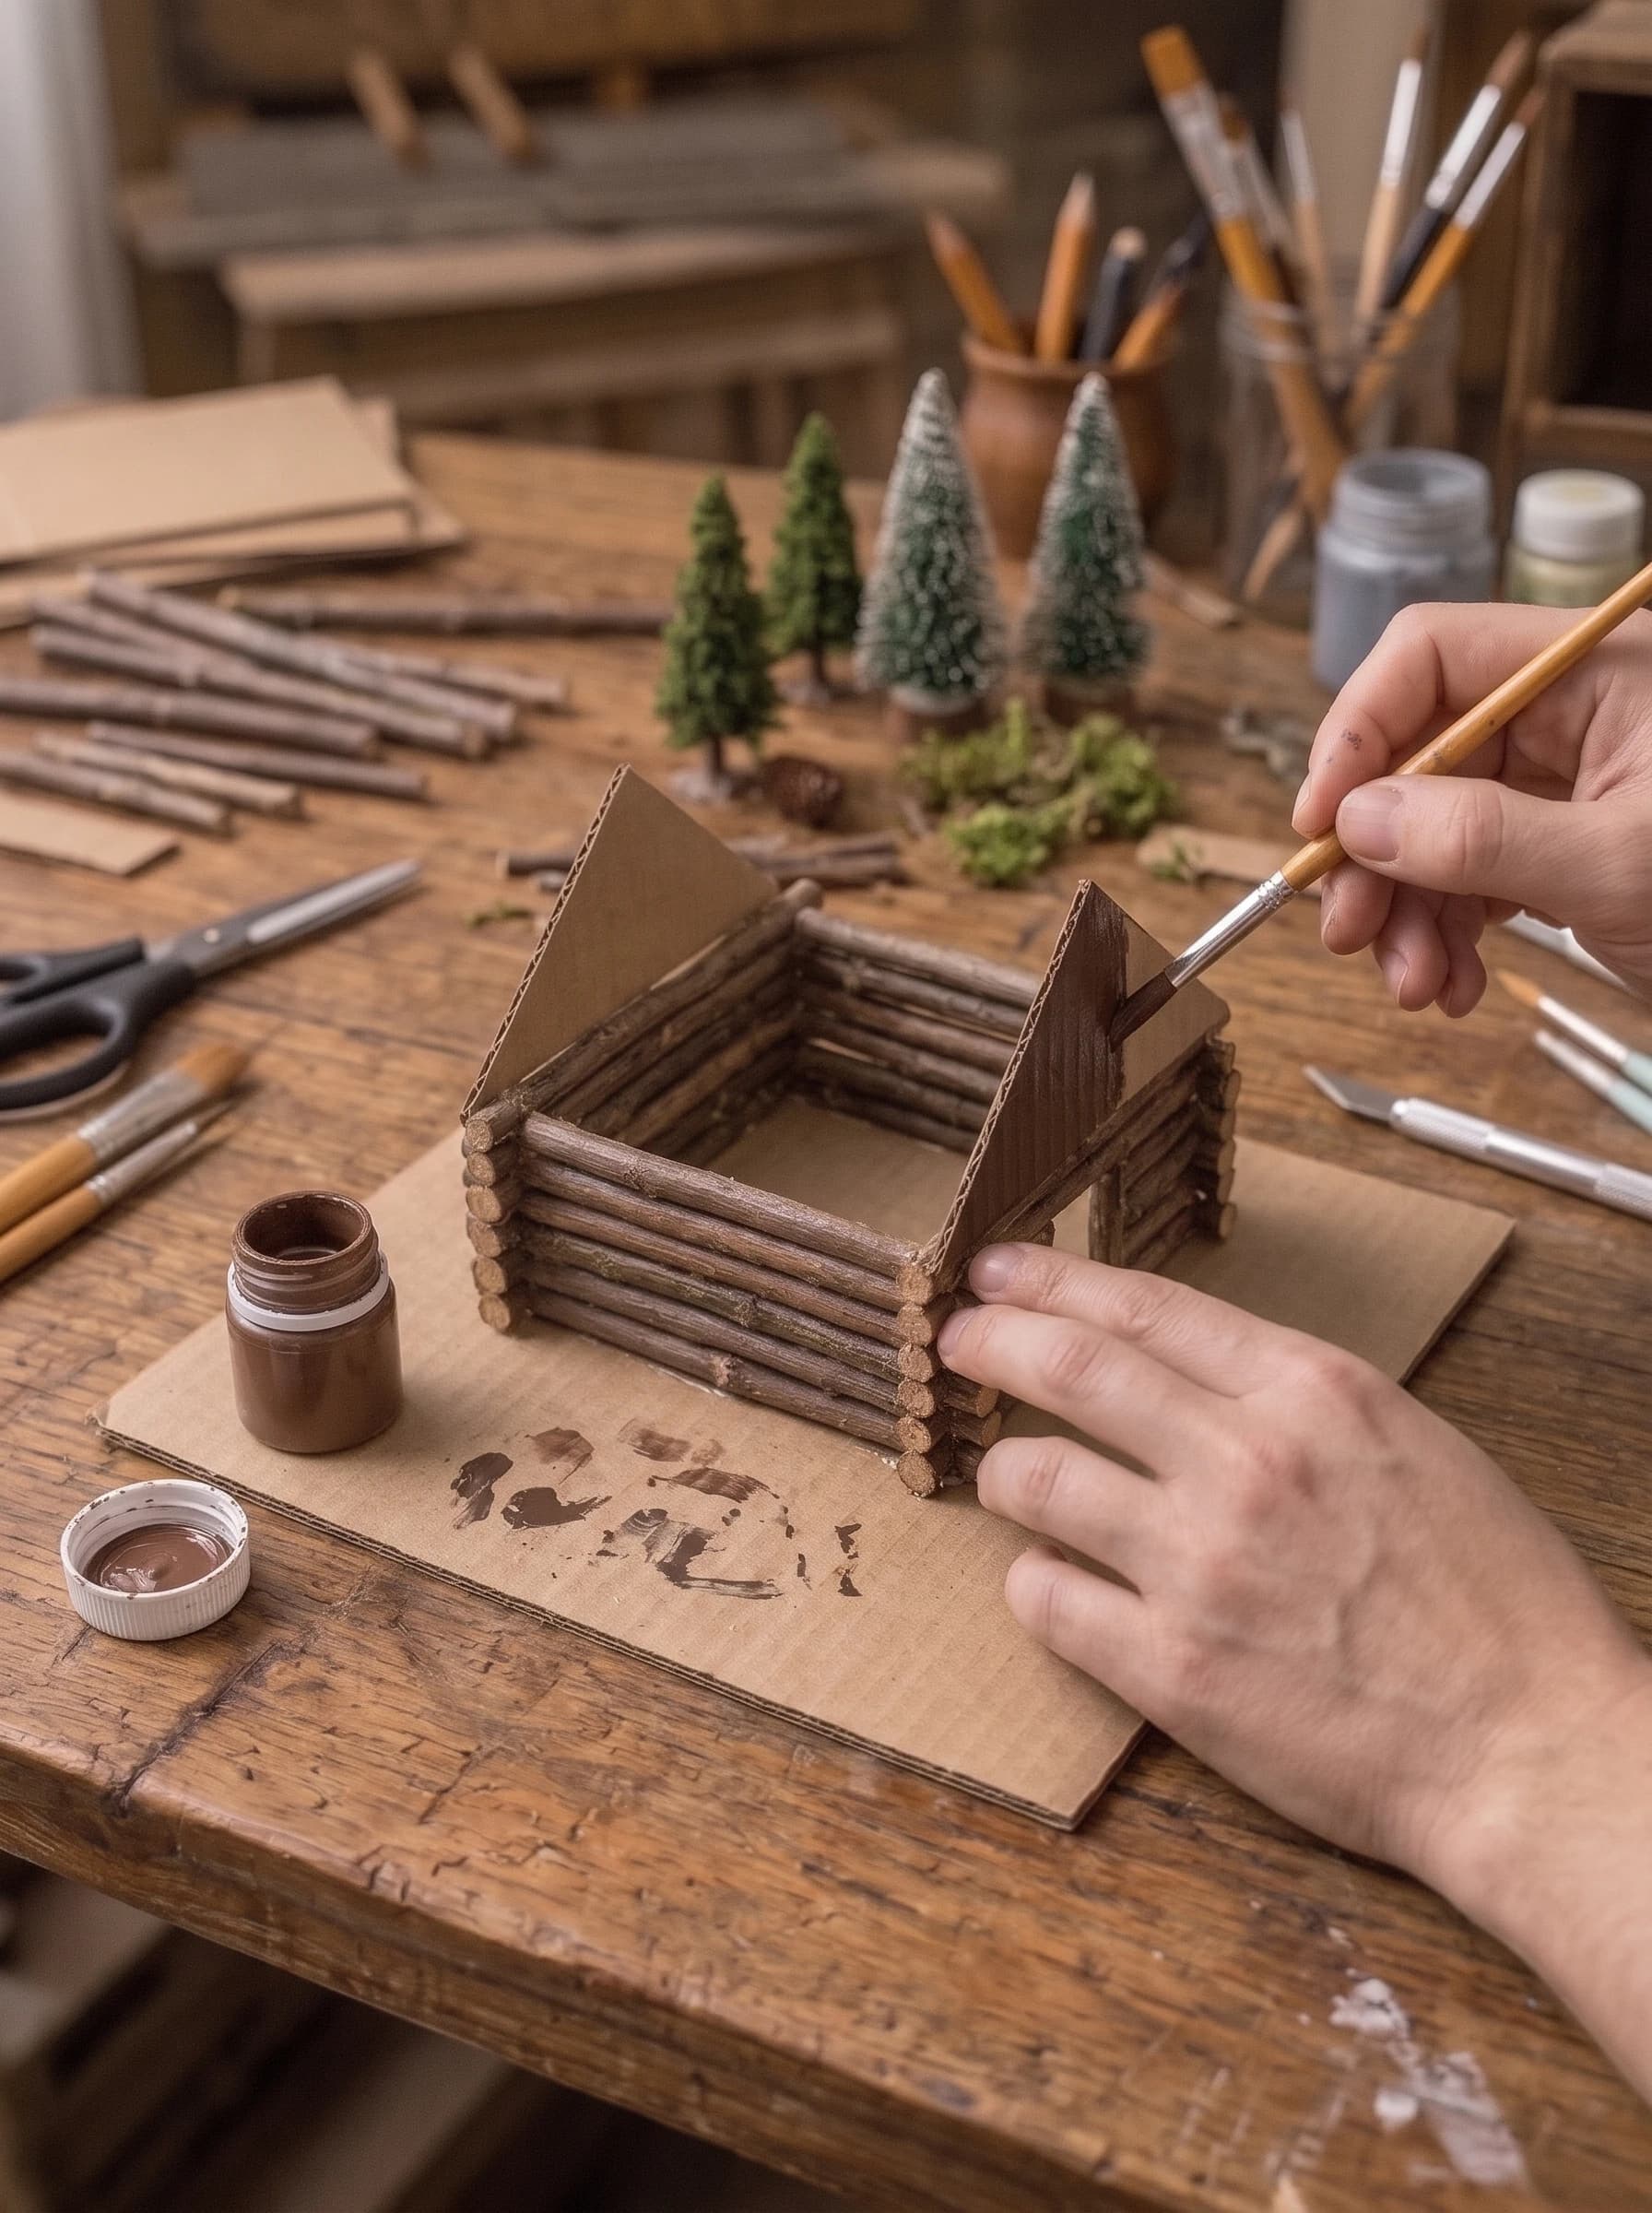
Cut two triangular pieces of flat cardboard to form the roof gables and glue them to the top of the front and back walls. Once secure, use watered-down brown acrylic paint to give the logs and the cardboard gables a unified, weathered wood tone. Make sure to paint the inside edges of the door and windows.
Step 4: Attach the Roof and Chimney
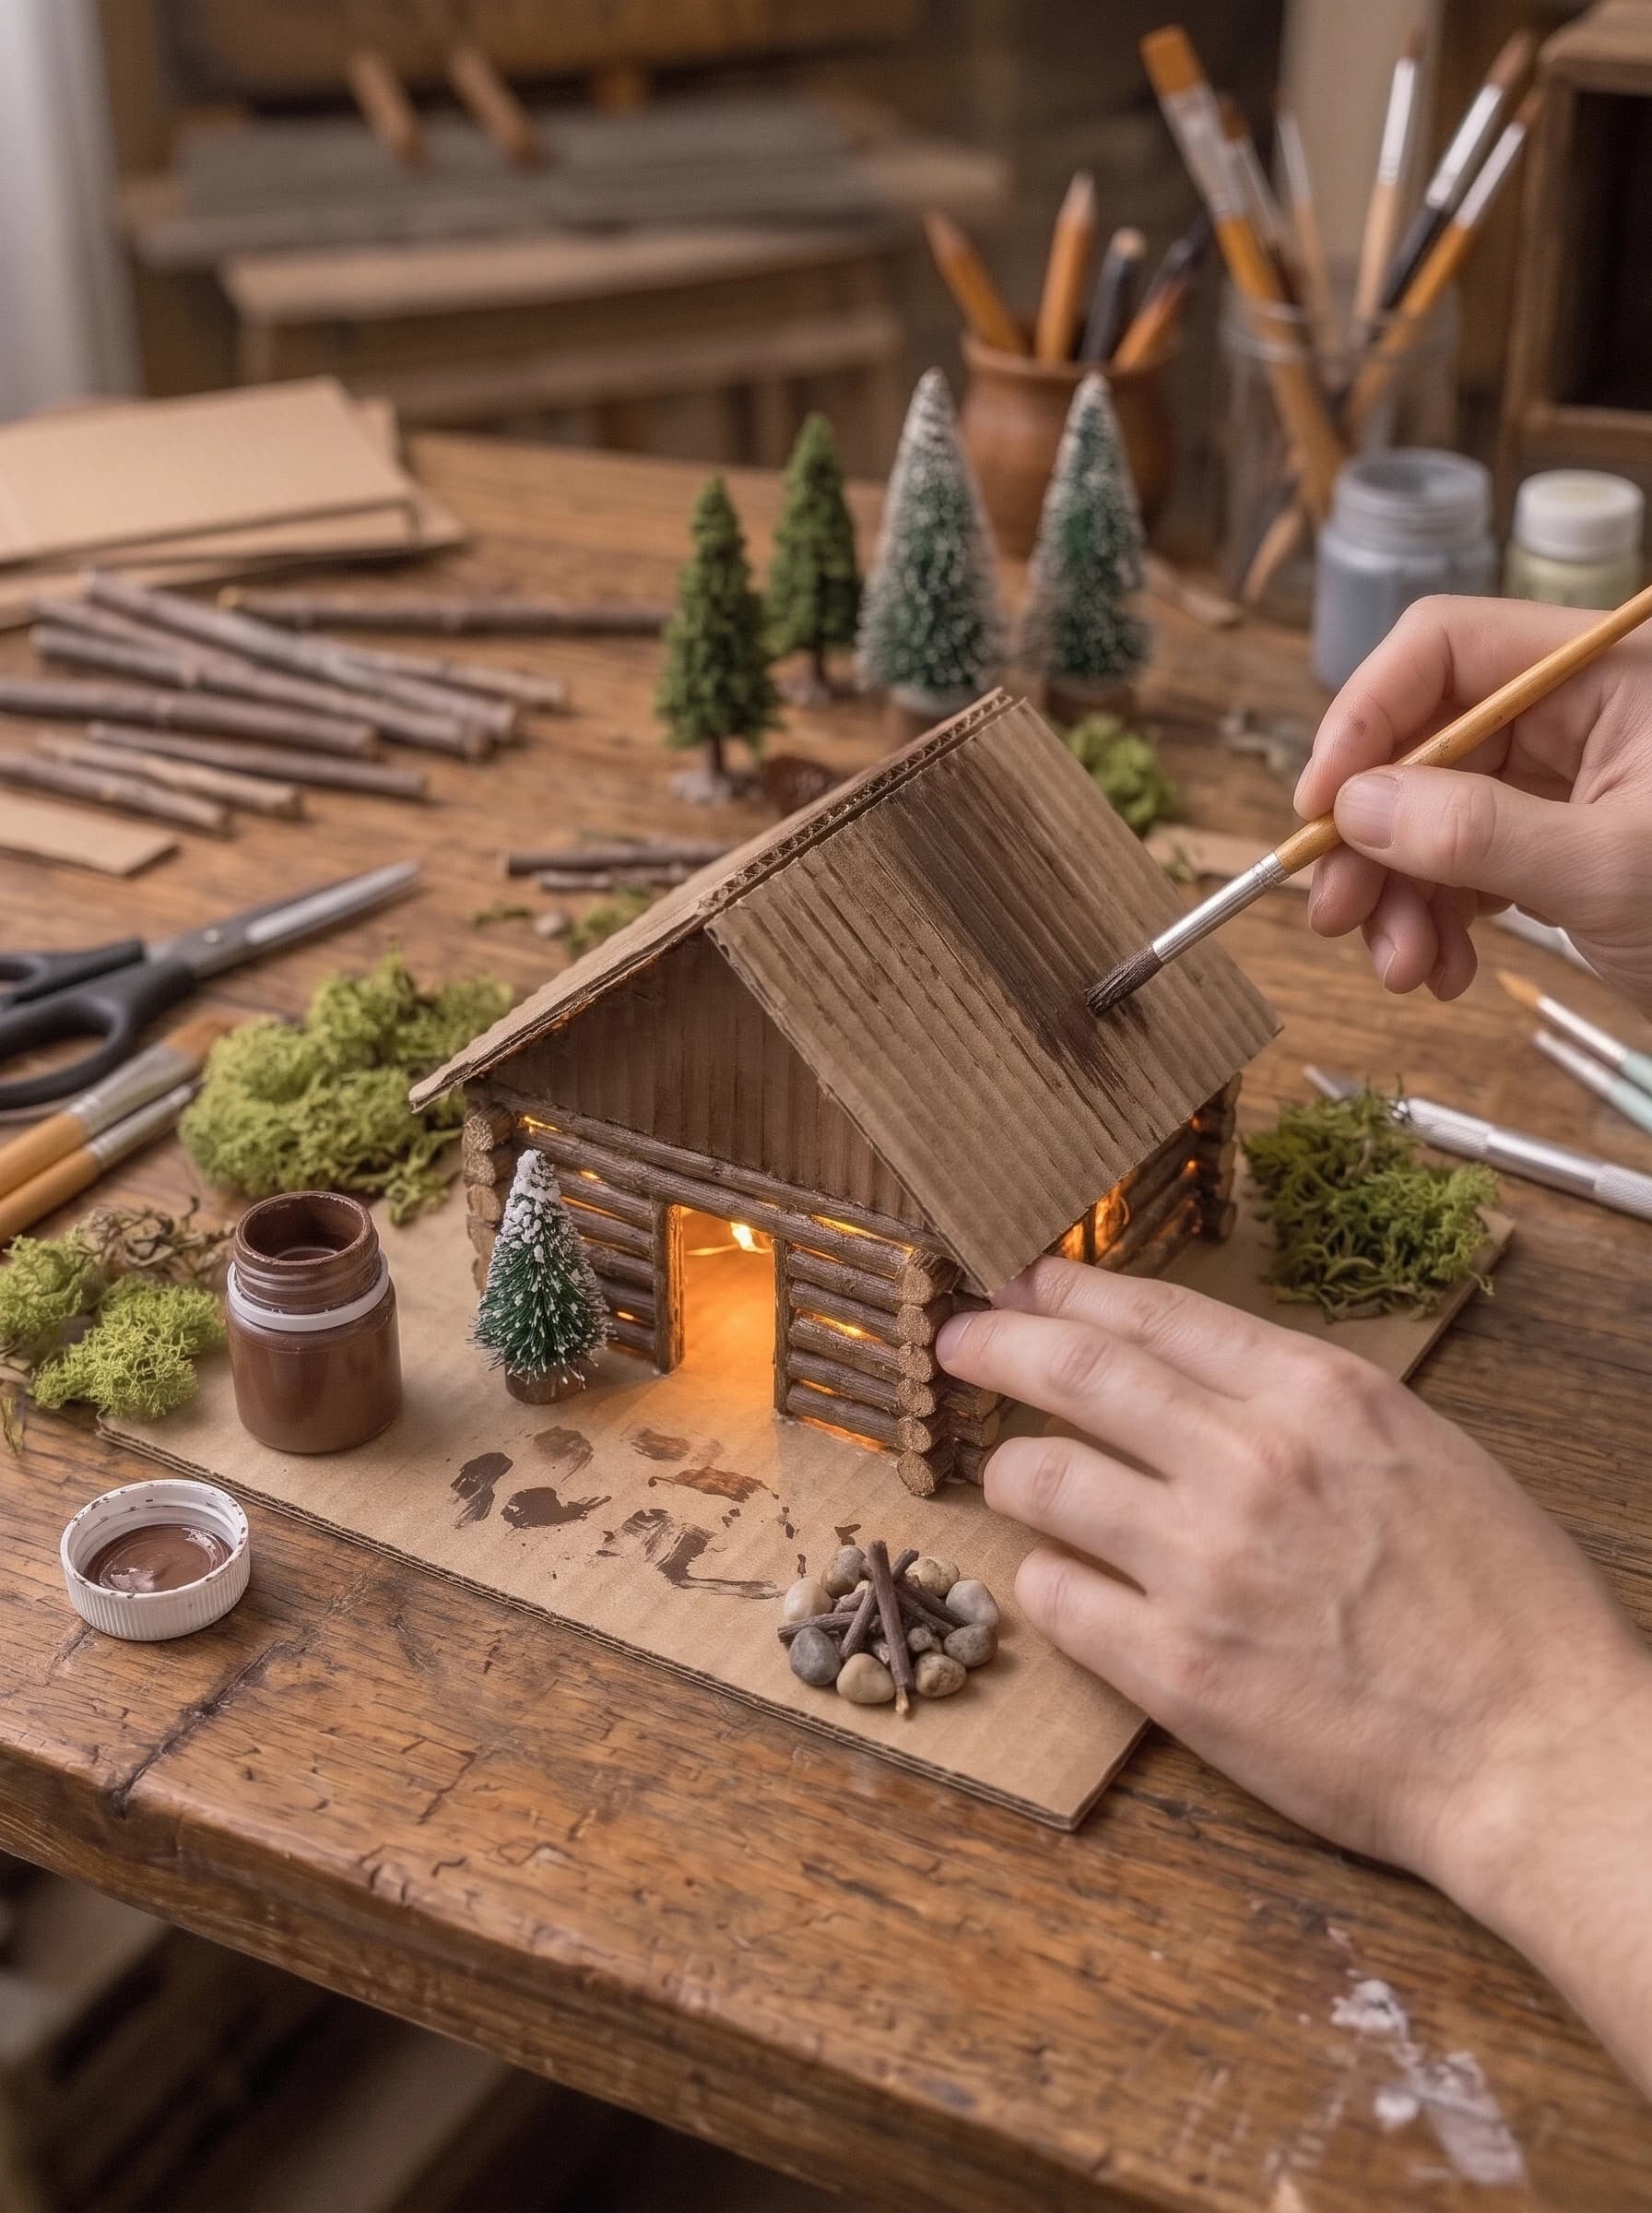
Measure the distance over the roof gables and cut a rectangle of corrugated cardboard to fit, leaving a 0.5-inch overhang. Score it down the middle, fold it, and glue it to the gables. Construct a small rectangular chimney from scrap cardboard, paint it with a stone texture, and glue it to the side of the roof.
Step 5: Landscape the Scene
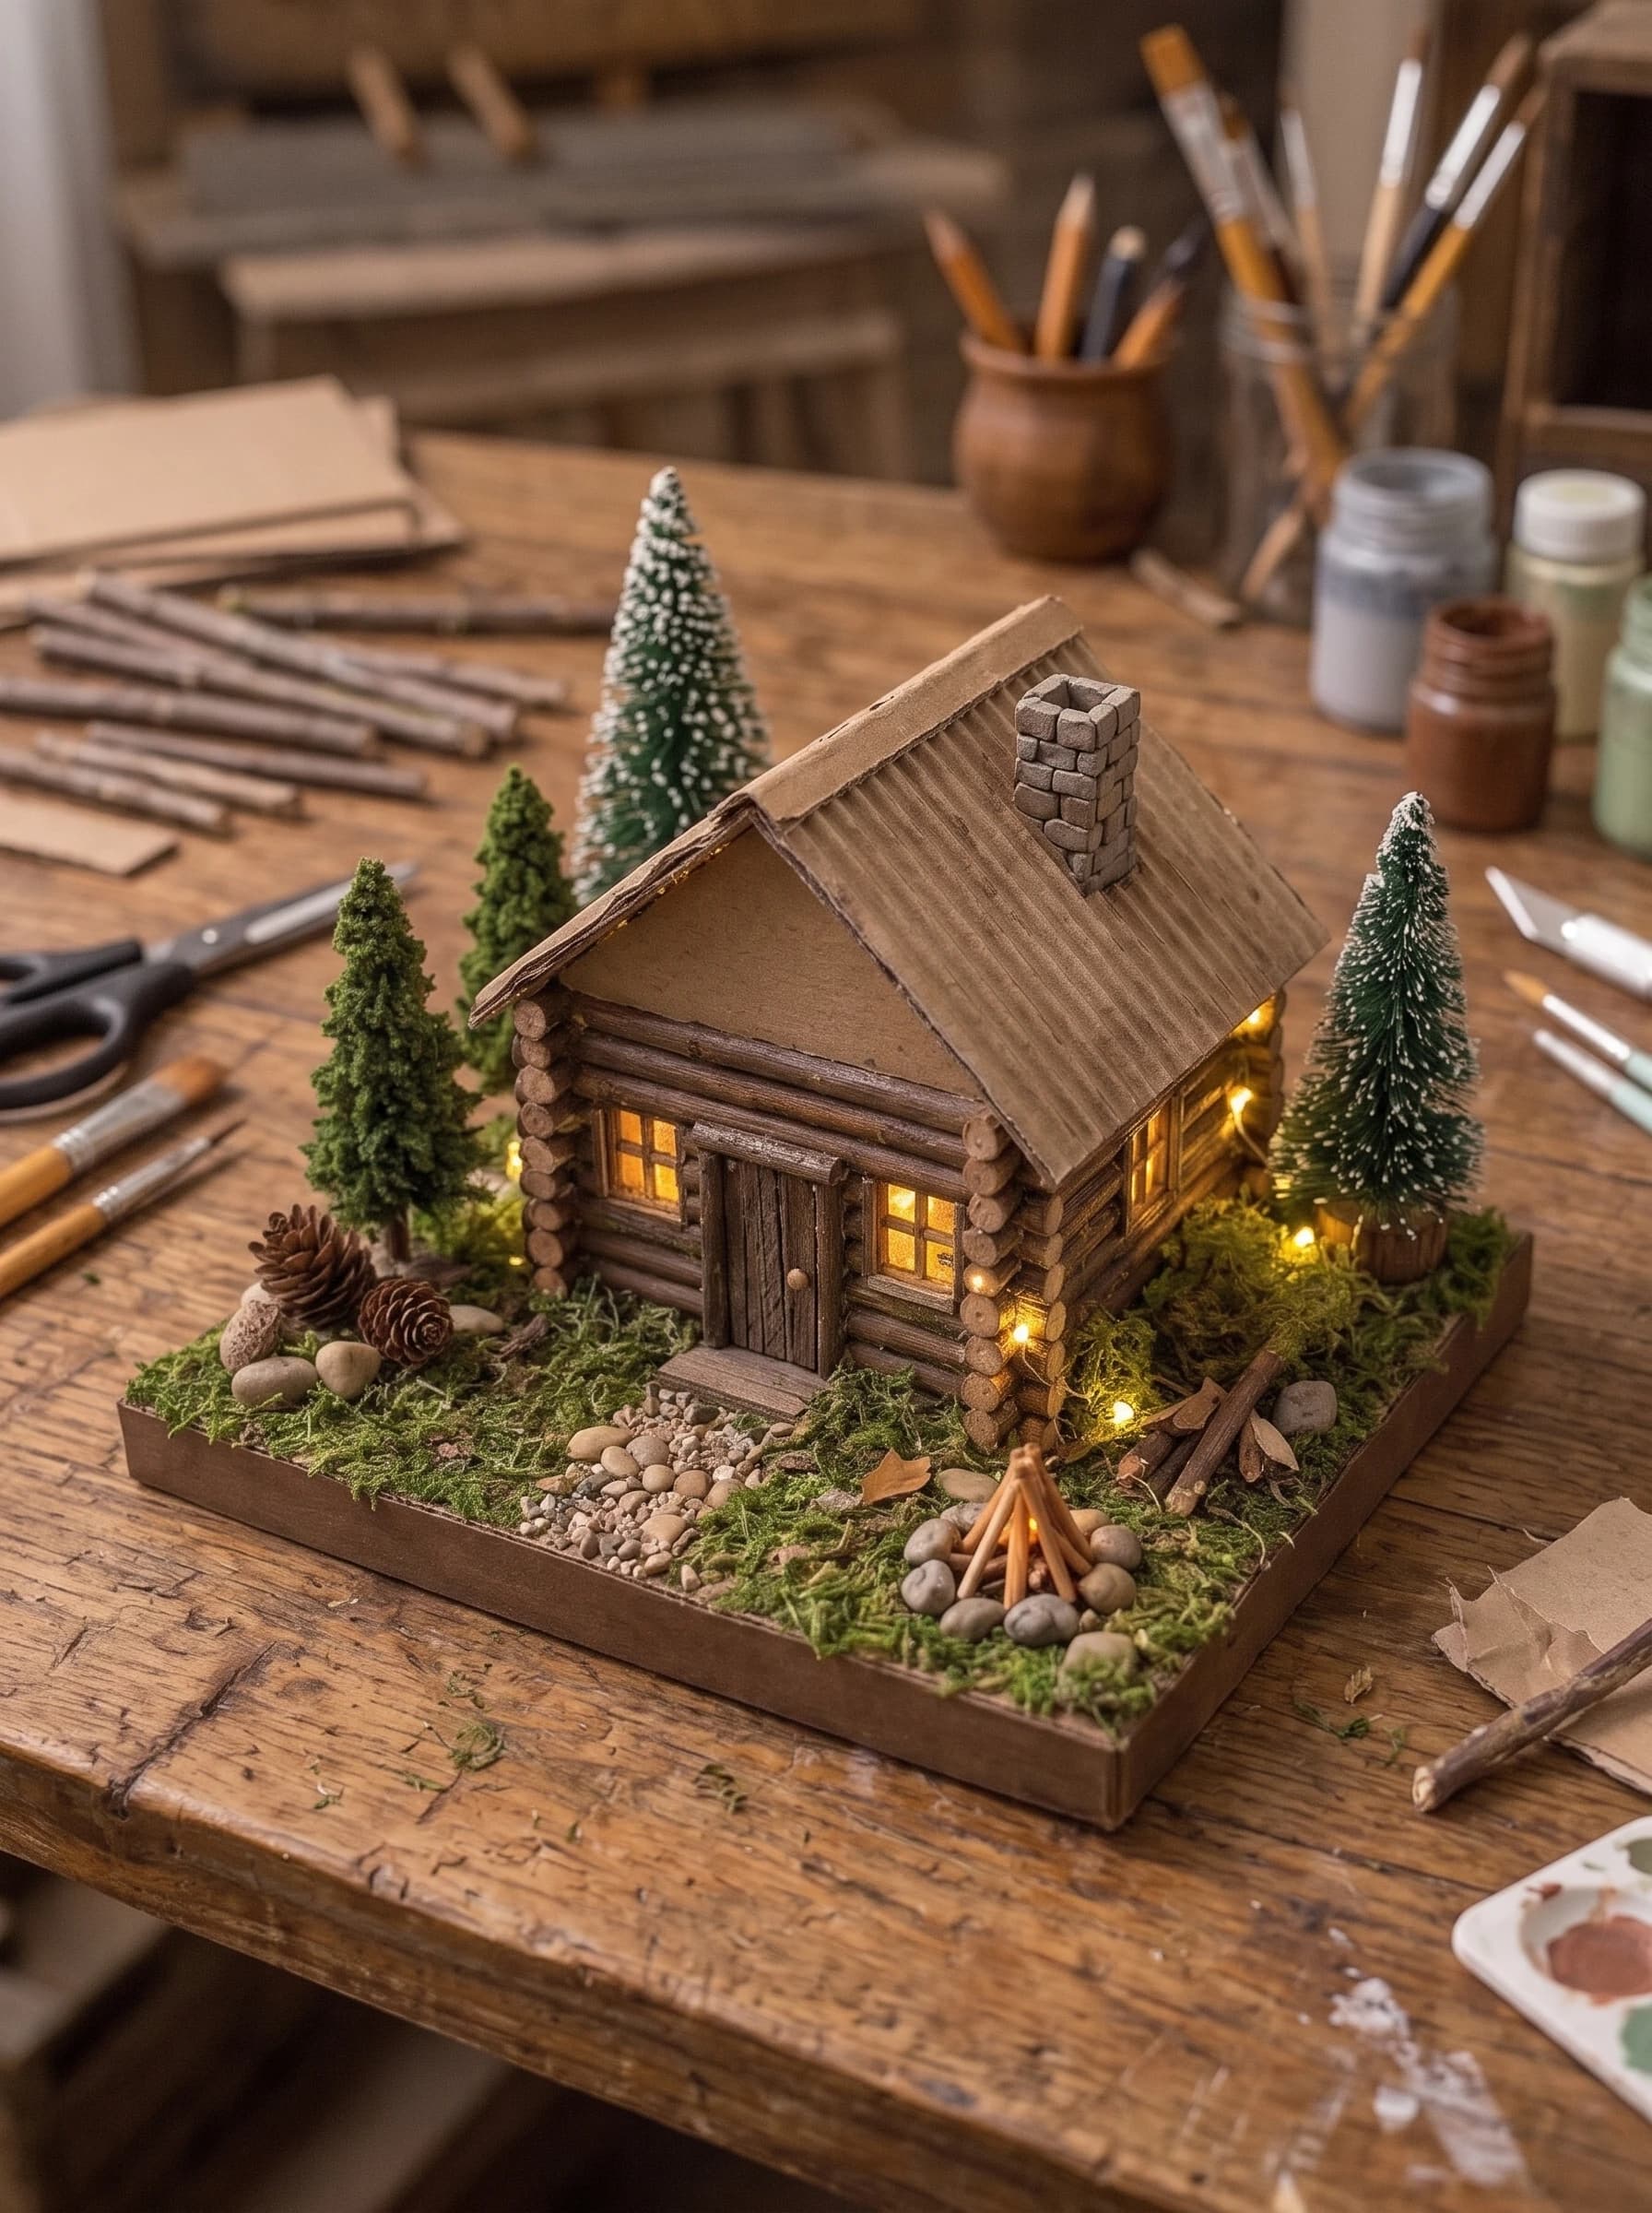
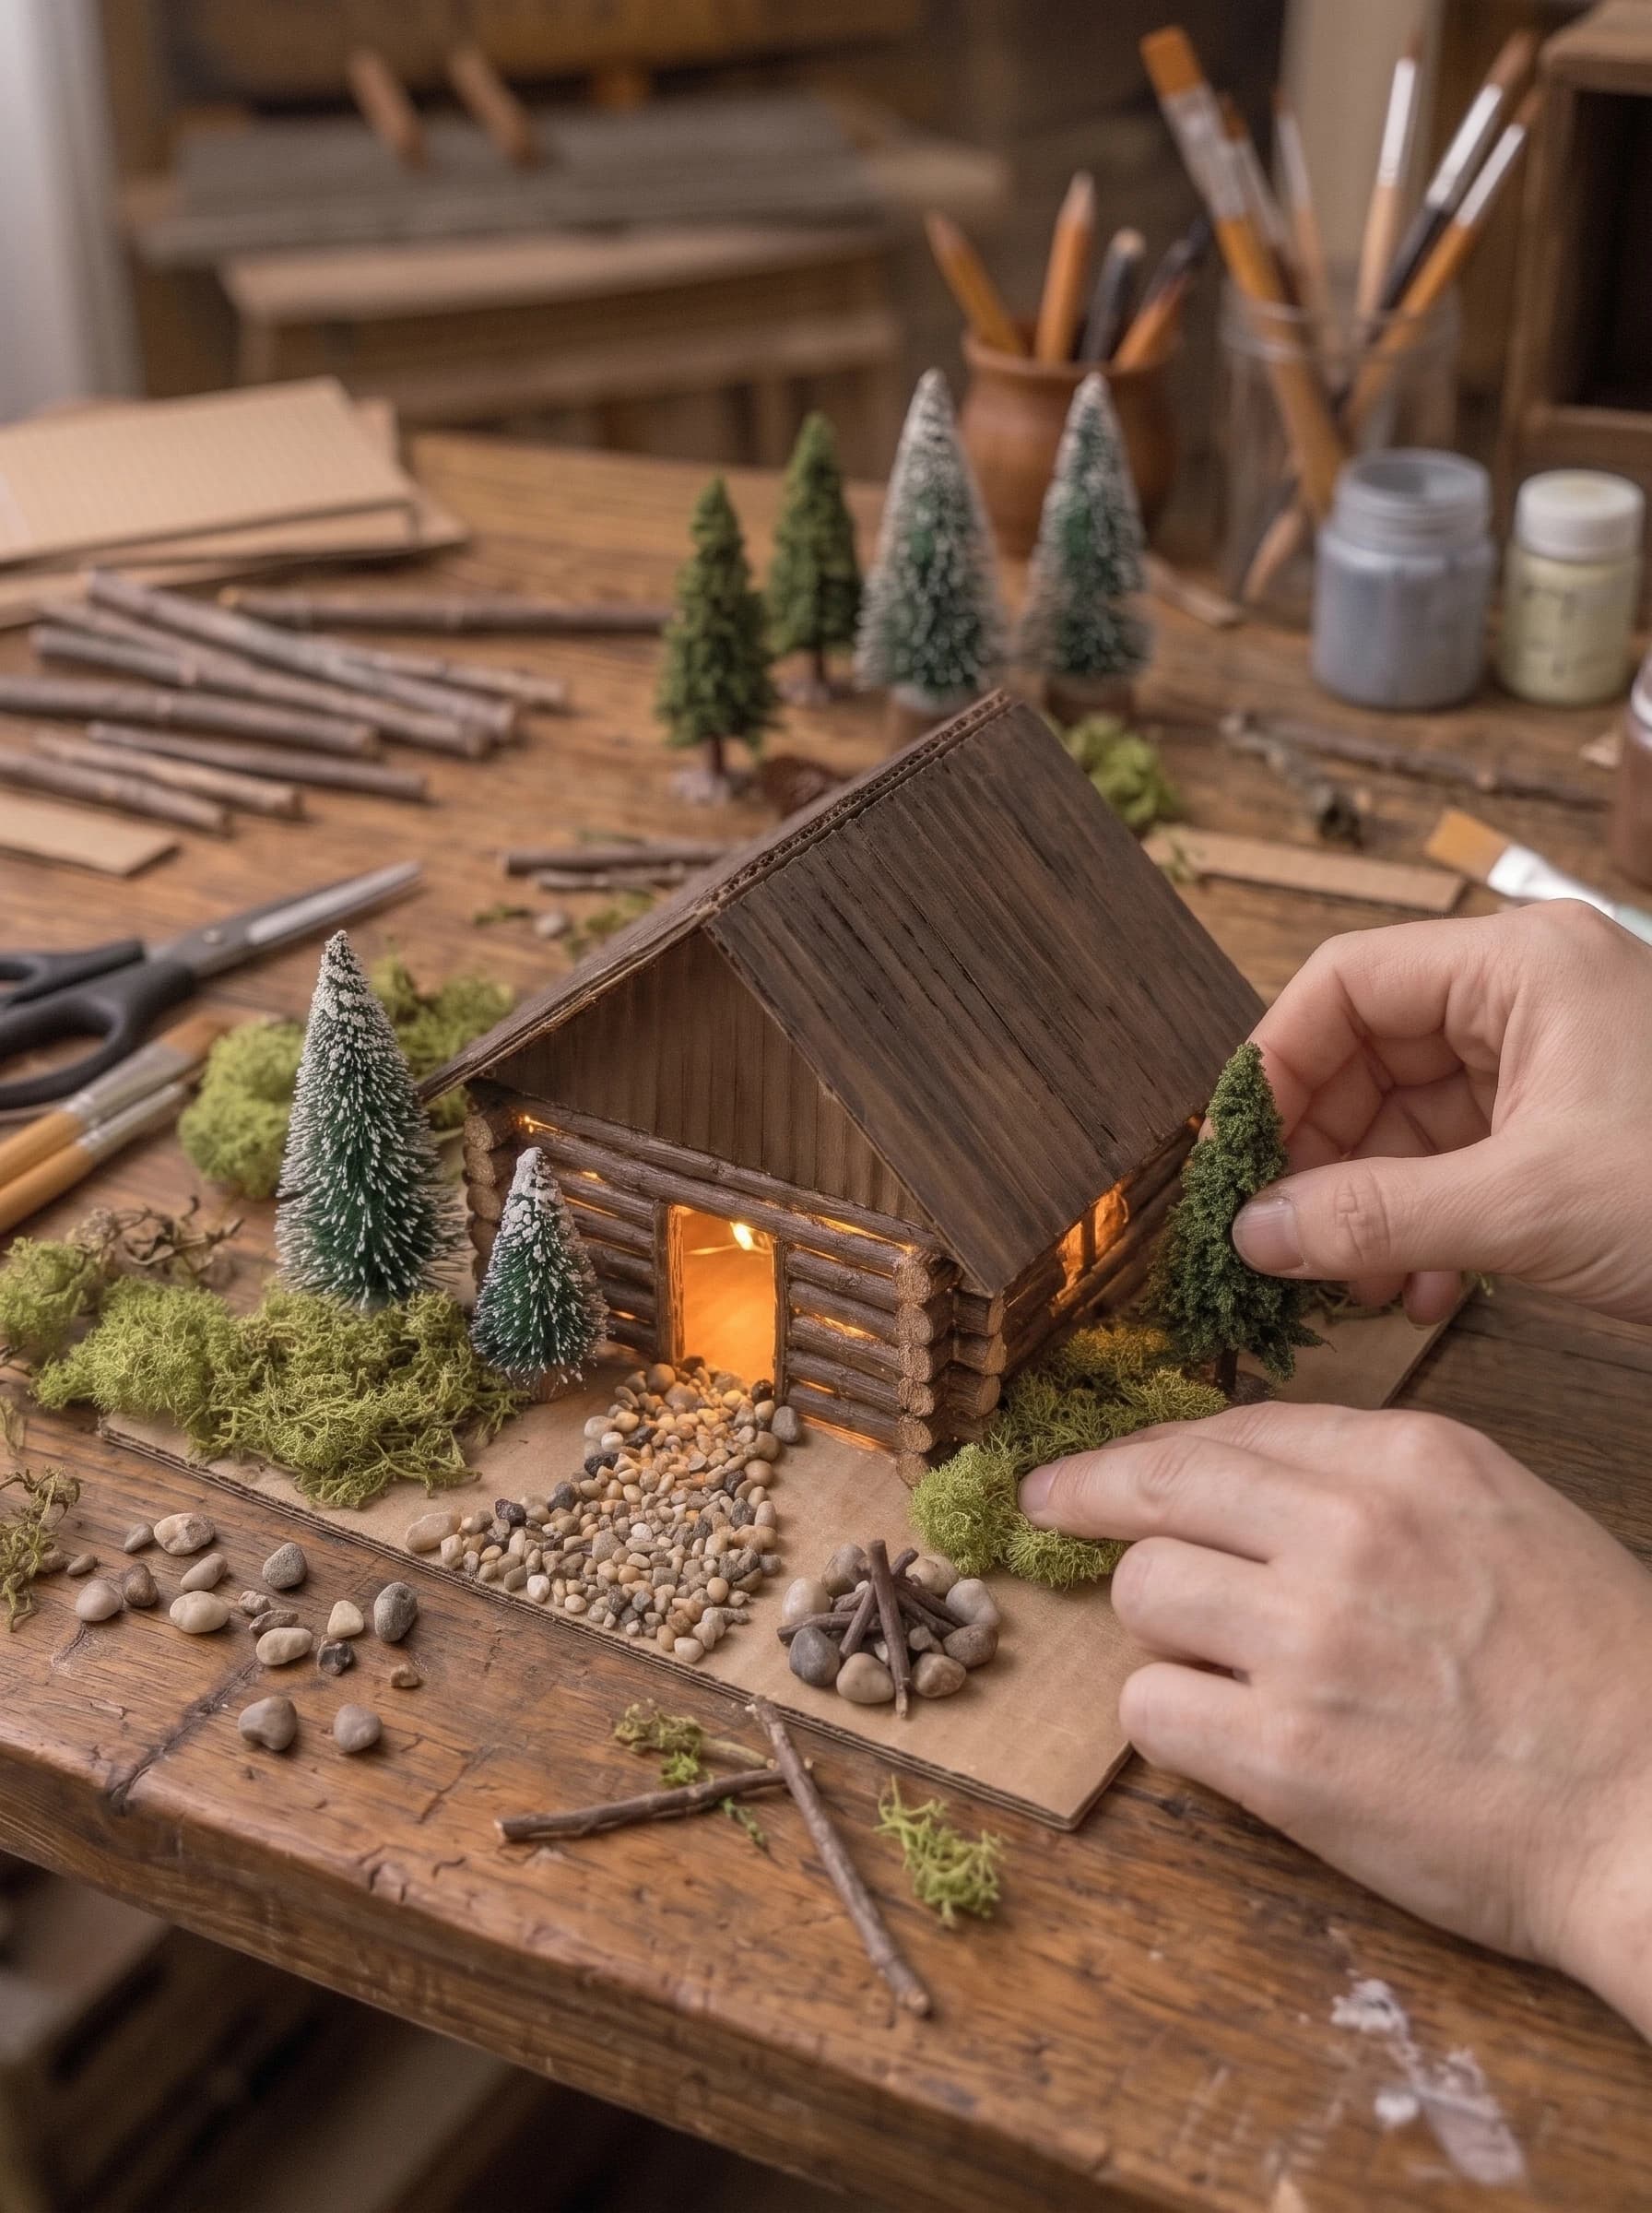
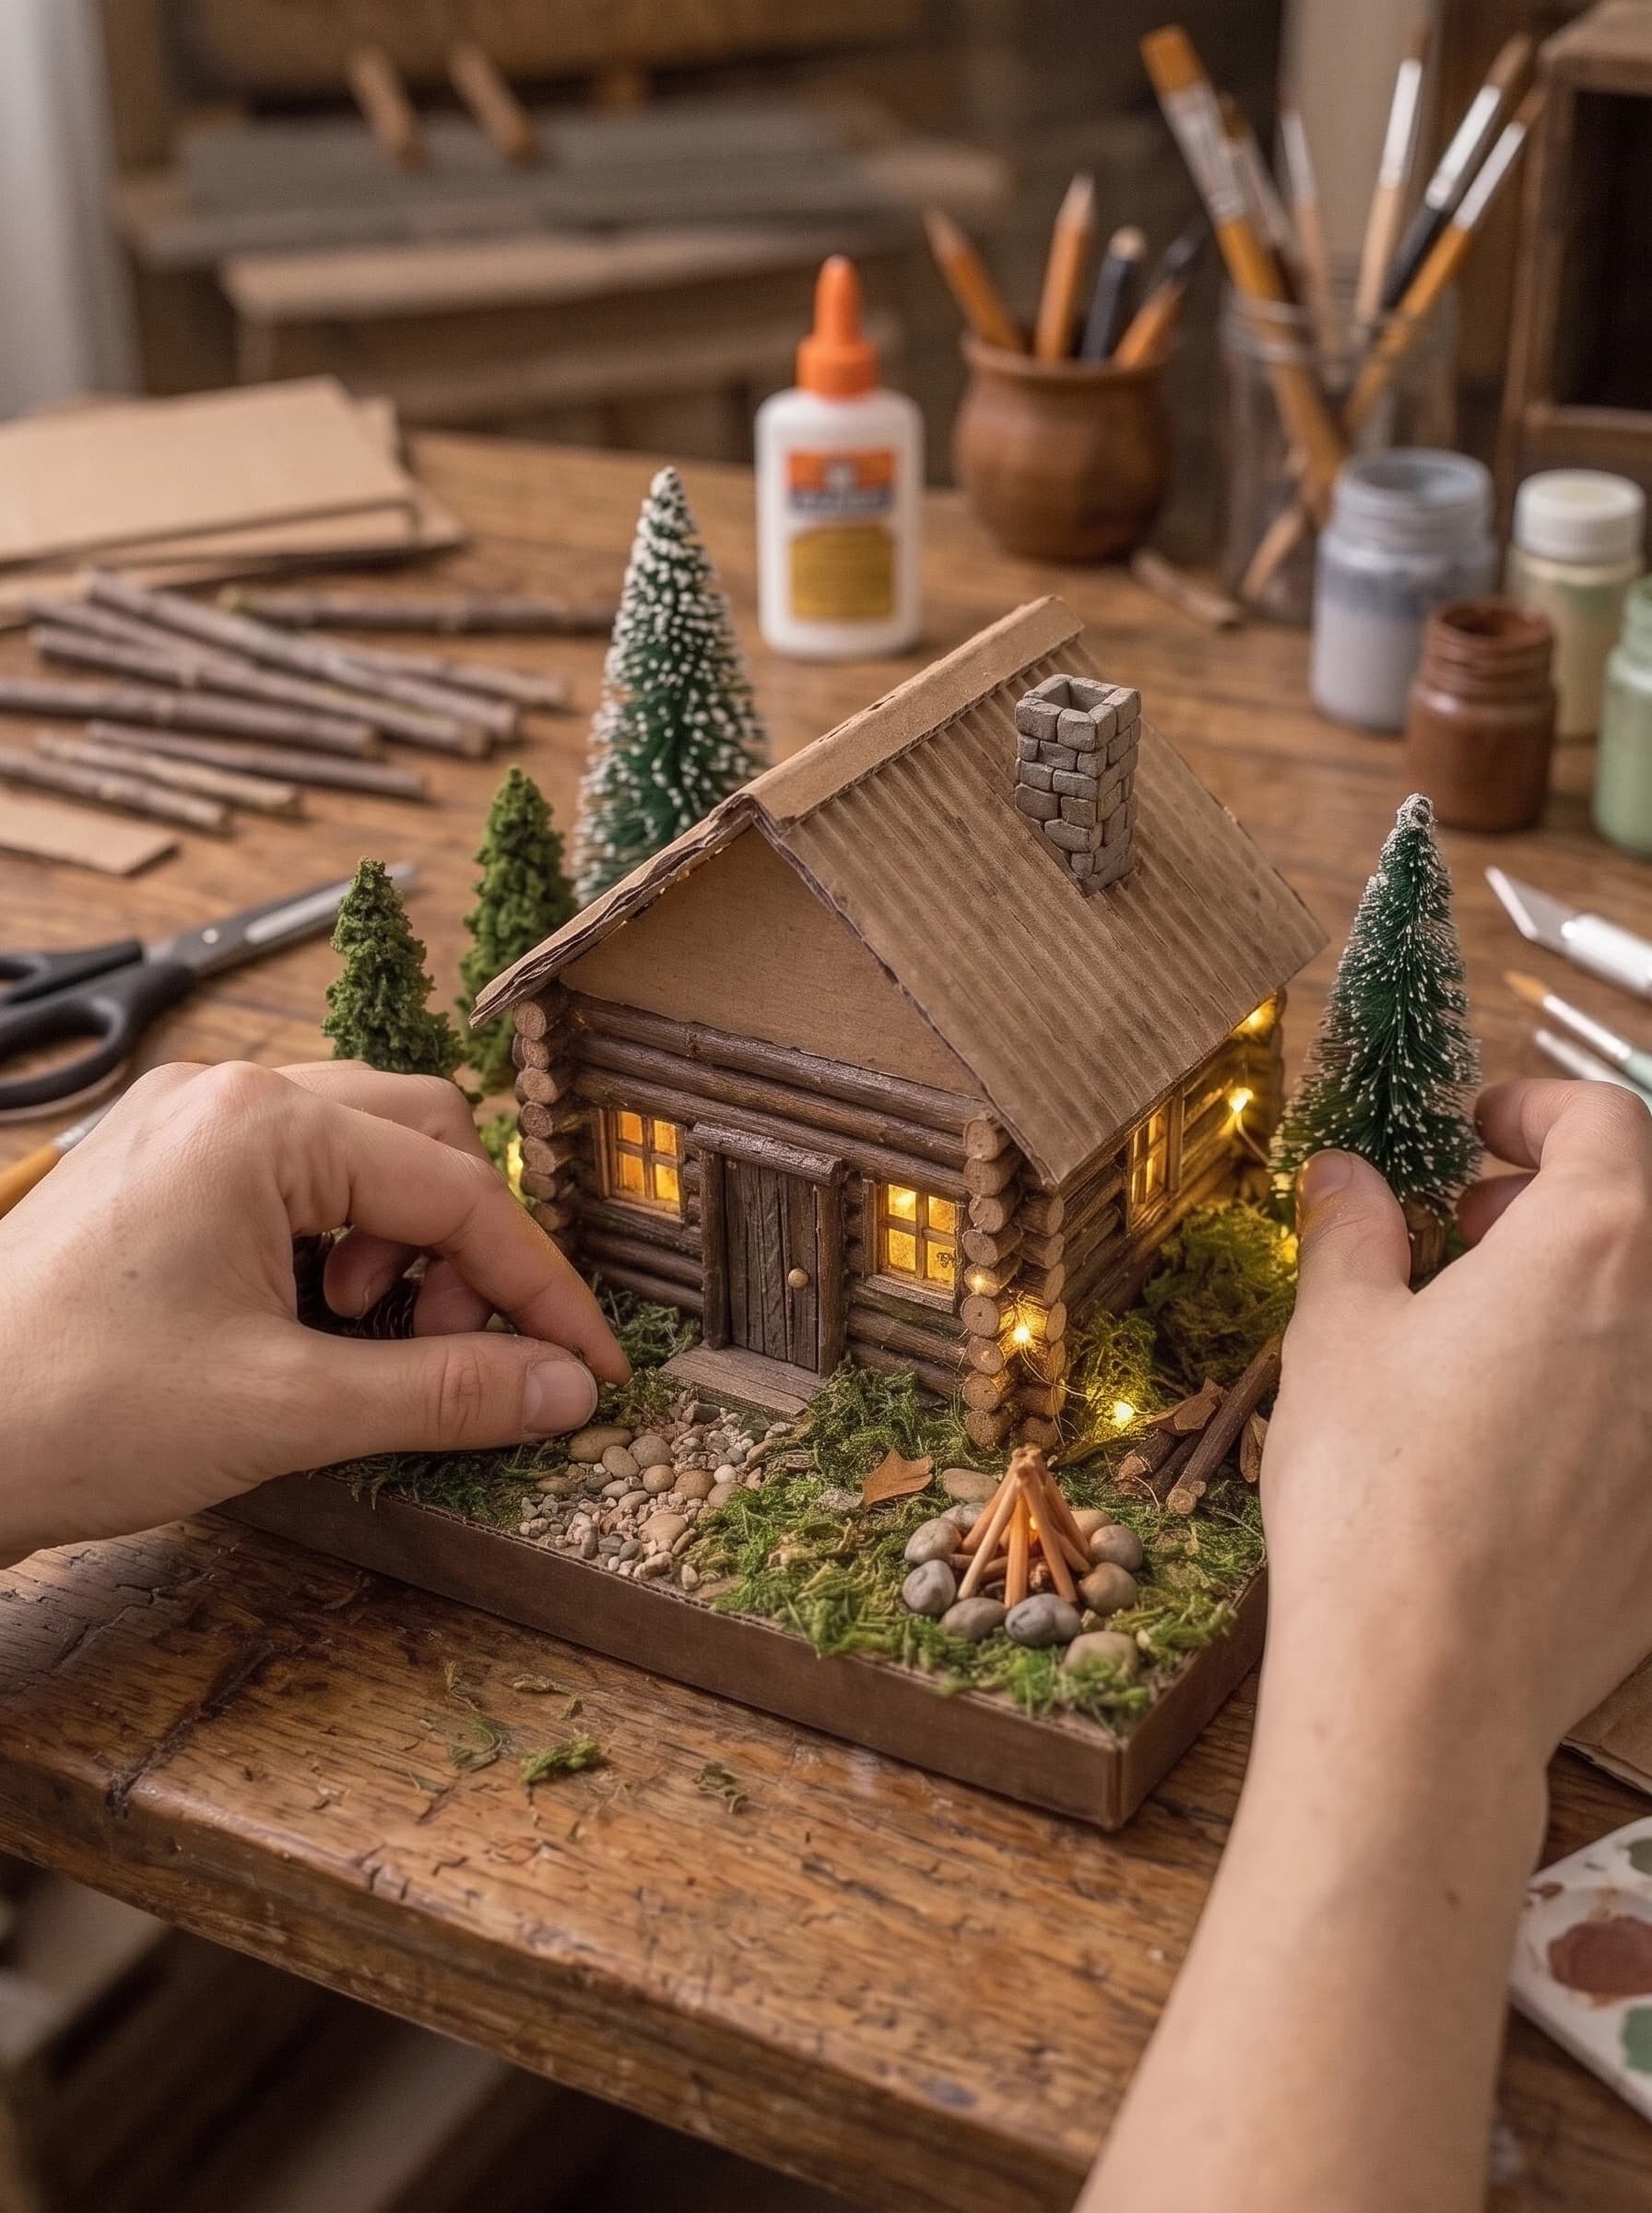
Cover the exposed cardboard base with a generous layer of hot glue and press faux moss into it. Create a small pathway leading to the door using tiny pebbles. Plant miniature pine trees around the cabin by securing their bases with extra glue and covering the joints with moss.
Step 6: Final Details and Lighting
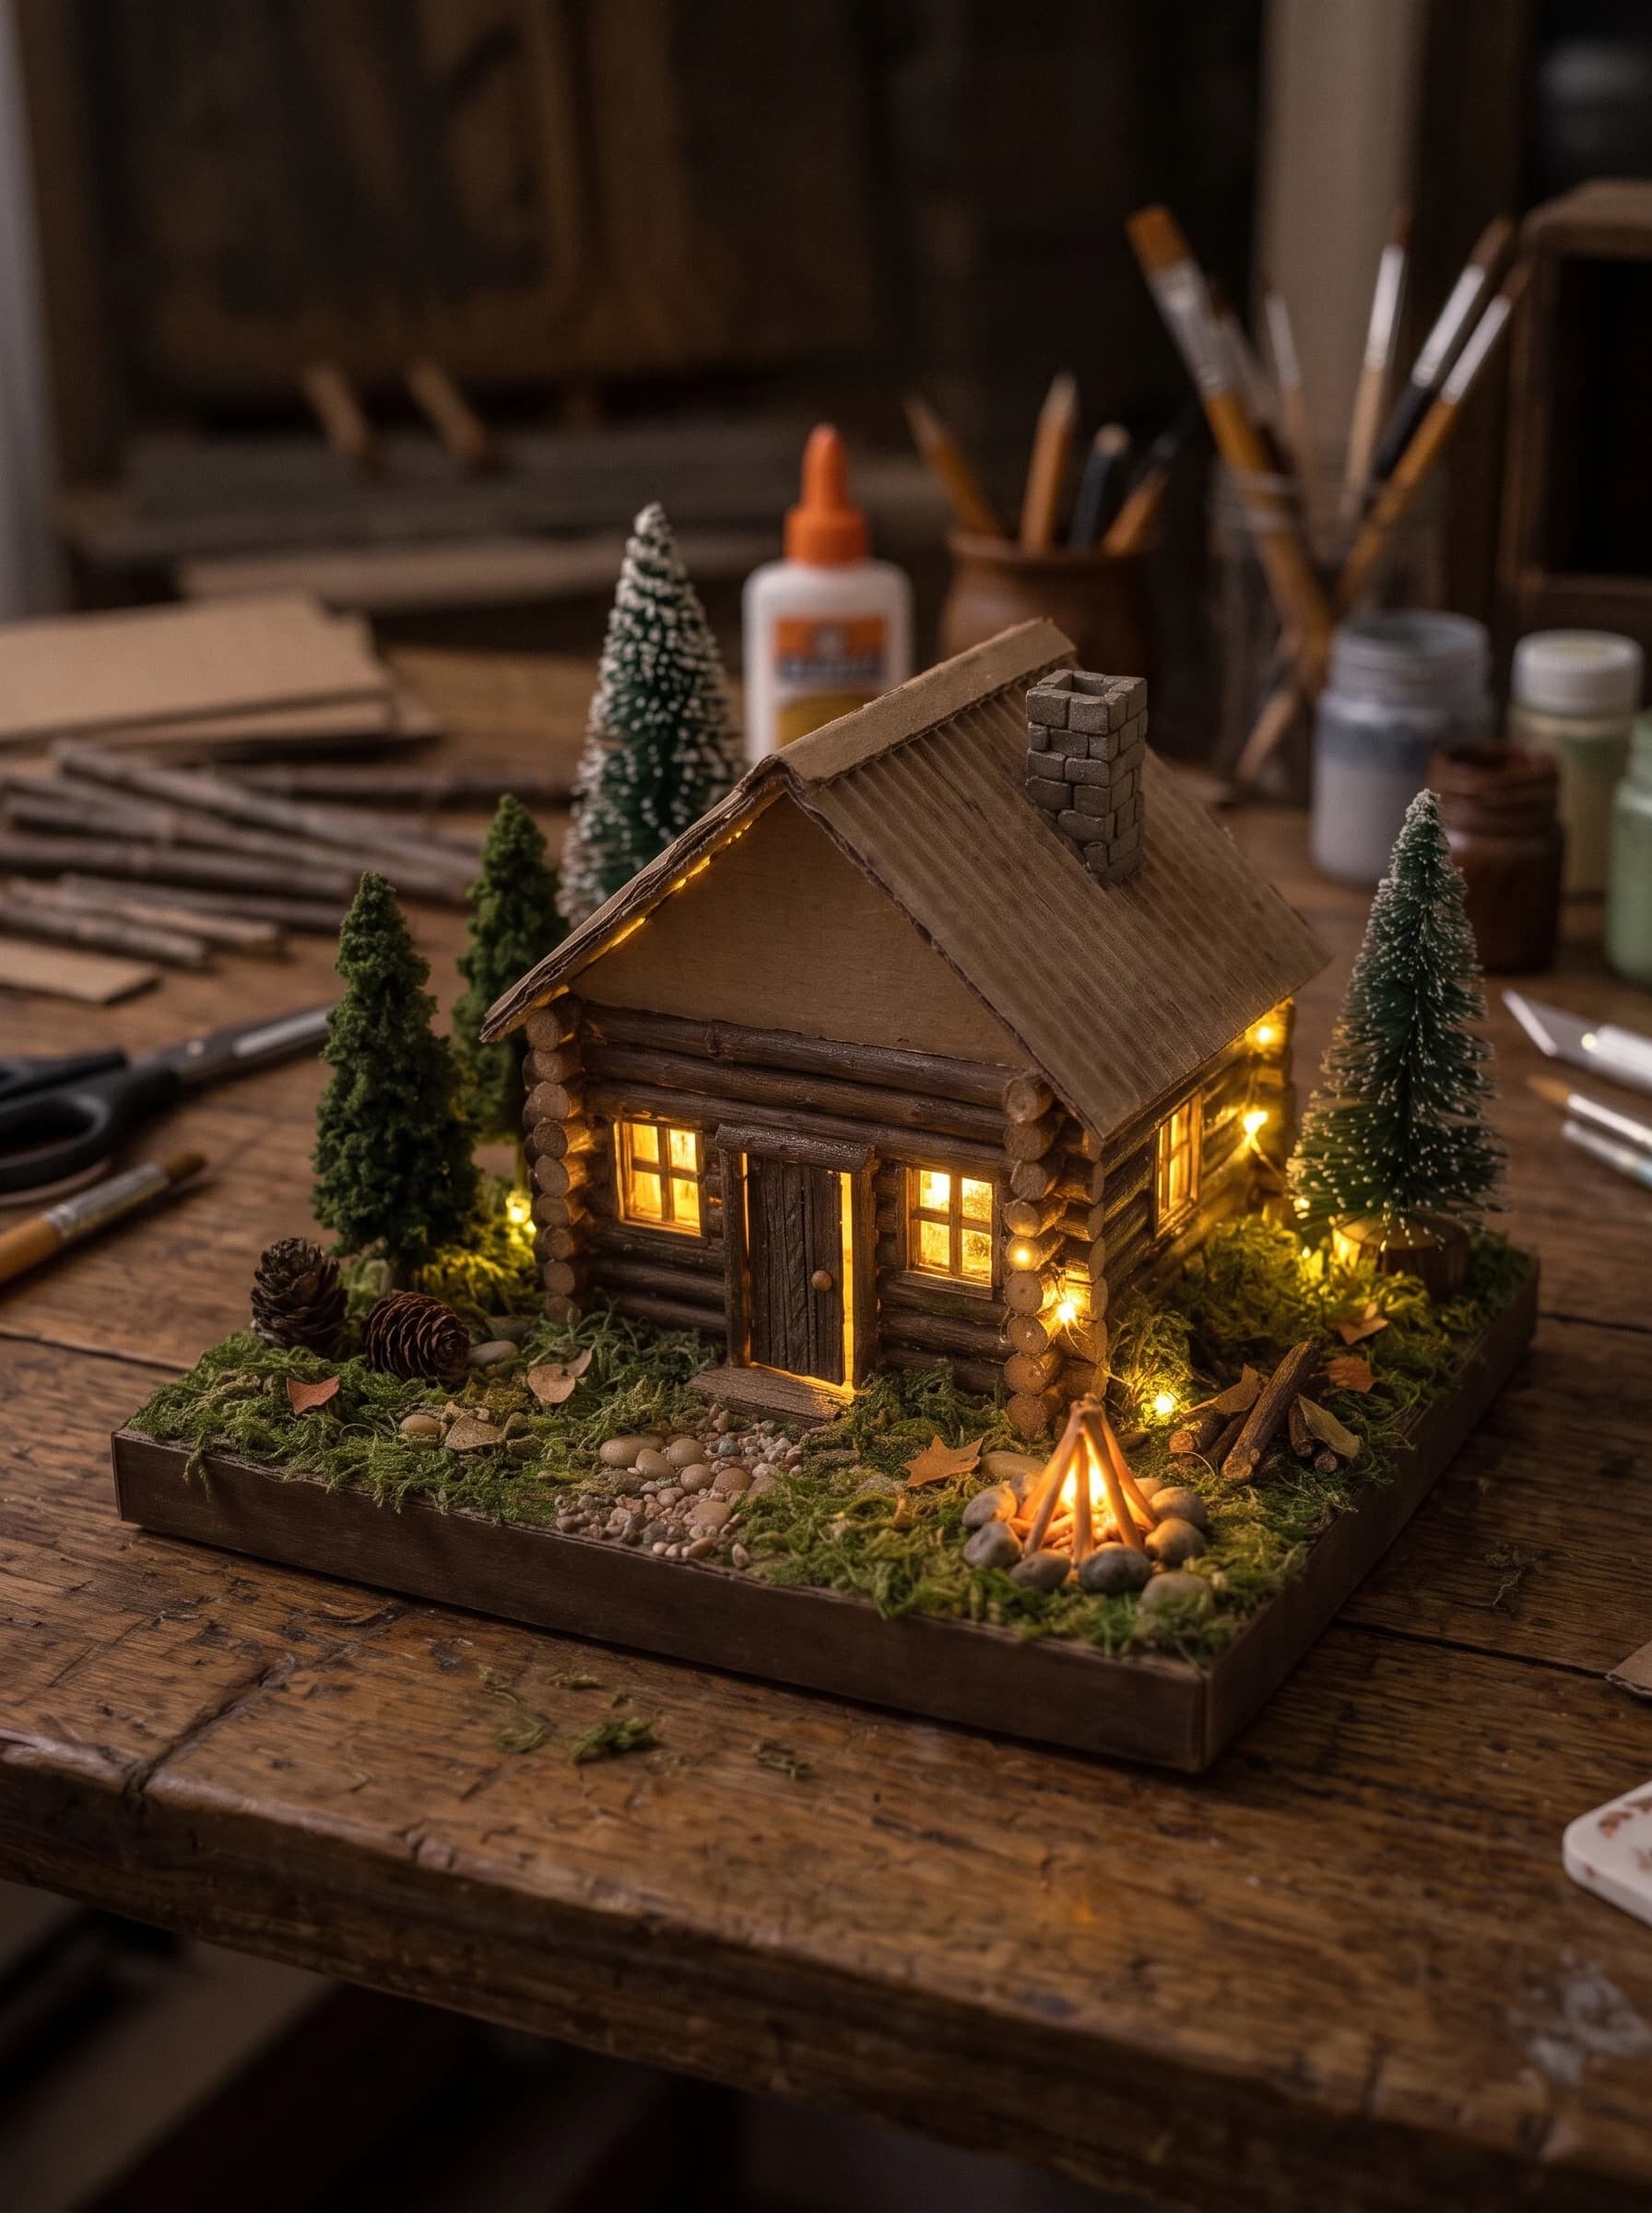
Add a tiny twig campfire in the front yard. For a magical touch, weave a short strand of battery-operated LED lights inside the cabin and route a bulb into the campfire ring. Tuck the battery pack behind the house where it cannot be seen.
The Finished Project
Tips for a Professional Finish
- Peel one side of the corrugated cardboard carefully to expose the ridges for the roof.
- Use dry brushing (a brush with very little white or grey paint) to highlight the texture of the twigs.
- Mix different shades of green moss to make the grass look more natural.
- Hide hot glue strings by hitting the finished piece briefly with a warm hair dryer.
- Add a tiny piece of clear plastic behind the windows to simulate glass.
Frequently Asked Questions
Can I use normal wood glue instead of hot glue?
Yes, but it will dramatically increase the build time. Hot glue is recommended for this project because it sets in seconds, which is essential when stacking uneven twigs.
How do I make the chimney look like real stone?
Build a cardboard rectangle, paint it dark grey, and then use a small brush to dab on lighter grey and white 'stones'. You can also glue actual coarse sand to the cardboard before painting.
What if I can't find straight twigs?
You can substitute twigs with wooden craft dowels, thick matchsticks, or even tightly rolled tubes of brown paper (like paper straws) cut to size.
Is this safe for children to build?
The final cabin is a great toy, but the build process requires sharp tools and hot glue. An adult should handle all the cutting and gluing steps.
Conclusion
Now that you know how to make a miniature log cabin, you can customize it with endless details. From expanding the woodland diorama to building miniature furniture for the interior, the possibilities are vast. This project proves that with some basic cardboard and a handful of twigs, you can create stunning miniature art.
More in this topic: all Craft tutorials