
How to Make a Miniature Gramophone from Wood and Paper (Easy 1:12 Tutorial)
- Difficulty
- Beginner
- Scale
- 1:12
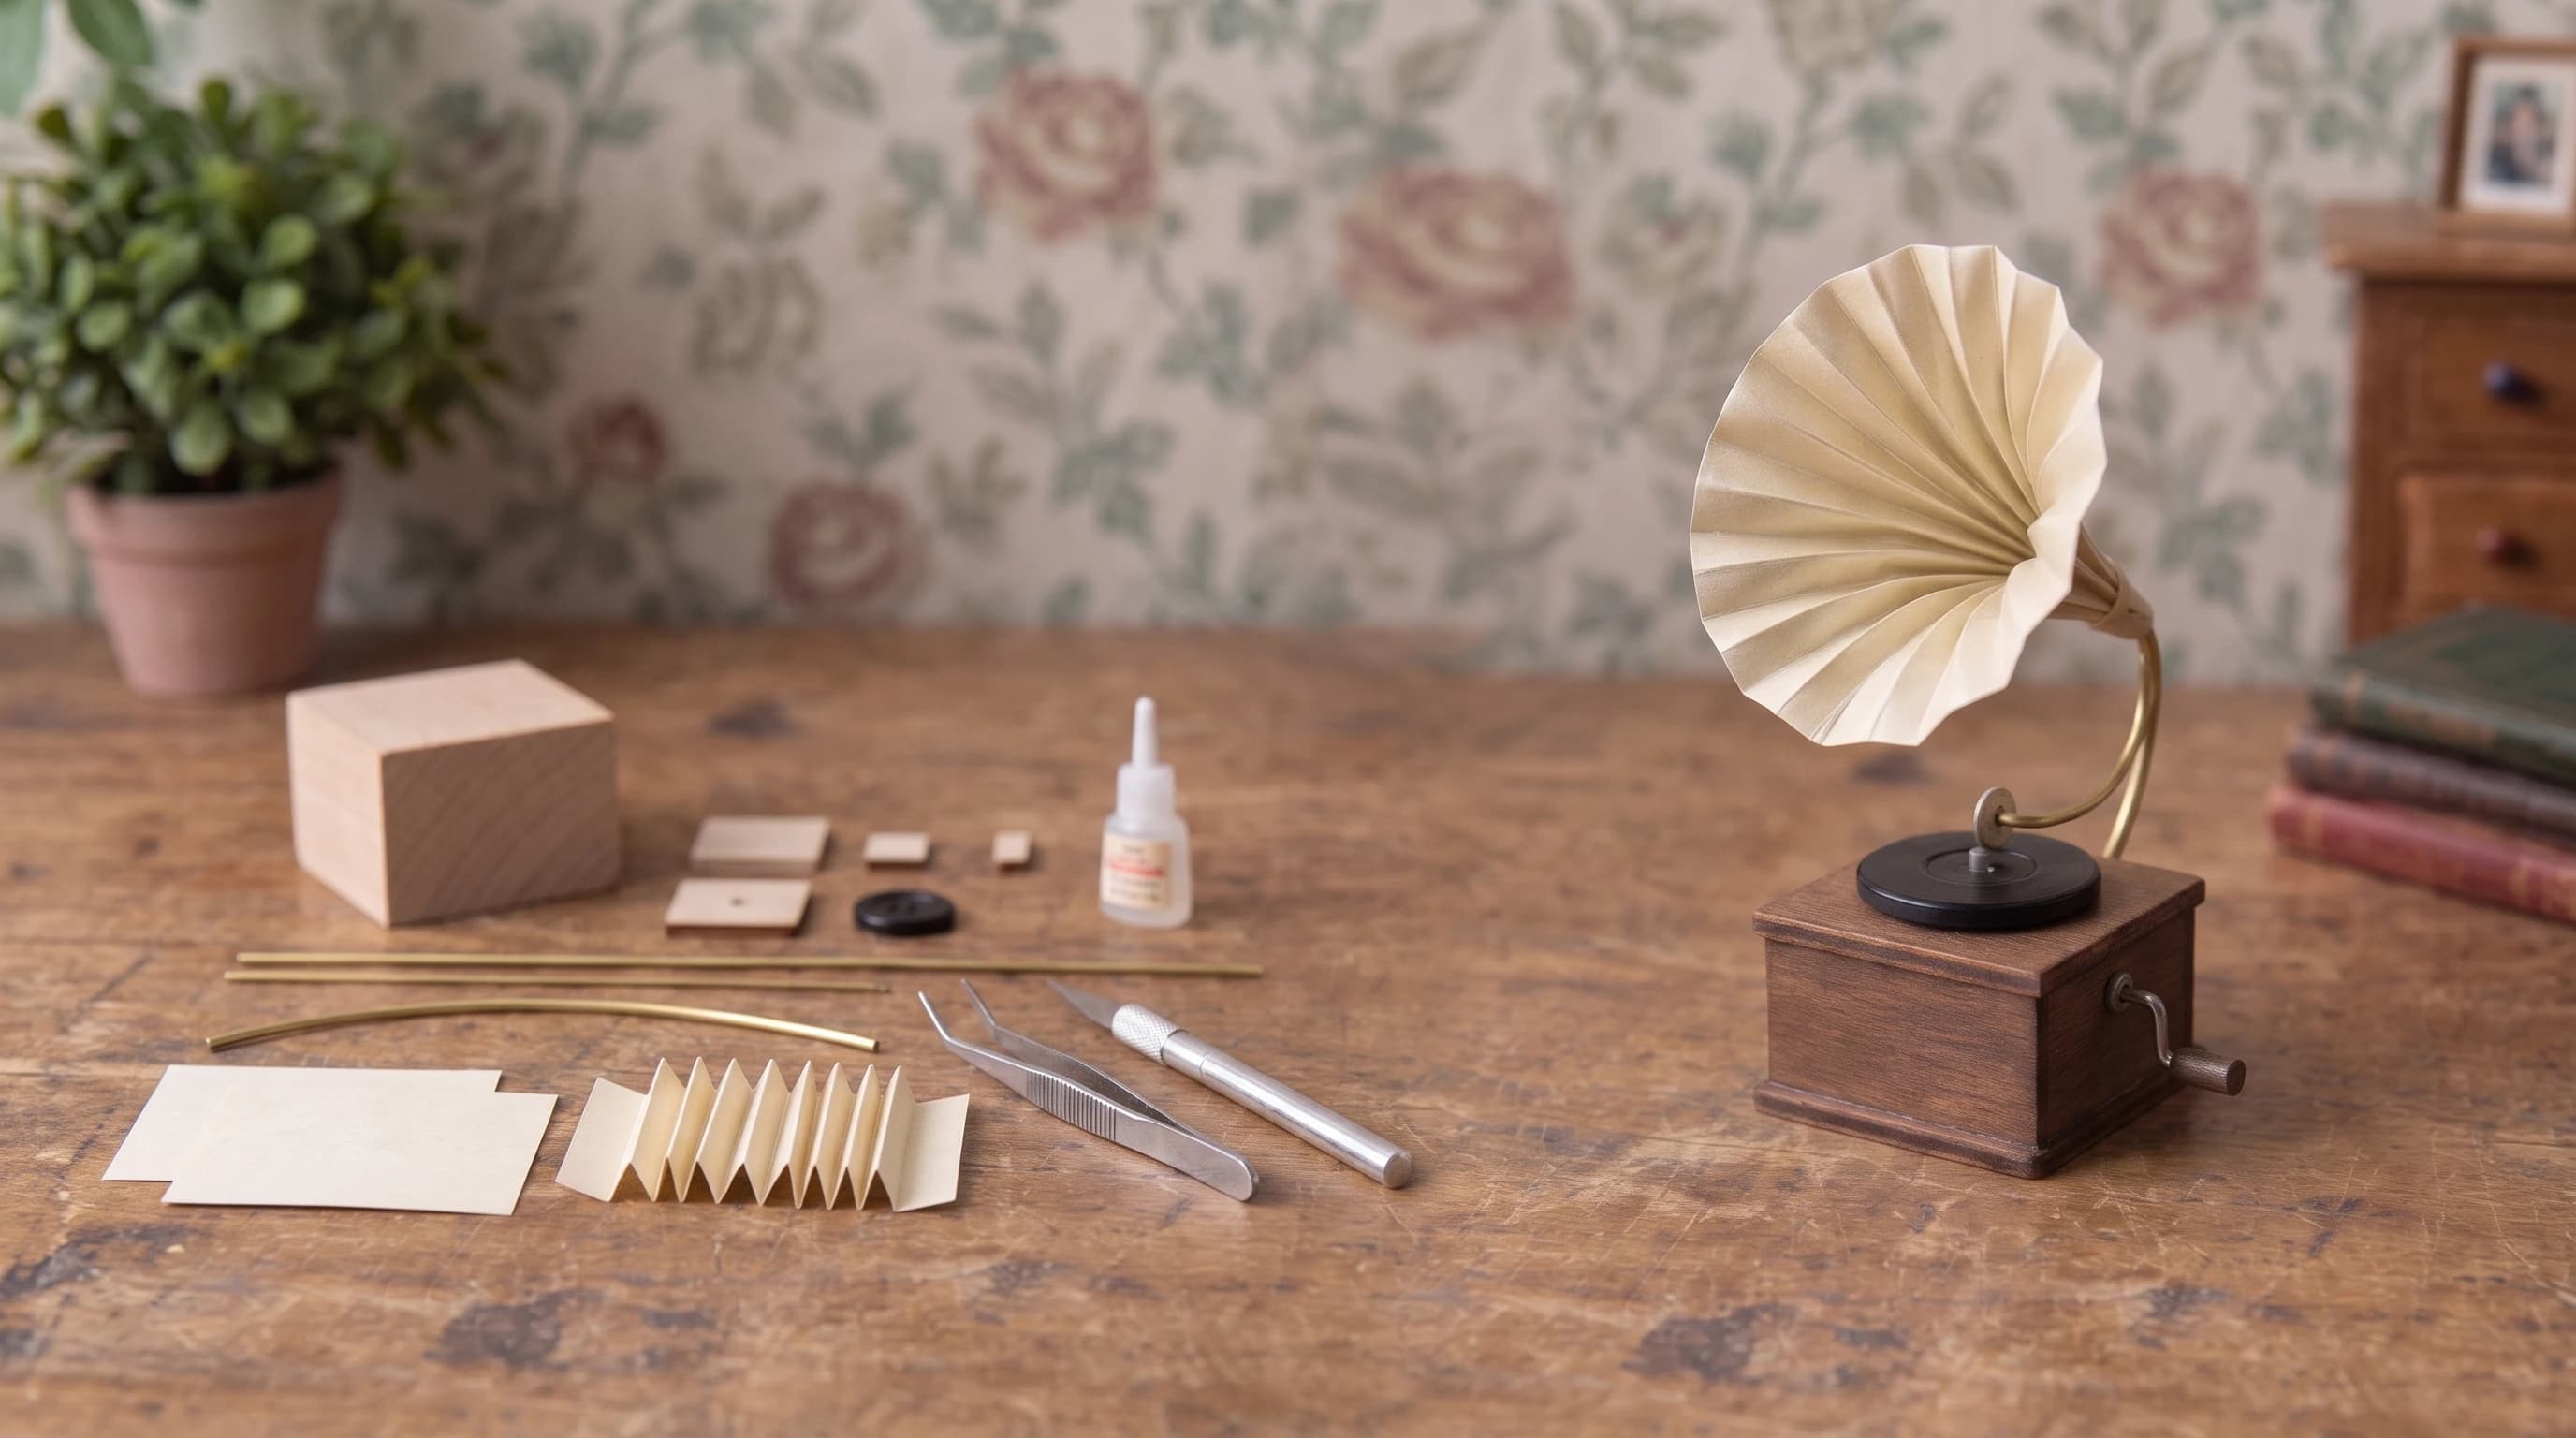
If you are looking to add some vintage charm to your dollhouse, learning how to make a miniature gramophone is a surprisingly simple and rewarding project. This elegant 1:12 scale phonograph requires only a few basic supplies like a small block of wood, a spare button, and a strip of paper. By combining these everyday items, you can craft a realistic focal point for a miniature parlor or study without needing advanced carving skills.
What You'll Need for Your DIY Dollhouse Record Player
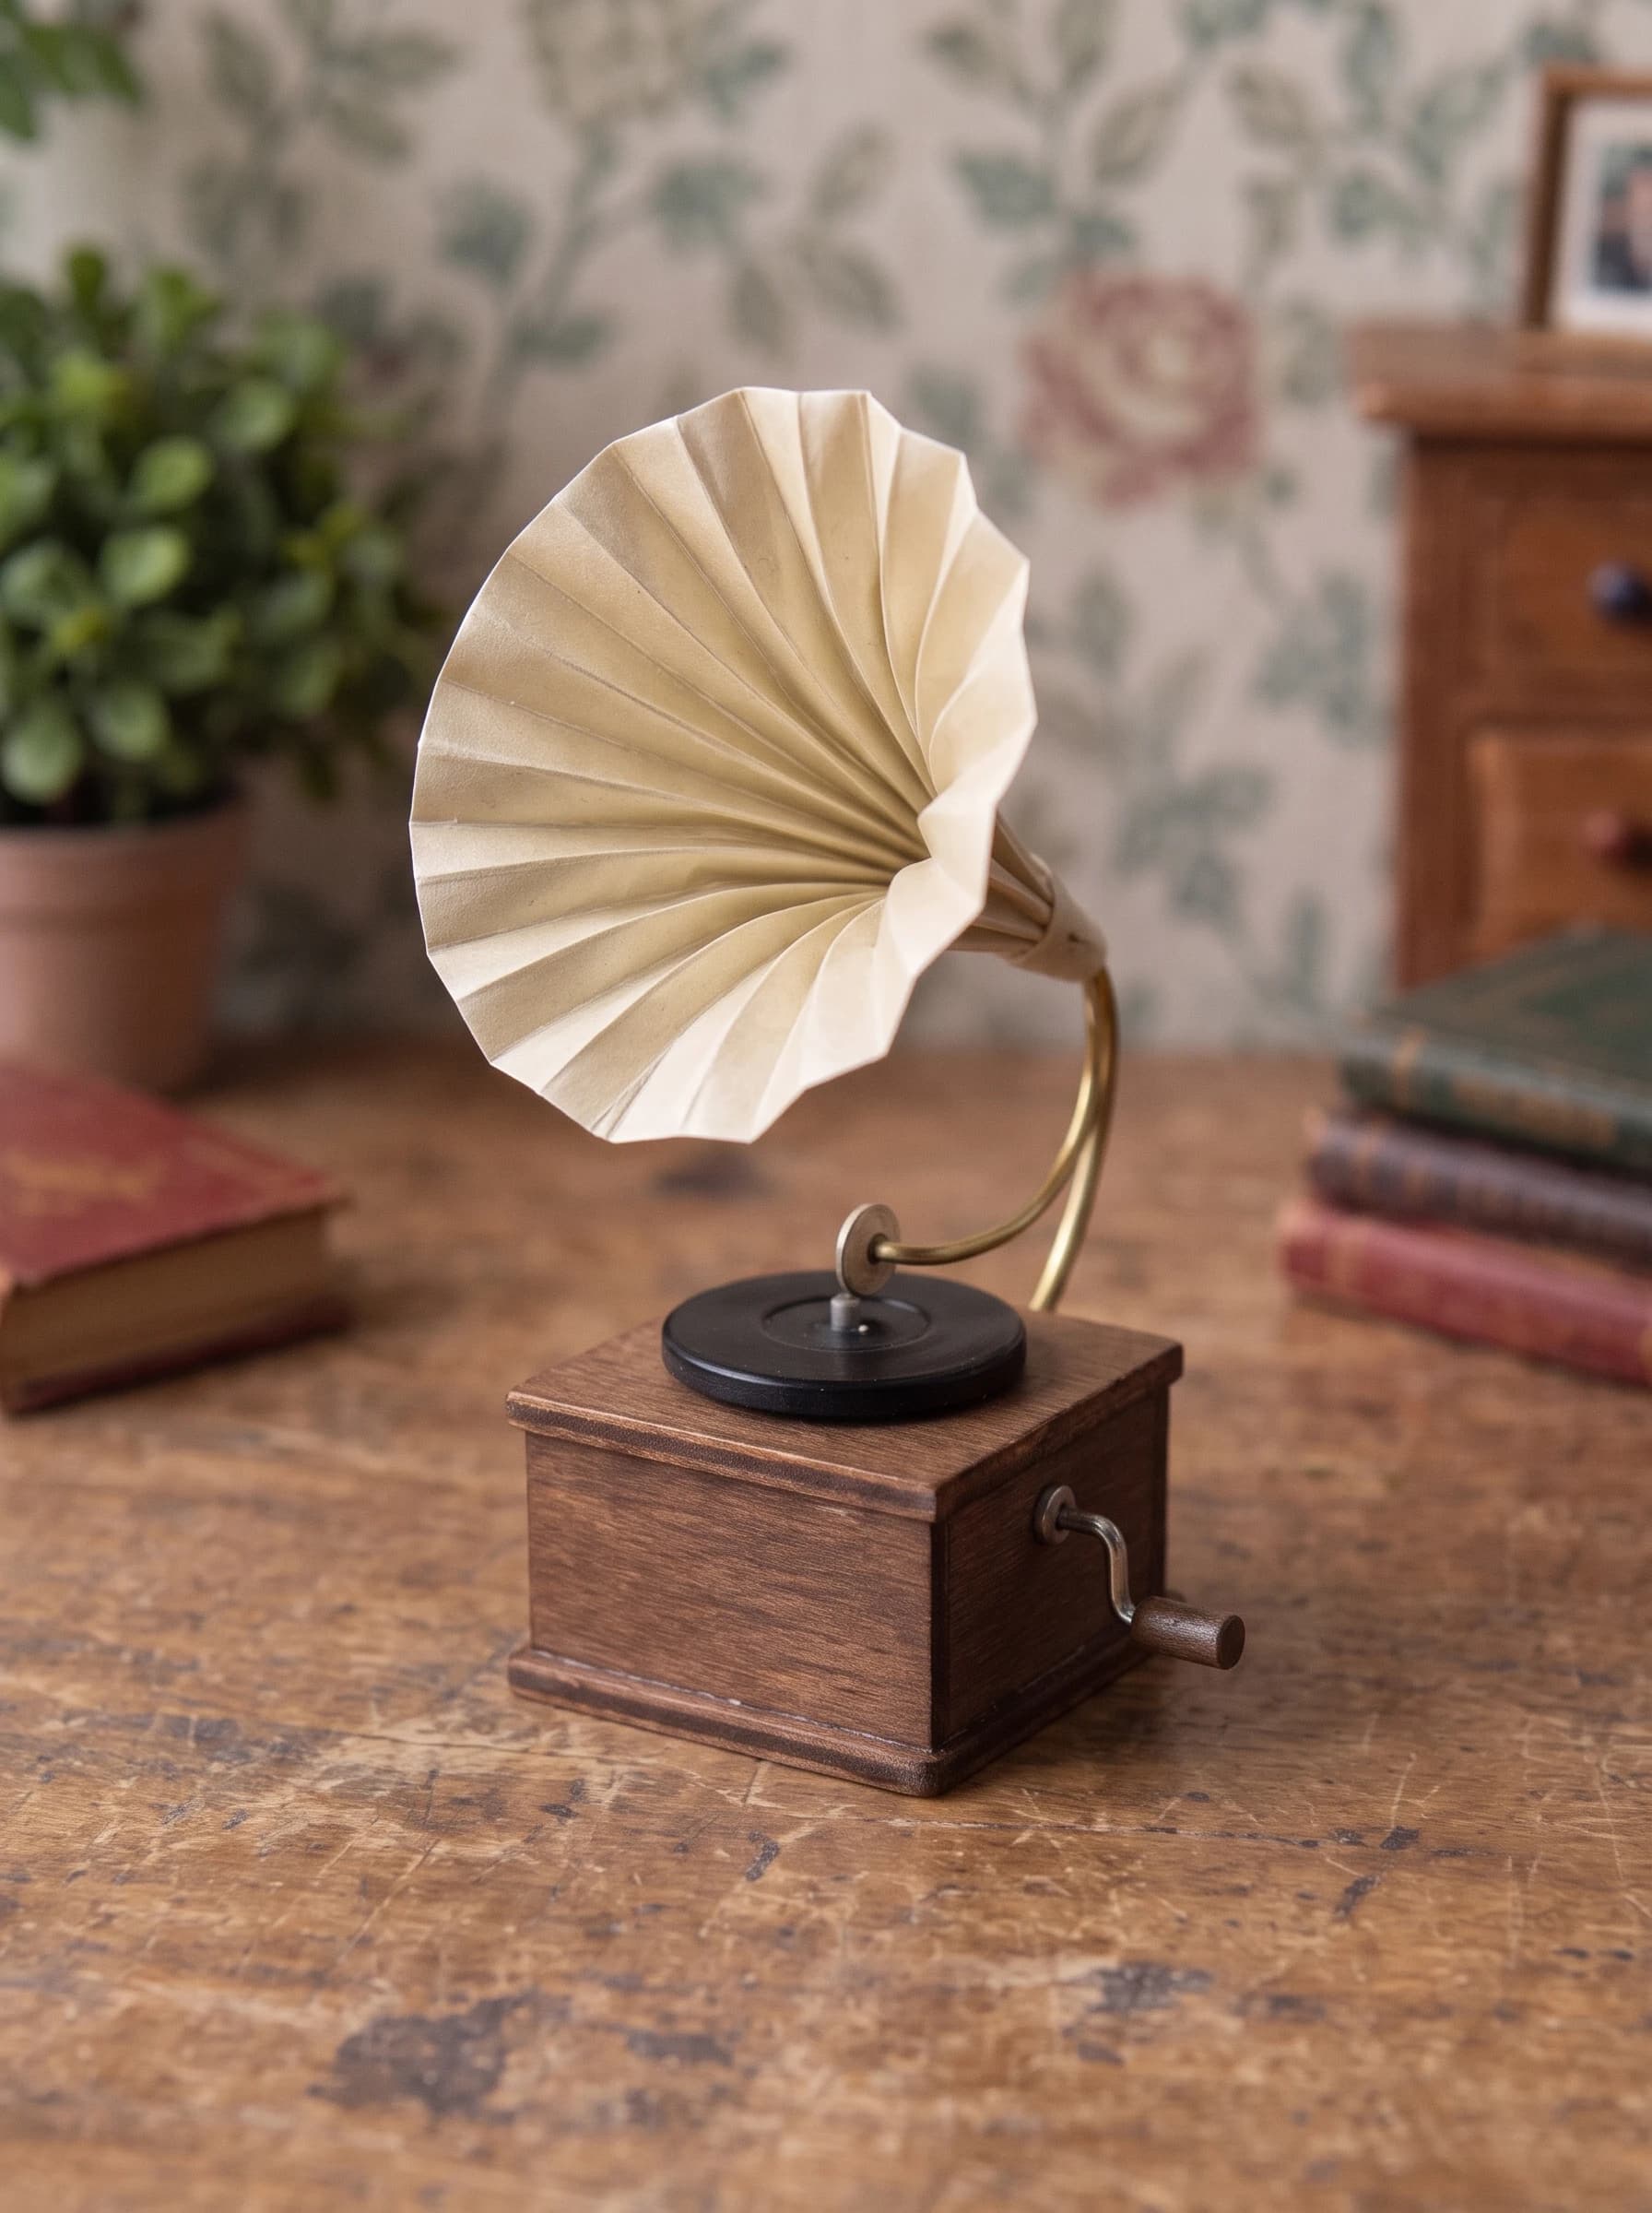
The beauty of this project lies in recycling everyday objects. The main body is simply a scrap block of wood, while the turntable is cleverly disguised using a large black sewing button. For the iconic fluted horn, we will be folding standard cream-colored cardstock or thick craft paper. Ensure your button is roughly 1 inch (2.5 cm) in diameter to suit a 1:12 scale setting.
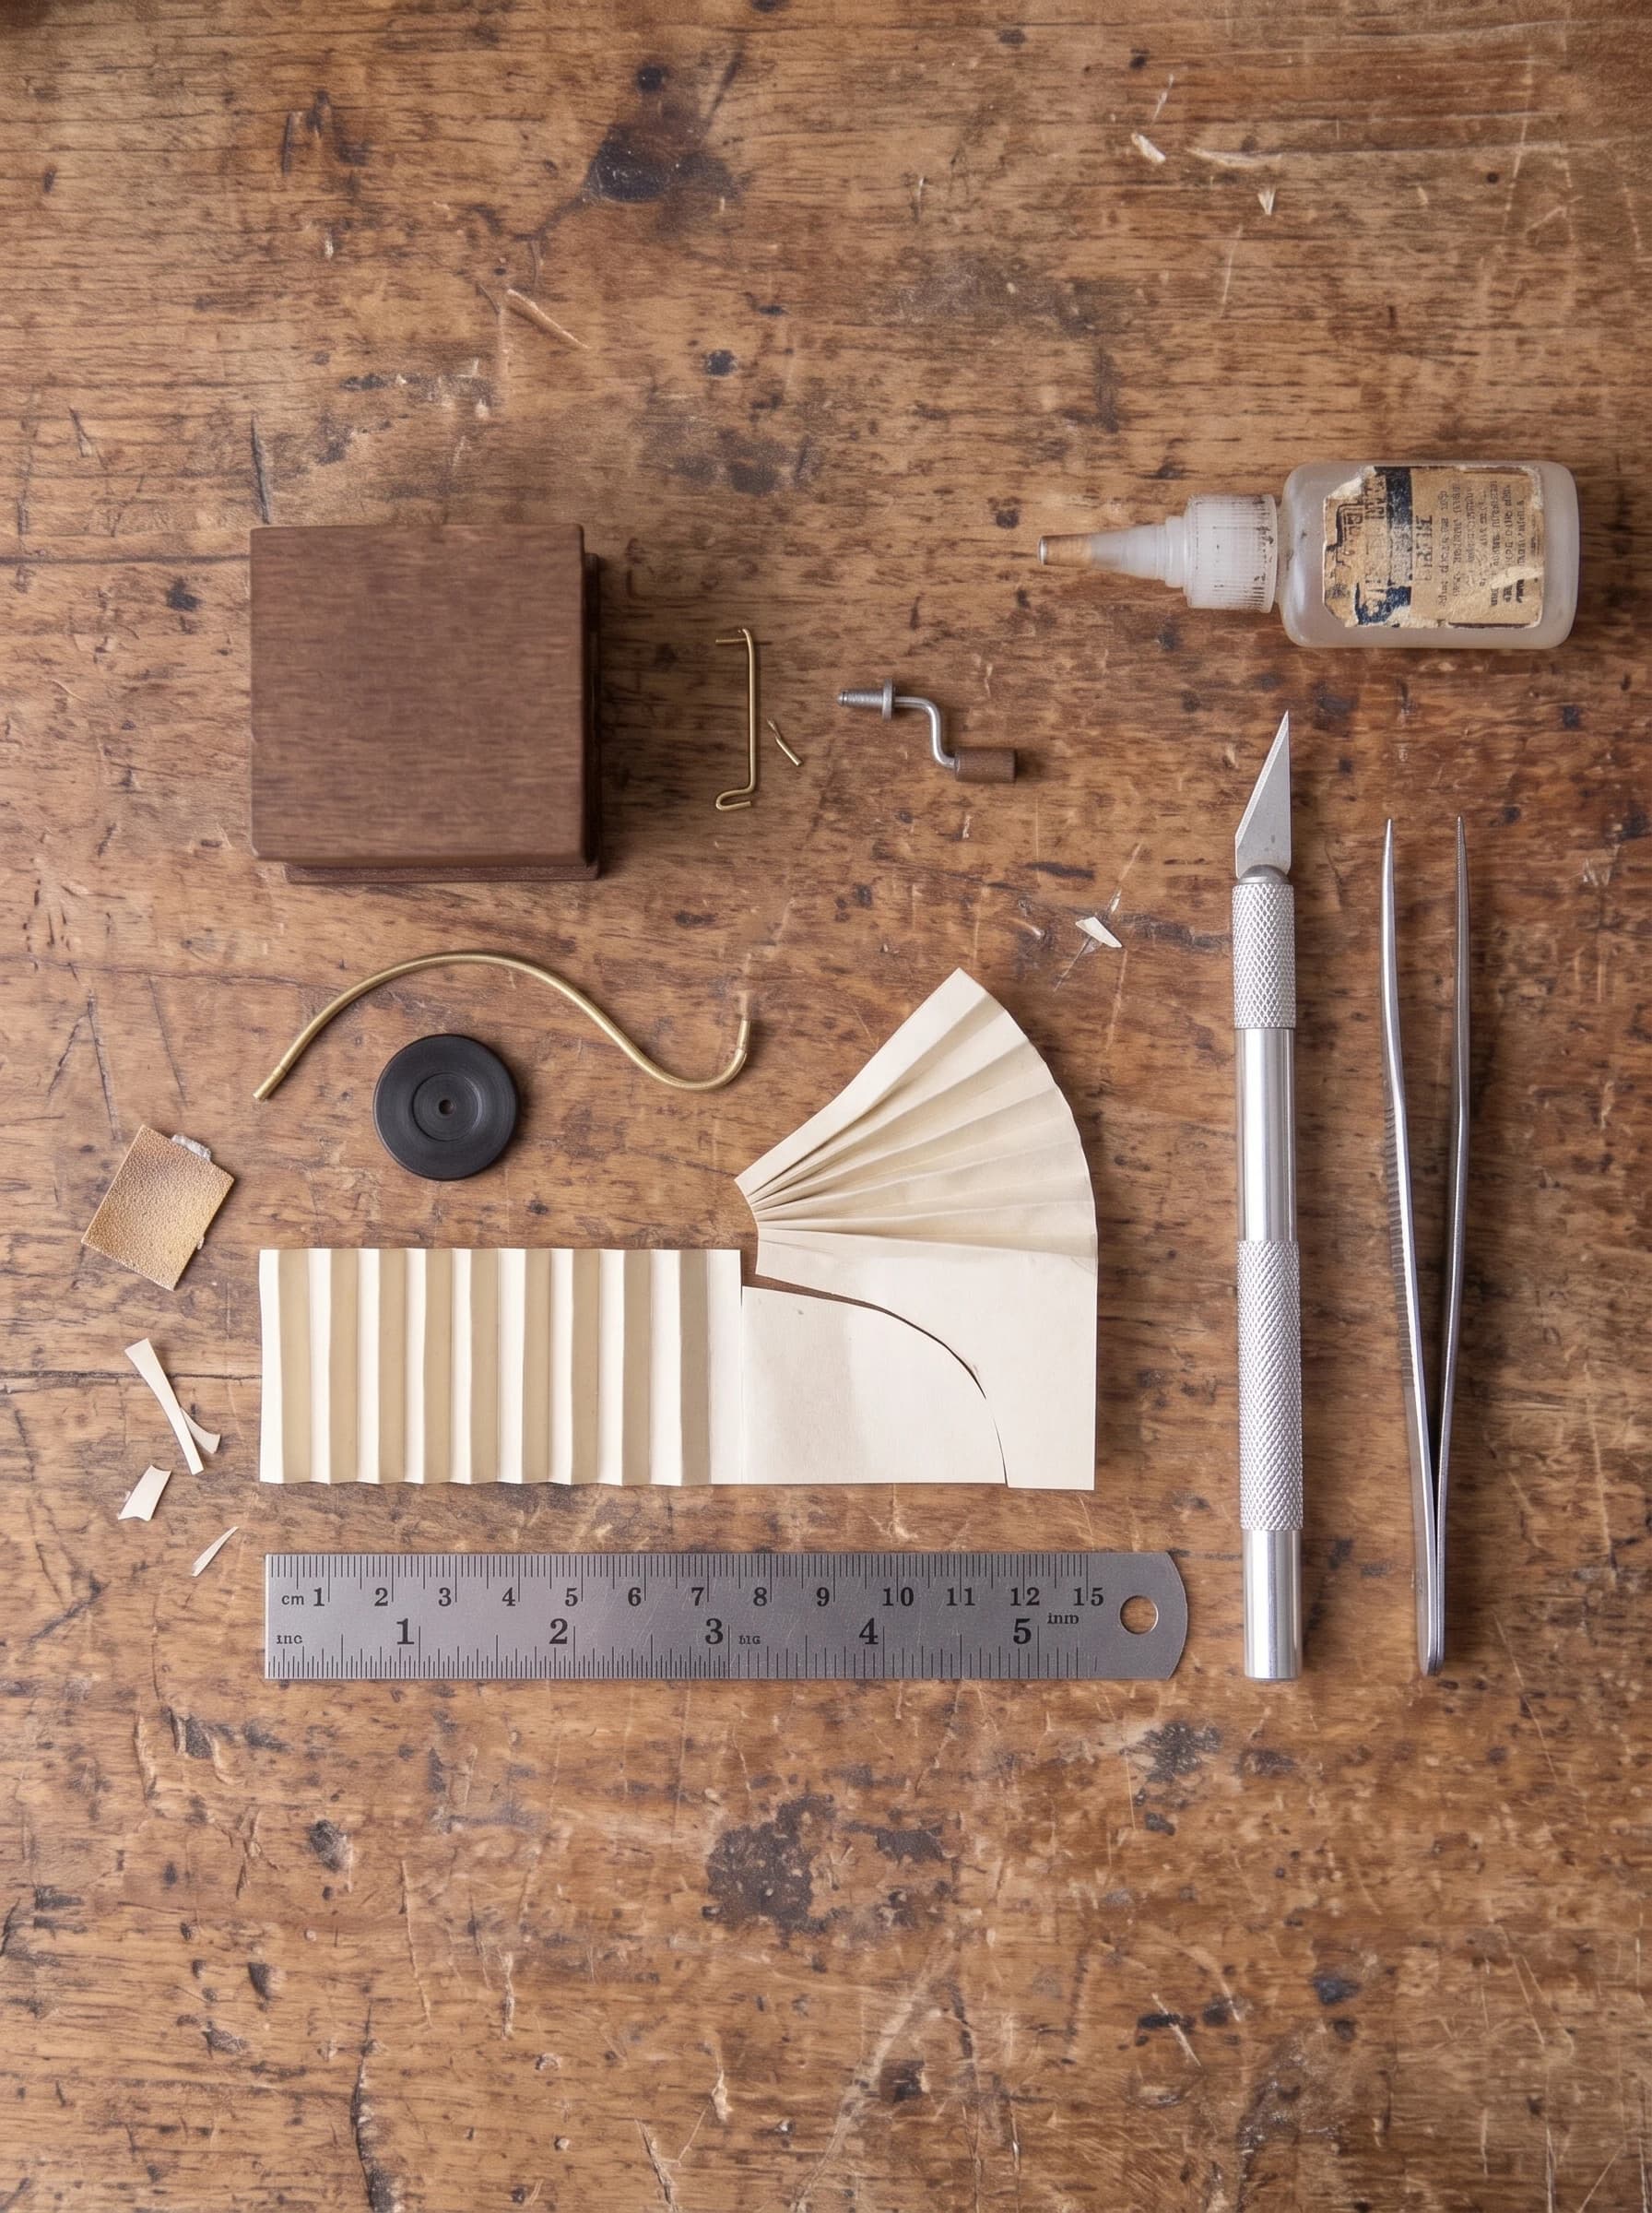
- Small wooden blockApprox. 1 x 1 inch (2.5 cm square)
- Thin wood trimOptional, for base details
- Large black sewing buttonFor the turntable
- Curved brass wireFor the support arm
- Cream cardstock or heavy paperFor the horn
- Tiny metal bead and wire scrapFor the needle and crank
- Tacky glueHolds wood, paper, and metal securely
- Craft knifeFor precise cuts
- Metal rulerFor straight edges and folding
Step 1: Prepare the Wooden Base
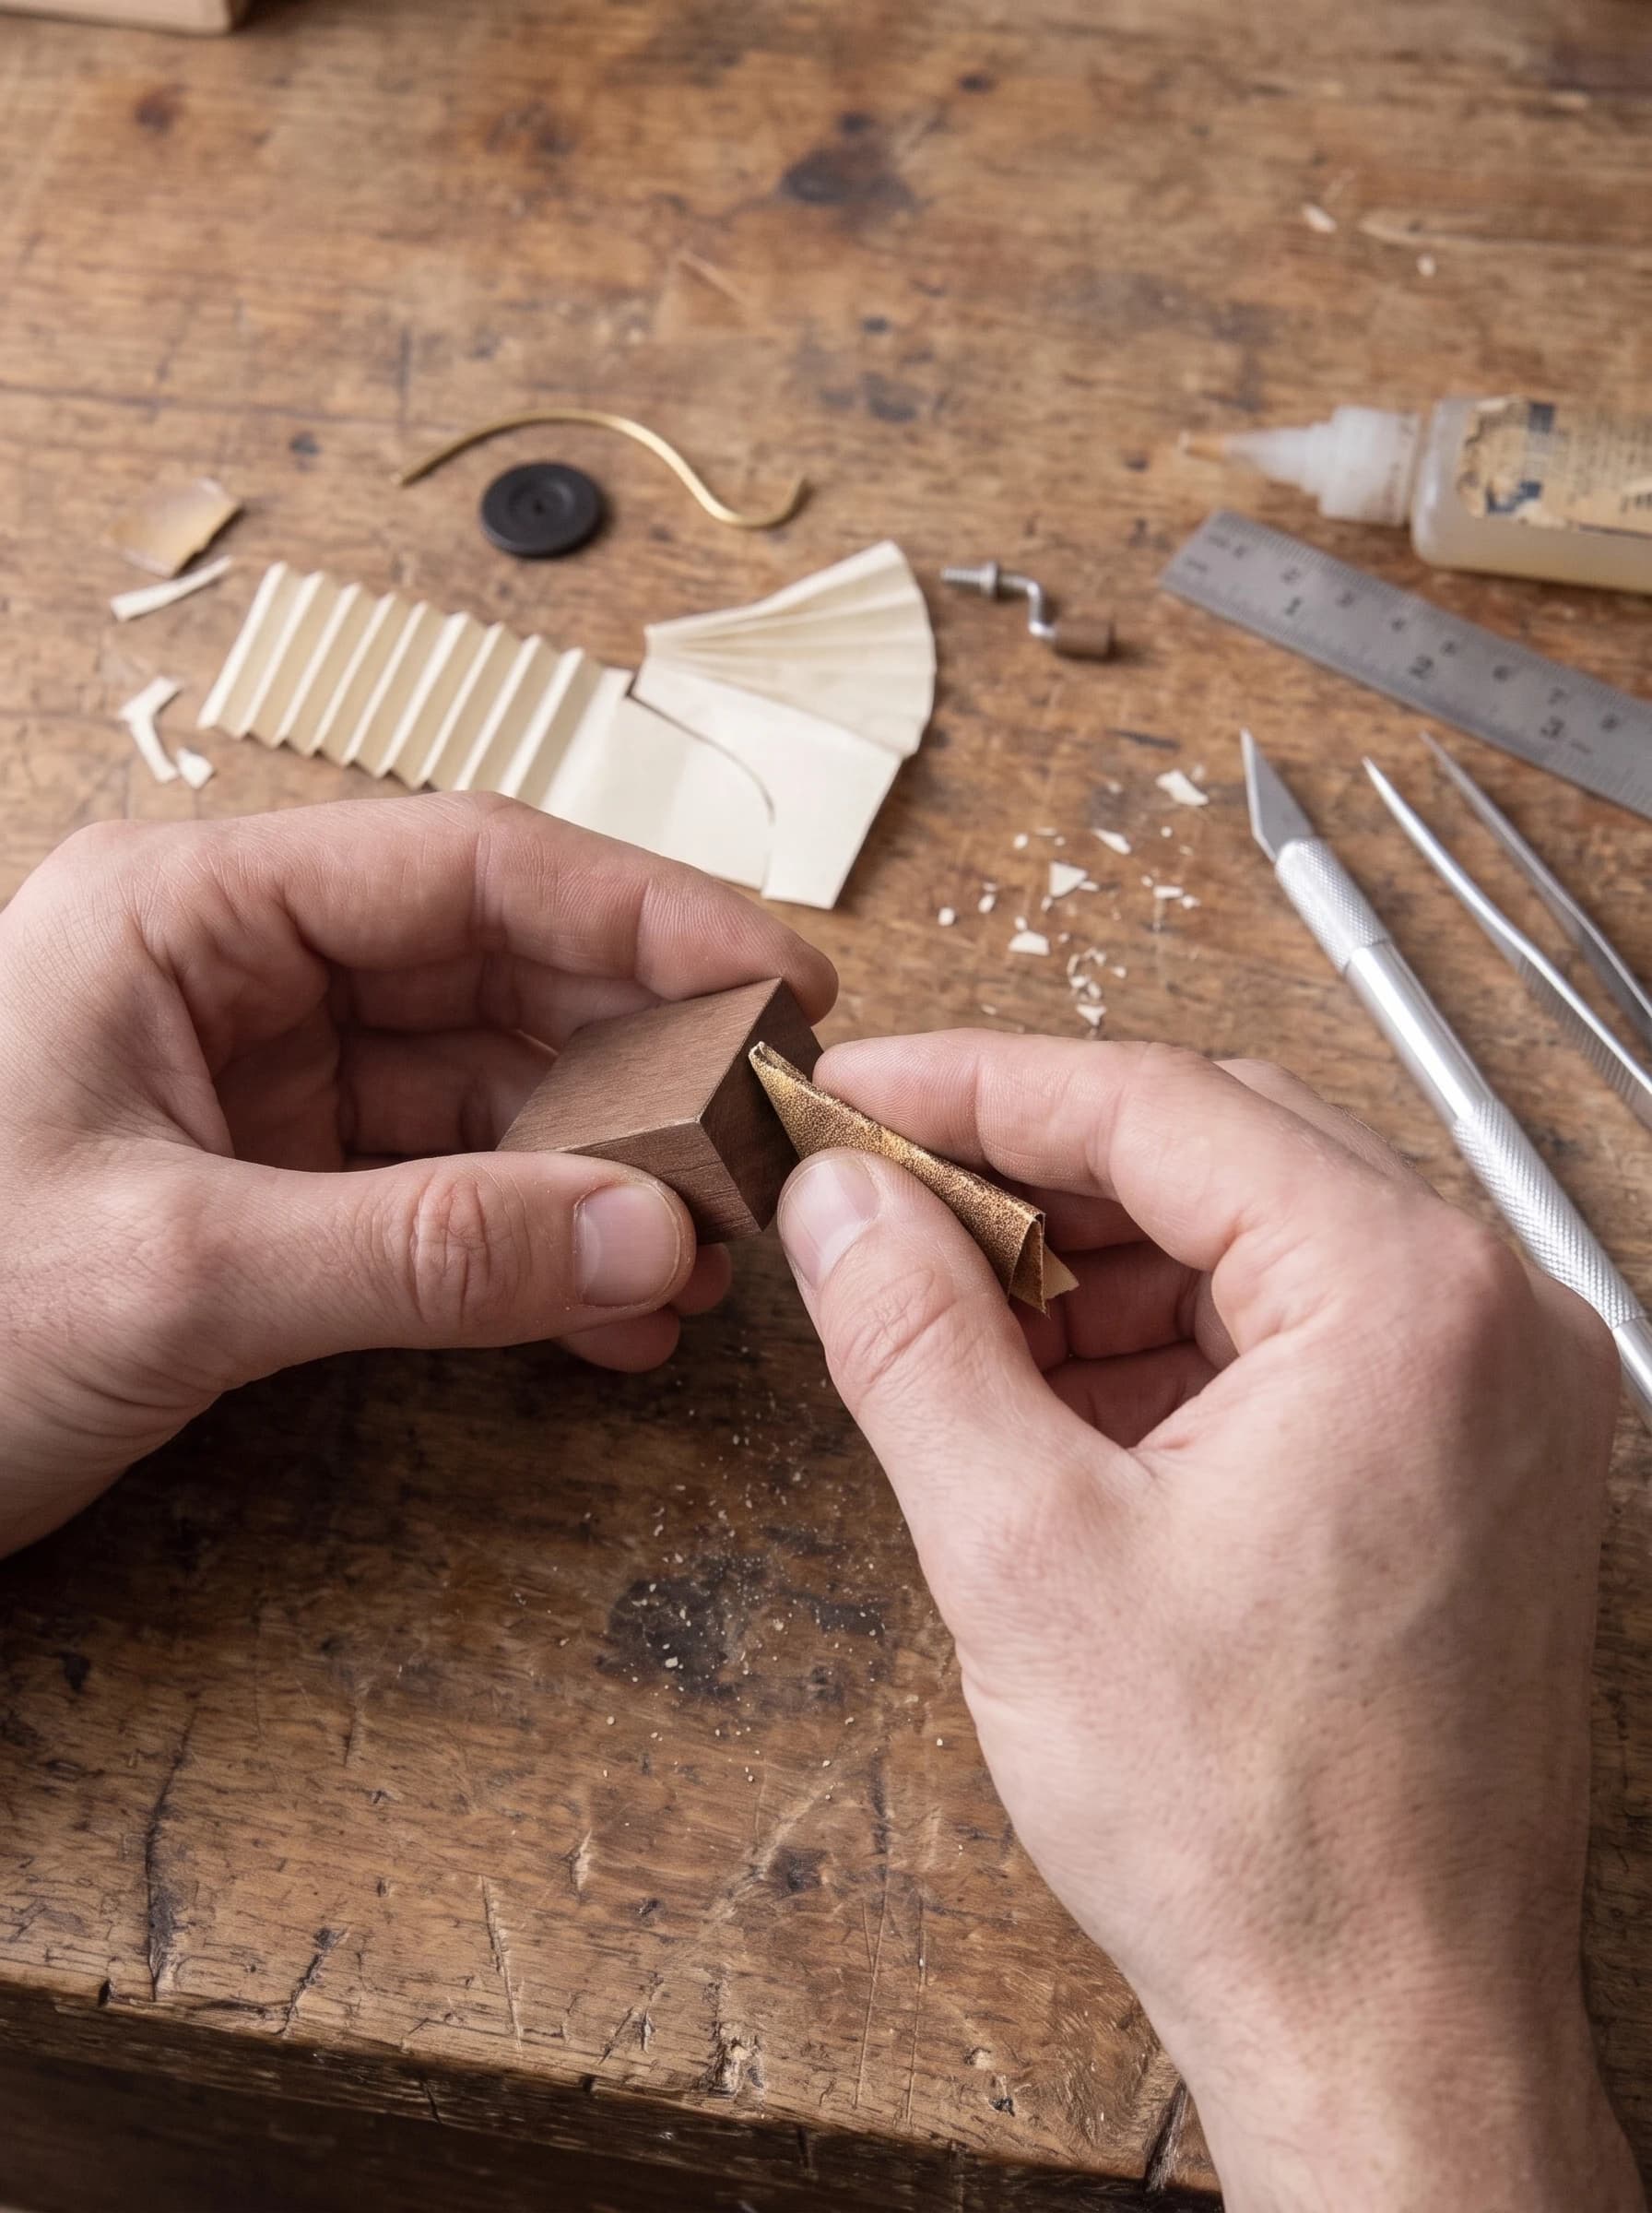
Start by preparing your small wooden block, which should measure roughly 1 inch (2.5 cm) square and 0.5 inches (1.2 cm) thick. If you like, you can glue thin strips of wood trim around the bottom edge to create an elegant, tiered base. Lightly sand all edges so the wood is smooth and ready for an optional dark wood stain. Let the base dry completely before adding hardware.
Step 2: Attach the Button Turntable
Center your large black sewing button on top of the wooden base to act as the record platter. Apply a thin, even layer of tacky glue to the back of the button and press it firmly into place. To hide the button holes and complete the look, paste a tiny round paper circle in the center to mimic a vintage record label.
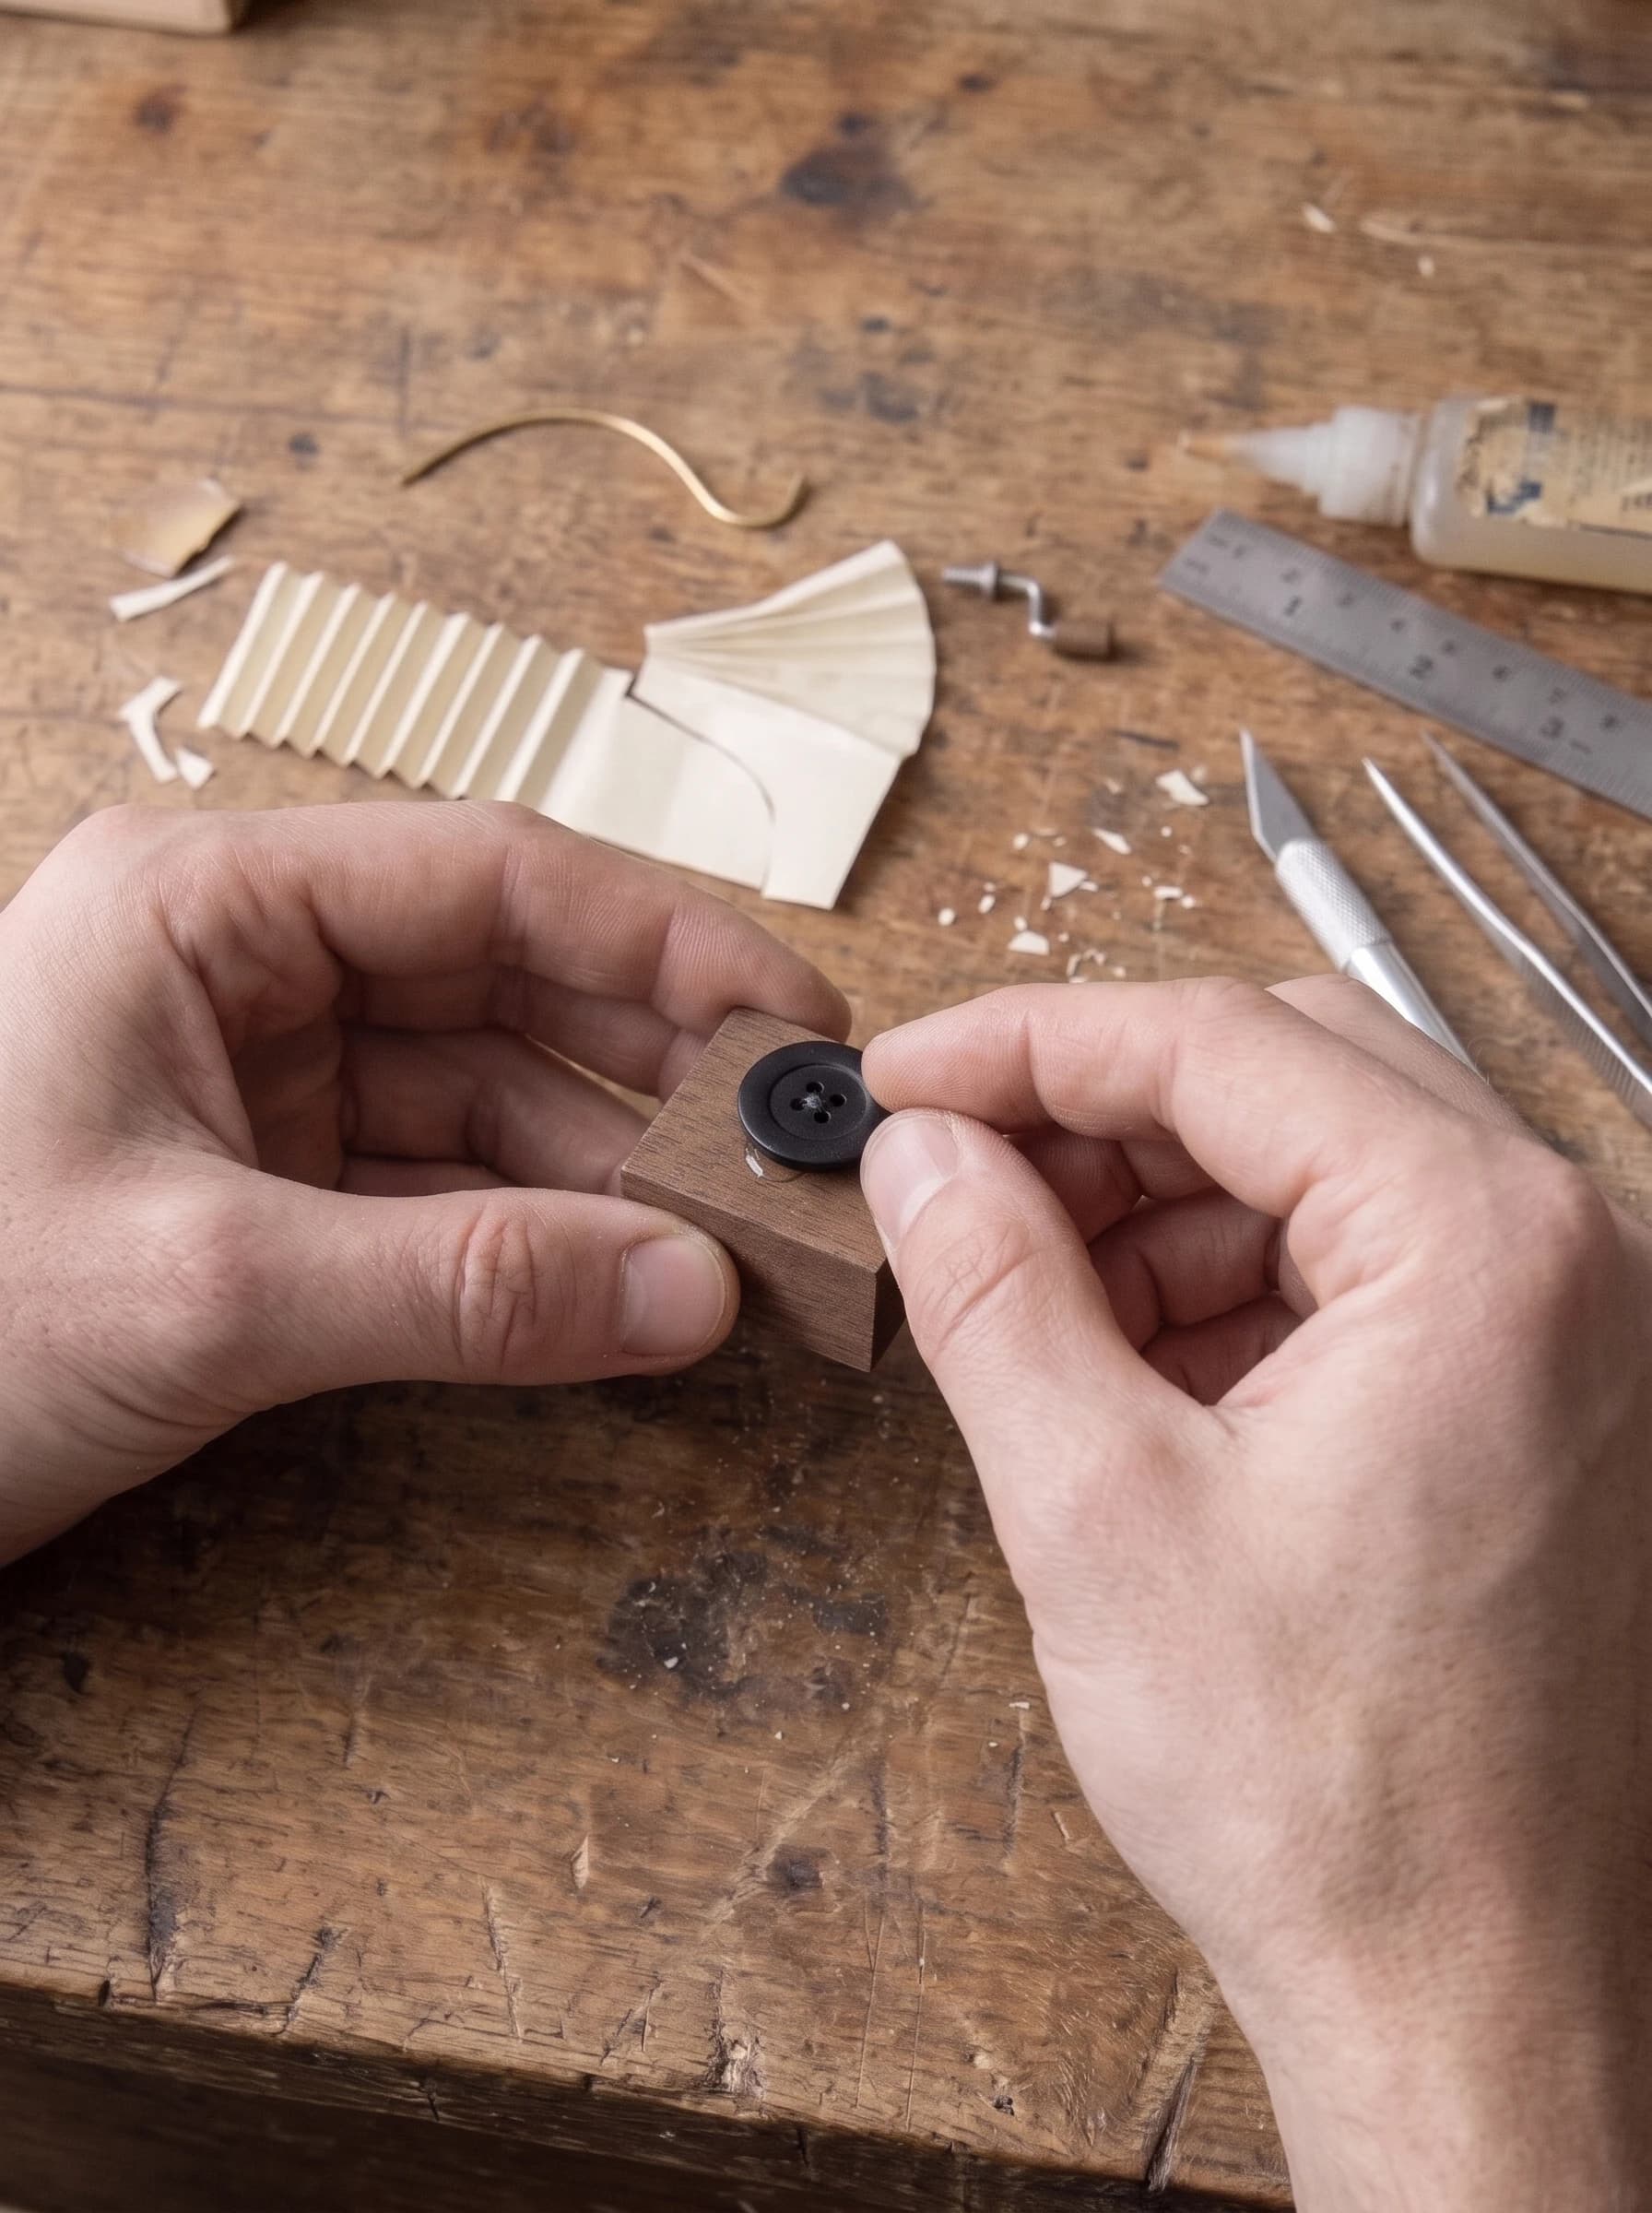
Step 3: Add the Hand Crank
On the right side of the wooden base, attach a small hand crank. You can create this by bending a tiny 0.5 inch (1.2 cm) piece of metal wire into an L-shape and gluing a tiny wooden or plastic bead to the end for the handle. Use a craft knife or pin to poke a shallow pilot hole in the wood, then secure the crank with a dab of tacky glue.
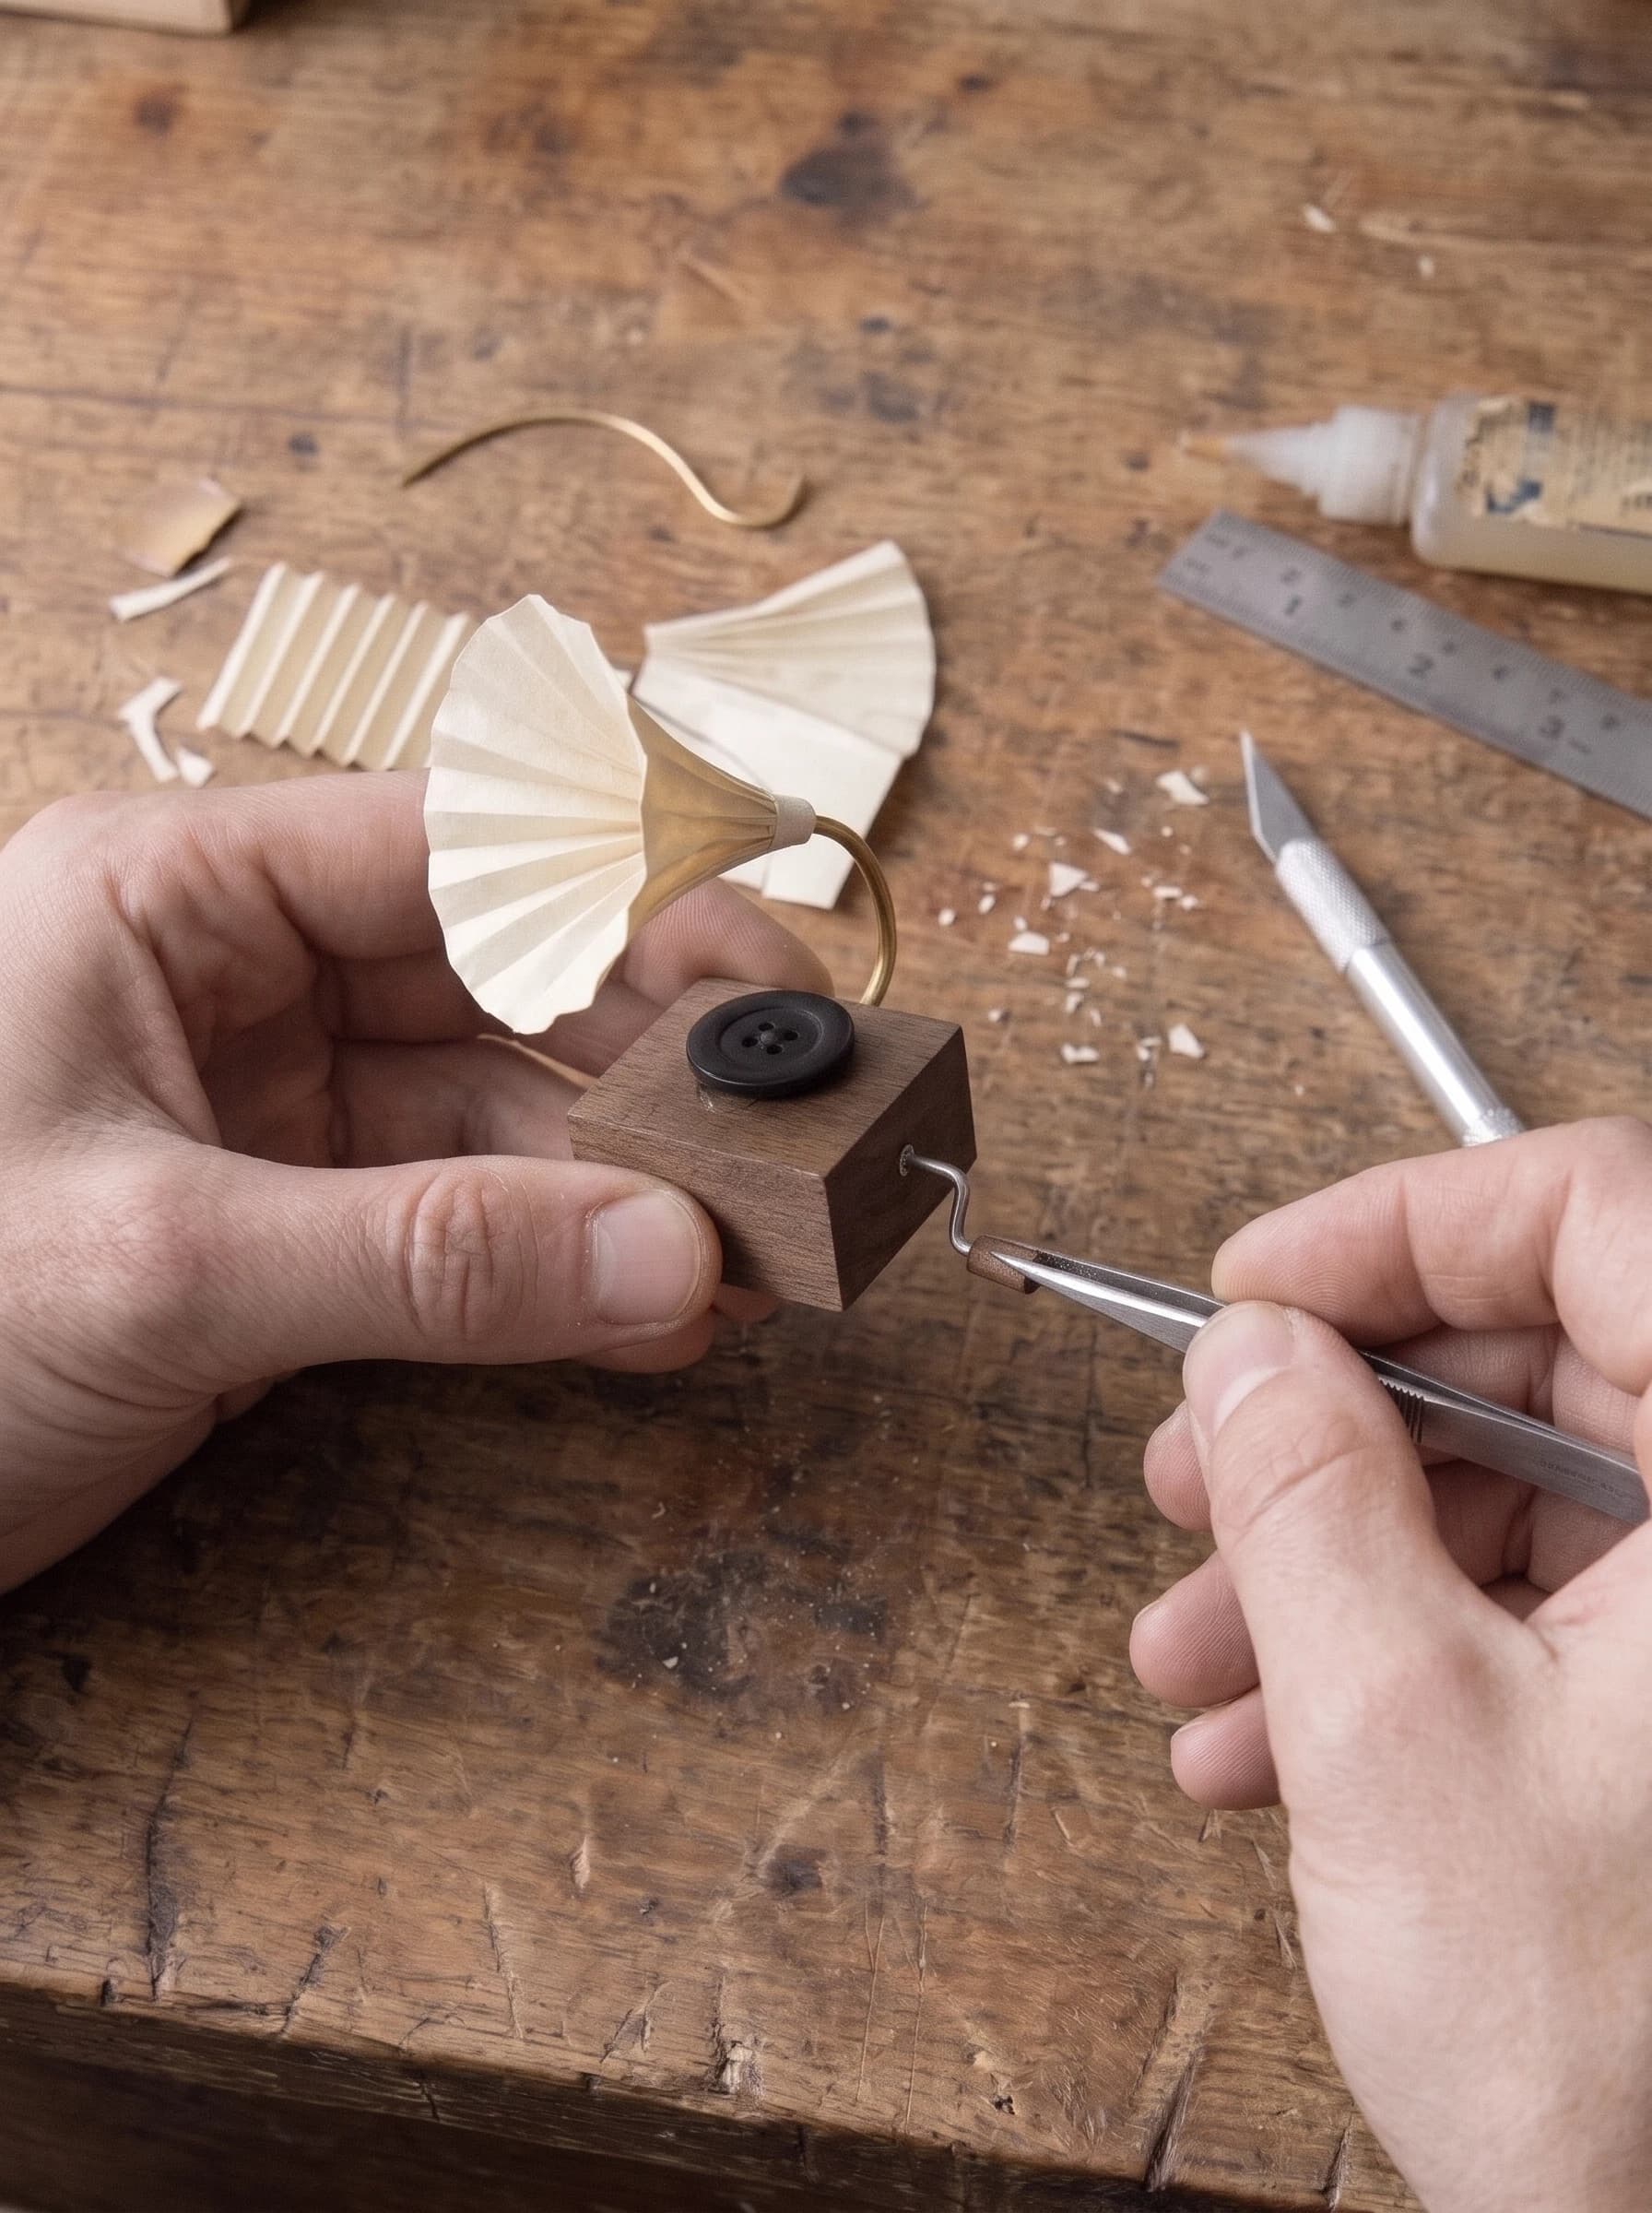
Step 4: Fold the Paper Horn
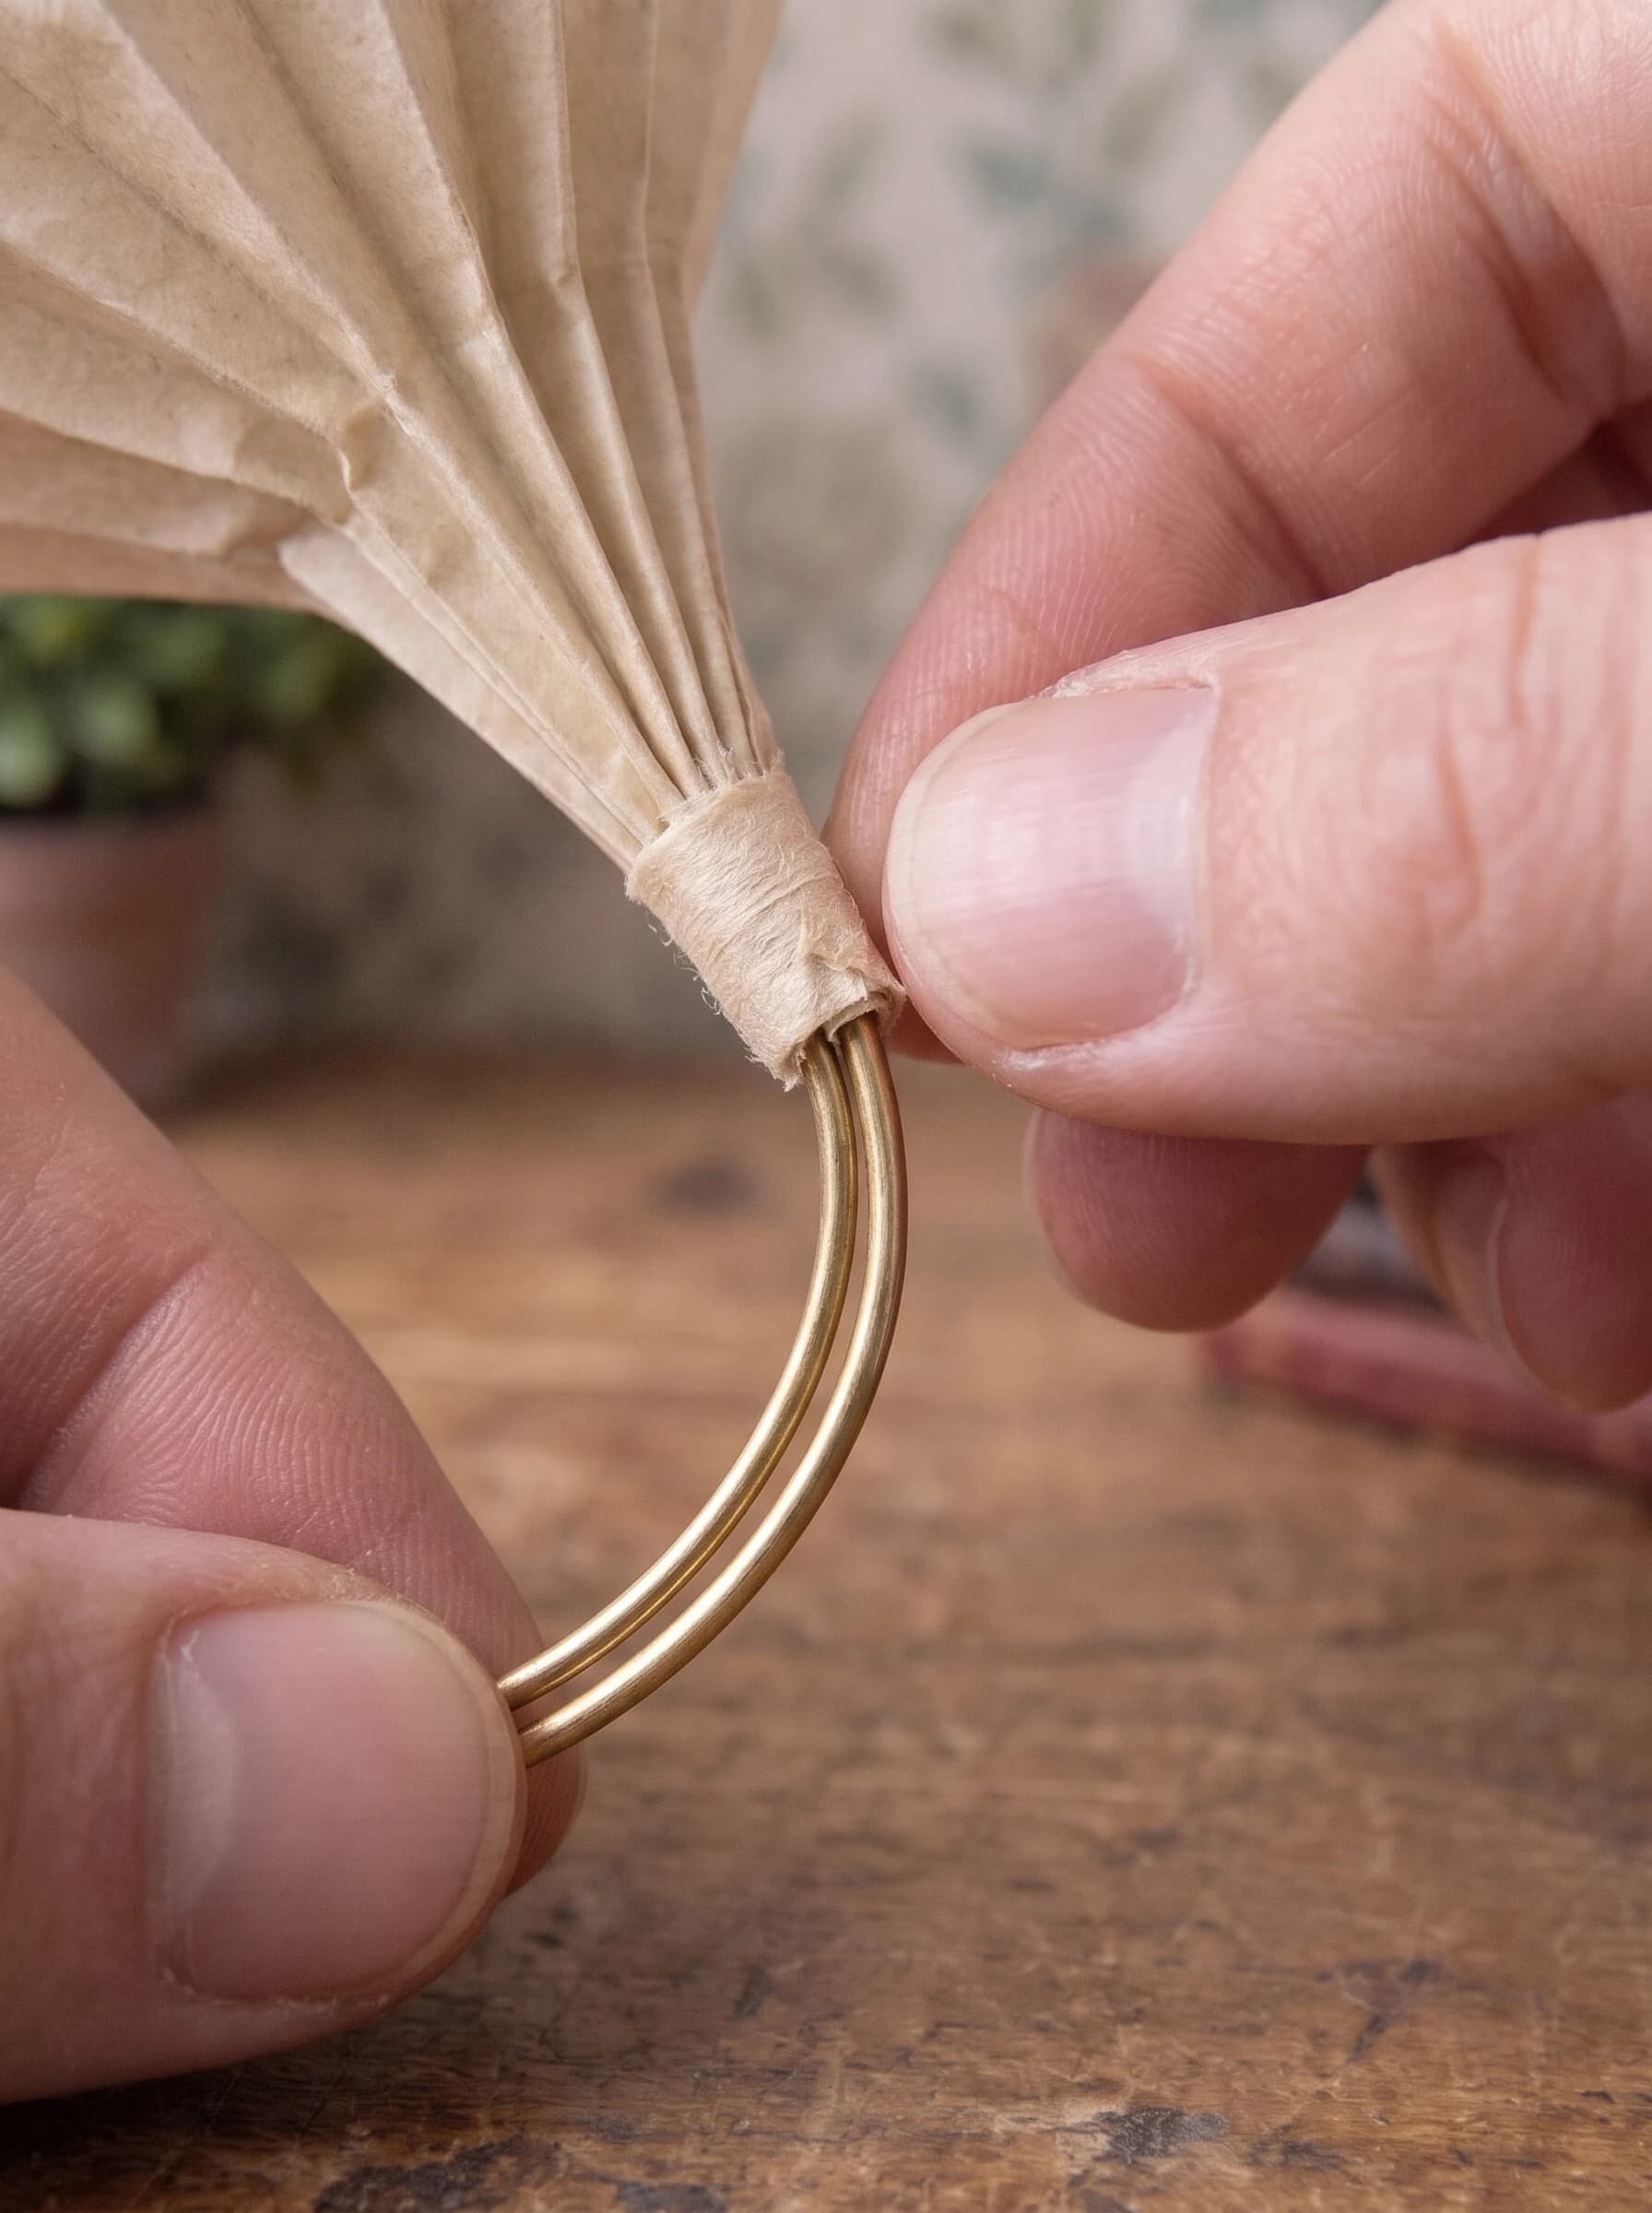
Cut a strip of heavy cream-colored paper about 1.5 inches (3.8 cm) wide and 8 inches (20 cm) long. Carefully accordion-fold the entire strip tightly, making each fold about 0.1 inches (2-3 mm) wide. Once folded, pinch one long edge tightly together while fanning out the opposite edge. Glue the two ends of the fanned strip together to form a wide, fluted cone shape, and hold it securely until the glue dries.
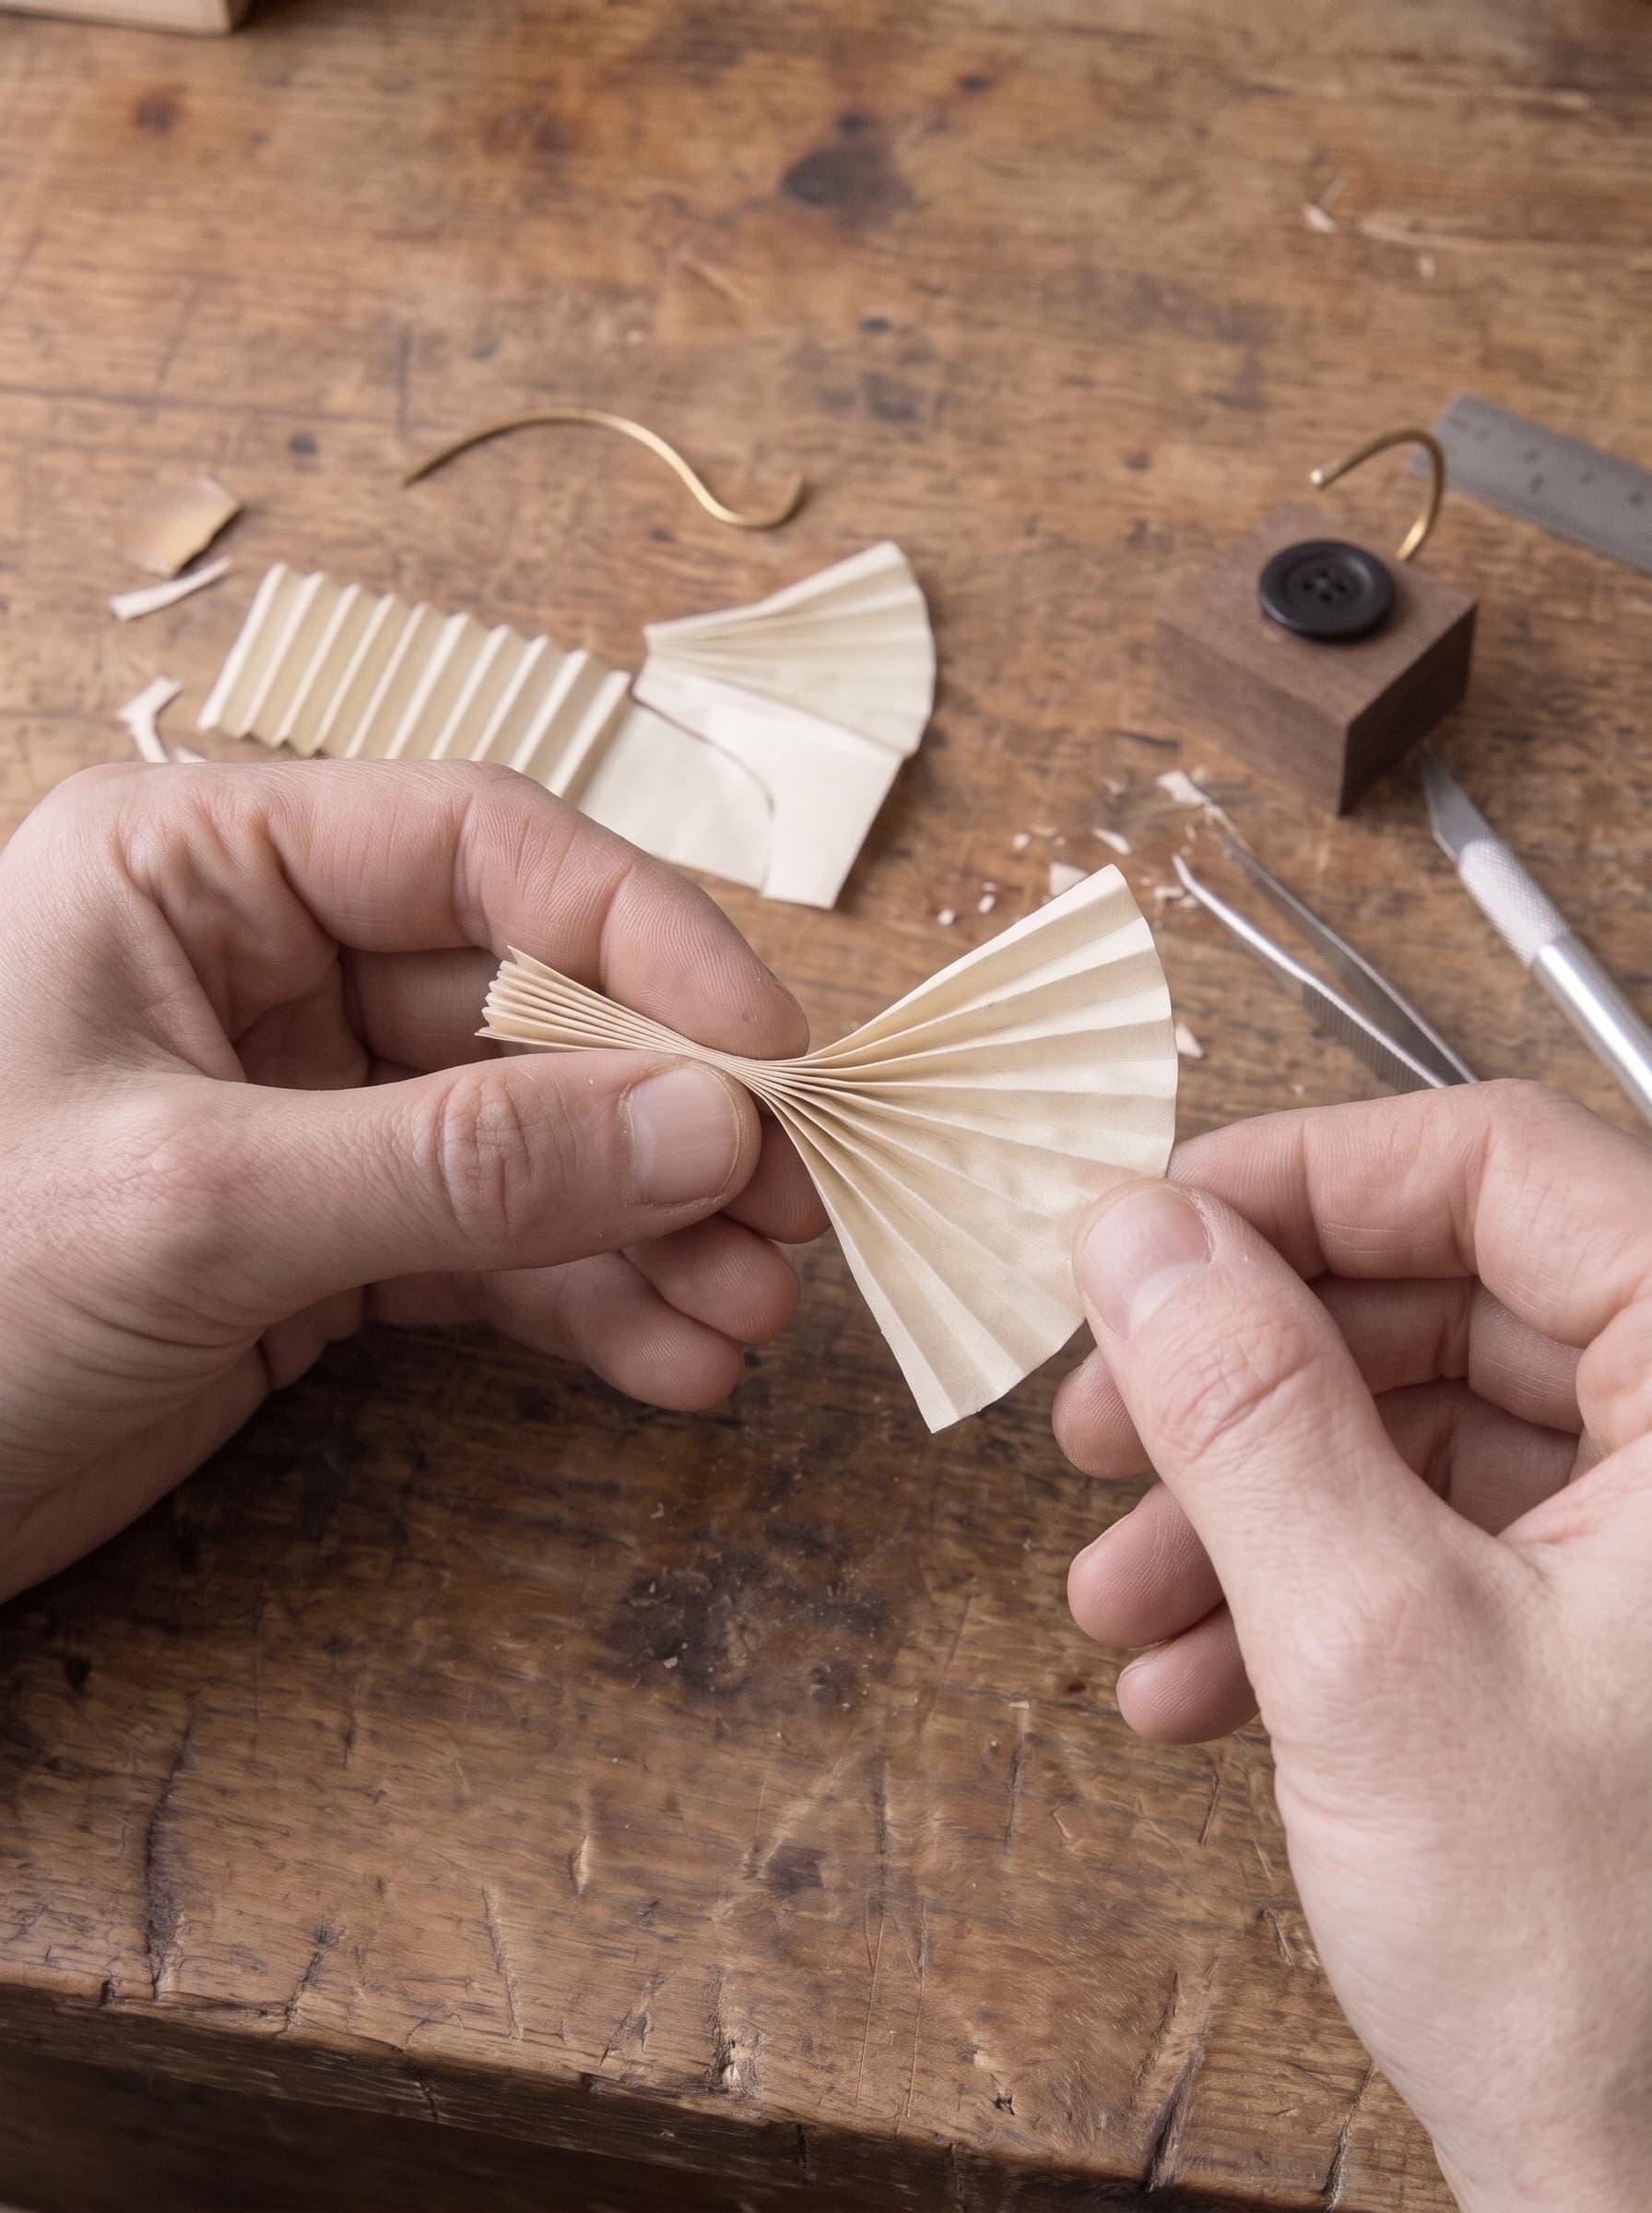
Step 5: Mount the Brass Support Arm
Take your curved piece of brass wire, which acts as the tone arm and horn support. Poke a small starter hole in the back corner of the wooden base, just behind the button turntable. Apply a drop of tacky glue to the end of the wire and insert it into the hole, ensuring the wire arches gracefully up and over the record platter.
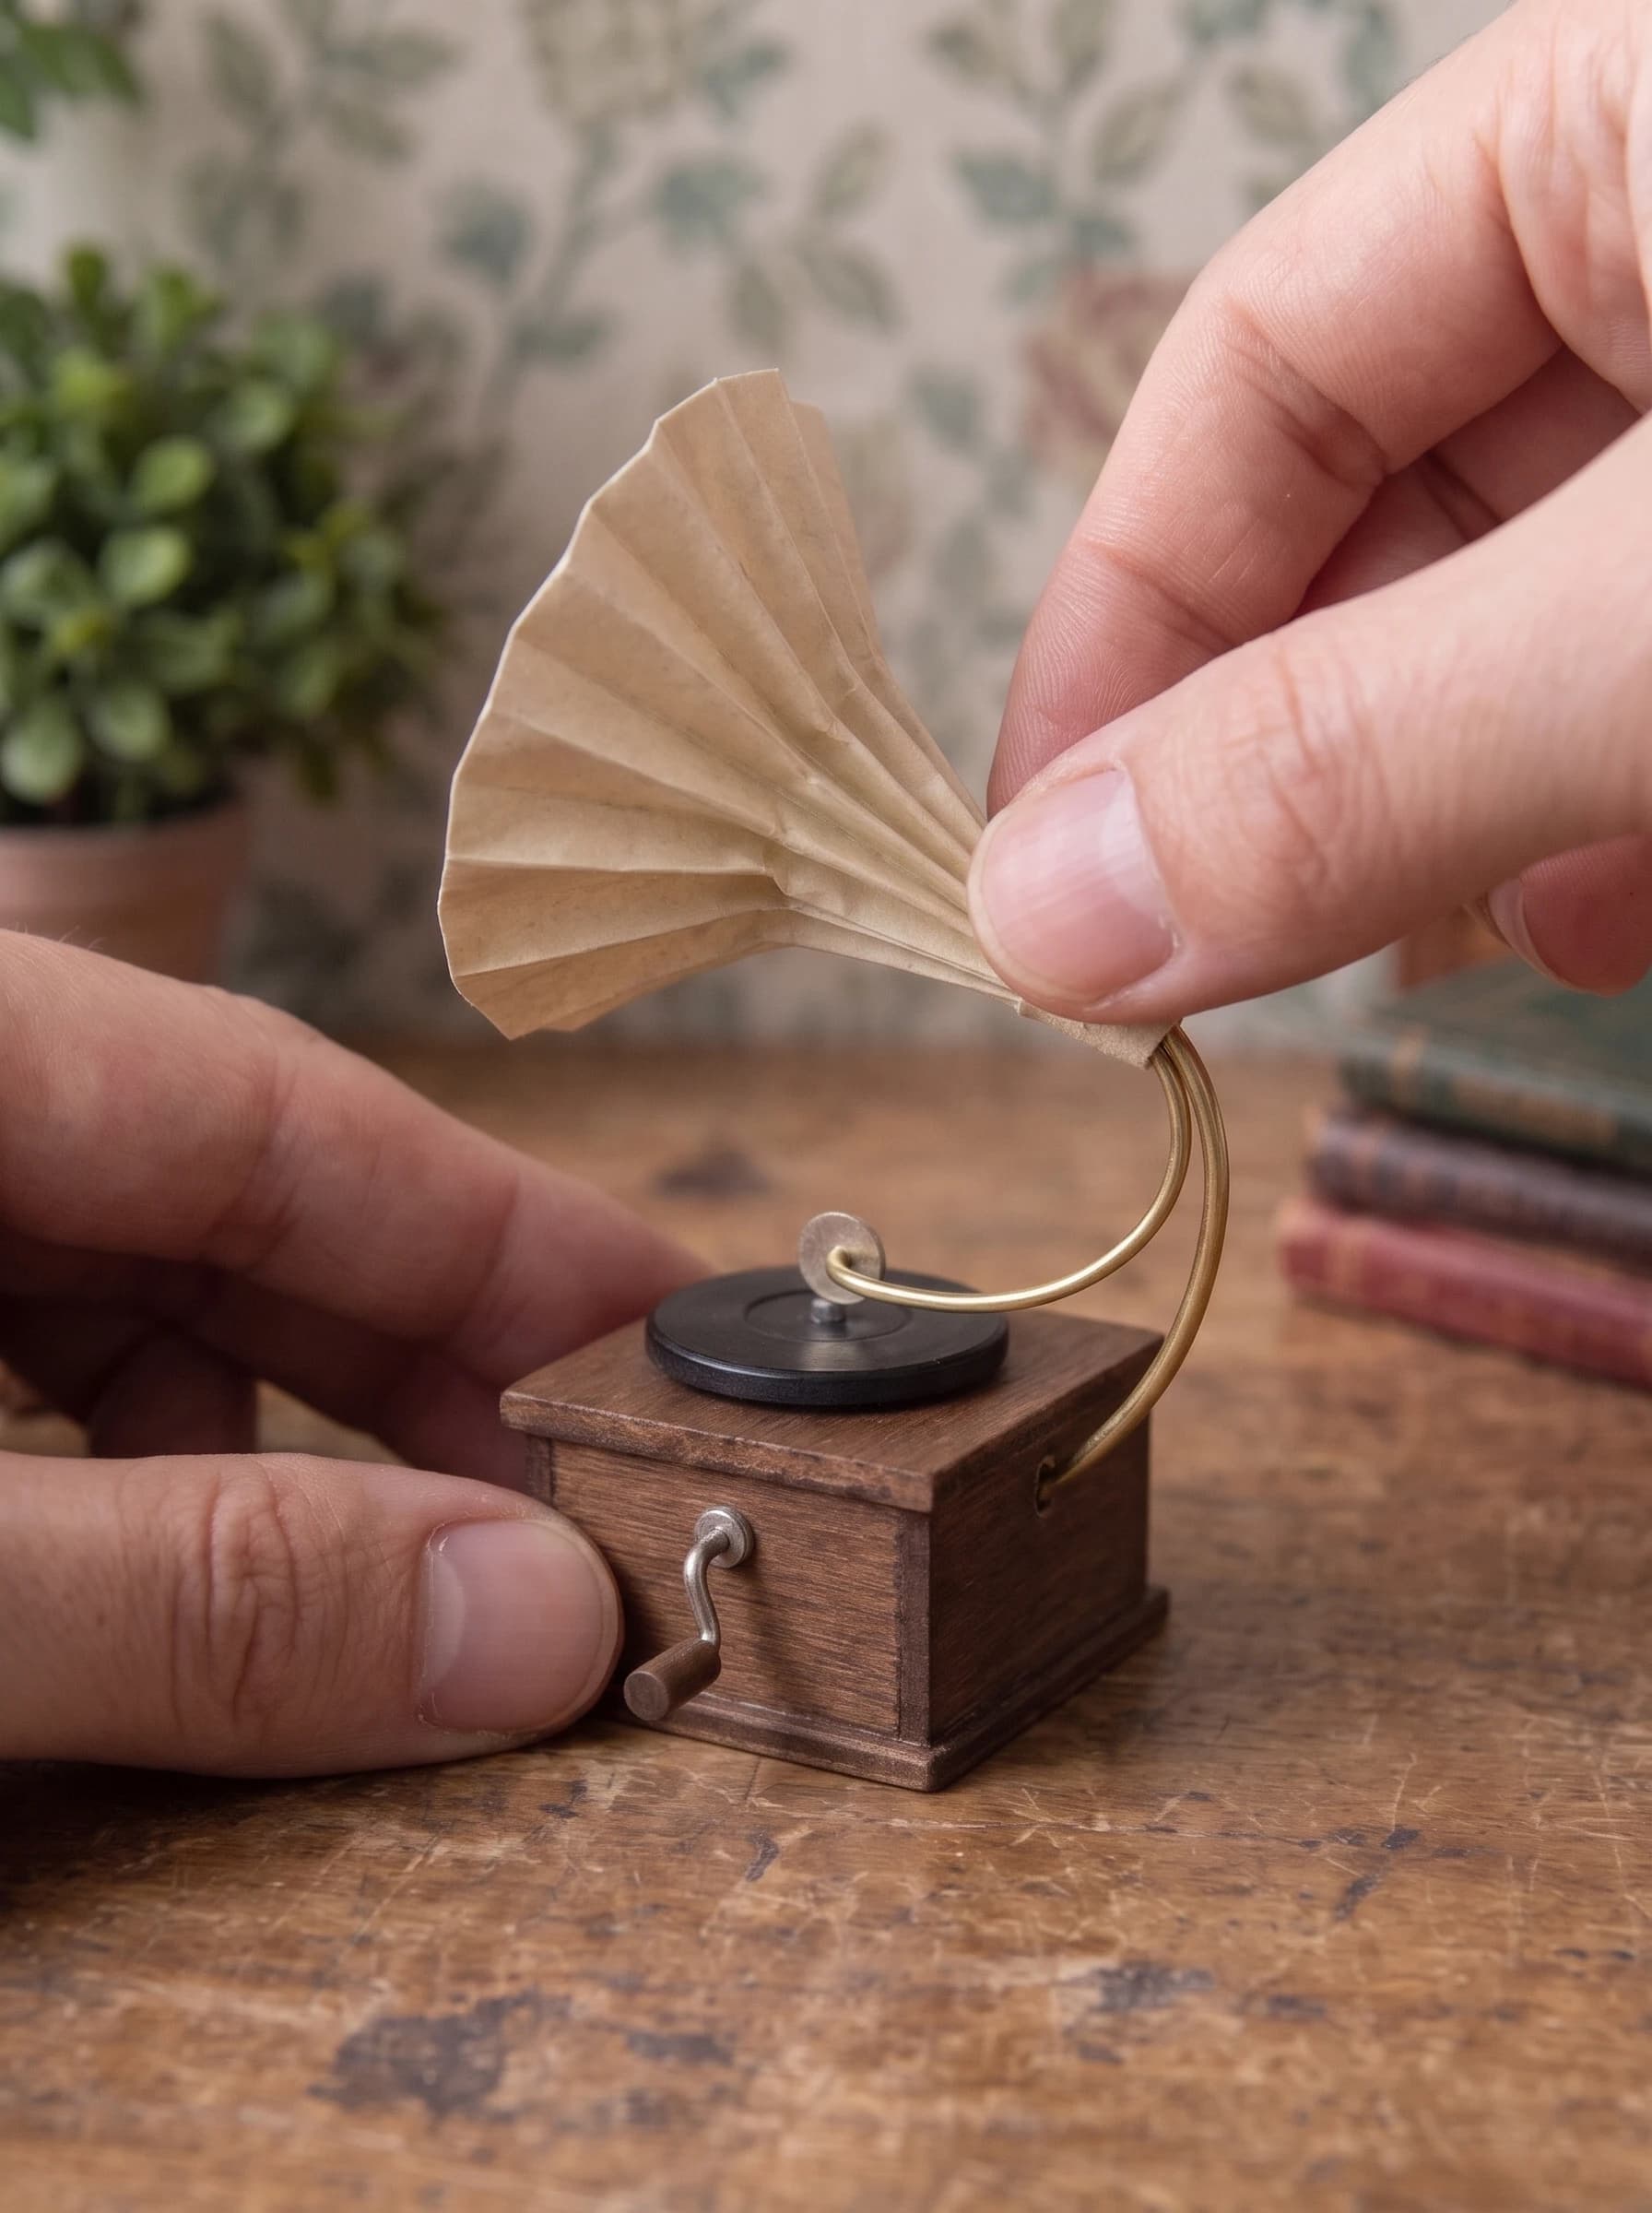
Step 6: Attach the Horn and Needle
Carefully slide the pinched, narrow end of your paper horn onto the top of the curved brass wire. Apply a tiny amount of tacky glue to the inside of the paper to secure it to the brass. To finish the mechanism, add a tiny metal bead or a tiny piece of plastic tubing at the connection point to mimic the soundbox and needle hovering over the record.
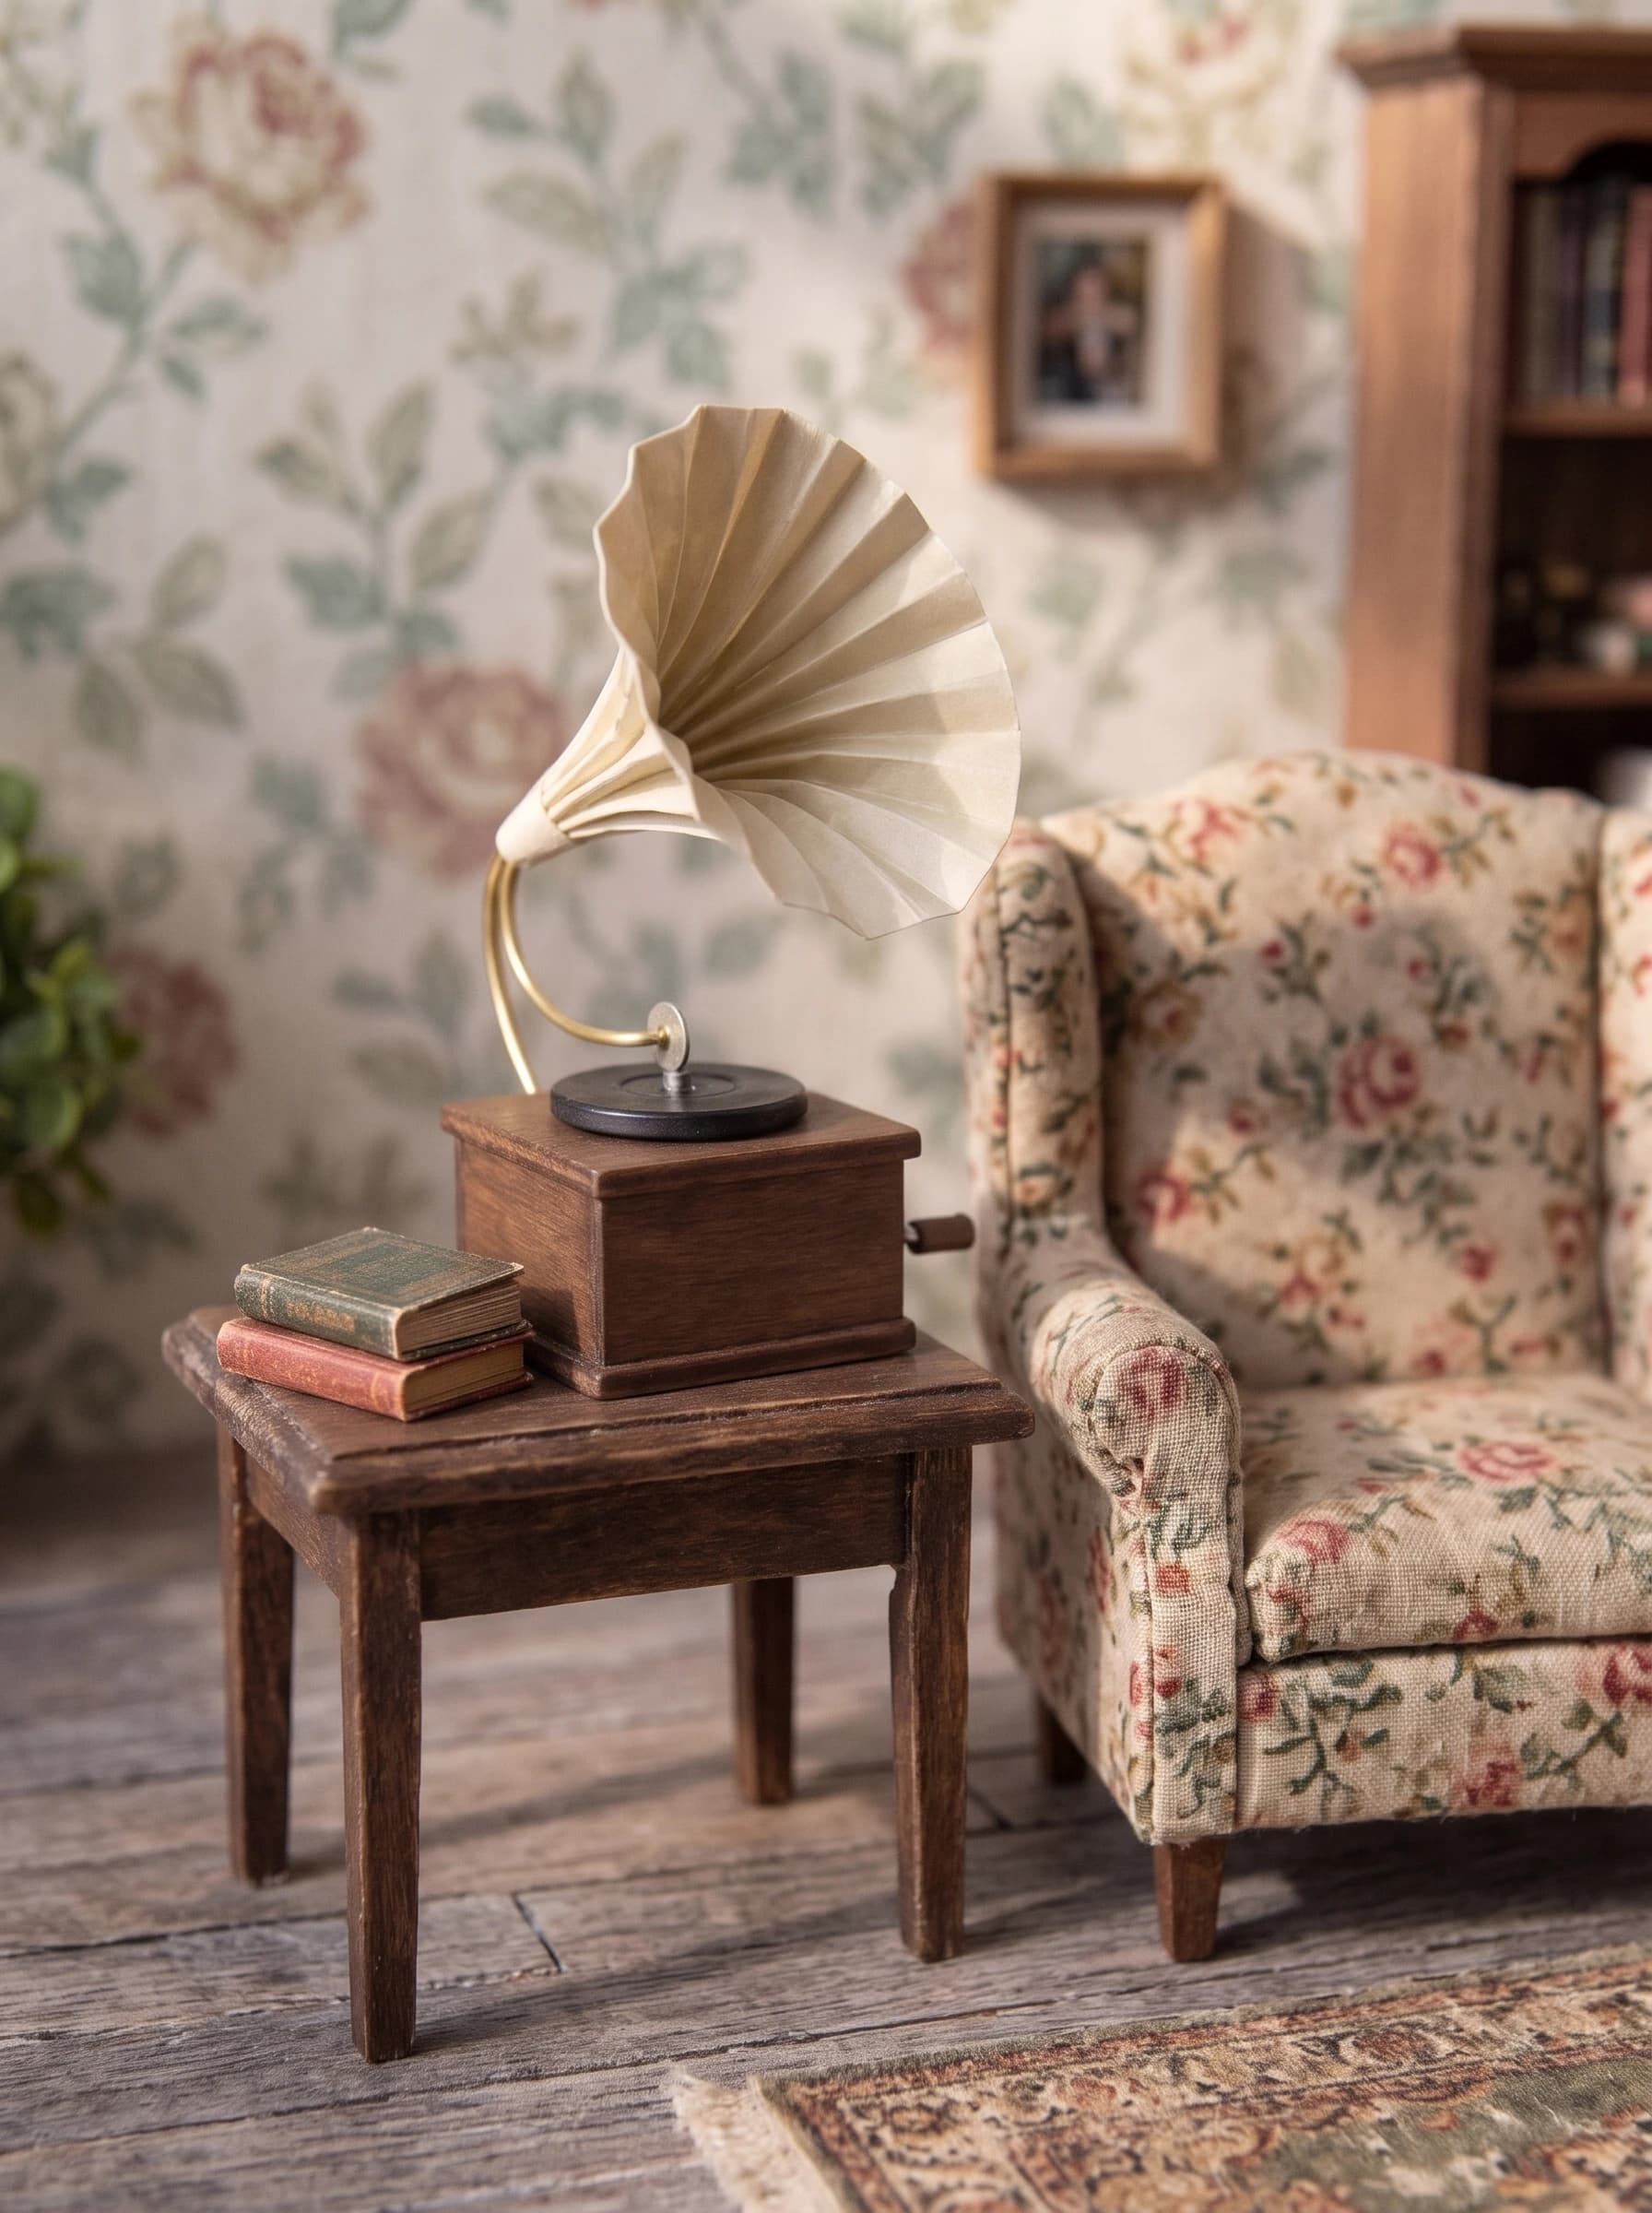
The Finished Project
Tips for a Professional Finish
- Paint your sewing button with matte black acrylic paint if it is too glossy.
- Lightly brush the edges of your paper horn with brown ink to give it an aged, antique appearance.
- Use a wood stain marker for a quick, mess-free way to darken the wooden base.
- Ensure your brass wire is thick enough to support the paper horn without bending over time.
- A tiny pinhead can be glued to the metal bead to perfectly mimic the gramophone needle.
Frequently Asked Questions
Can I use plastic instead of paper for the horn?
While you can heat-form thin plastics, heavy cardstock or paper holds the crisp accordion folds much better and looks surprisingly realistic when shaped.
What kind of wire should I use?
Brass wire or thin brass tubing (found in hobby shops) works best because it looks authentic and is easy to bend into a smooth curve without snapping.
How do I make the paper label for the record?
You can punch a tiny circle from a piece of vintage-looking scrapbook paper using a standard hole punch, or draw a tiny circle on cream paper and cut it out manually.
Will the turntable actually spin?
In this easy tutorial, the button is glued directly to the wood for stability, so it will not spin. If you want it to move, you would need to mount the button on a central pin or axle instead of gluing it flat.
Conclusion
Learning how to make a miniature gramophone is a wonderful way to practice combining different materials like wood and paper. With just a simple wooden block, a button, and some folded cardstock, you have created a beautiful, nostalgic piece for your dollhouse parlor. Don't hesitate to customize your build by staining the wood a darker mahogany or adding gold accents to the horn. Happy building!
More in this topic: all Craft tutorials