
How to Make a Miniature Kitchen Cart from Craft Sticks (Easy 1:12 Tutorial)
- Difficulty
- Beginner
- Scale
- 1:12
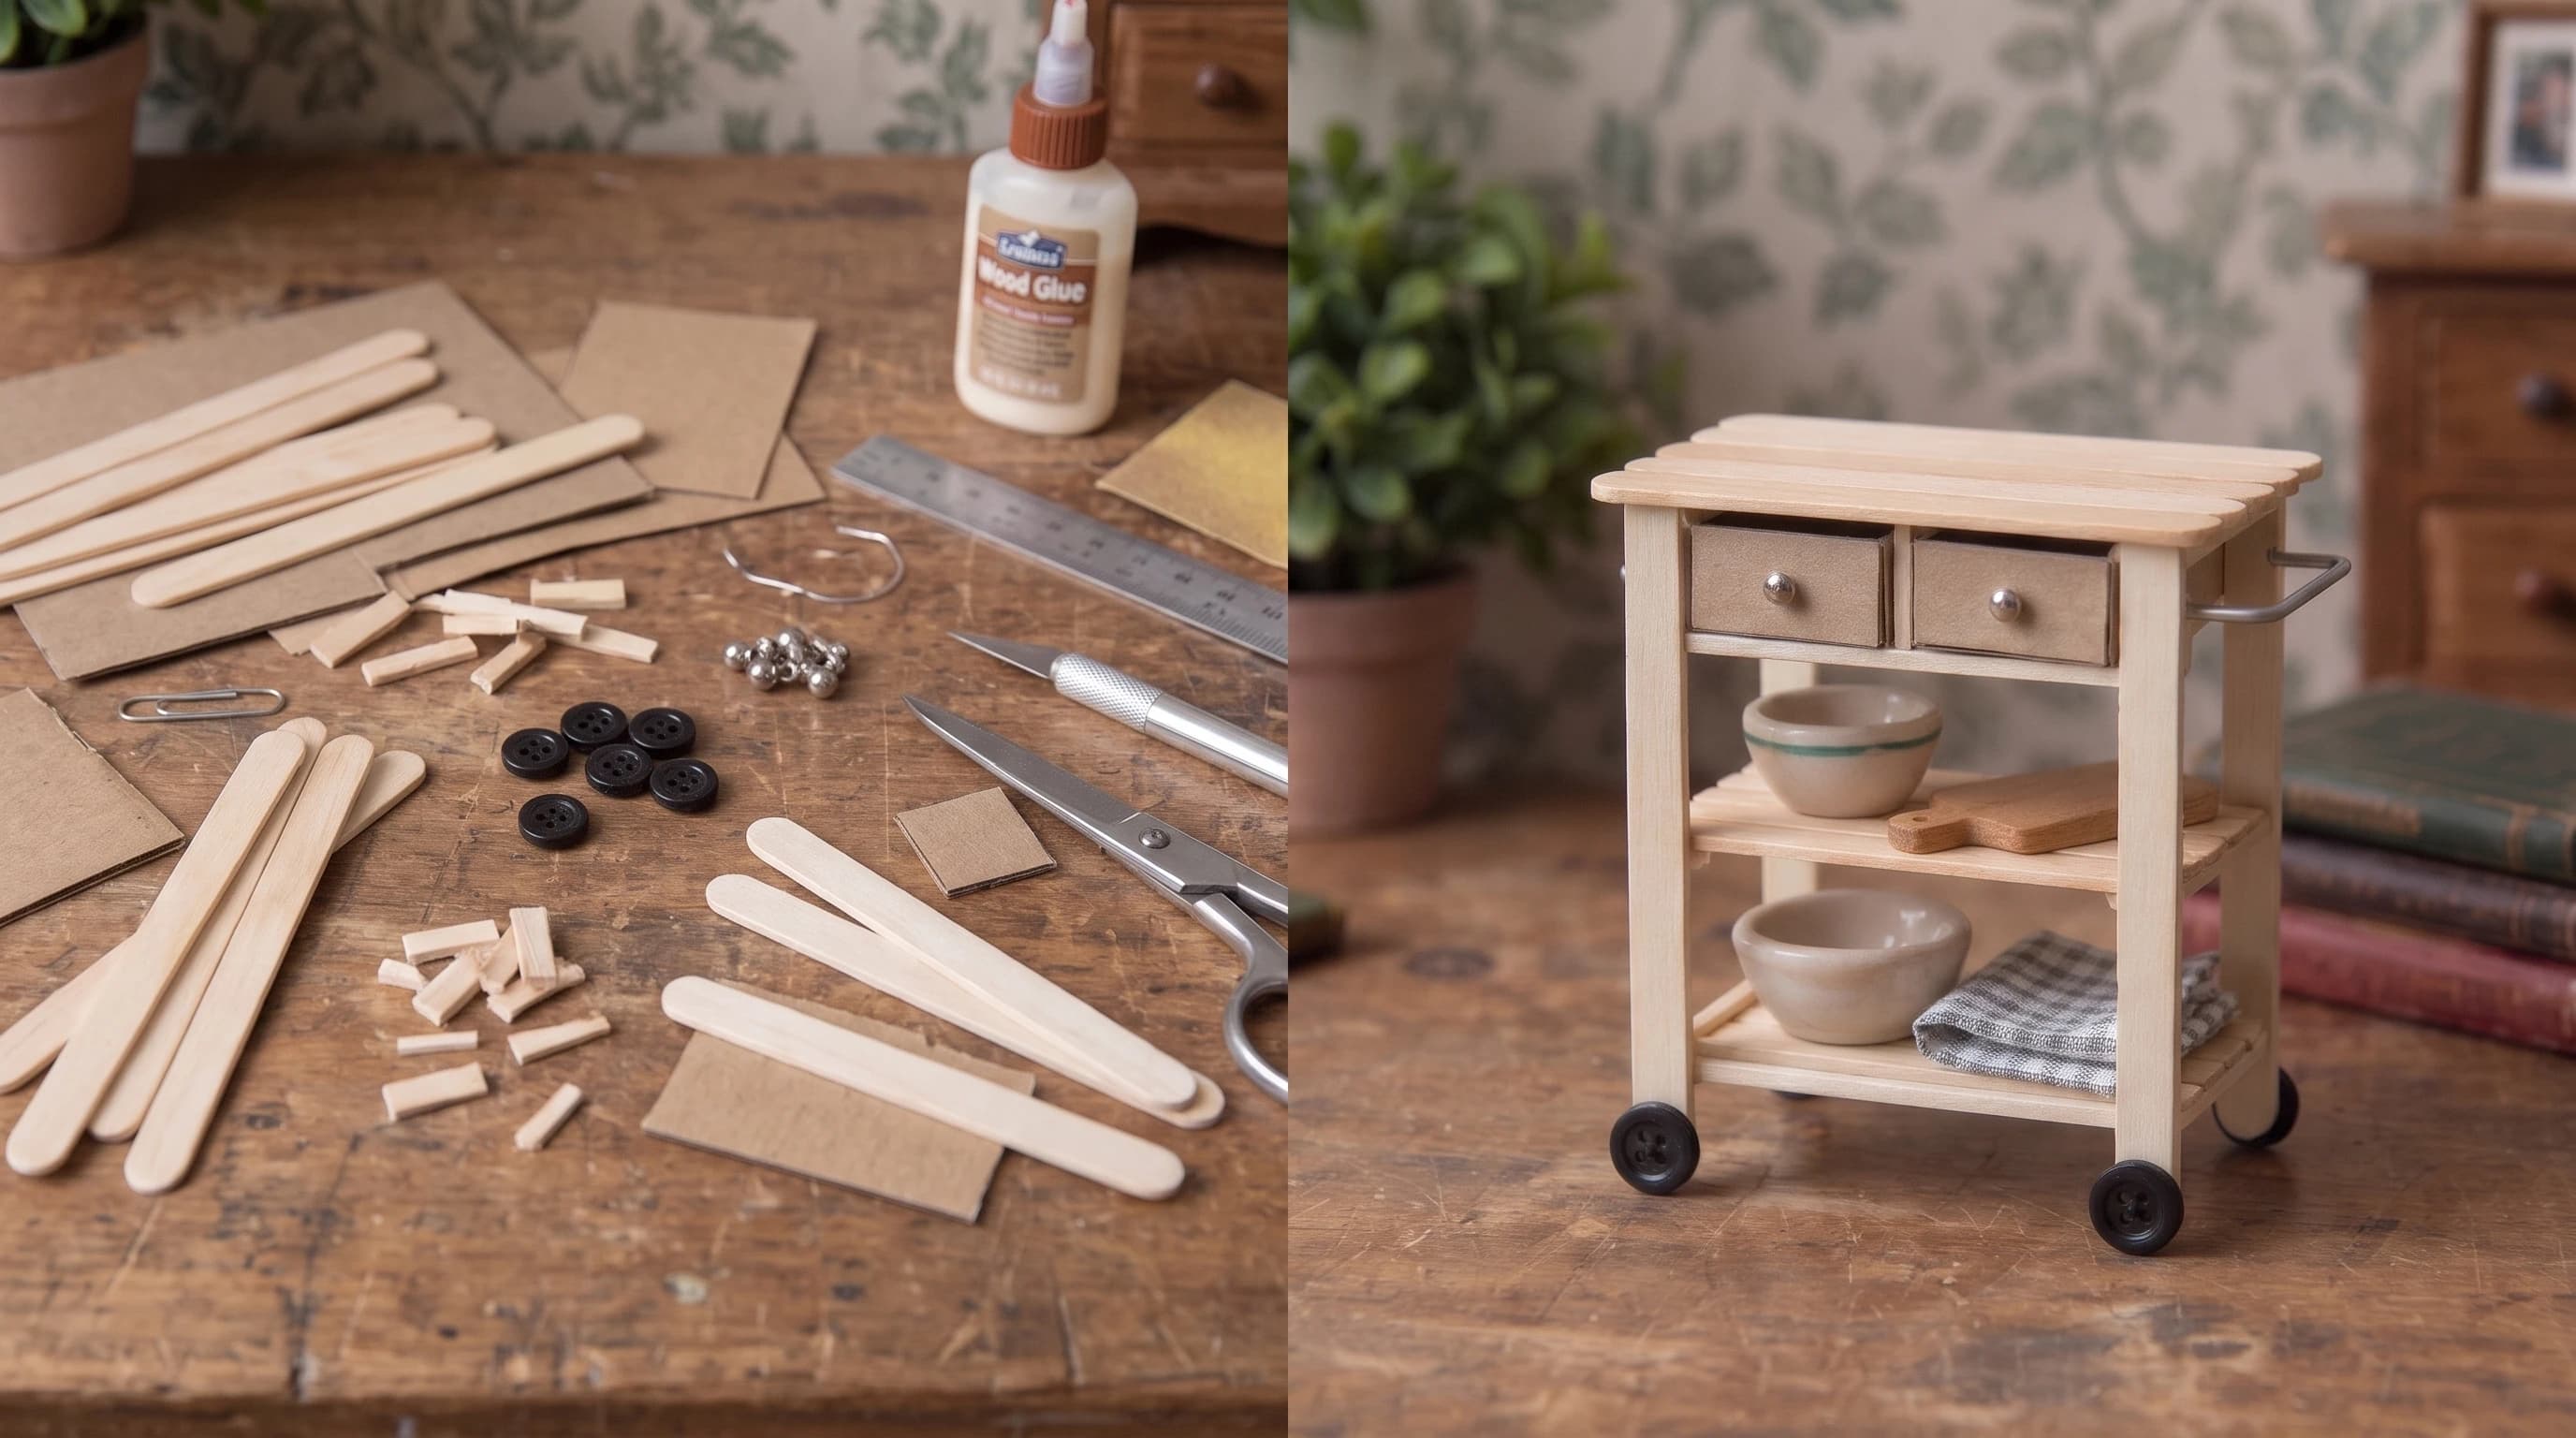
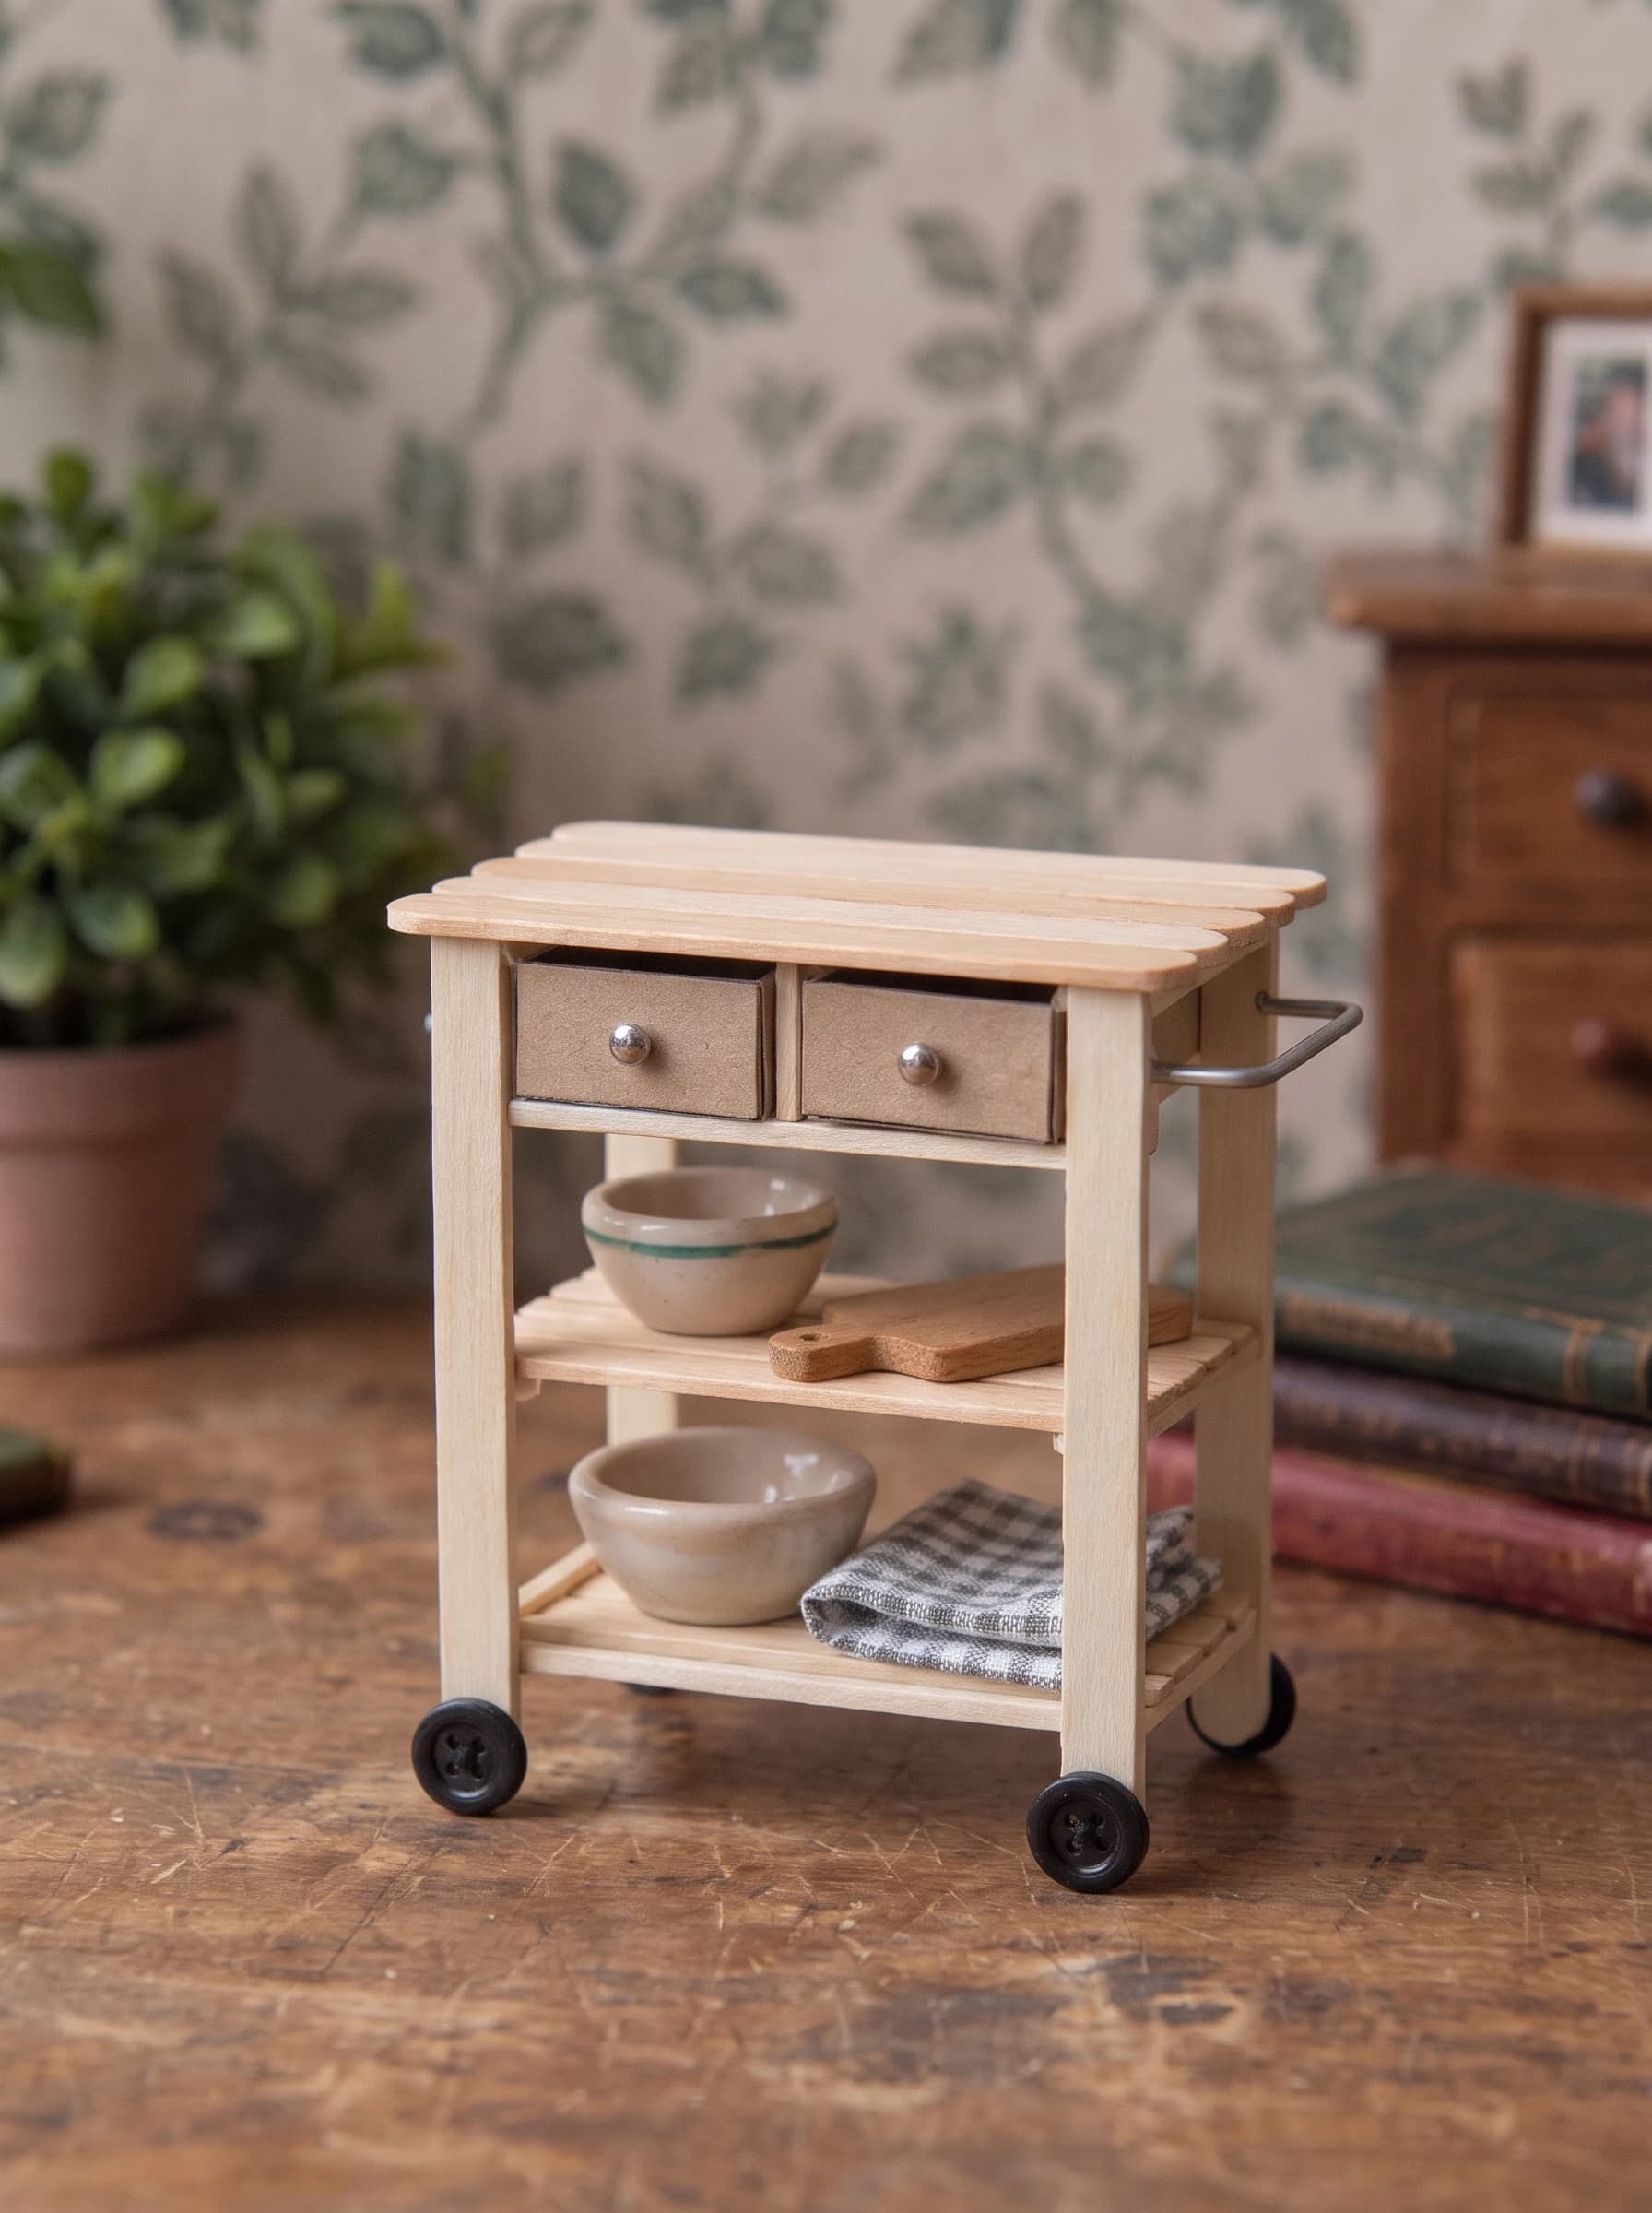
If you are looking to upgrade your dollhouse, learning how to make a miniature kitchen cart is a fantastic weekend project. This charming 1:12 scale rolling island provides extra prep space and storage for your tiny culinary scenes. Best of all, you can build it entirely from scratch using inexpensive craft sticks, a couple of small cardboard boxes, and a few spare buttons from your sewing kit. Let's get started on this simple, satisfying build.
What You'll Need for Your Miniature Kitchen Cart
You do not need an extensive workshop to create this piece. The main material consists of standard wooden craft sticks, which are easy to cut and sand. For the drawers, you can recycle small cardboard matchboxes or fold your own from scrap cardstock. The wheels are simply standard black four-hole sewing buttons, scaled perfectly for a 1:12 miniature rolling cart.
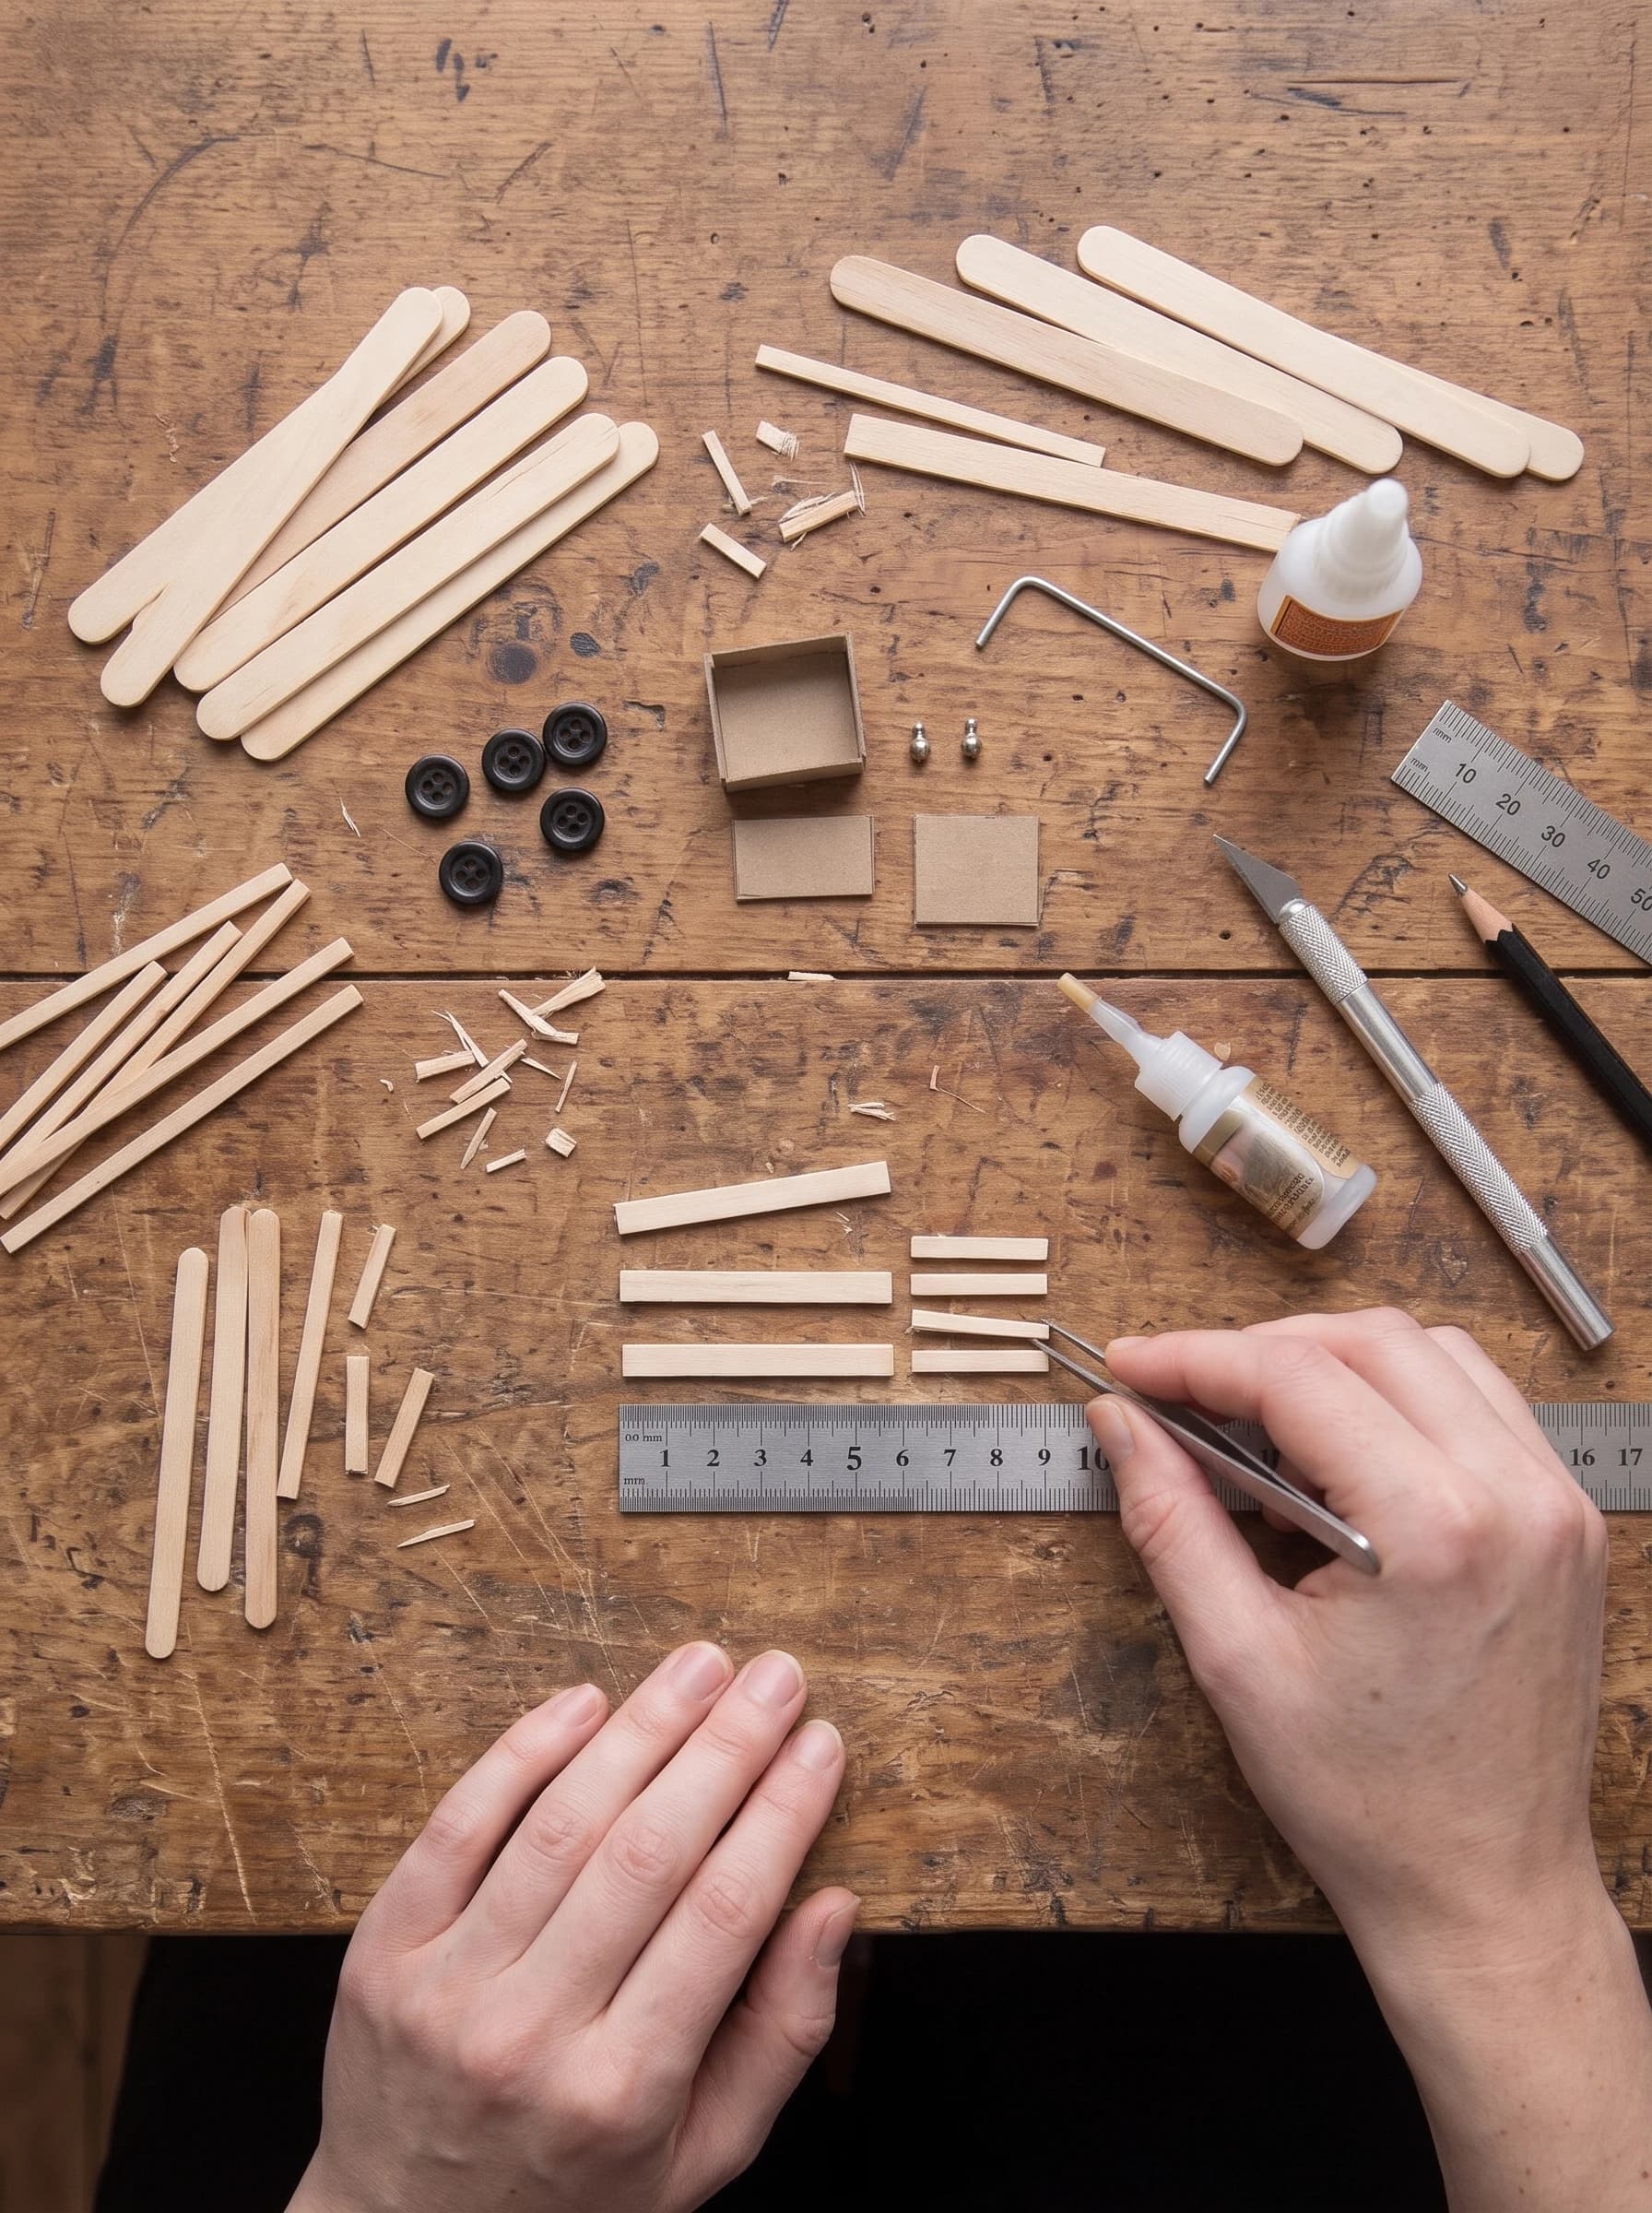
- Wooden craft sticksStandard size, pale wood
- Small cardboard boxesMatchboxes or folded cardstock
- 4 small black sewing buttonsFor the wheels
- Metal beads or bradsFor drawer pulls
- Thin metal wireFor the side towel handle
- Tacky glueDries clear and holds wood well
- Craft knifeWith a sharp blade
- Metal rulerFor straight cuts
- PencilFor marking measurements
- Fine-tip tweezersFor handling tiny pieces
Before You Start
Step 1: Measure and Cut the Craft Sticks
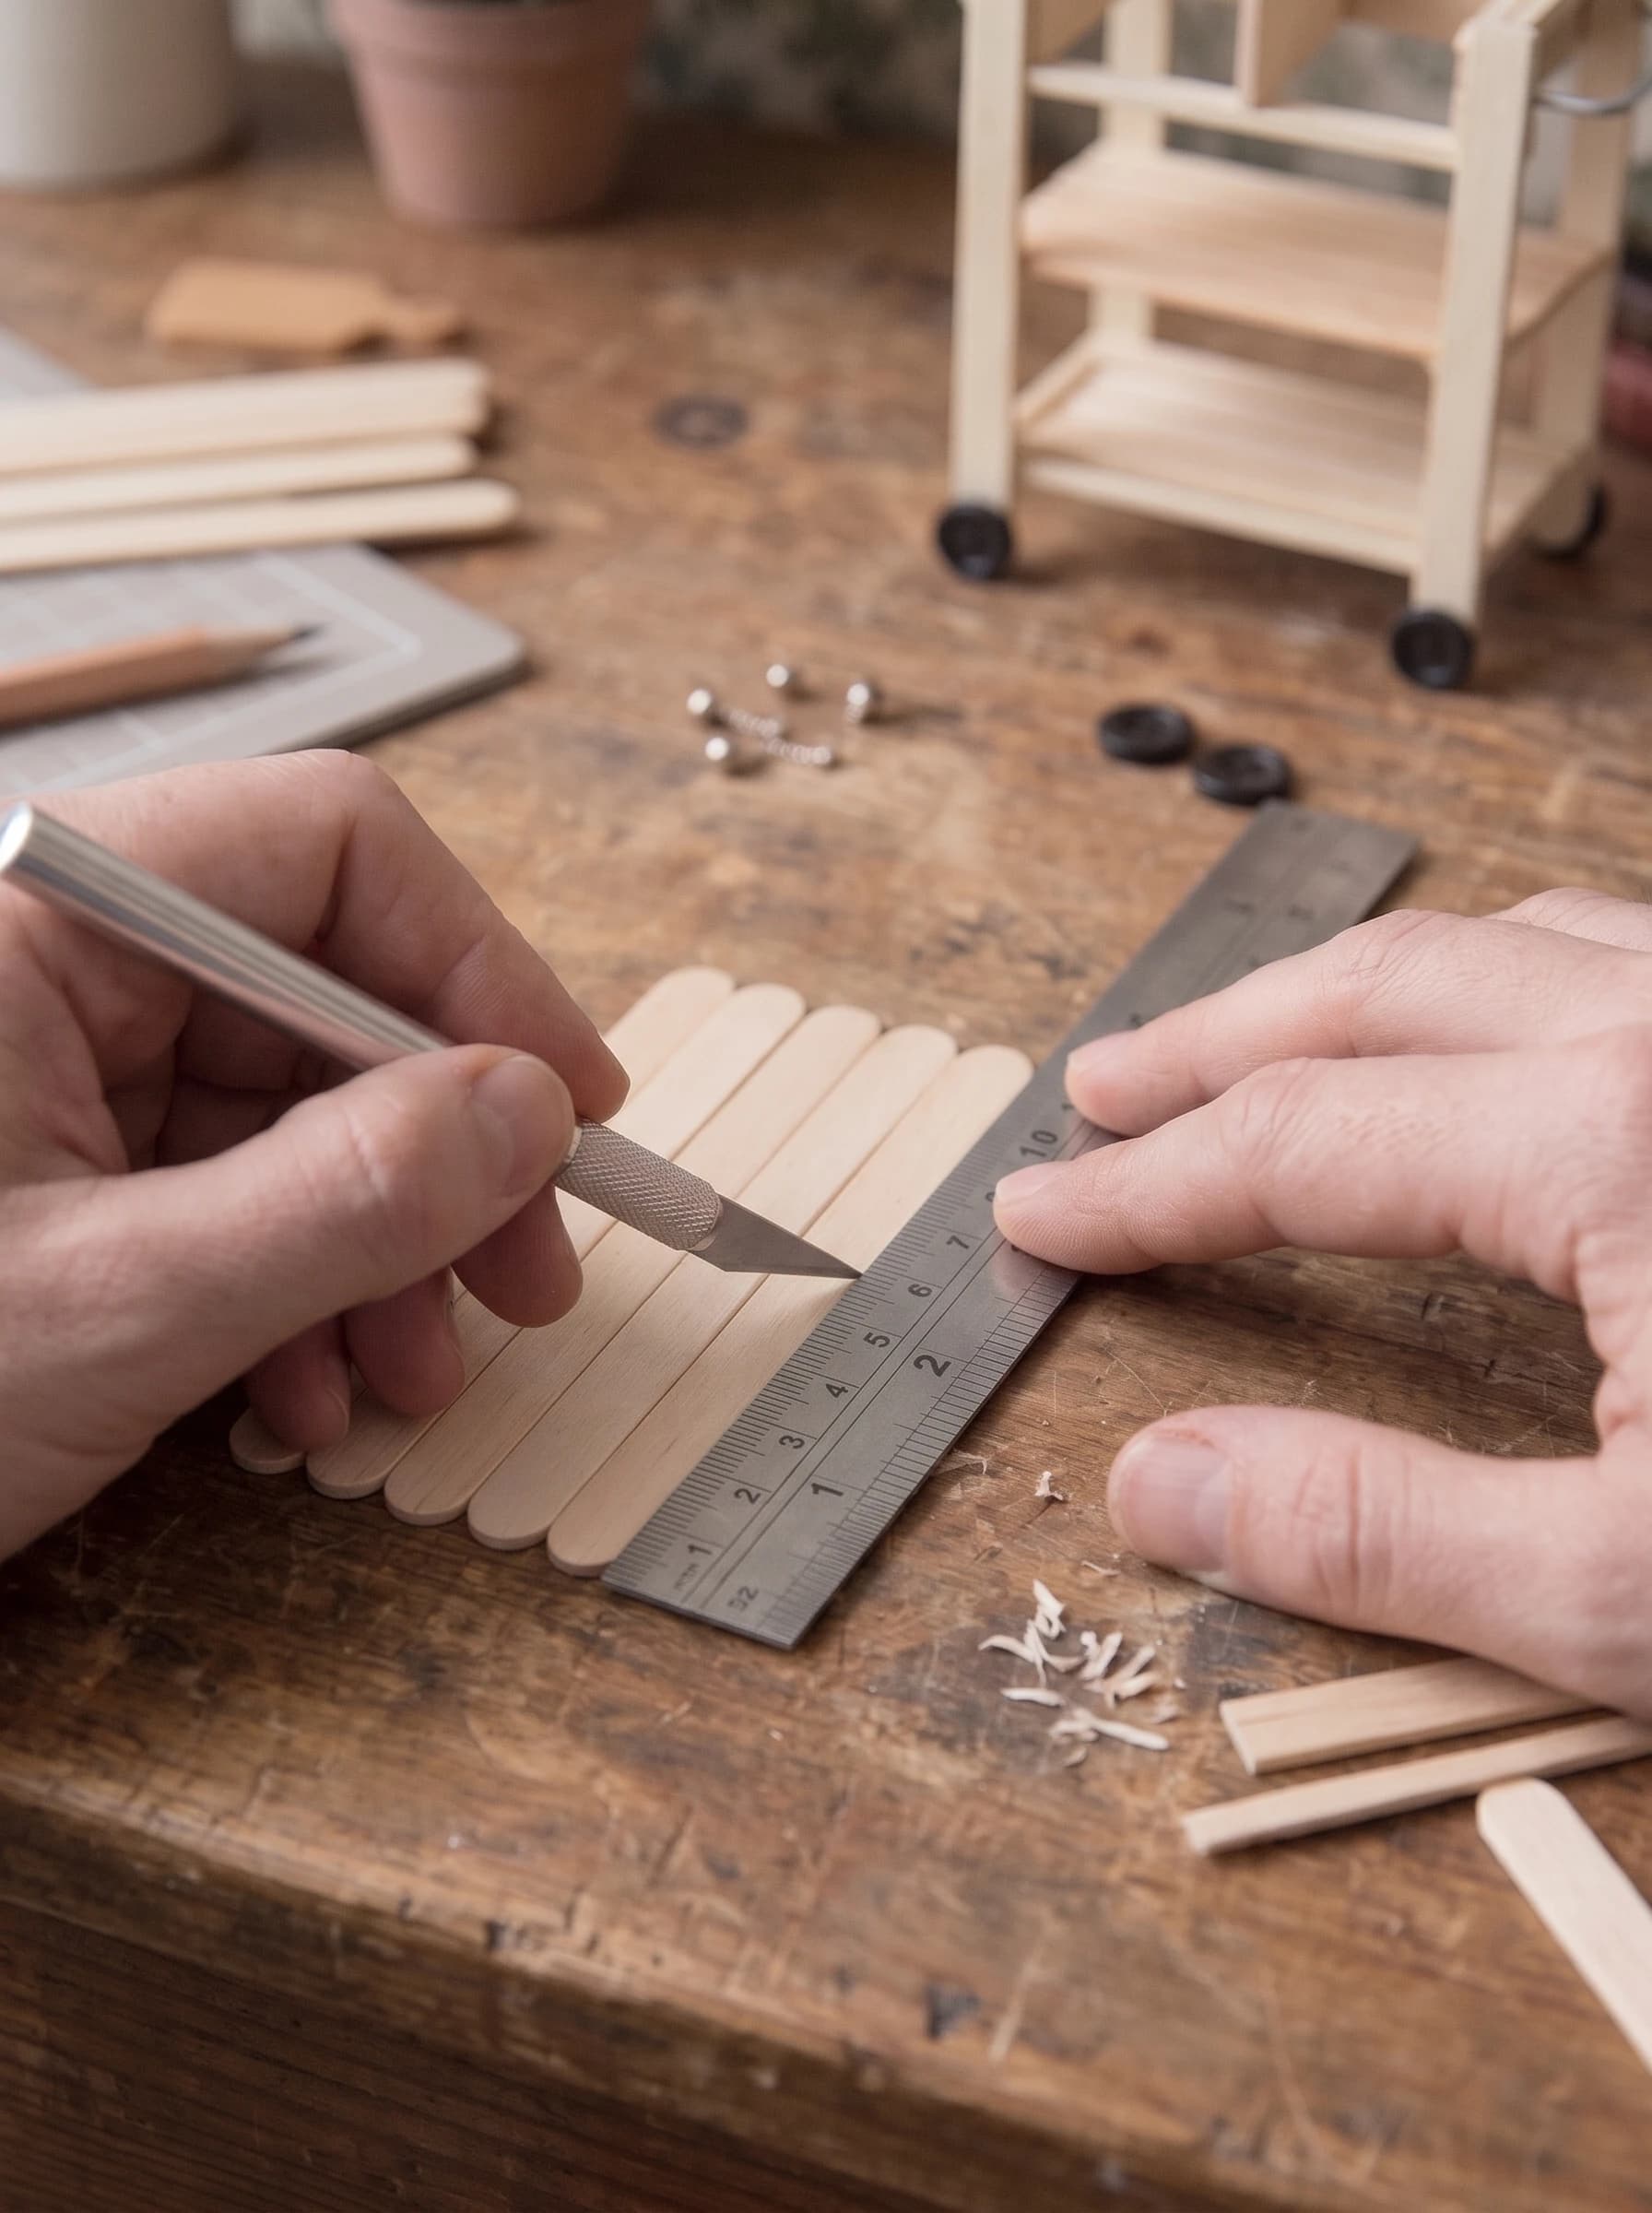
Begin by marking your craft sticks with a pencil and metal ruler. You will need four leg pieces measuring exactly 2.75 inches (7 cm) long. Cut several sticks to 2.5 inches (6.3 cm) for the horizontal shelf supports and the top slats. Always use a fresh blade in your craft knife to prevent the wood from splintering. Take your time scoring the wood repeatedly rather than trying to cut through it in one heavy pass.
Step 2: Build the Side Frames
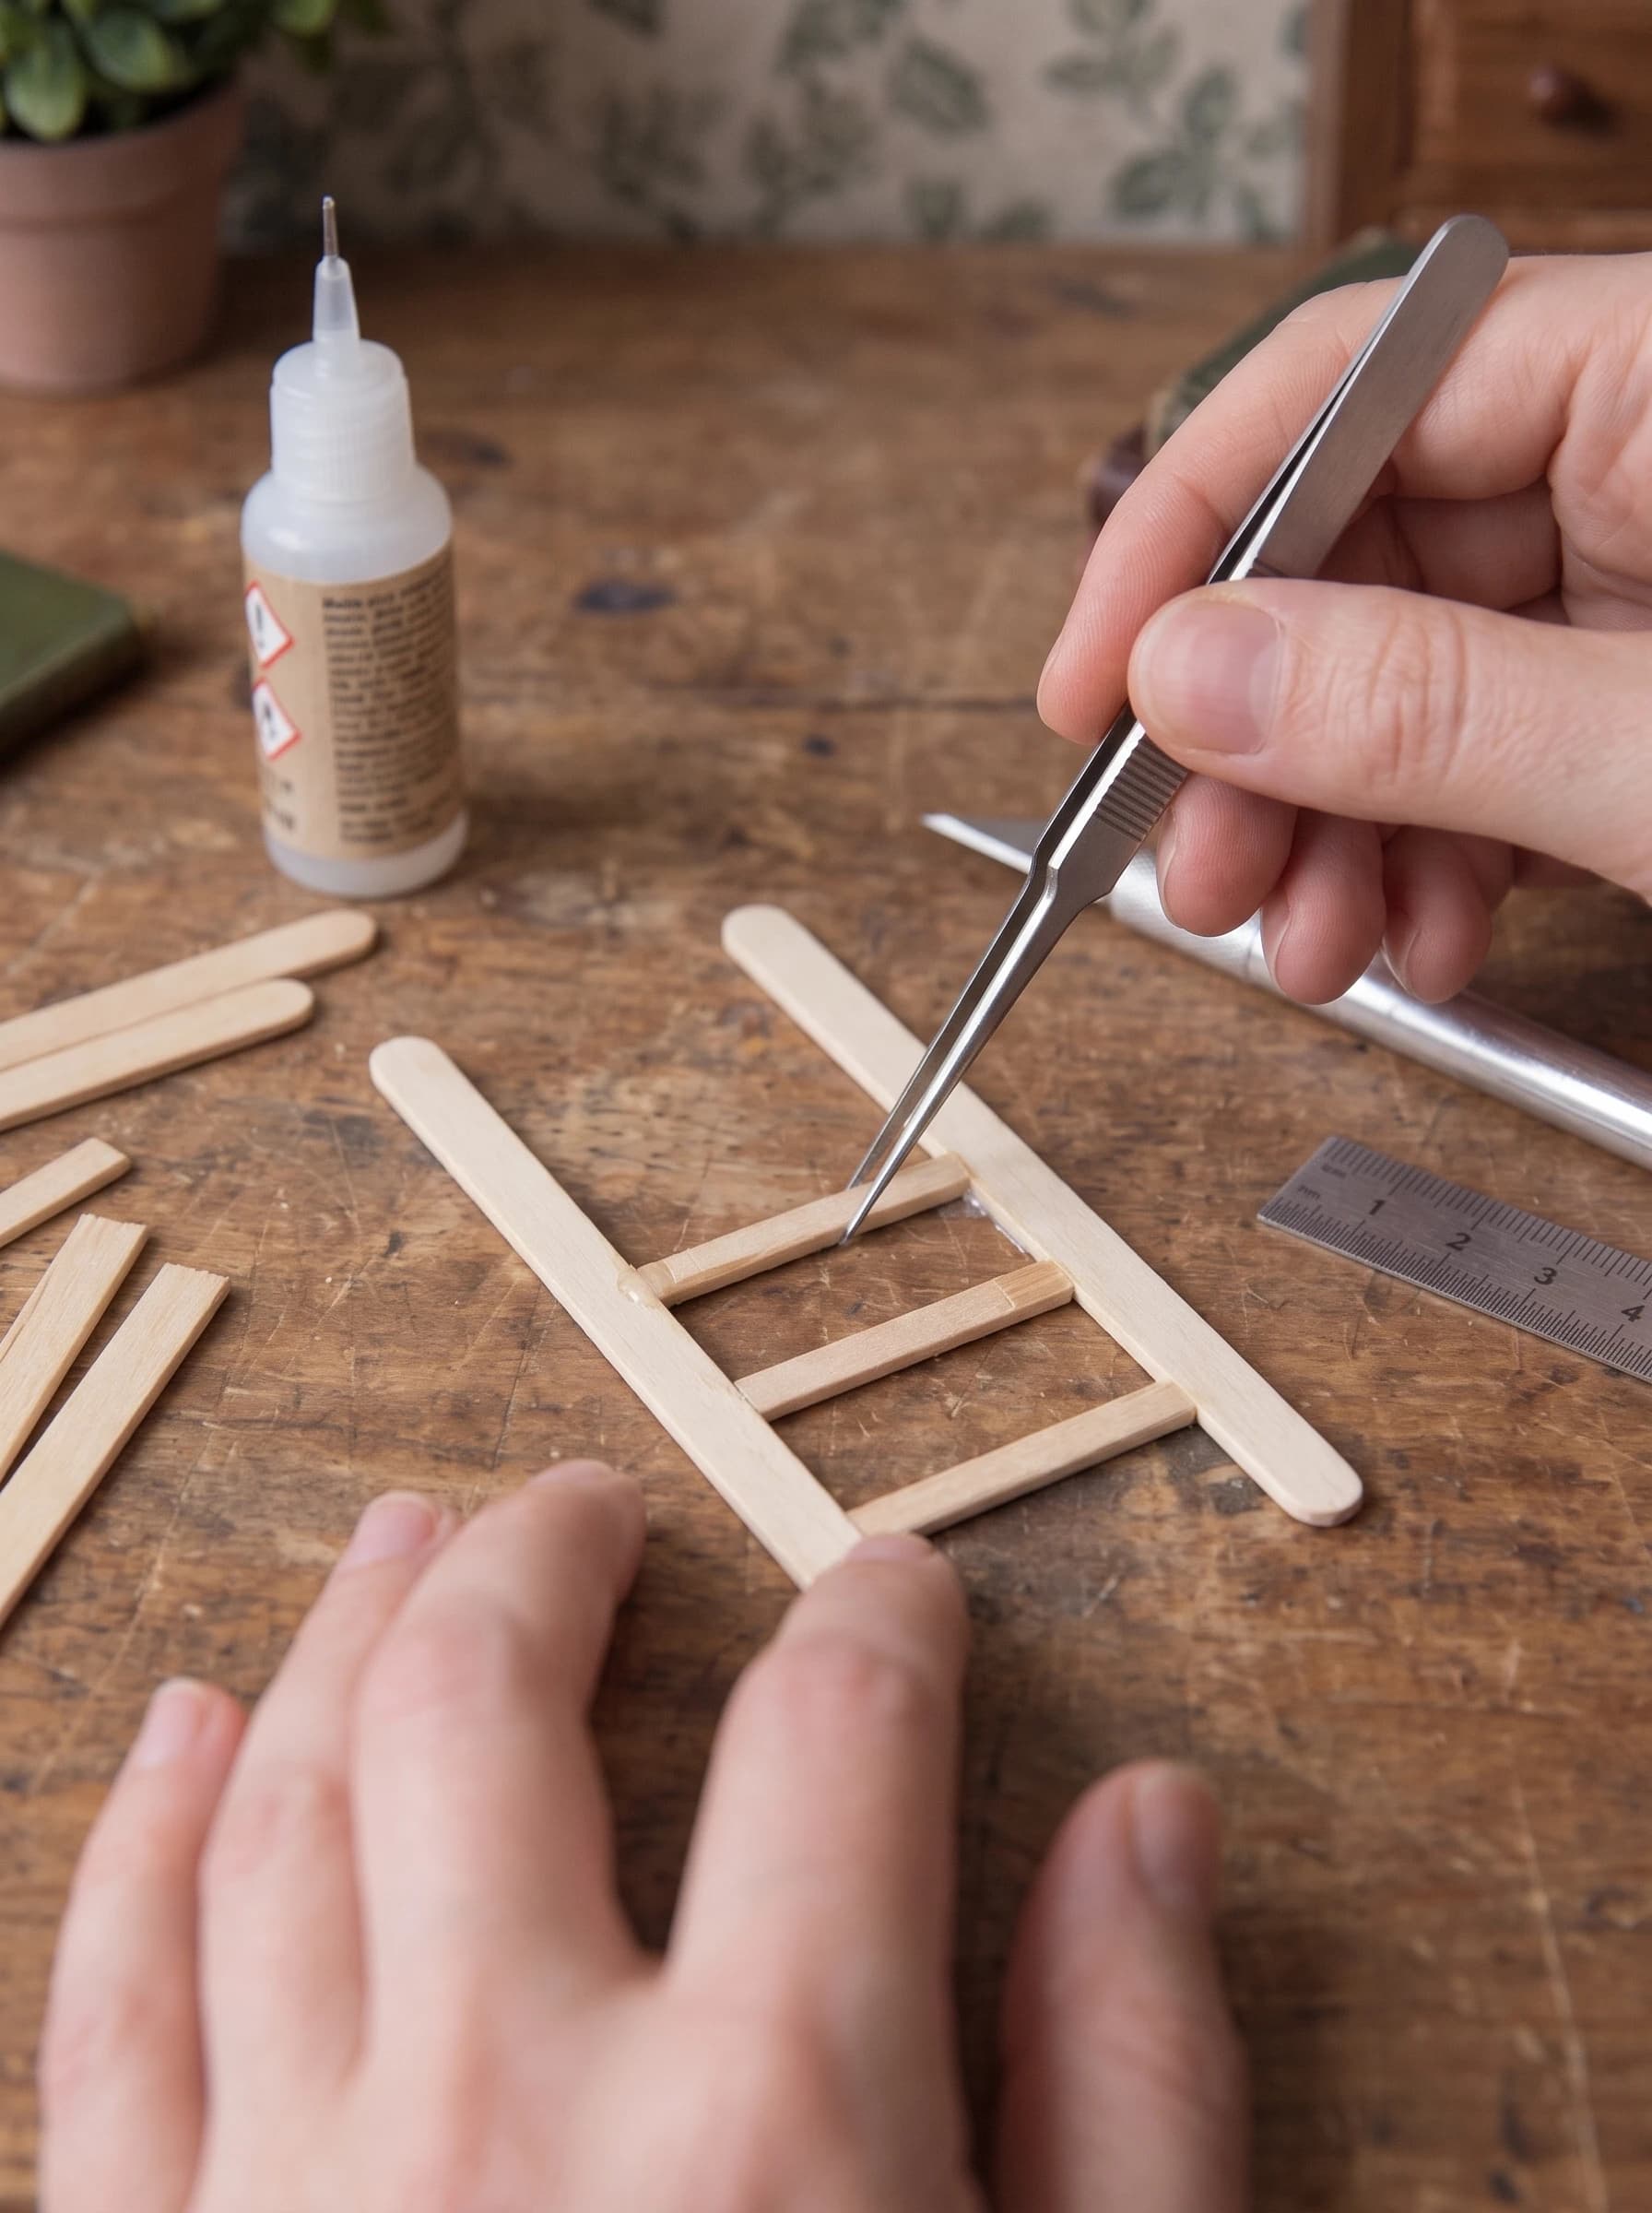
Take two of your leg pieces and lay them flat on your work surface. Glue two shorter cross-pieces horizontally to connect them: one near the top, and one near the bottom. This forms one side of the cart. Repeat this process to create an identical second frame. Allow the tacky glue to dry for at least 15 minutes before moving them, ensuring the frames are perfectly square.
Step 3: Attach the Slatted Top
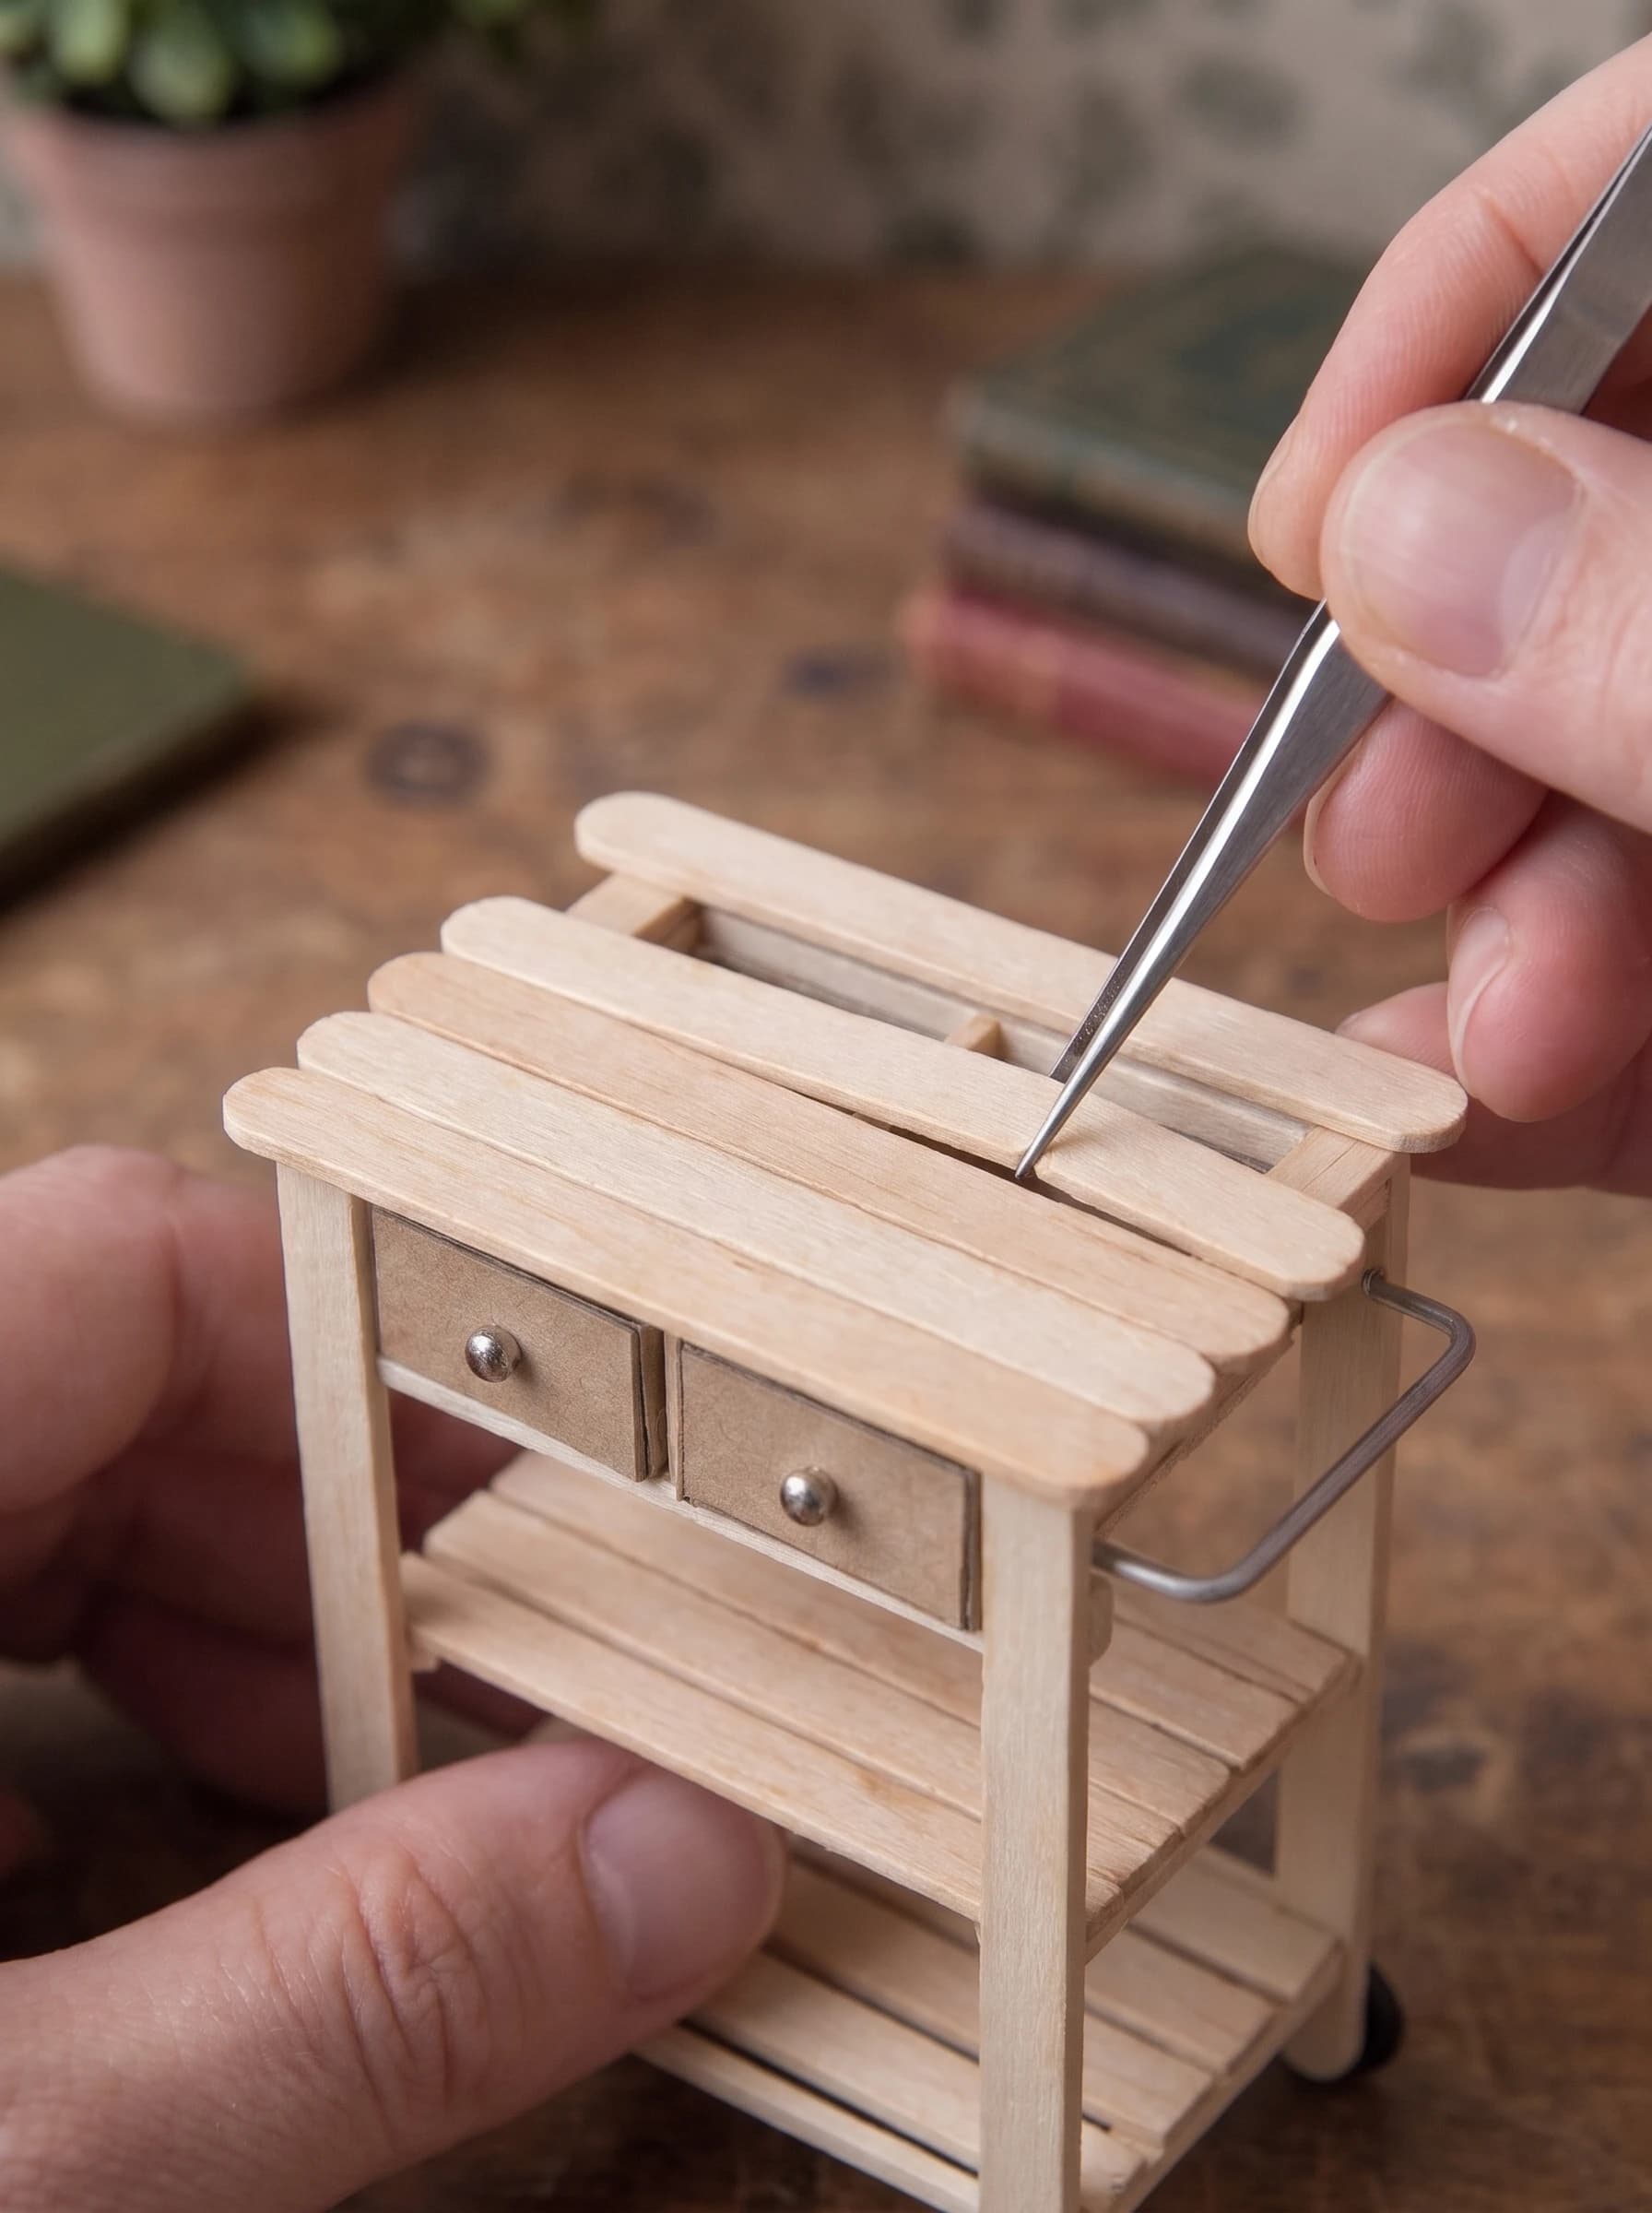
Stand the two side frames upright and connect them by gluing long support sticks across the top front and back. Once the main skeleton is stable, begin gluing your 2.5-inch sticks flat across the top to create a slatted butcher block surface. Leave a tiny gap (about 1 mm) between each slat for a realistic rustic look. Tweezers are incredibly helpful here for placing the glued sticks precisely.
Step 4: Install the Lower Shelves
Measure the inner width of your cart to cut sticks for the two lower shelves. Apply small dabs of tacky glue to the inner horizontal supports on your side frames. Carefully slide the shelf planks into place, pressing them down gently. Make sure the shelves sit level. Let the entire structure cure completely before attempting to push the drawers in, so the frame doesn't shift.
Step 5: Build and Fit the Drawers
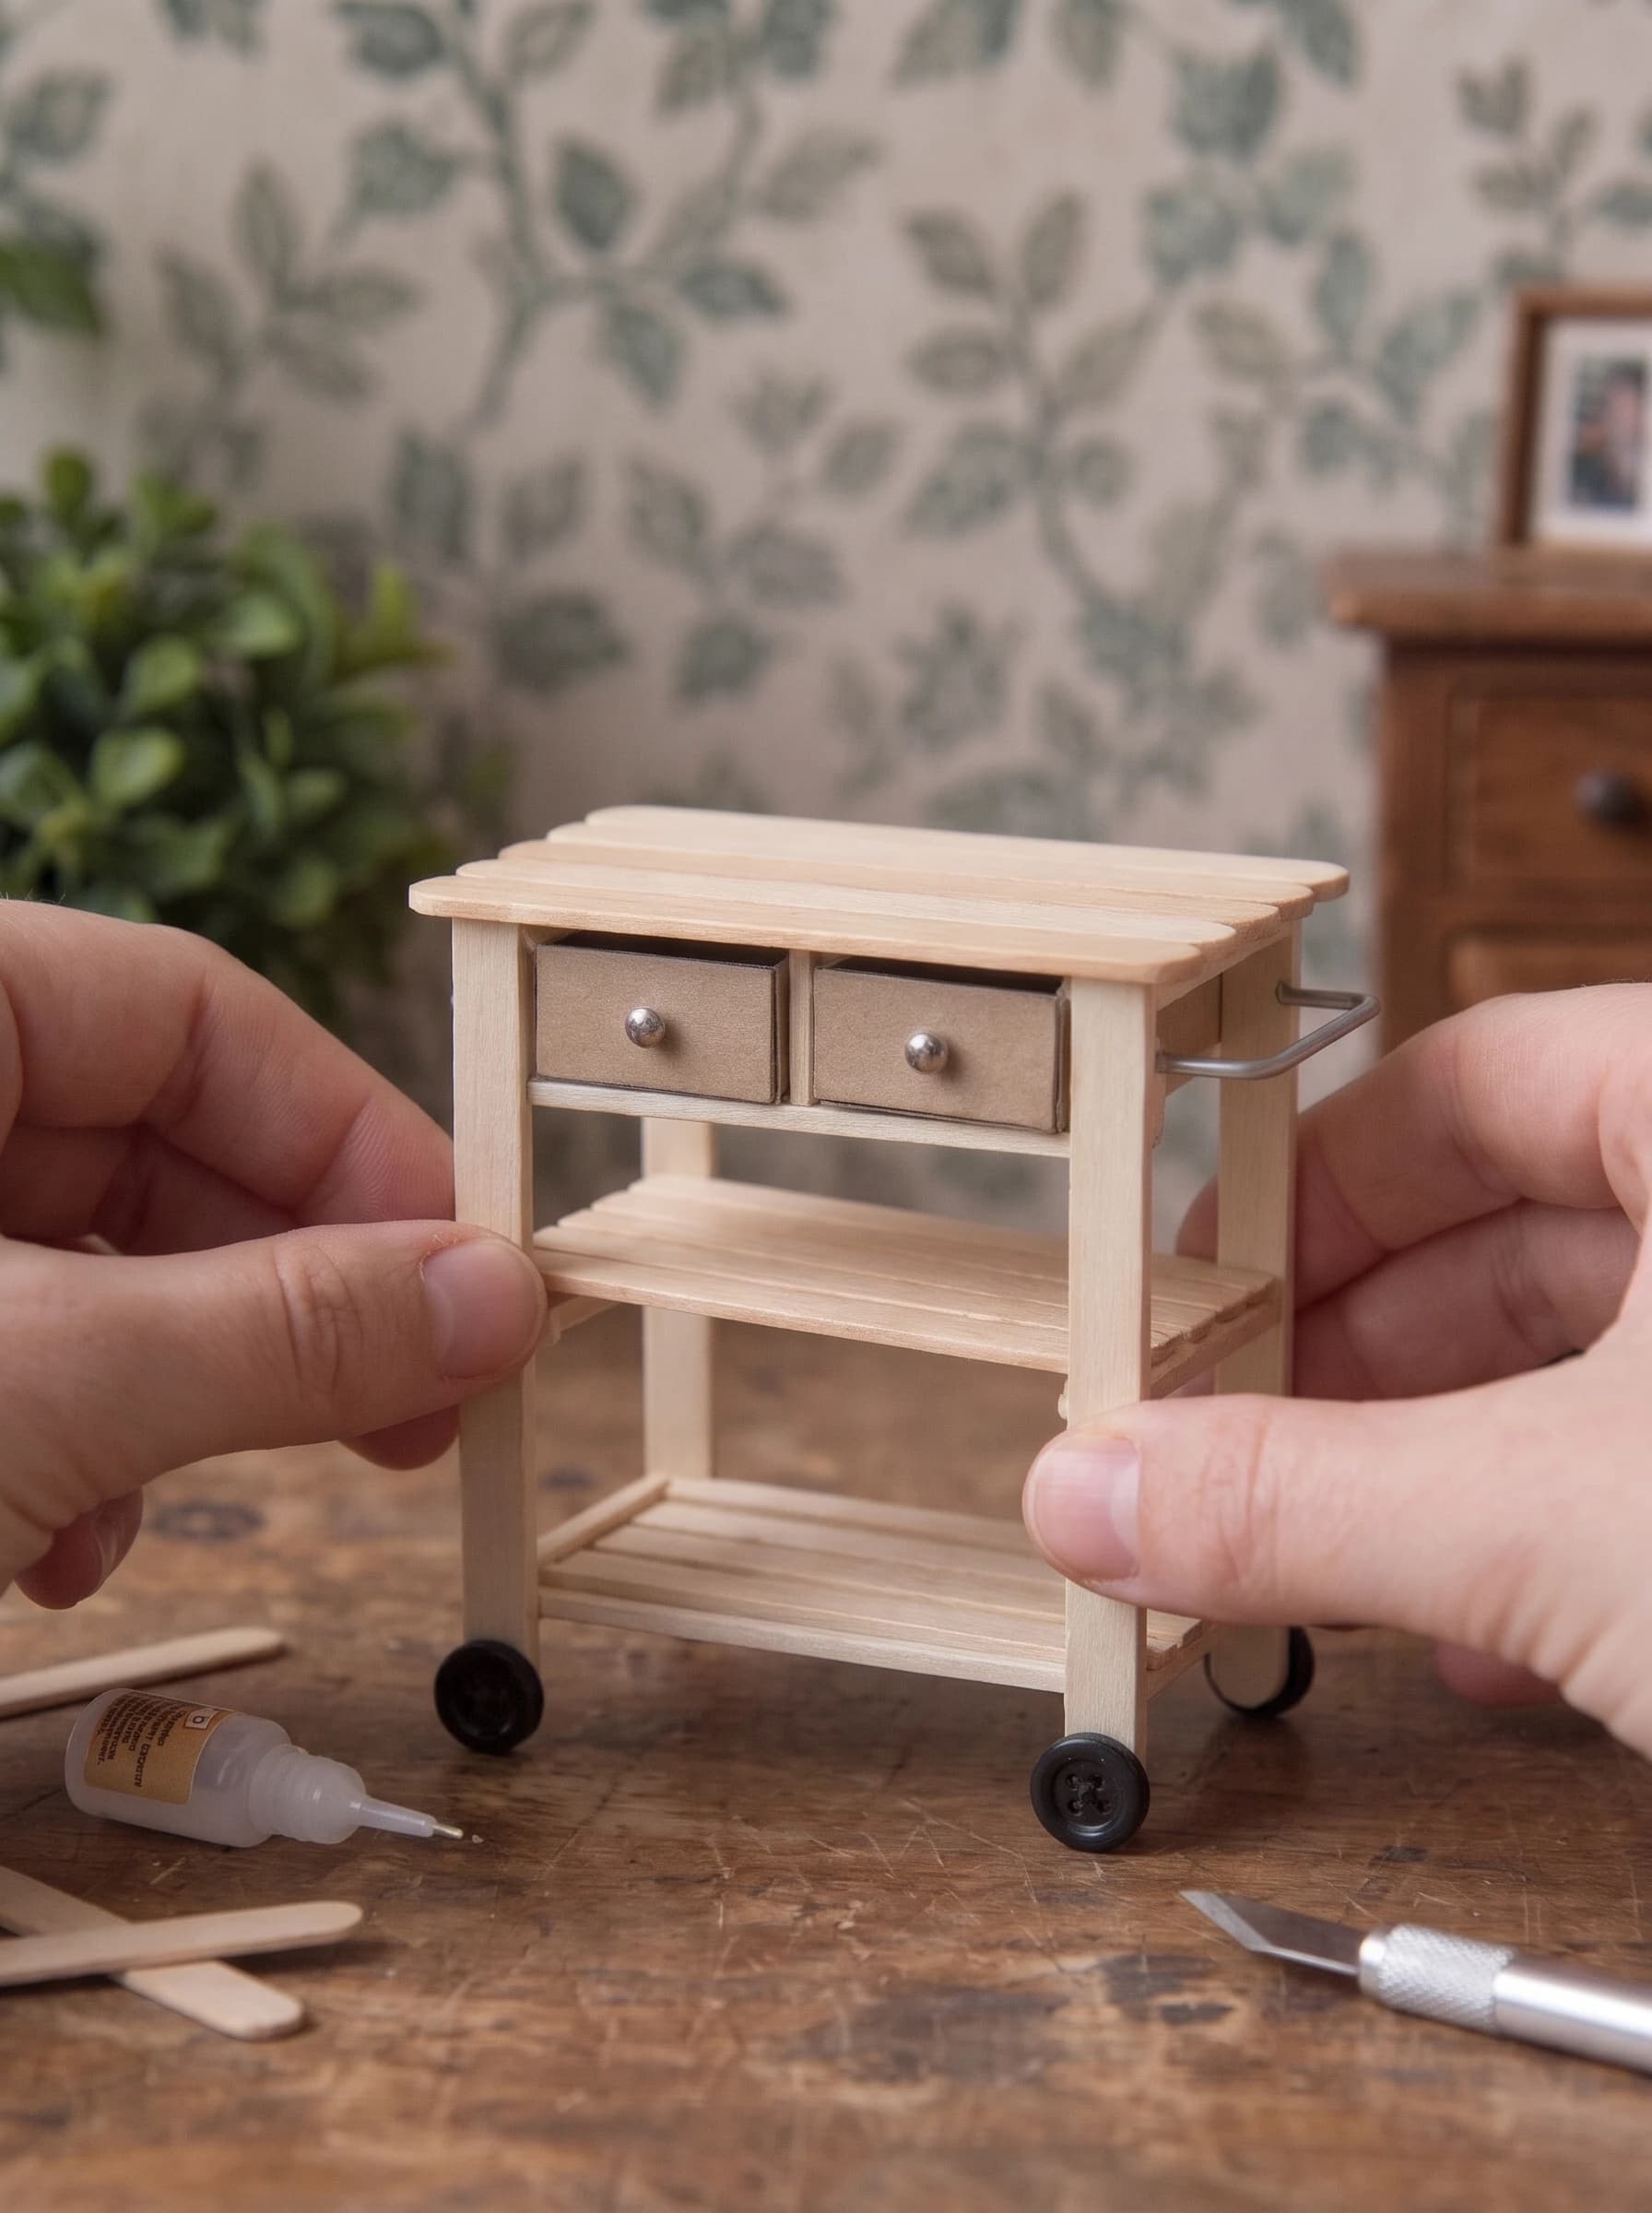
Cut your small cardboard boxes down so they slide easily under the slatted top. Glue a cut-to-size piece of craft stick to the front of each box to create a wooden drawer face. Pierce a tiny hole in the center of the wooden face and insert a small metal bead or brad, securing it with glue on the inside. Slide the finished drawers into the cart frame.
Step 6: Add the Wheels and Handle
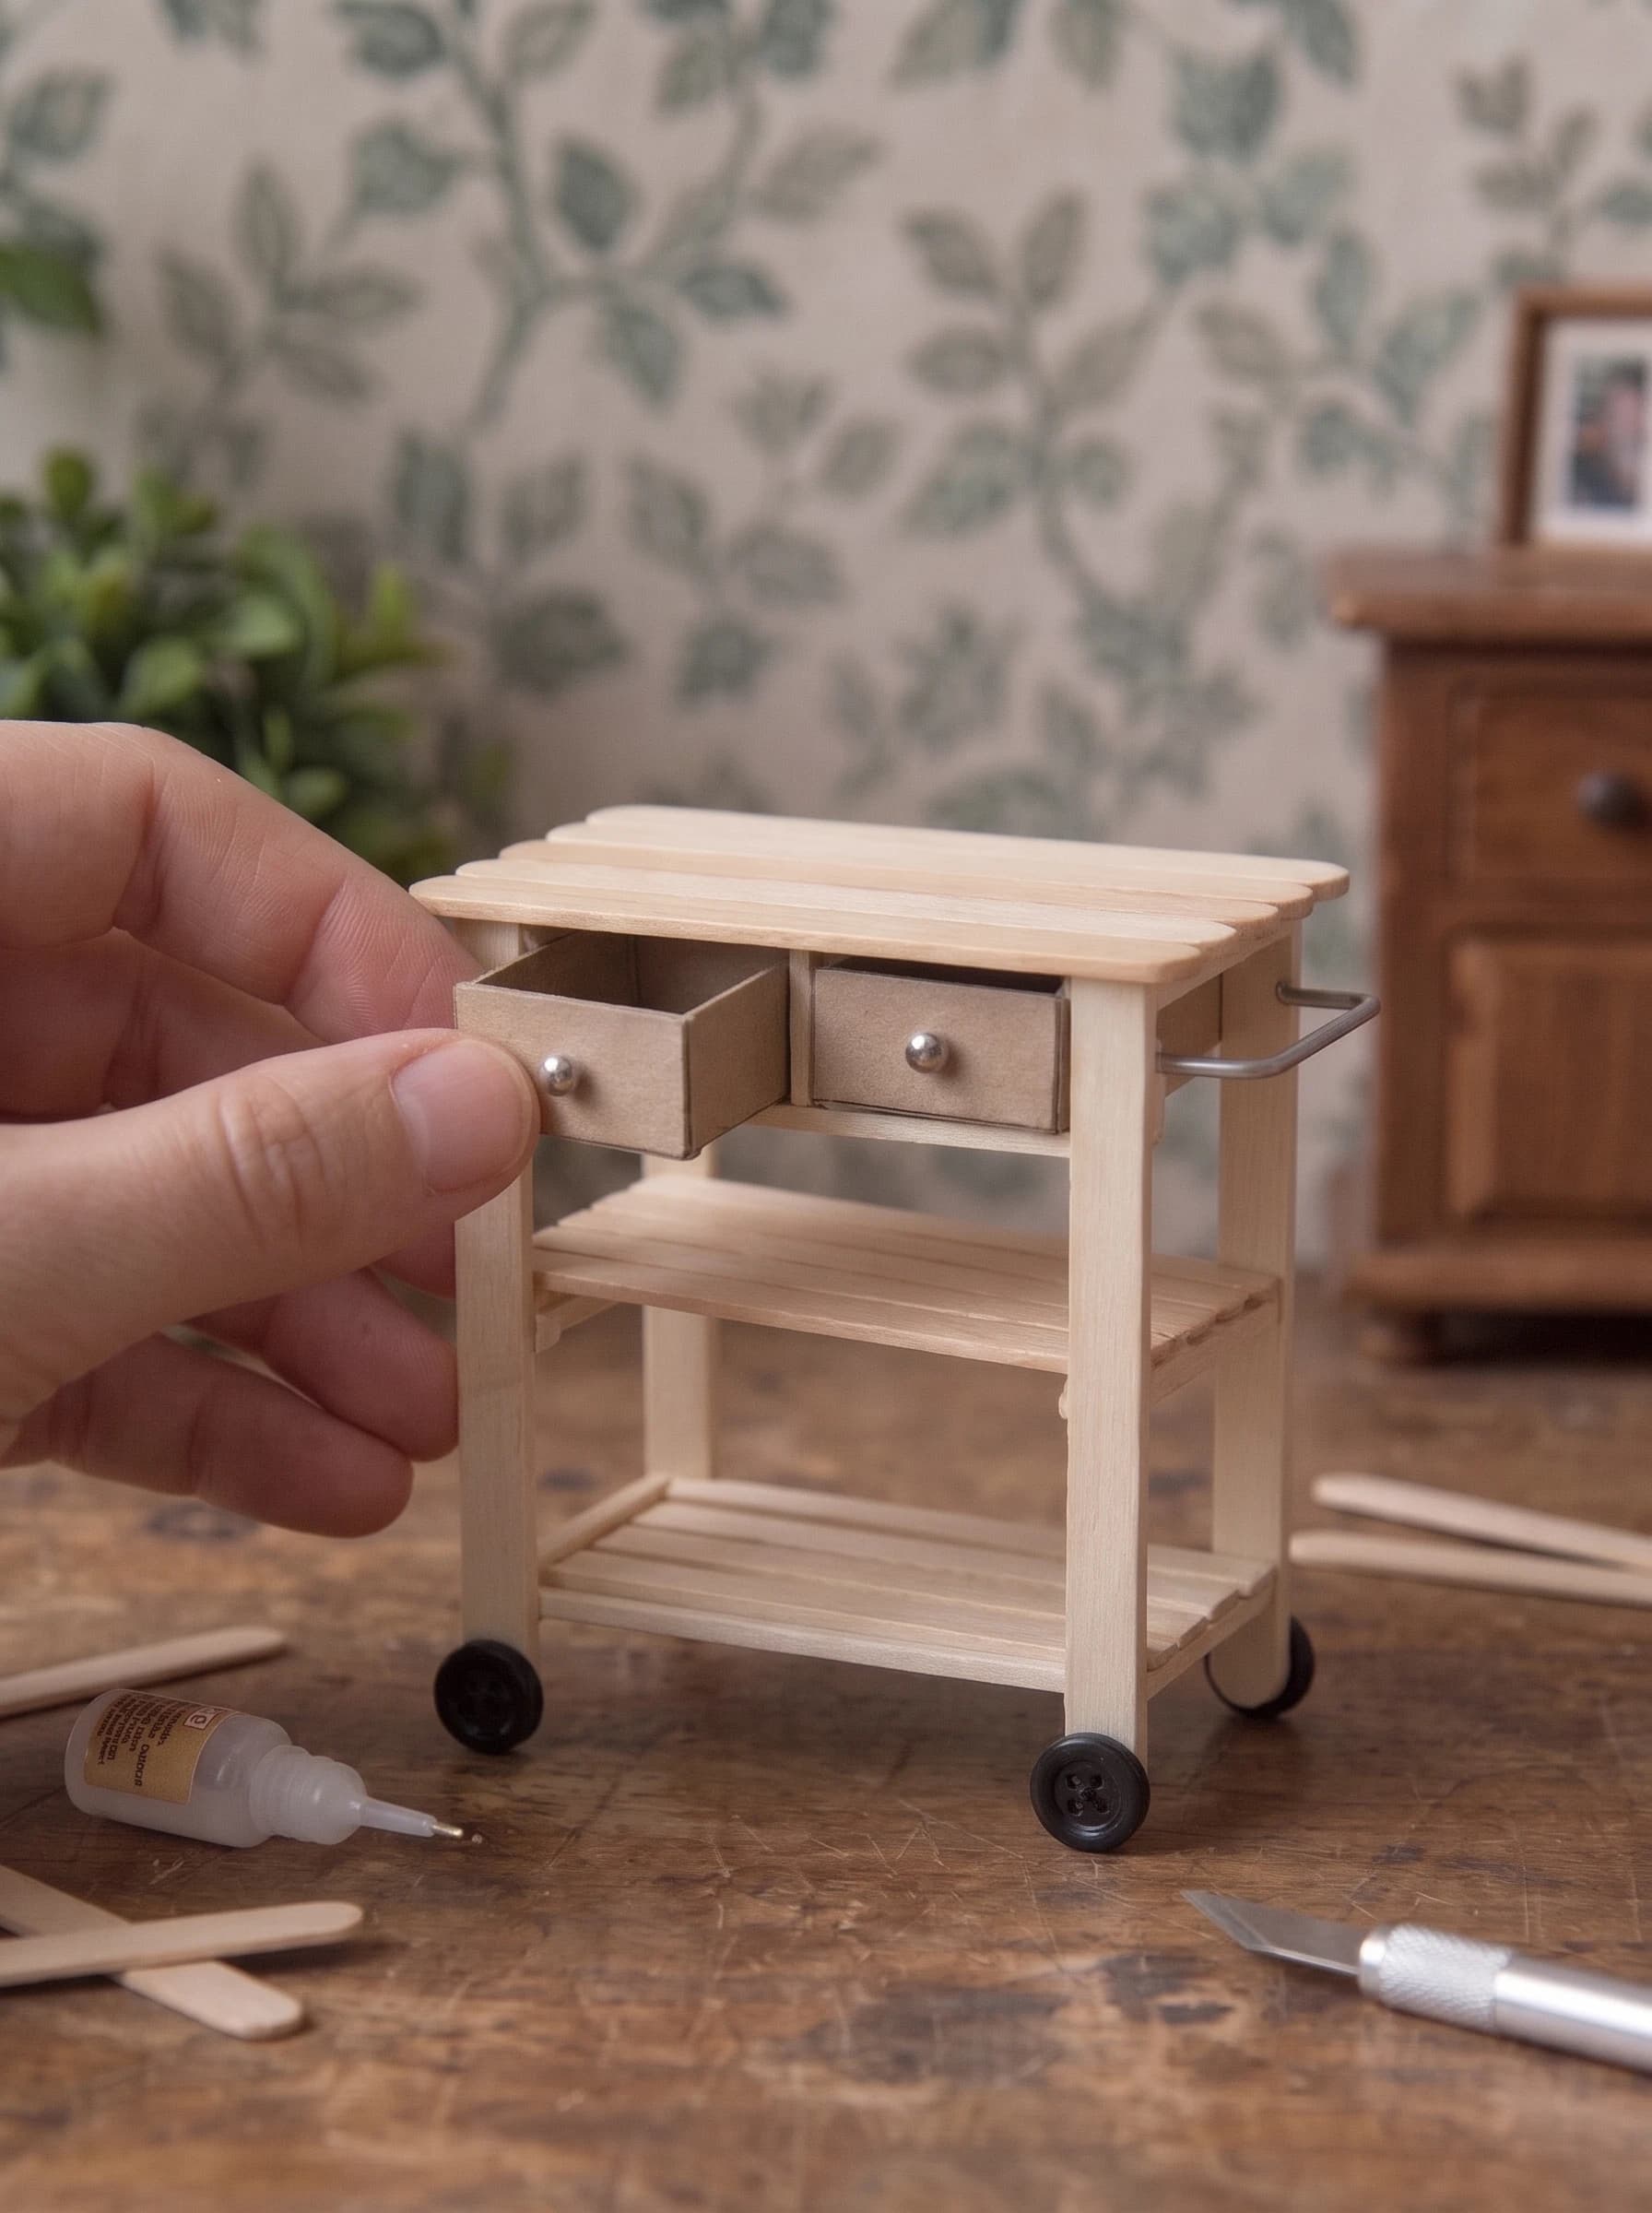
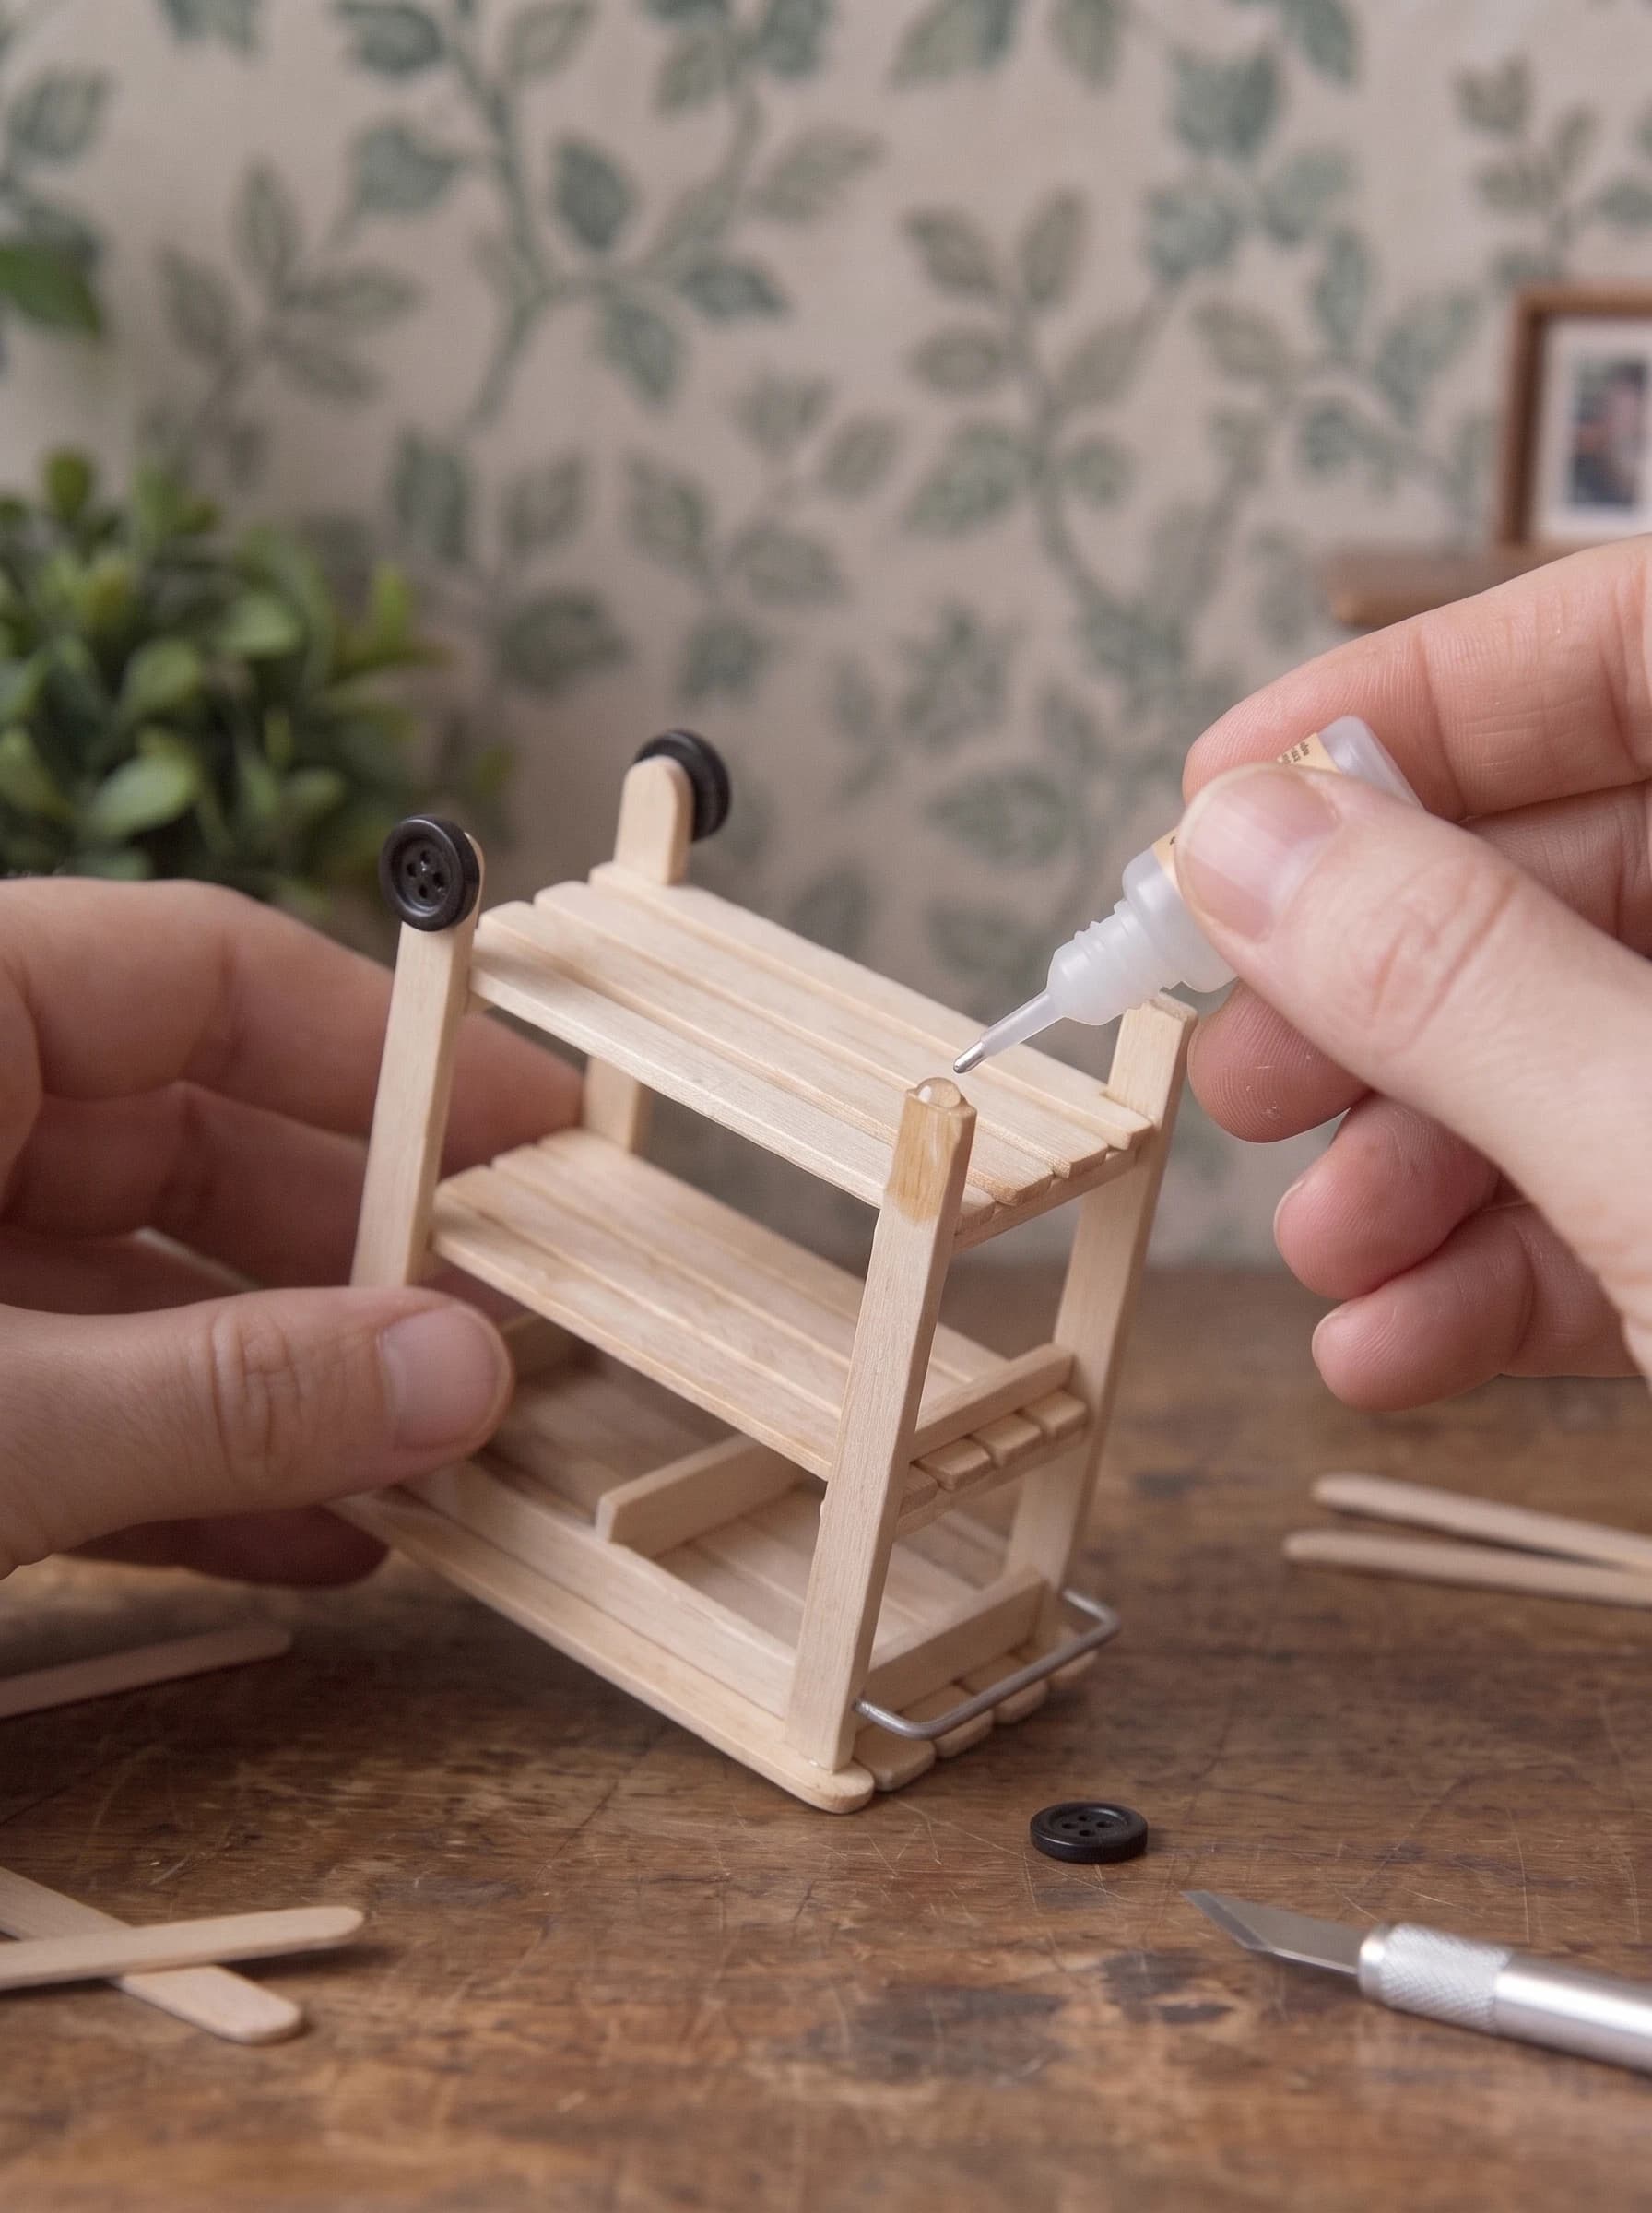
Turn the cart upside down. Apply a generous drop of tacky glue to the bottom of each leg and attach a black sewing button. For the towel bar, bend a small piece of thin metal wire into a U-shape and glue it to the side of the top frame. Wait a full hour for these heavy-stress points to dry completely before flipping the cart right-side up.
The Finished Project
Tips for a Professional Finish
- Sand the cut ends of your craft sticks with fine grit sandpaper before assembling.
- Wipe away excess tacky glue immediately with a damp toothpick so it doesn't block wood stain.
- Paint the buttons matte black if they are too shiny for your realistic setting.
- Use a wood stain marker for a quick, mess-free finish on the raw wood.
- Ensure your wire handle is completely straight before gluing by rolling it flat on a table.
Frequently Asked Questions
Can I use hot glue instead of tacky glue?
Hot glue is generally too bulky for 1:12 scale furniture and dries too quickly to make precise adjustments. Tacky glue or wood glue is strongly recommended for a clean, durable bond.
How do I cut craft sticks without splitting the wood?
Use a very sharp craft knife and a metal ruler. Score the wood 3 to 4 times with light pressure rather than trying to cut all the way through in one go.
What can I use if I don't have small cardboard boxes?
You can cut, fold, and glue thick cardstock to the exact dimensions of your cart's opening. A template is very easy to draft with a ruler and pencil.
Will the button wheels actually spin?
In this beginner tutorial, the buttons are glued directly to the legs for stability, so they will not spin. For rolling wheels, you would need to drill holes in the legs and insert a wire axle.
Conclusion
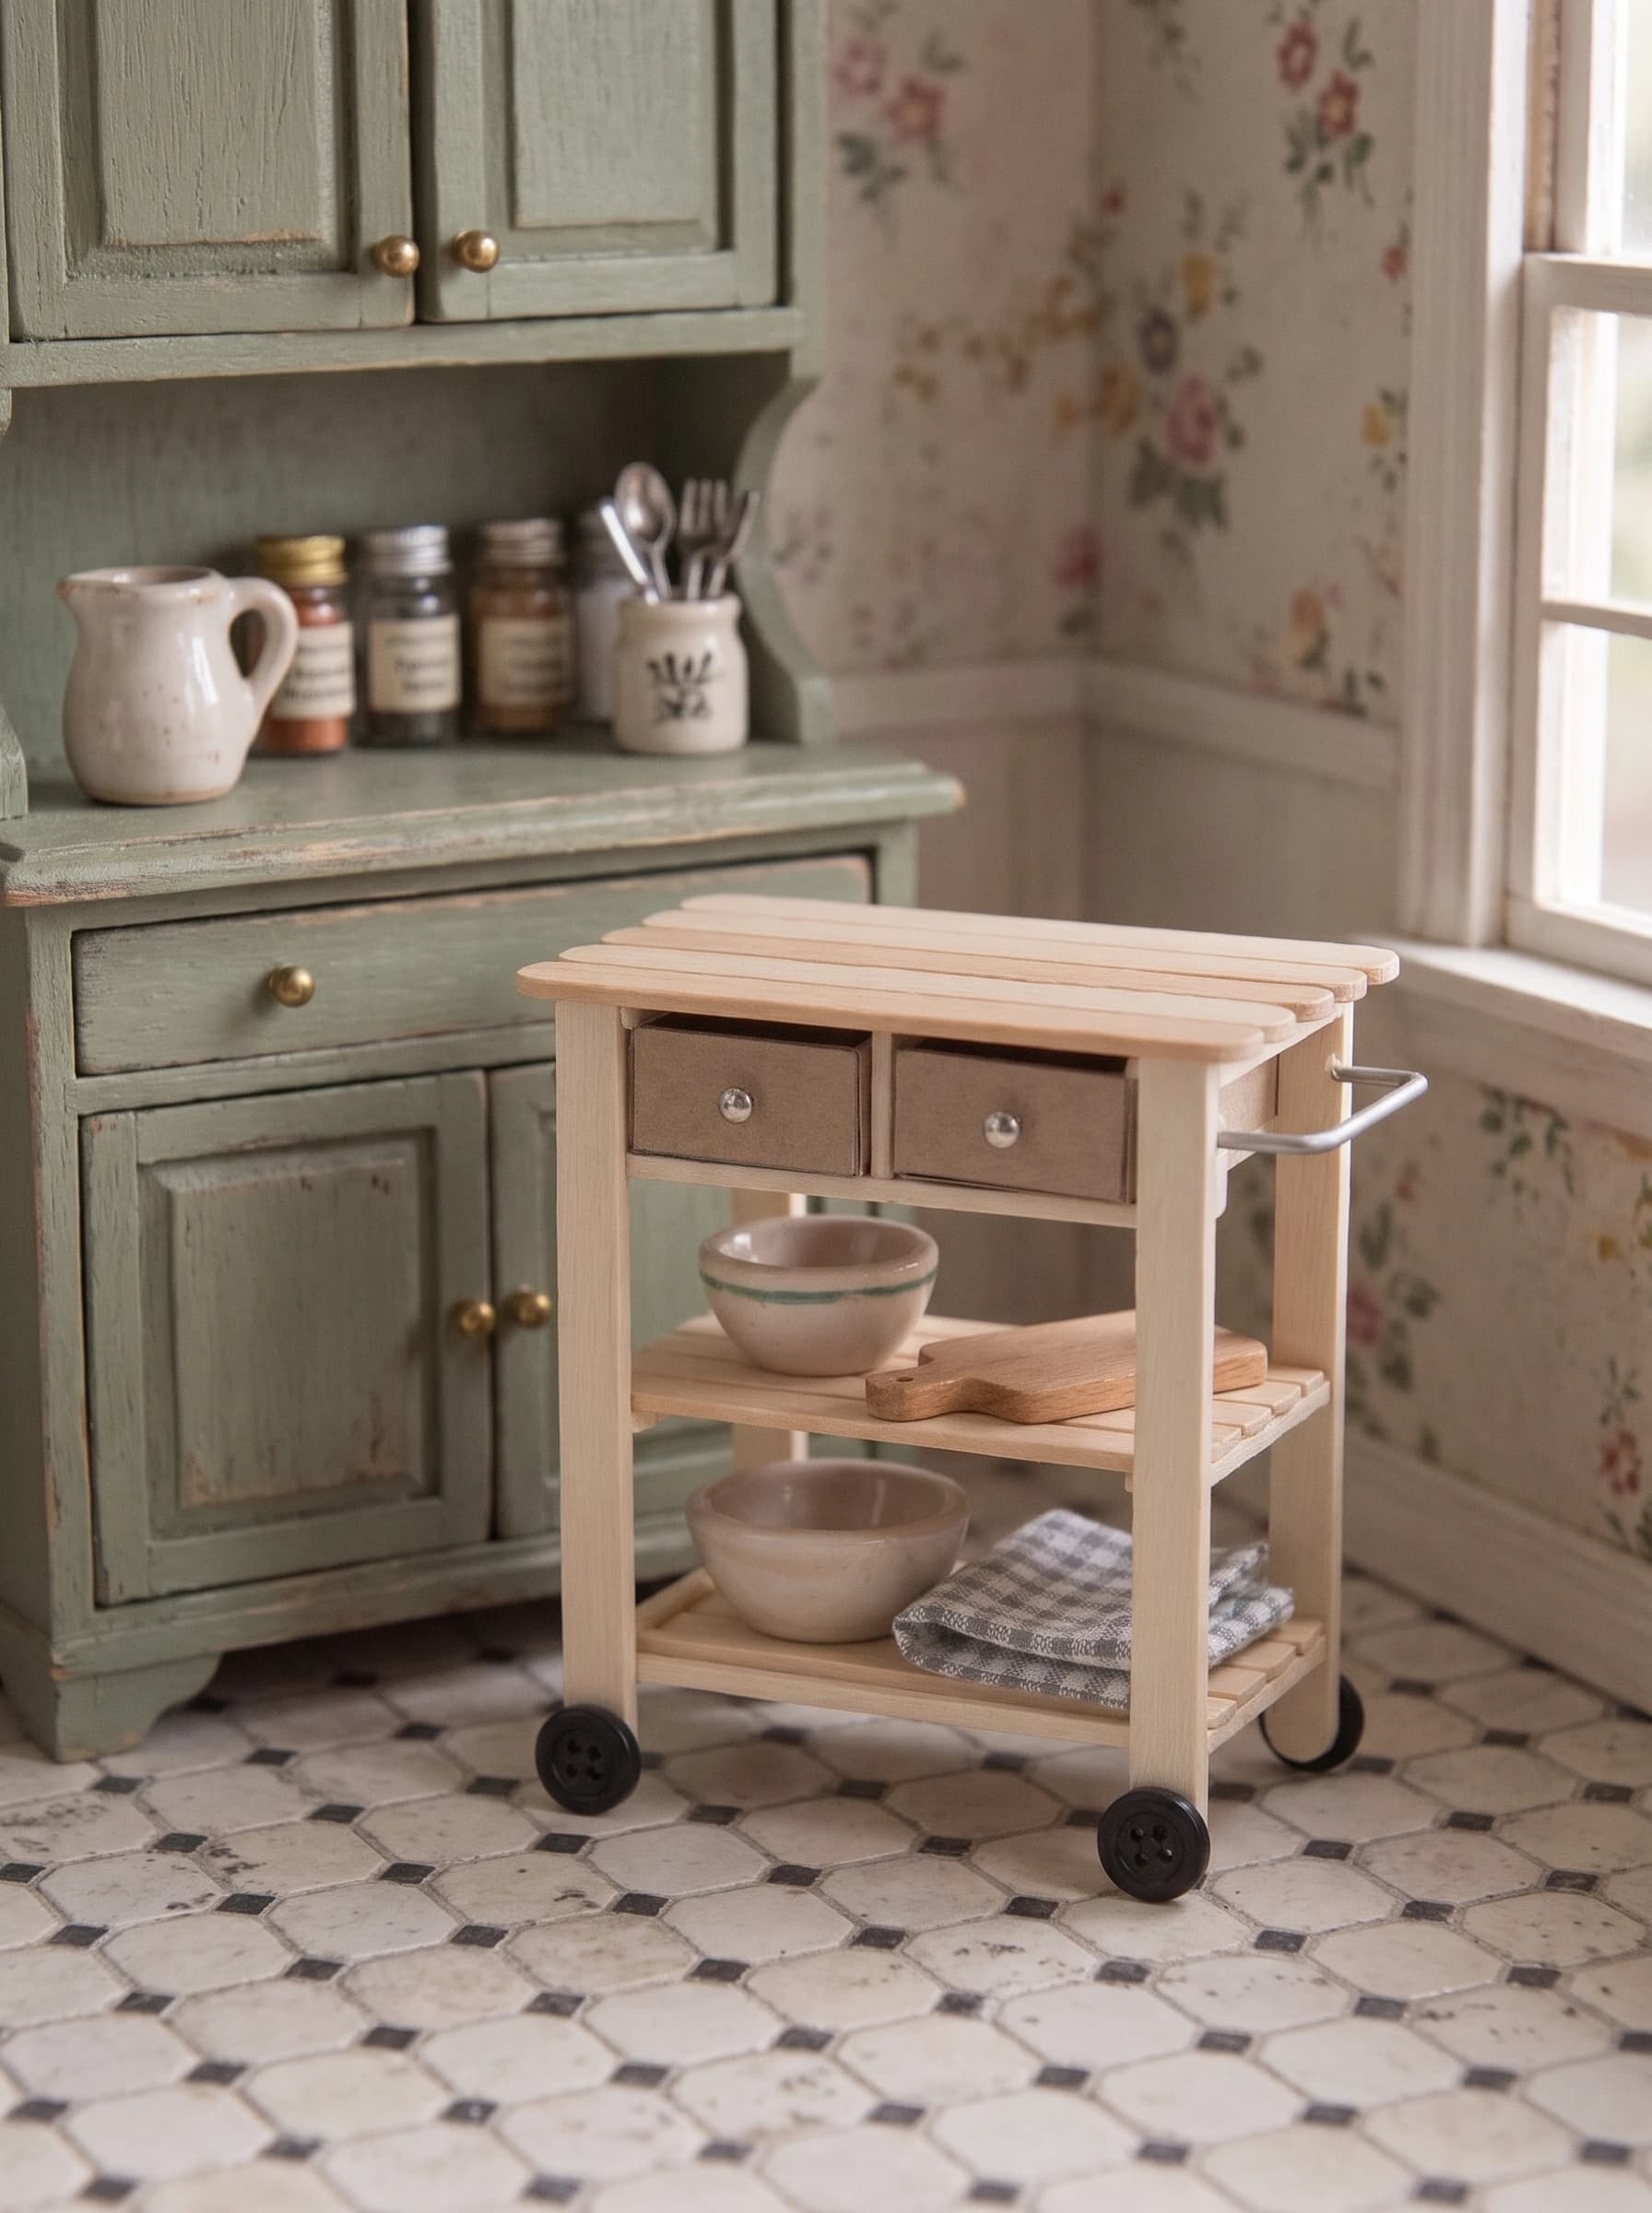
Learning how to make a miniature kitchen cart is a wonderful way to practice measuring and assembling craft stick furniture. With just a few recycled boxes and some buttons, you have created a highly realistic, functional piece for your dollhouse. Don't be afraid to customize it further by painting the frame or adding miniature cutting boards and bowls to the shelves. Happy building!
More in this topic: all Furniture tutorials