
How to Make a Miniature Cardboard Fridge Easy DIY Dollhouse Refrigerator in 5 Steps
- Difficulty
- Beginner
Introduction
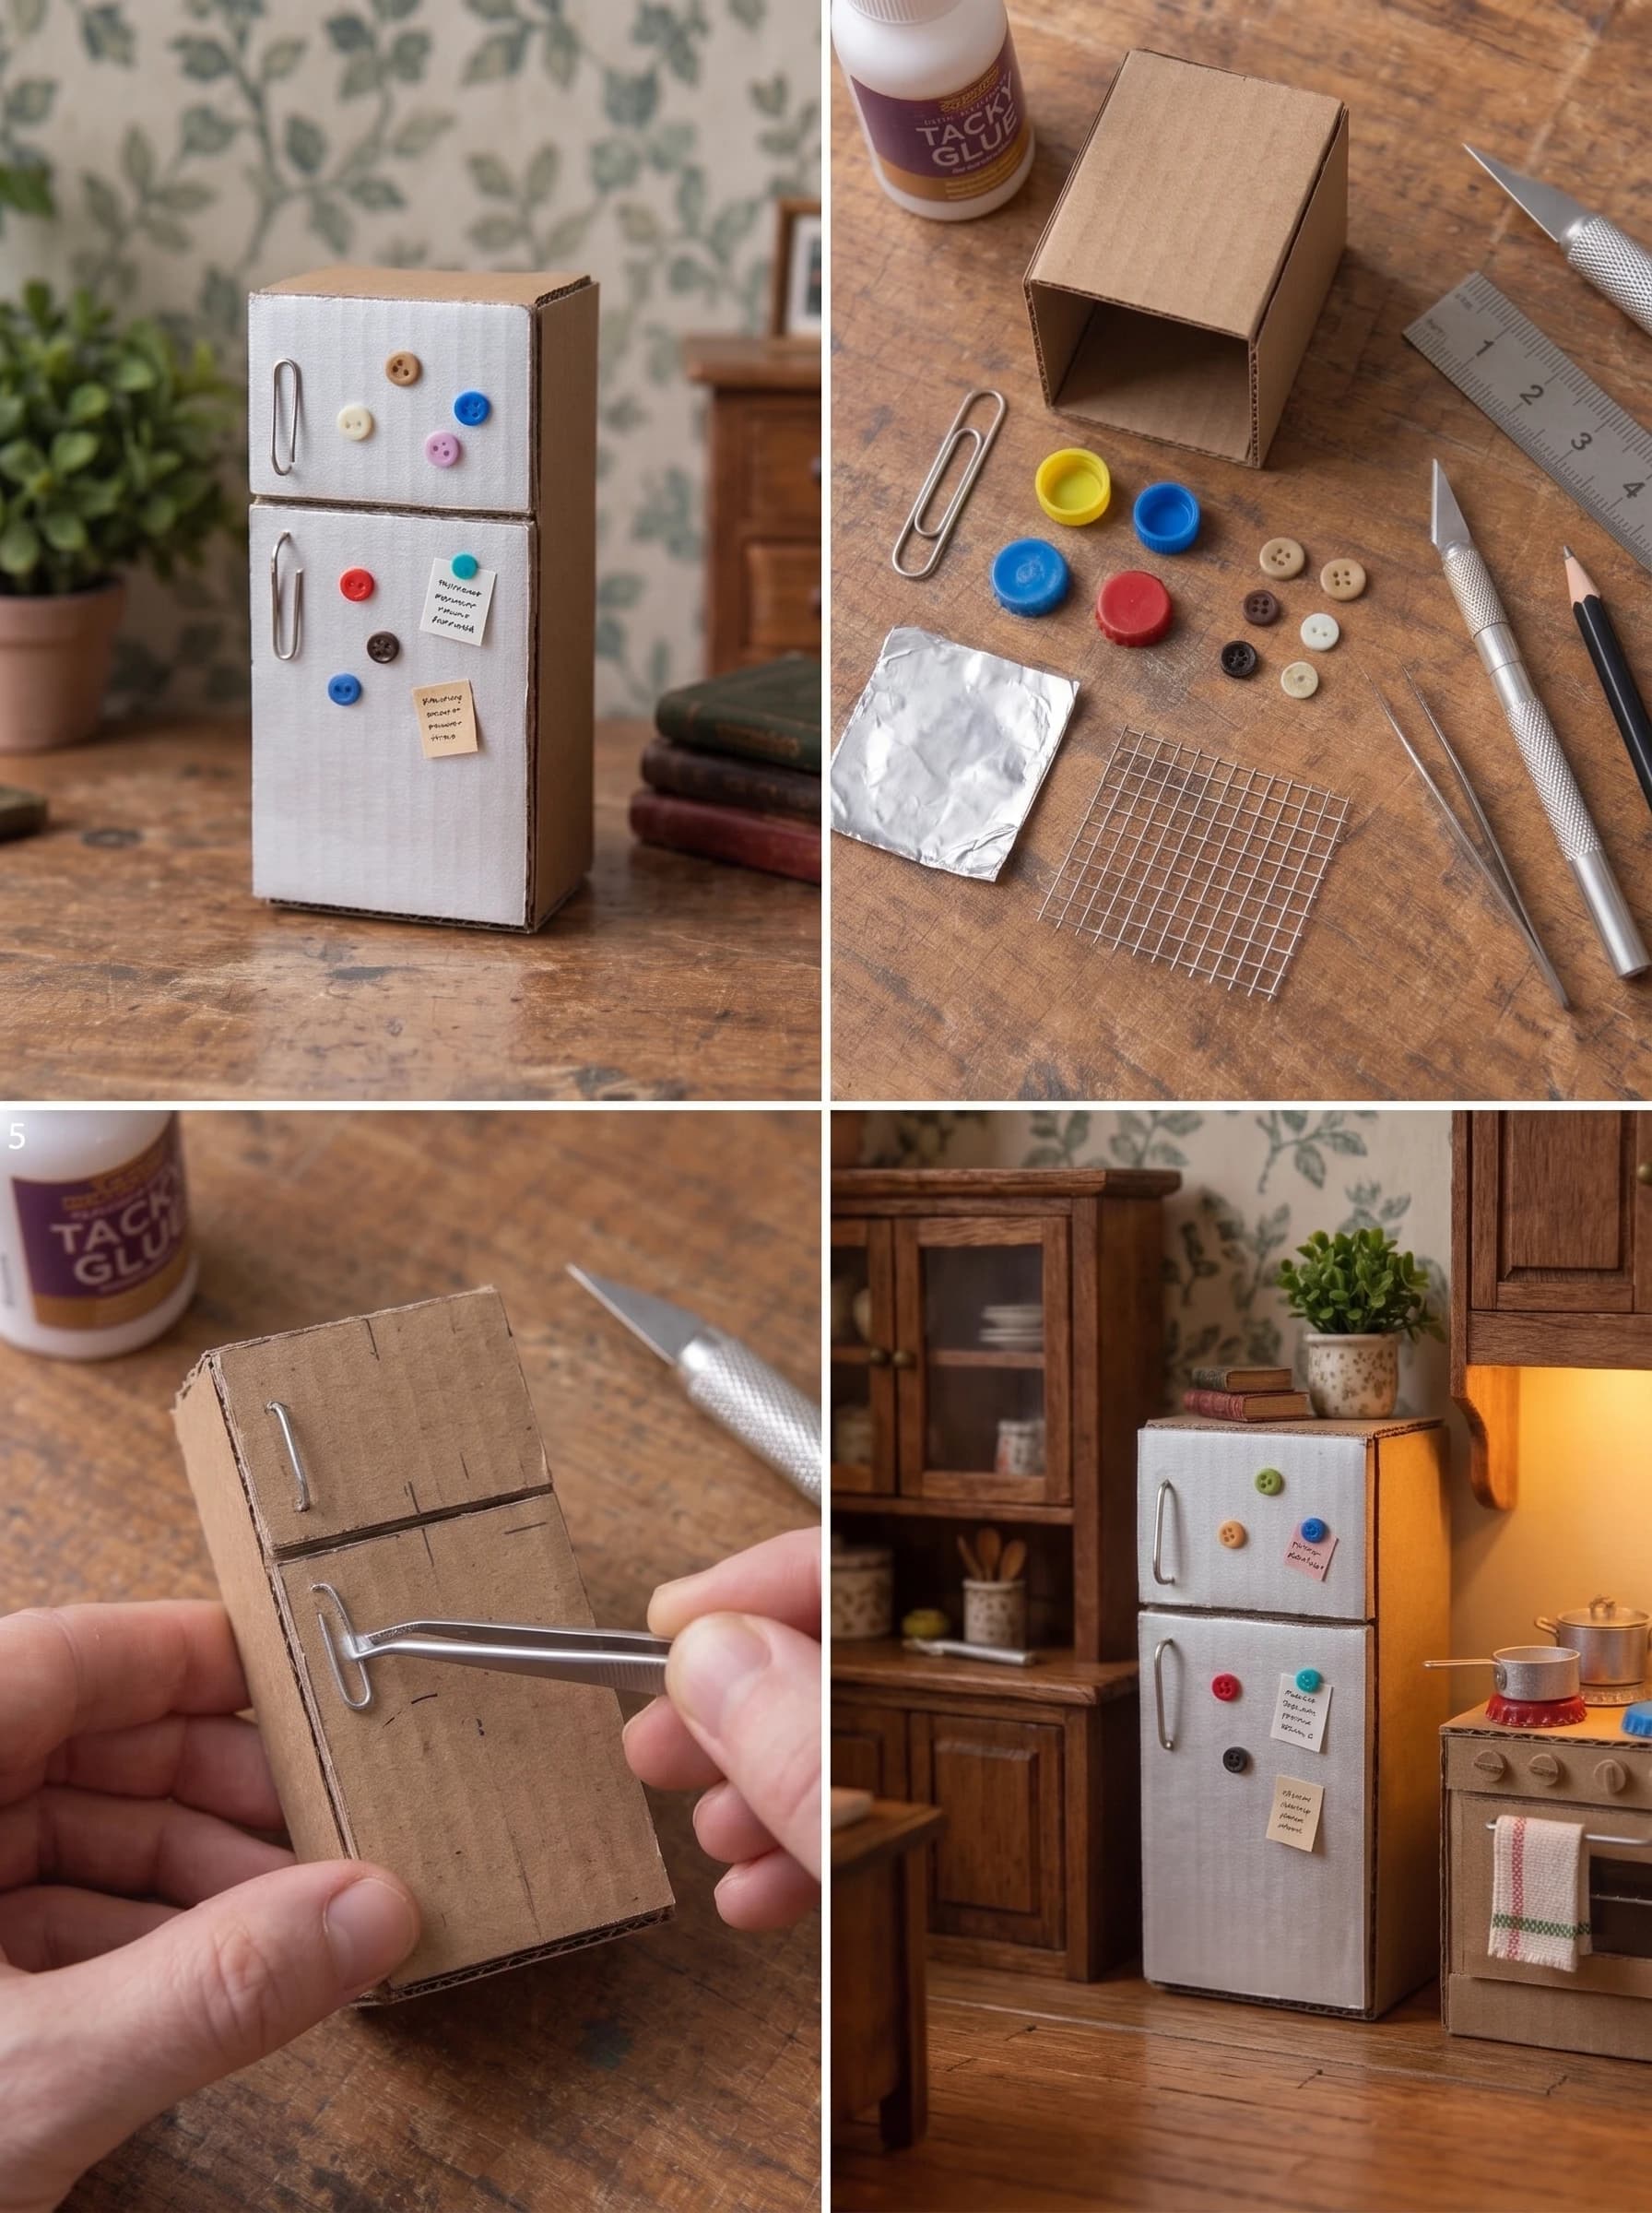
A fridge covered in tiny magnets and sticky notes makes a miniature kitchen feel lived in. The best part is that you can build one from a small cardboard box, a sheet of aluminum foil, a paperclip, and a few buttons. This short tutorial shows how to make a miniature cardboard fridge in five easy steps.
What You'll Need
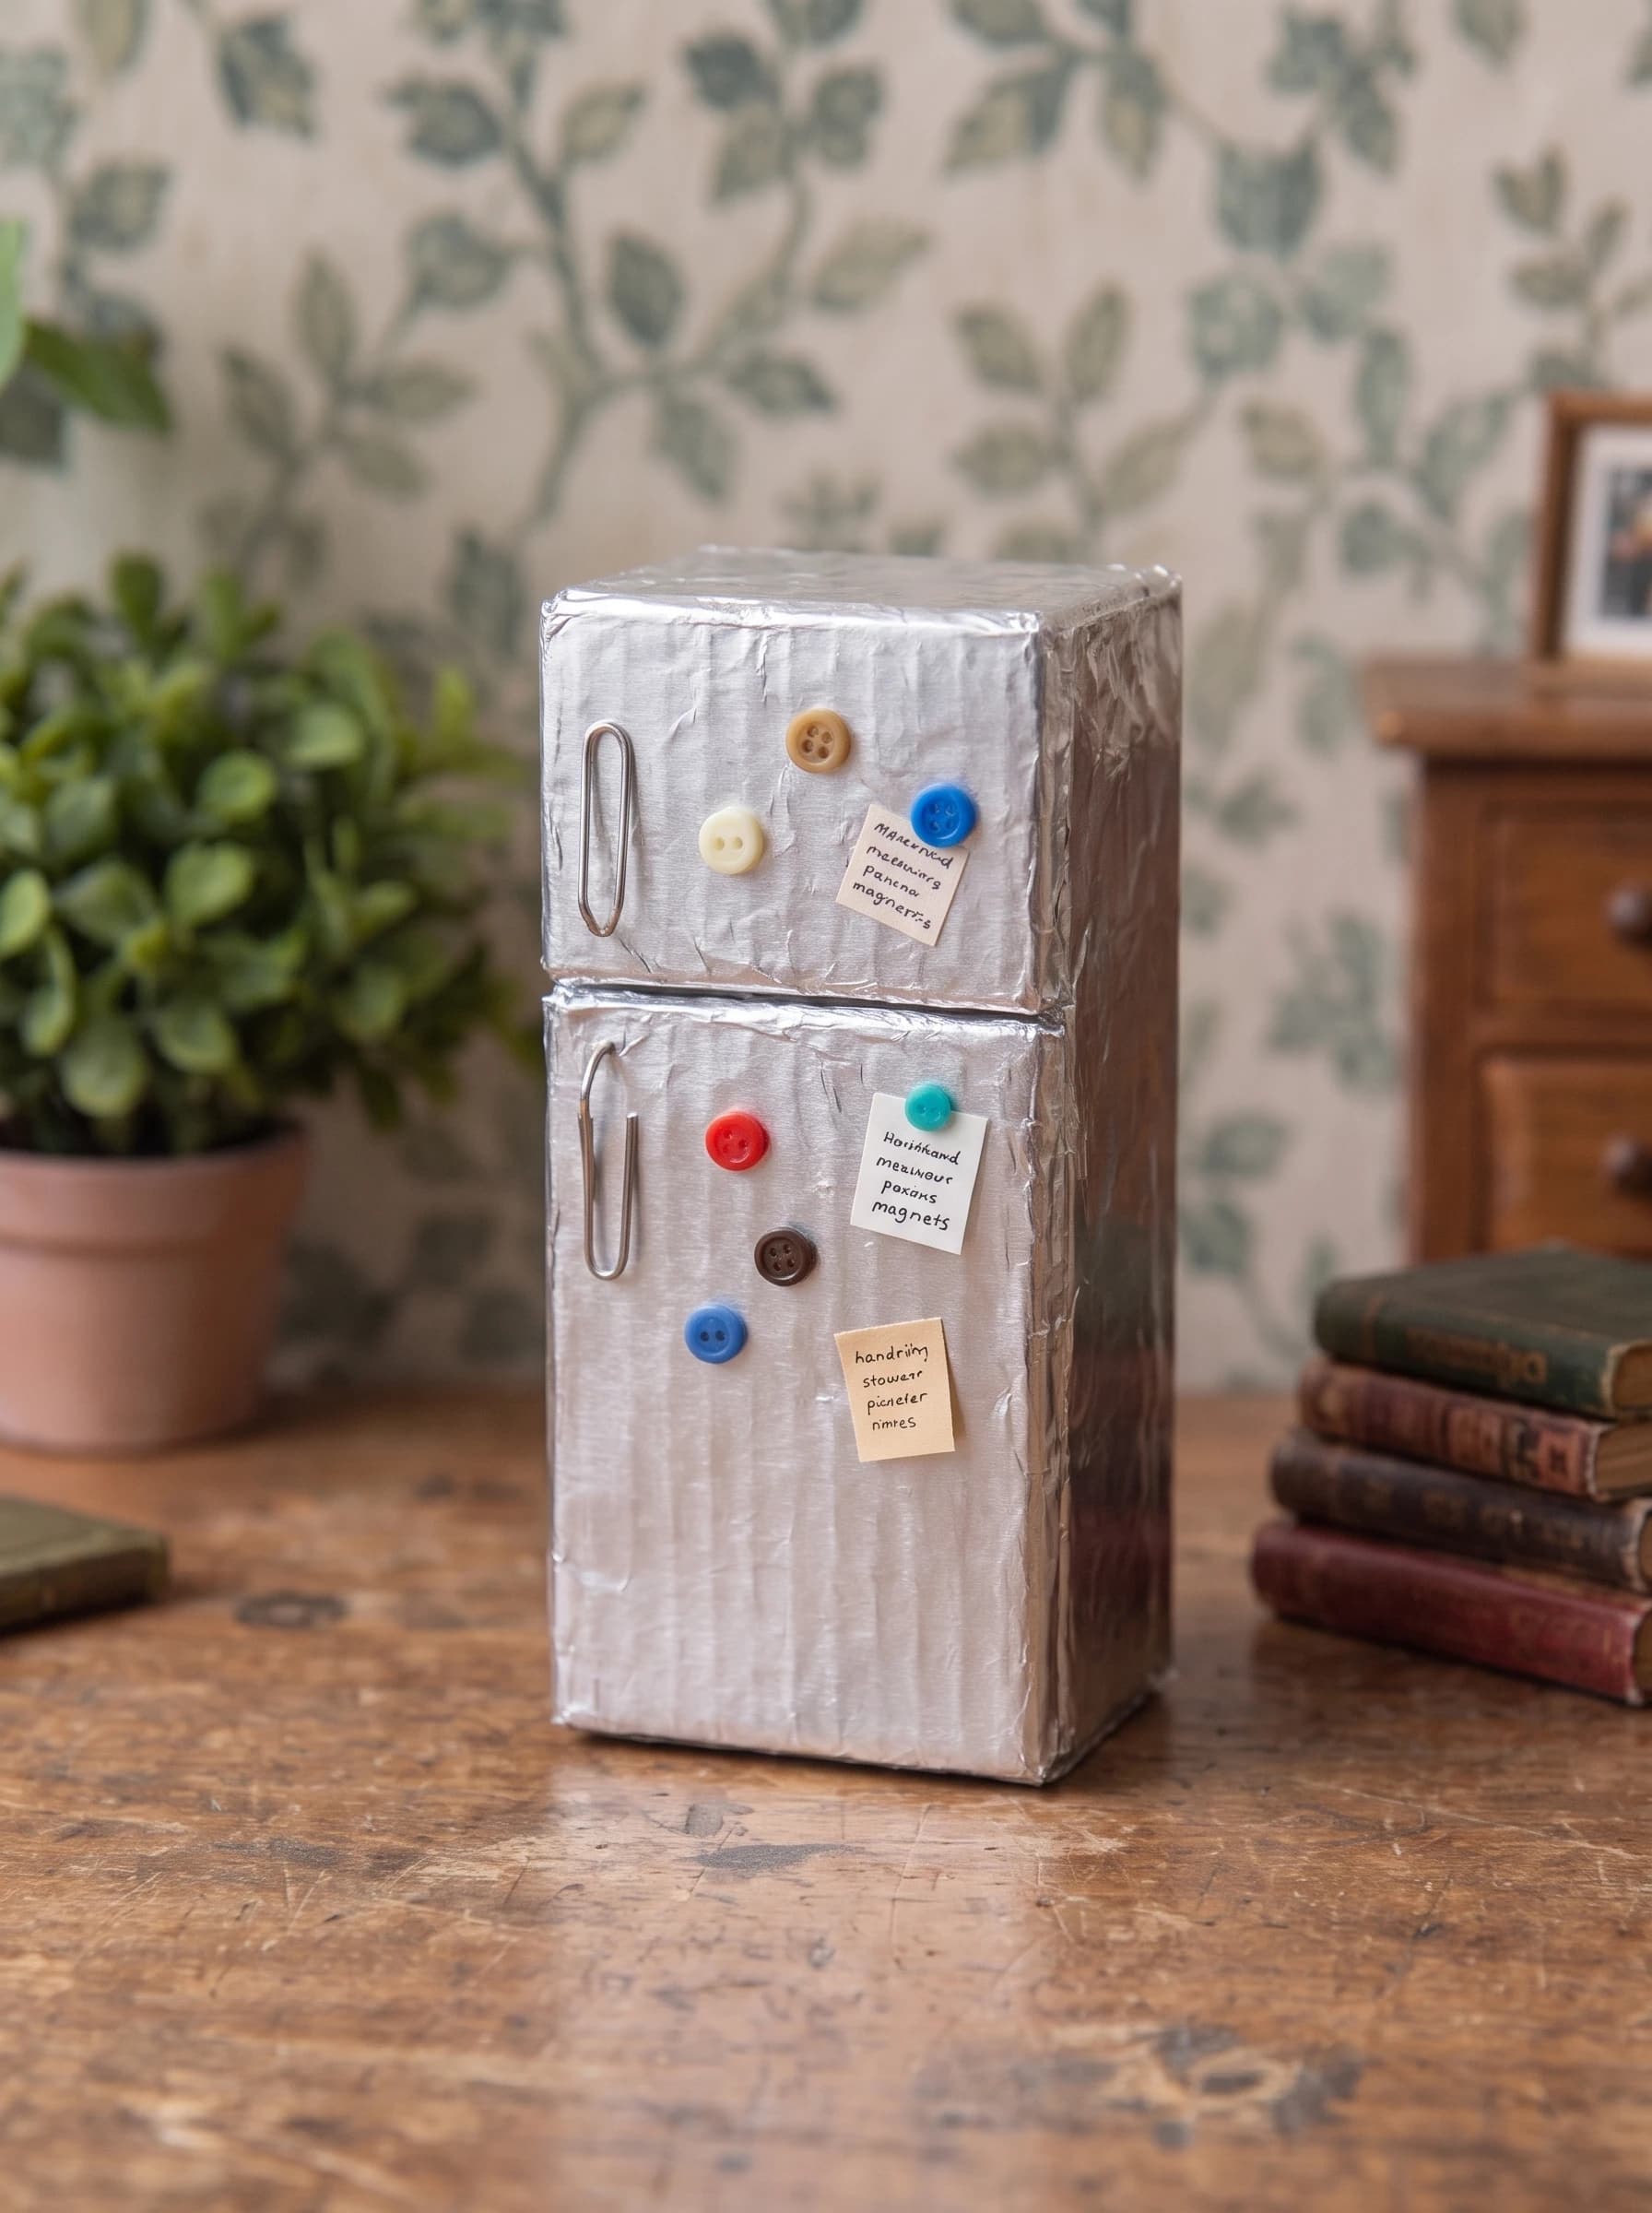
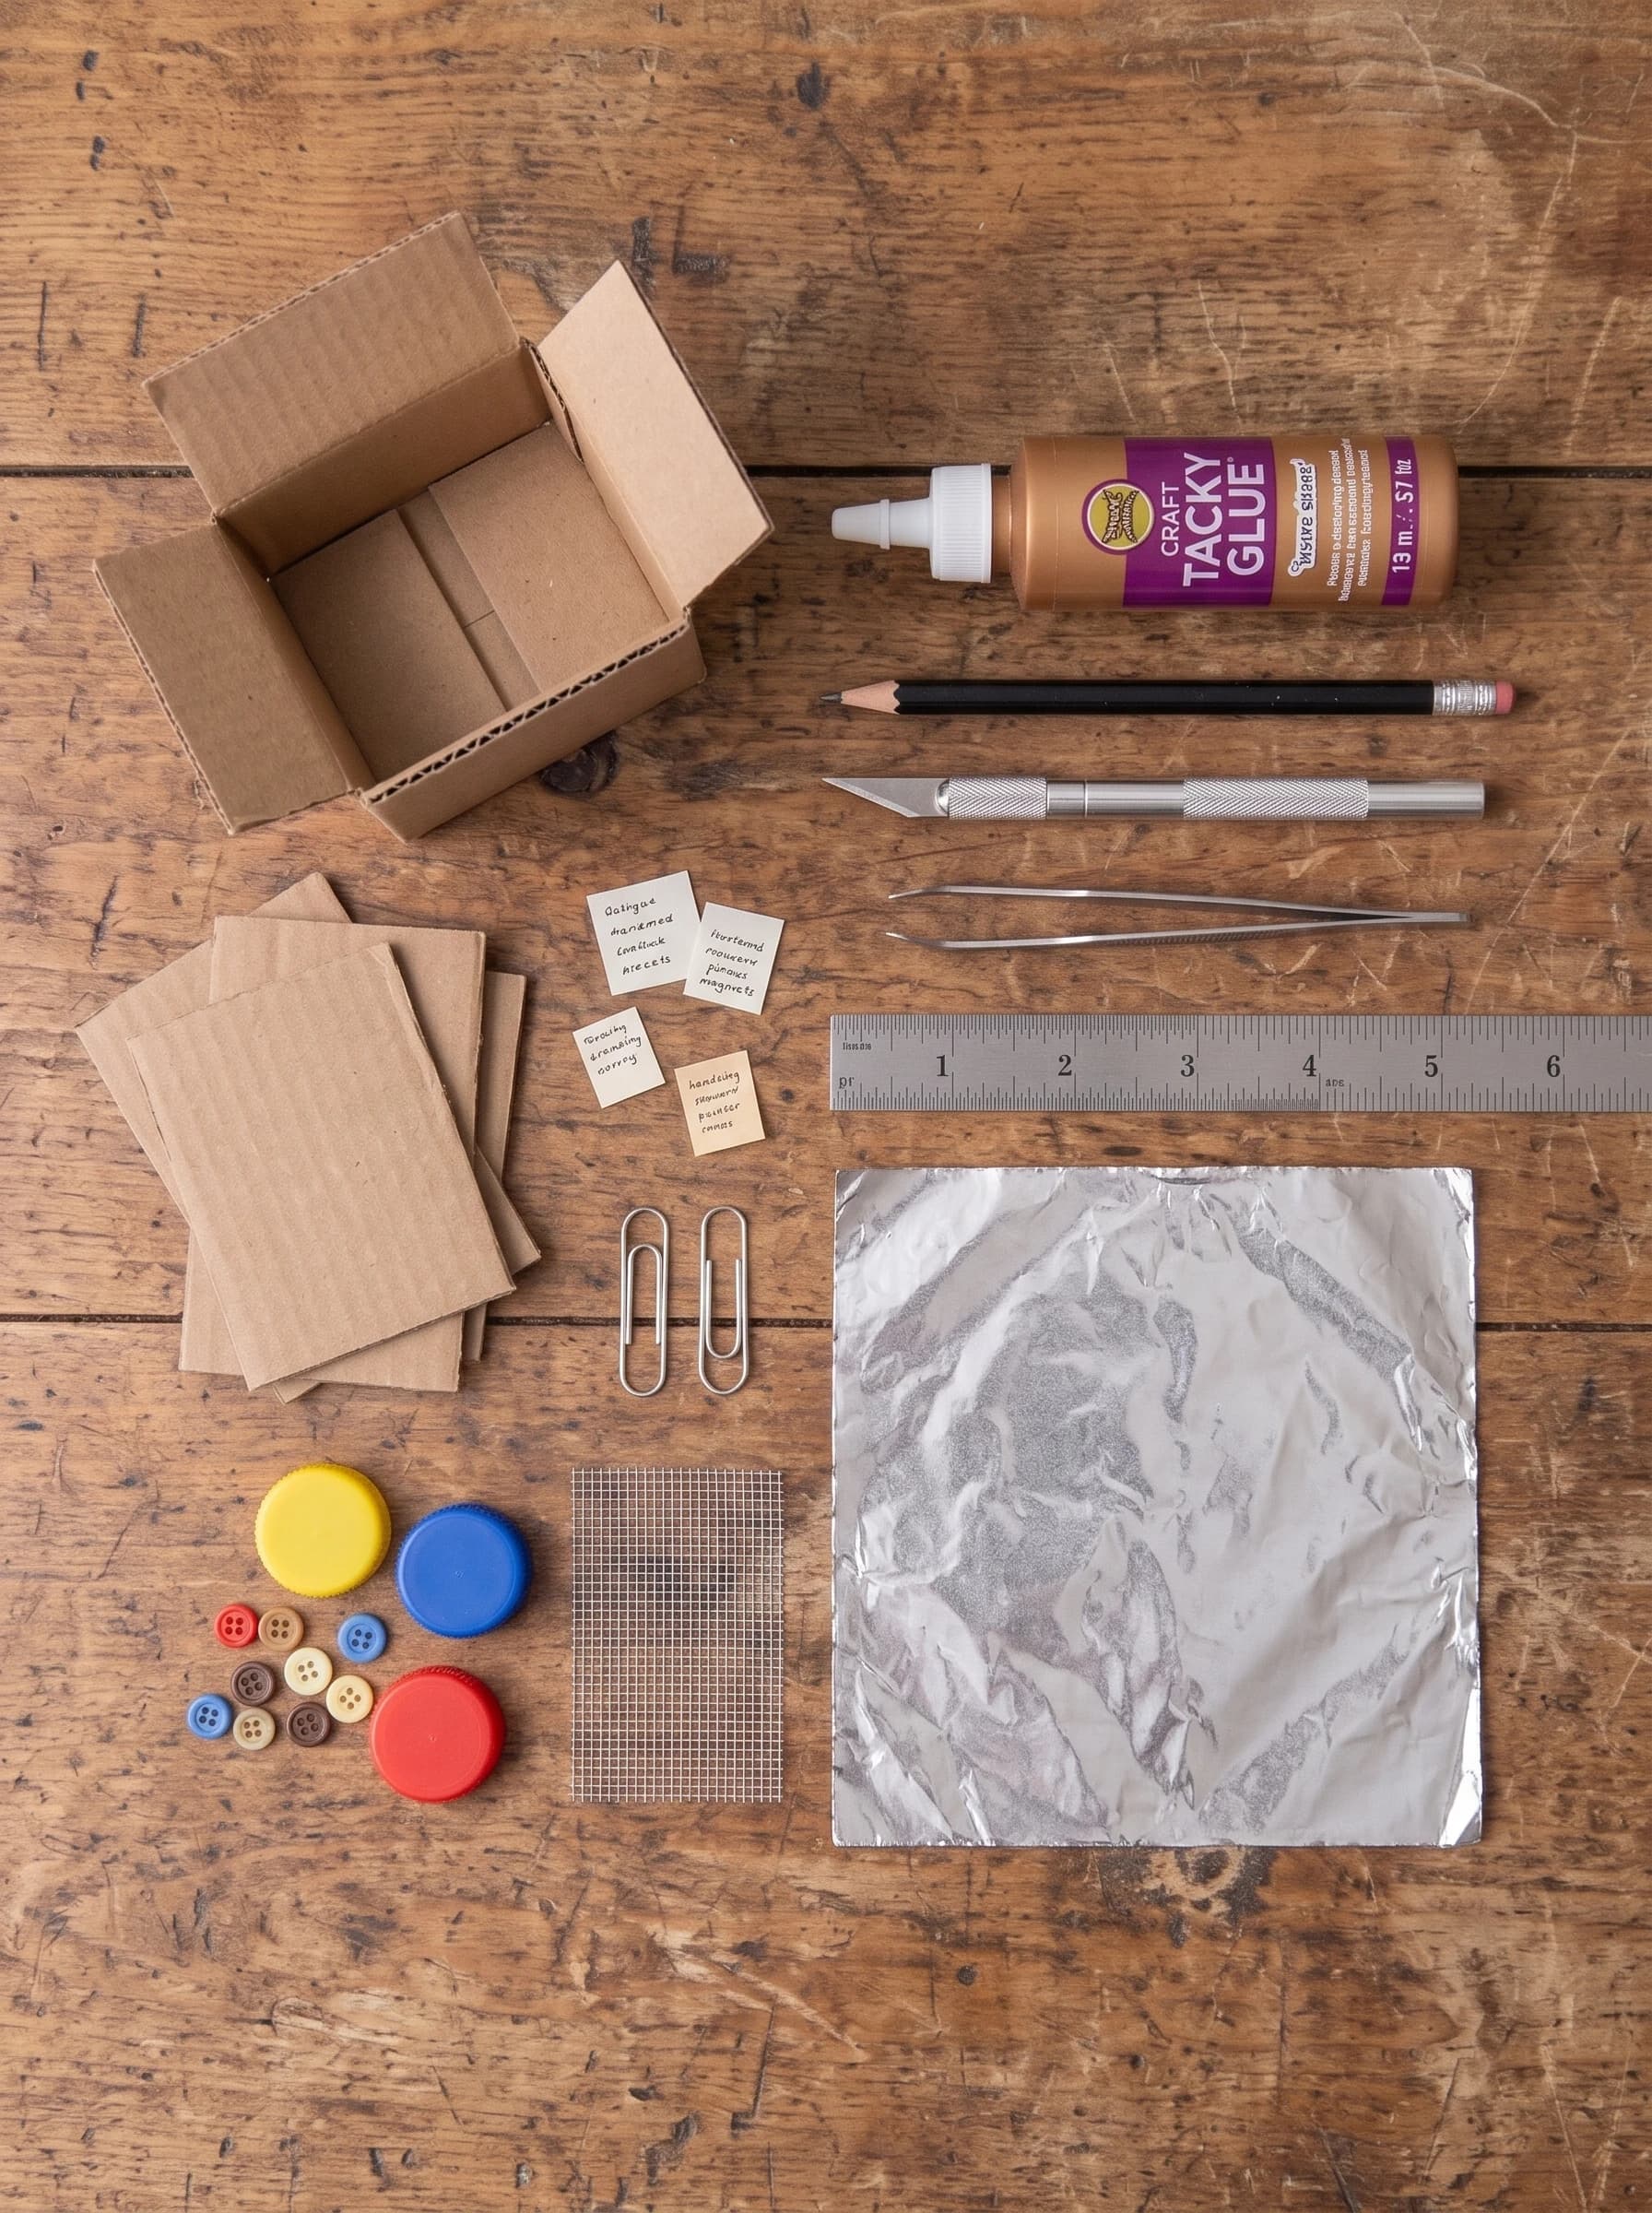
You need a small corrugated cardboard box or sheet, a craft knife, a metal ruler, a pencil, and tacky glue. For the finish, gather aluminum foil (or silver paper), two paperclips for the handles, tweezers, and a handful of tiny buttons for the magnets. Small scraps of paper work as sticky notes. For a matching kitchen, keep a few plastic bottle caps for stove burners and a piece of fine wire mesh for shelves or racks. Scale tip: for a 1:12 fridge, make the box about 5.5 inches (14 cm) tall, 2.5 inches (6 cm) wide, and 2.5 inches (6 cm) deep. Adjust the size to match your dollhouse.
Step 1: Build the Cardboard Body
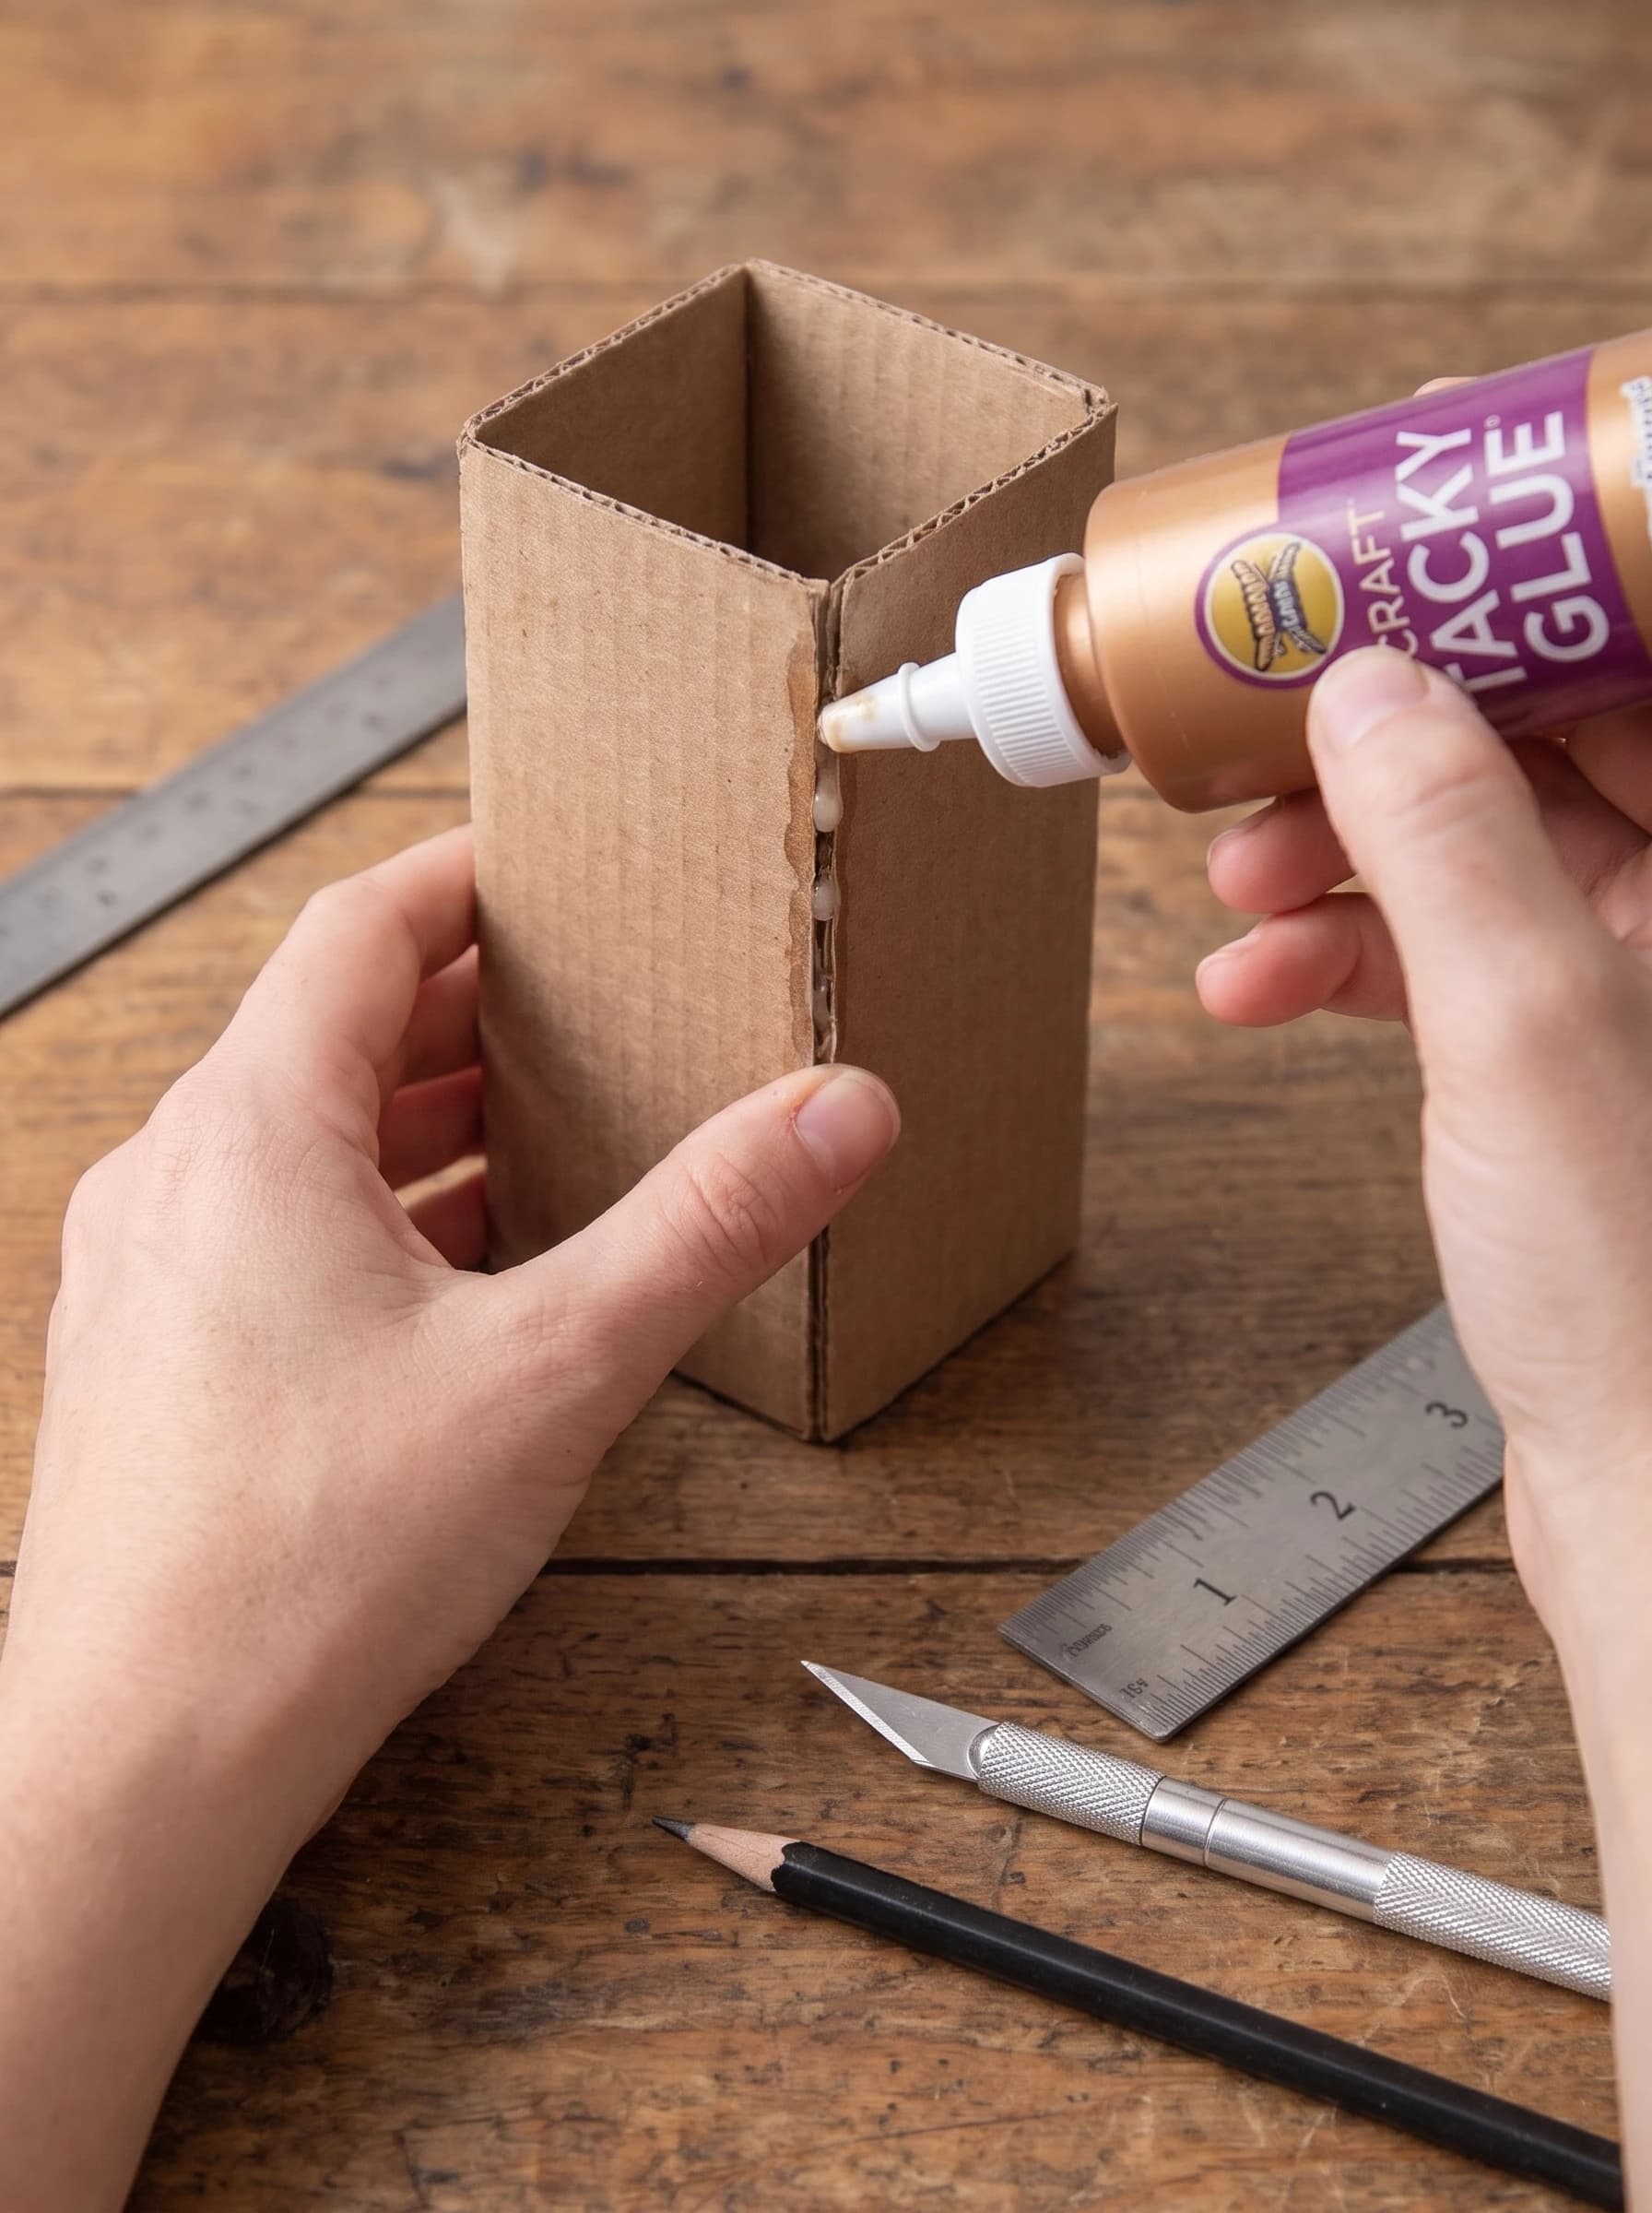
Cut a rectangle of corrugated cardboard and score it with the back of your knife where the box will fold. Fold it into a tall rectangular box, glue the seam with tacky glue, and add a top and bottom panel. Hold each joint for a few seconds until it grips. Keep the corners square, because a straight body makes the fridge look realistic once it is covered.
Step 2: Mark and Cut the Door Line
Use the ruler and pencil to mark a horizontal line about one third of the way down the front. This separates the freezer door from the main fridge door. Cut a shallow groove along the line with the craft knife, making light passes so you do not cut all the way through. Add a thin vertical line on the side if you want the door edge to show.
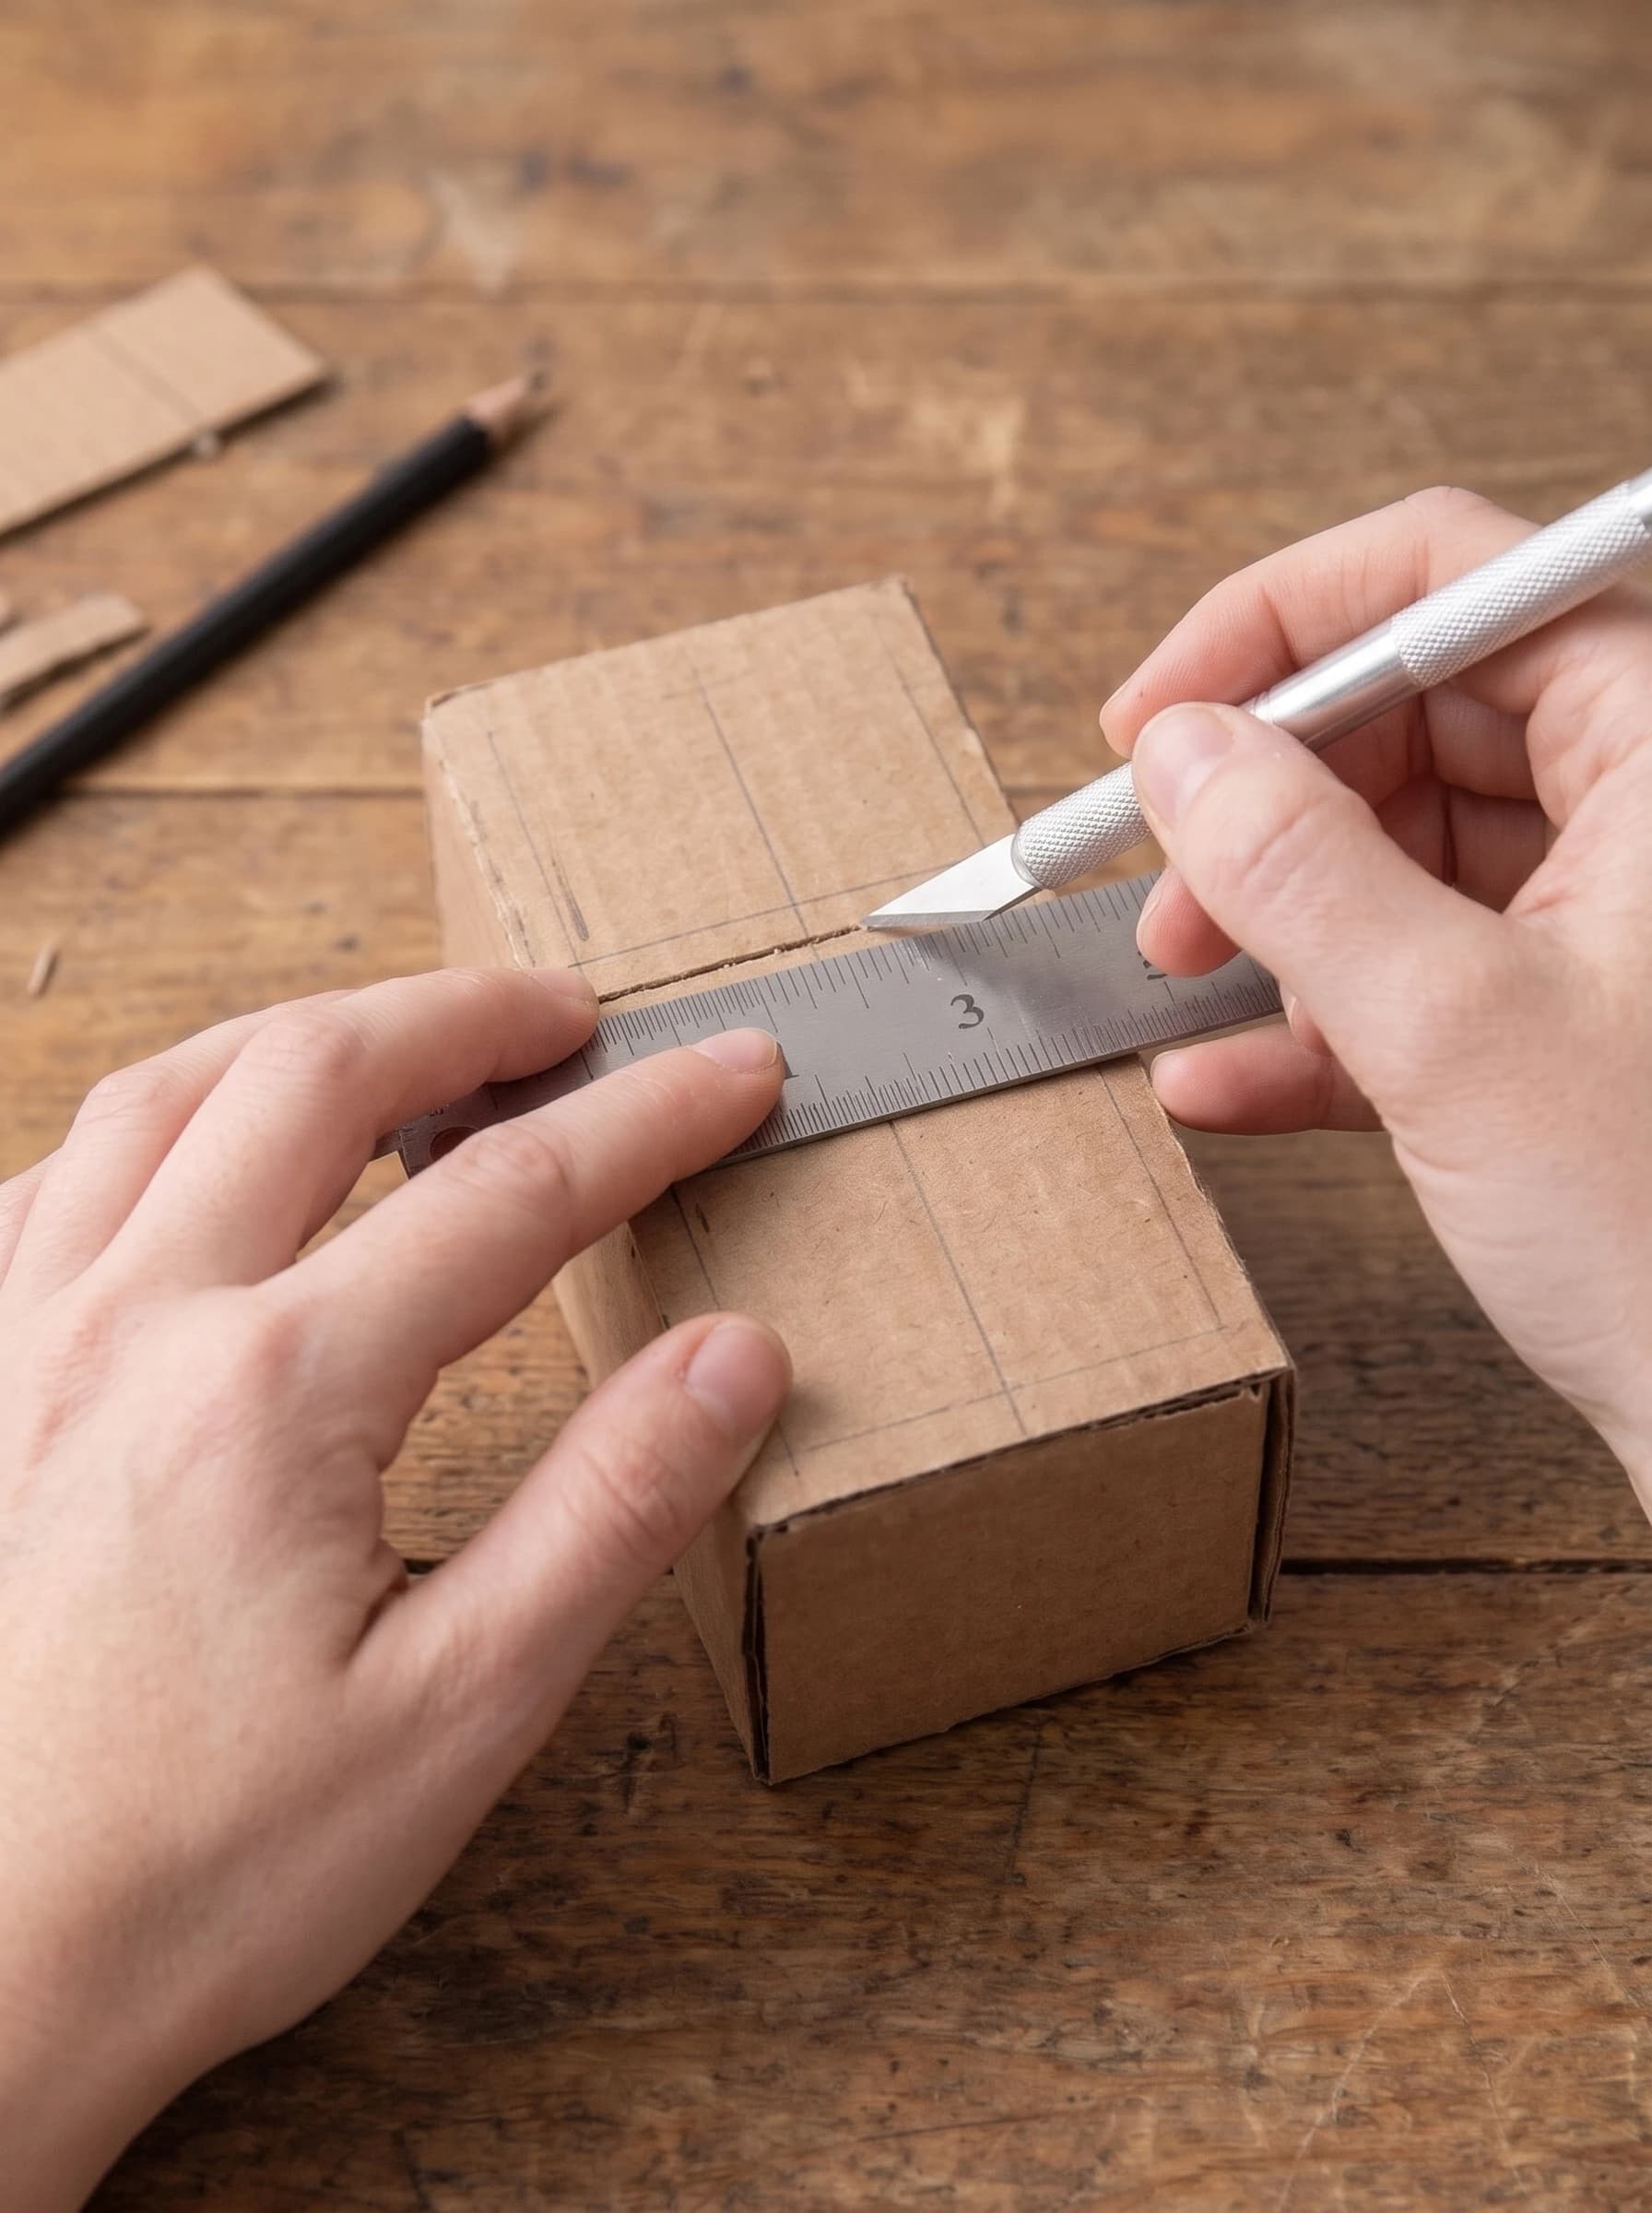
Step 3: Cover the Fridge with Foil
Cut the aluminum foil slightly larger than each side, smooth it flat, and glue it to the front and sides with a thin layer of tacky glue. Press from the center outward to remove wrinkles, then trim the edges with the knife. For a softer, painted look, use silver or white paper instead of foil. Leave the door groove open so the two doors stay visible.
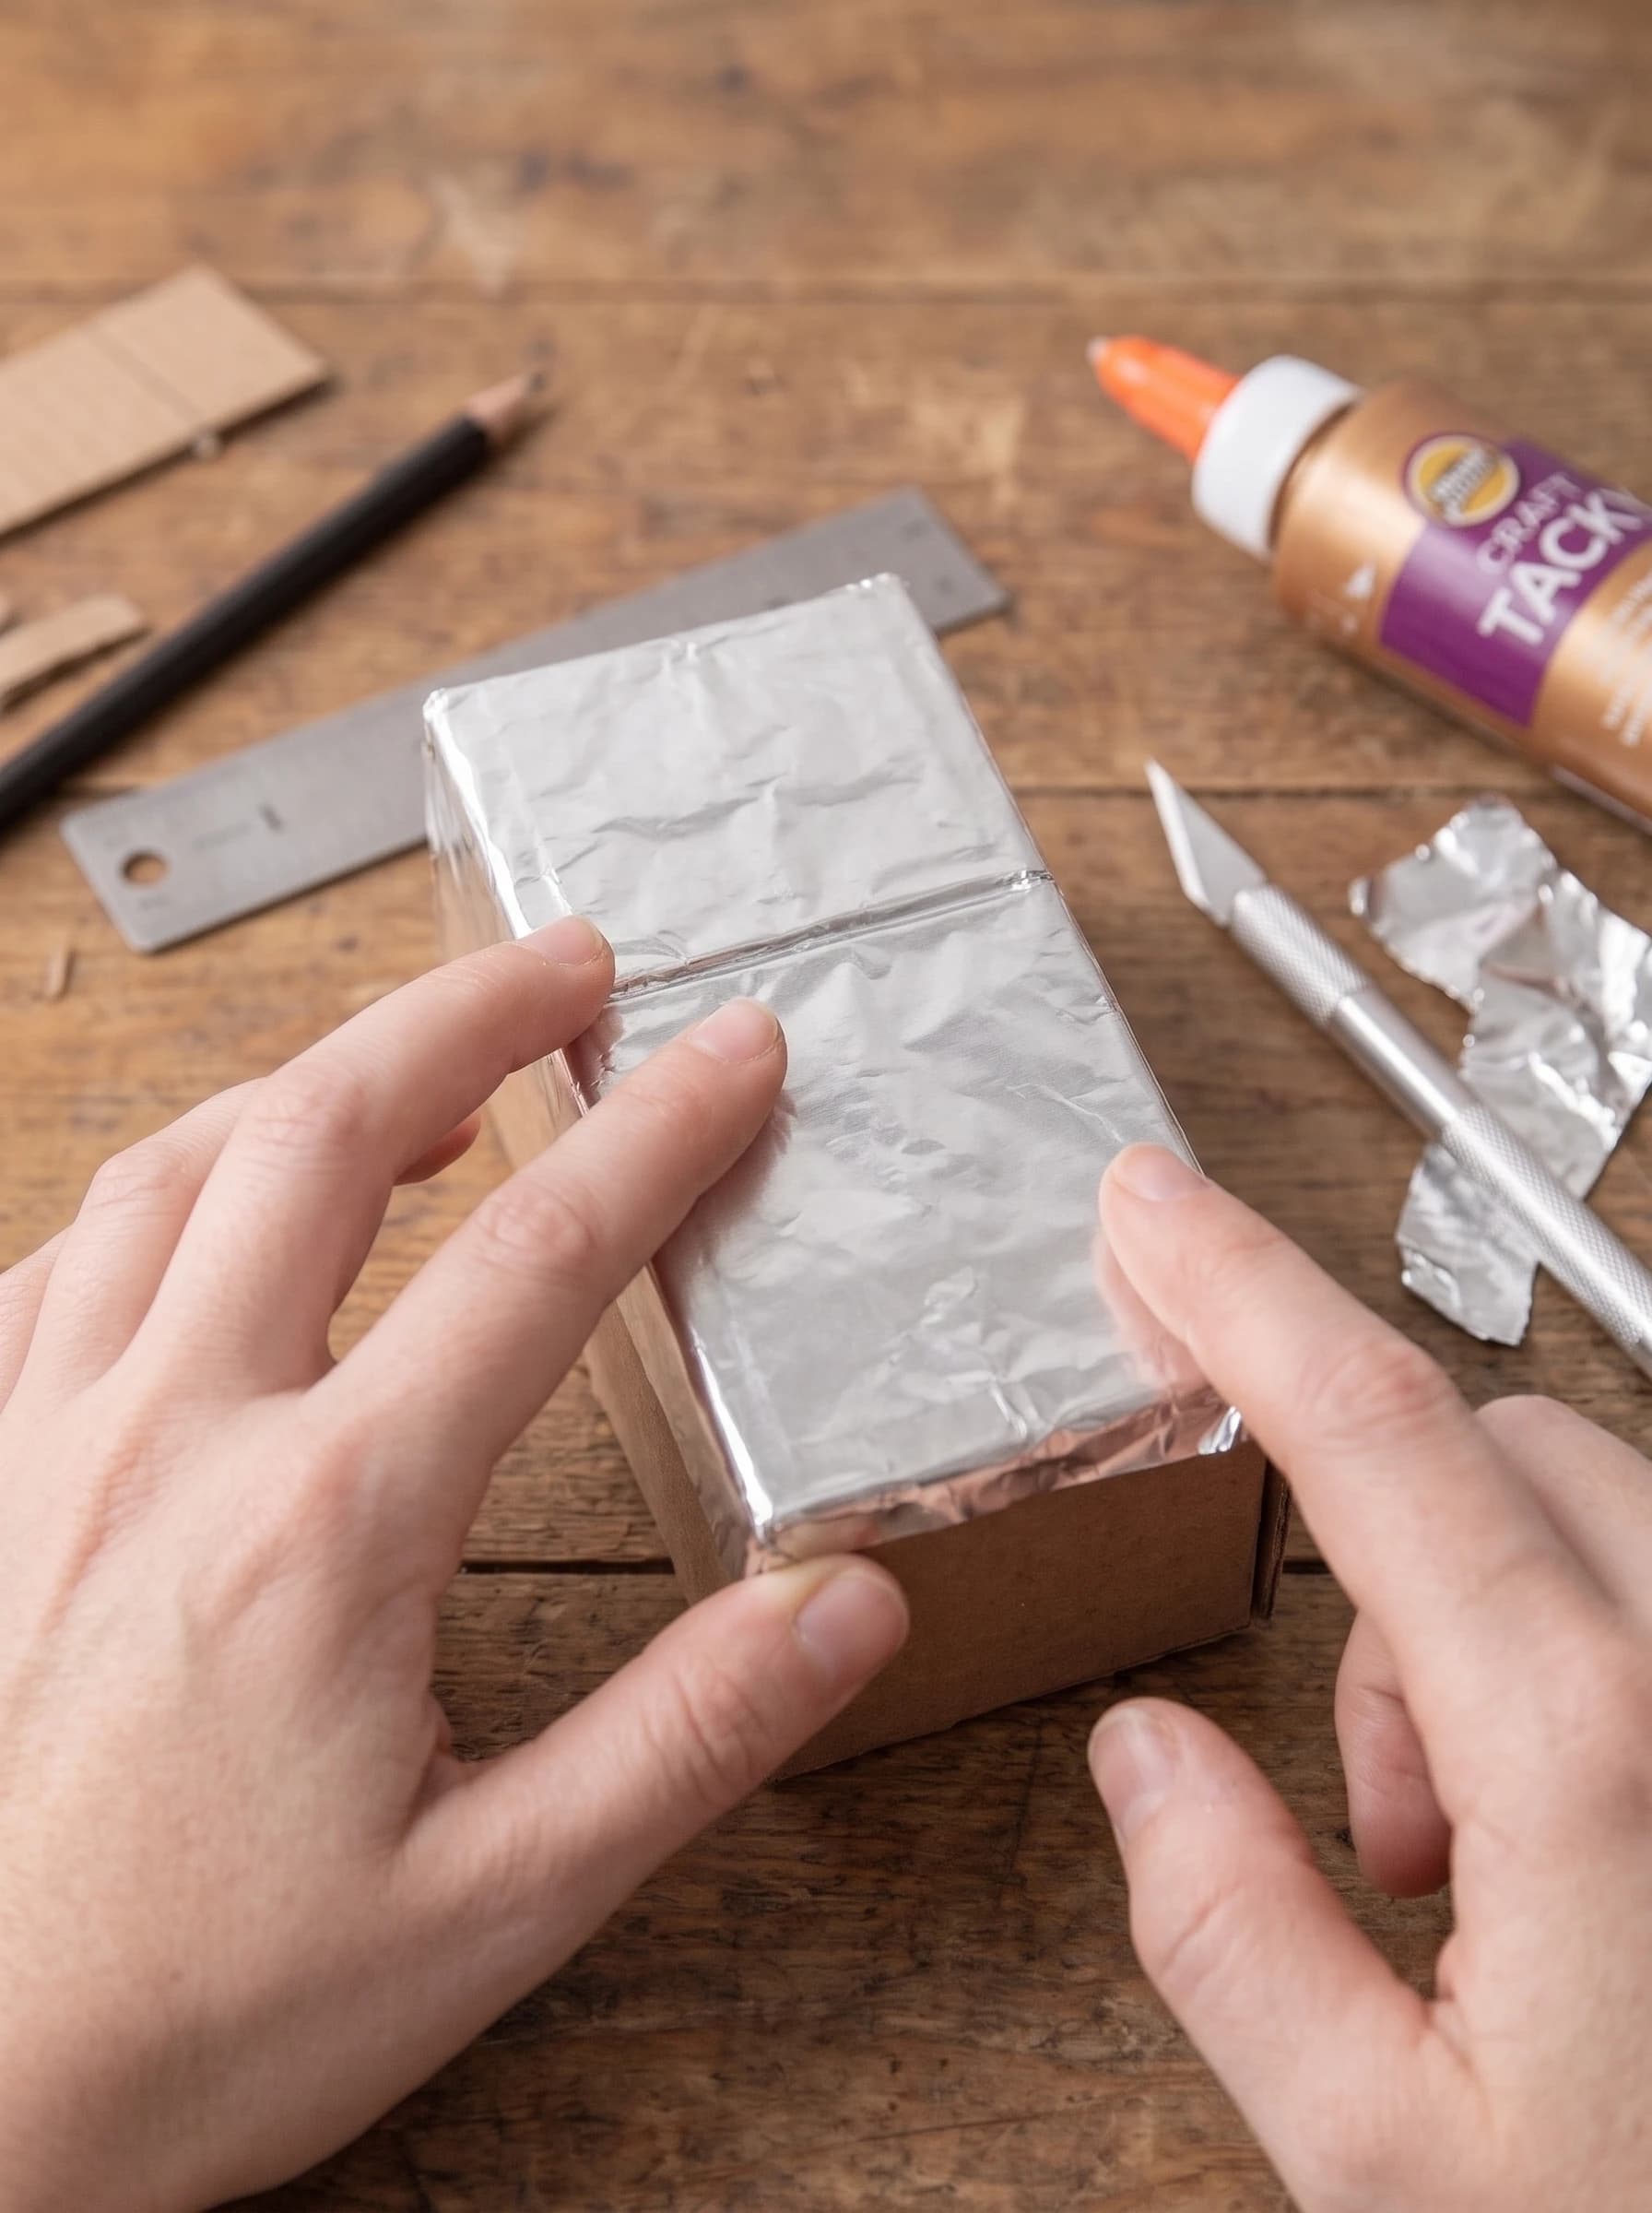
Step 4: Add Paperclip Handles
Bend two paperclips into small straight handles. Use tweezers to hold each one and glue it to the edge of each door, one on the freezer and one on the main door. Hold for a few seconds until set. Keep both handles the same height and distance from the edge so the doors look matched.
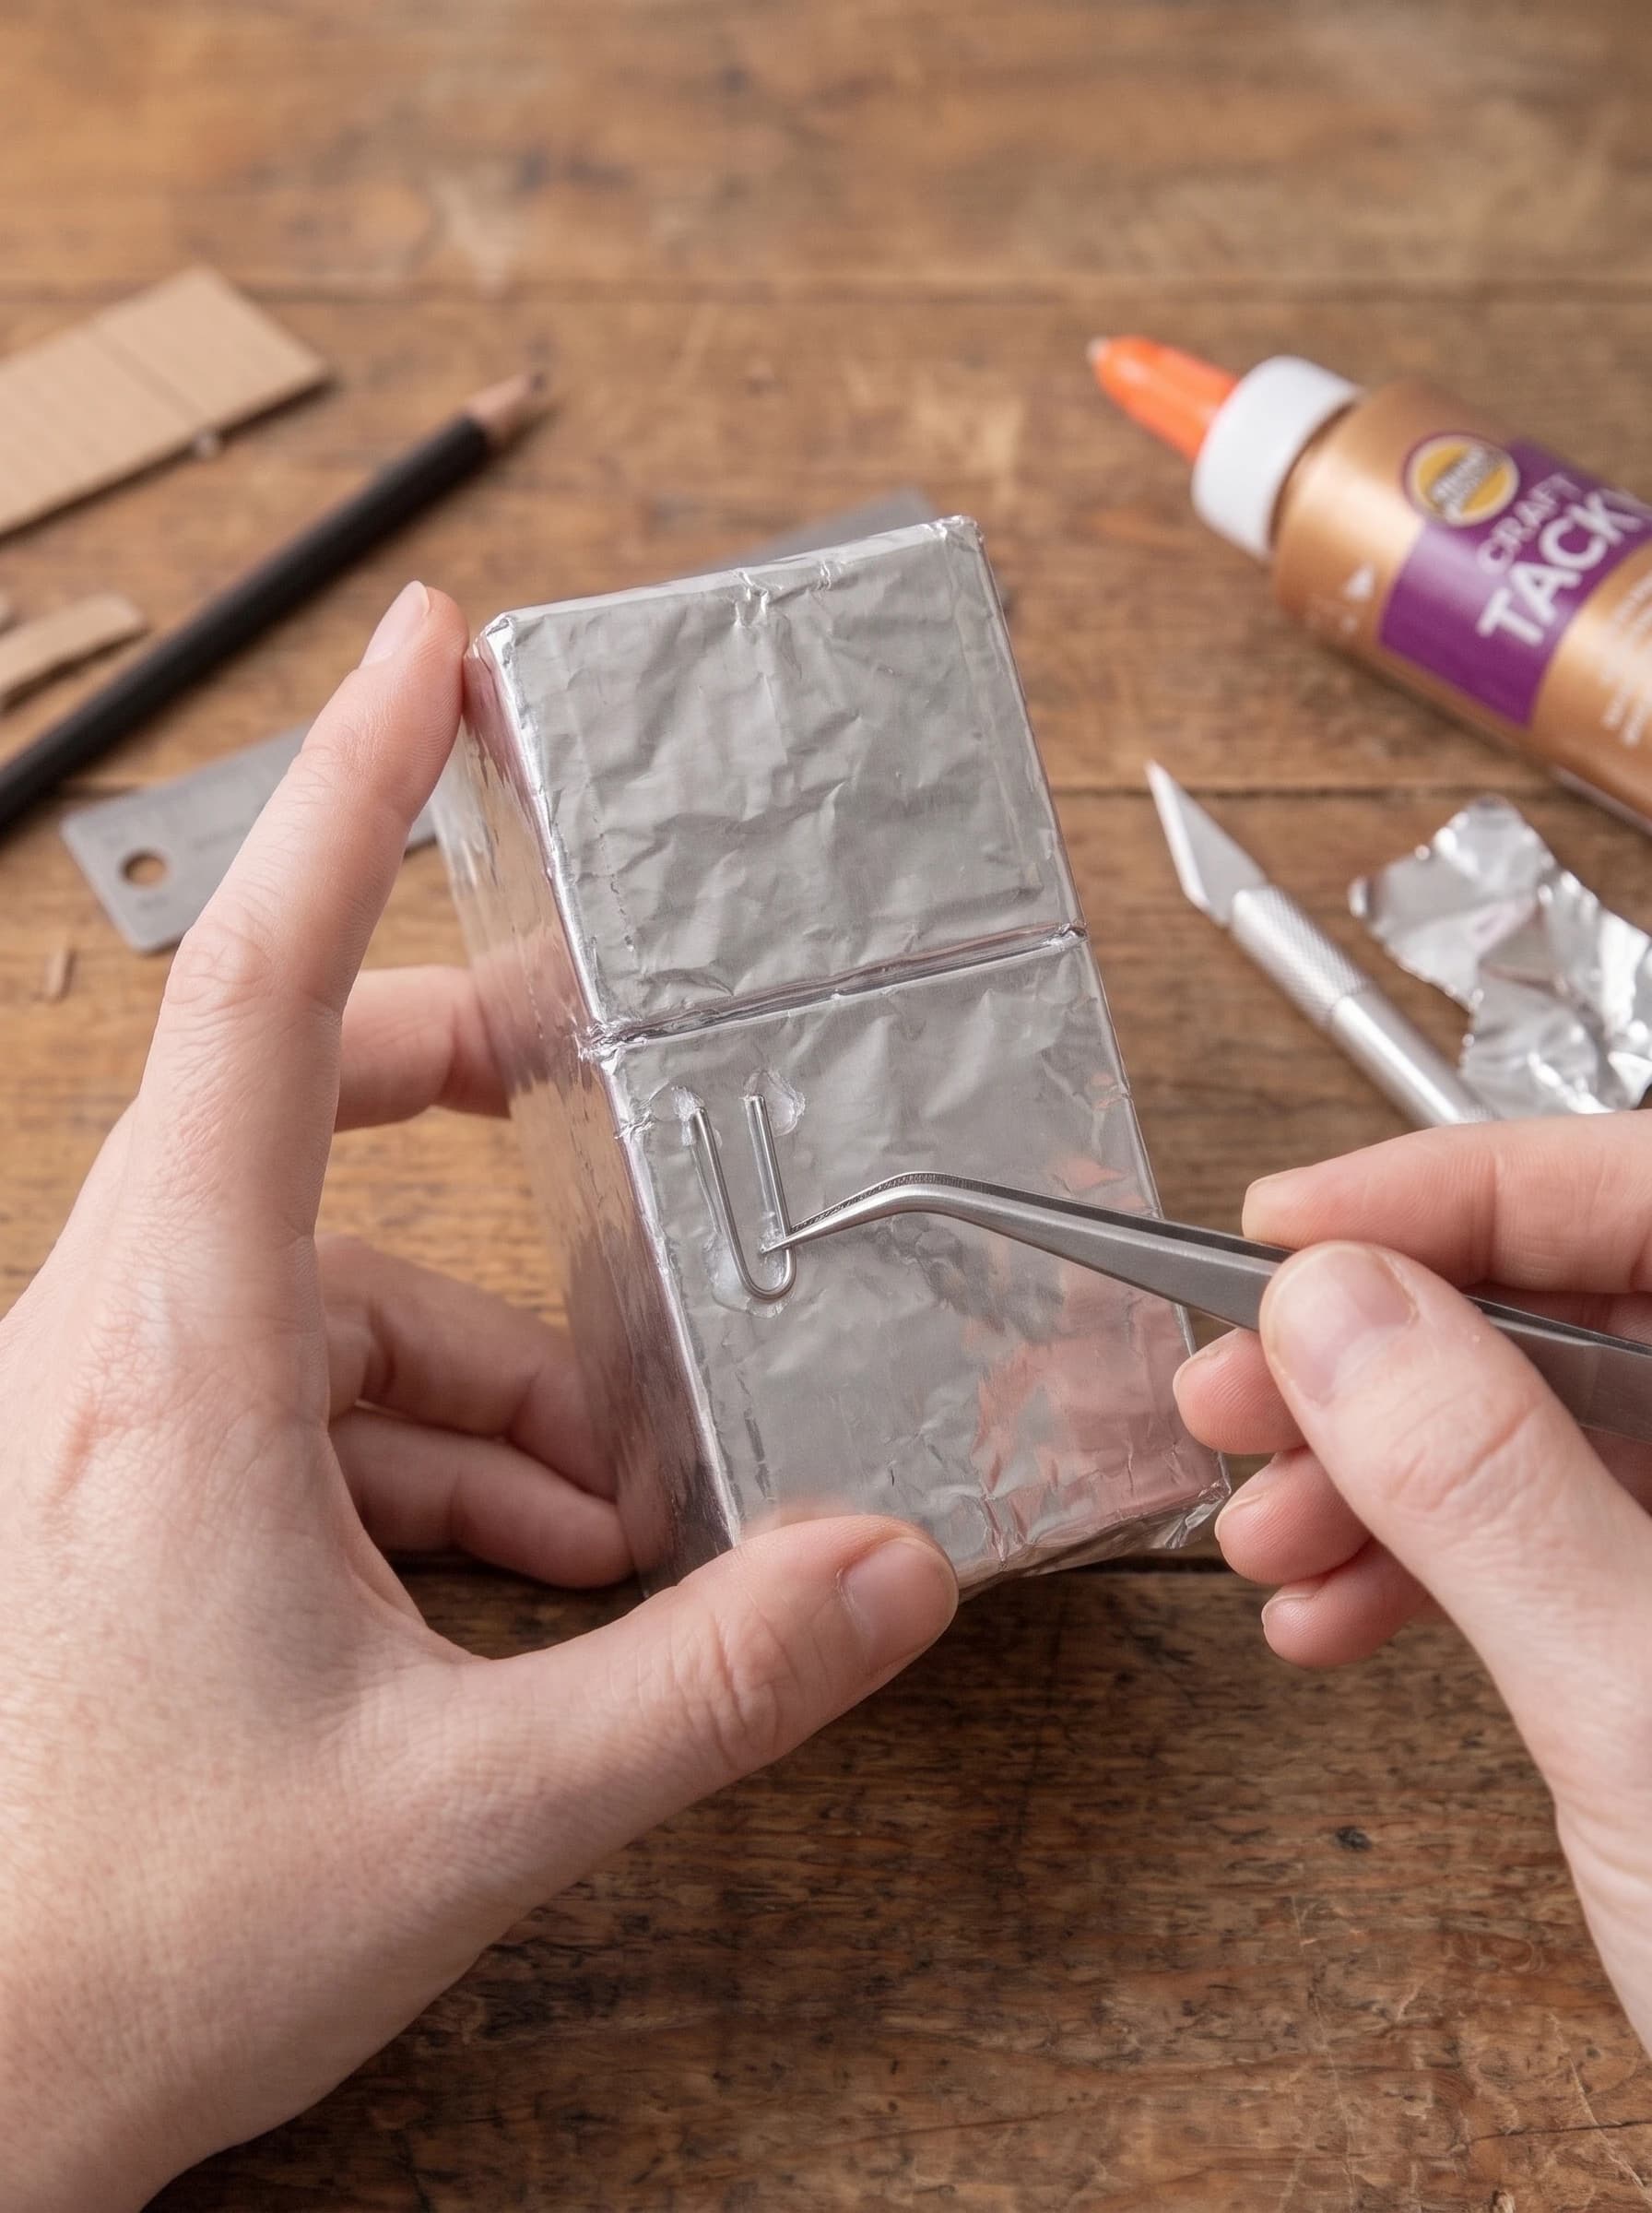
Step 5: Add Magnets and Style Your Kitchen
Glue tiny buttons onto the doors as magnets, and add small scraps of paper with handwriting as sticky notes. Place the fridge in your dollhouse kitchen next to a cabinet, a stove made from bottle caps, and a tiny plant. Warm lighting makes the foil glow and the scene feel real.
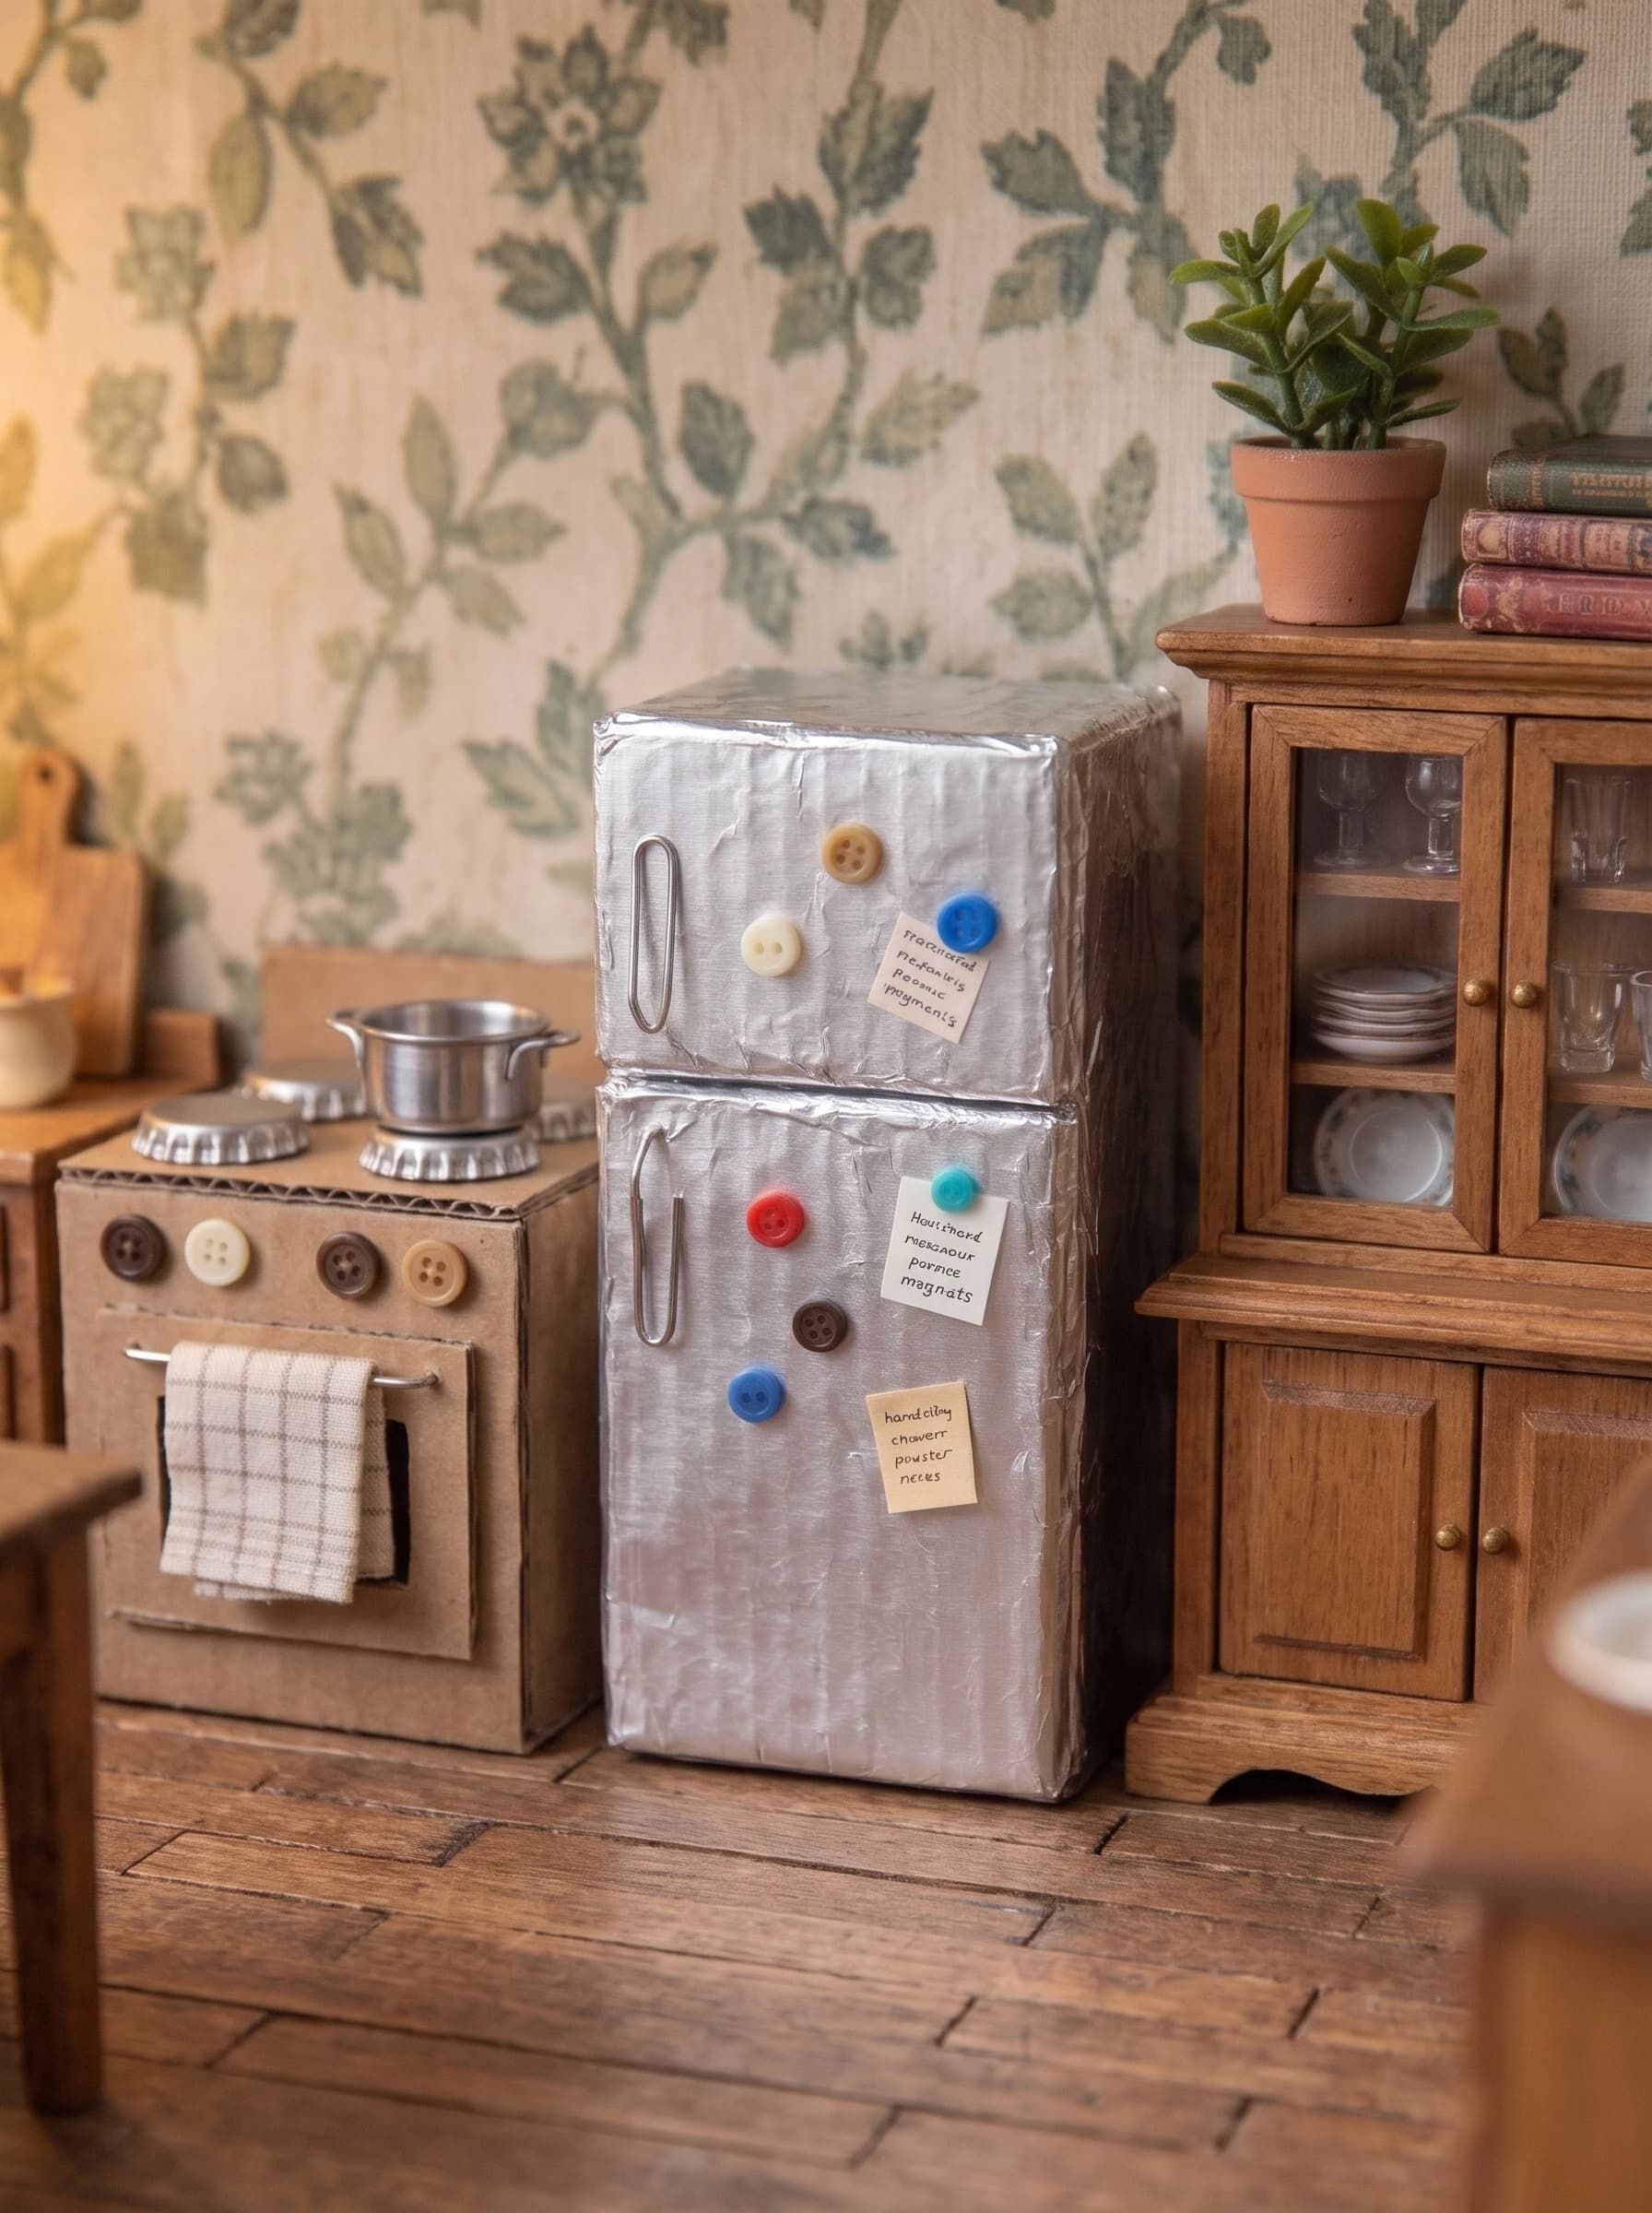
Tips for a Professional Finish
Use a sharp blade for clean edges. Keep glue thin so it does not show through the foil. Choose buttons in small sizes and a few different colors for realistic magnets. Try painting the fridge in a retro color such as mint or red for a vintage look.
FAQ
What glue works best? Tacky glue. It grabs quickly and dries clear. Can I use a real cardboard box? Yes, a cereal box or shipping box works, as long as it is thin enough to cut cleanly. How long does it take? About 1 hour, plus drying time. What scale is this? 1:12, the most common dollhouse scale. Resize the box for 1:6 or 1:24.
Conclusion
With a few household scraps you can build a miniature fridge that makes any dollhouse kitchen look real. Try making a stove and cabinets from the same method, share a photo of your kitchen, and check out our related posts. Internal link ideas: Cardboard Craft Ideas, DIY Miniature Cardboard House (Article 2), DIY Miniature Wingback Chair (Article 3).
More in this topic: all Furniture tutorials