
How to Make a Miniature Wingback Chair Easy DIY Dollhouse Armchair in 4 Steps
- Difficulty
- Intermediate
Introduction
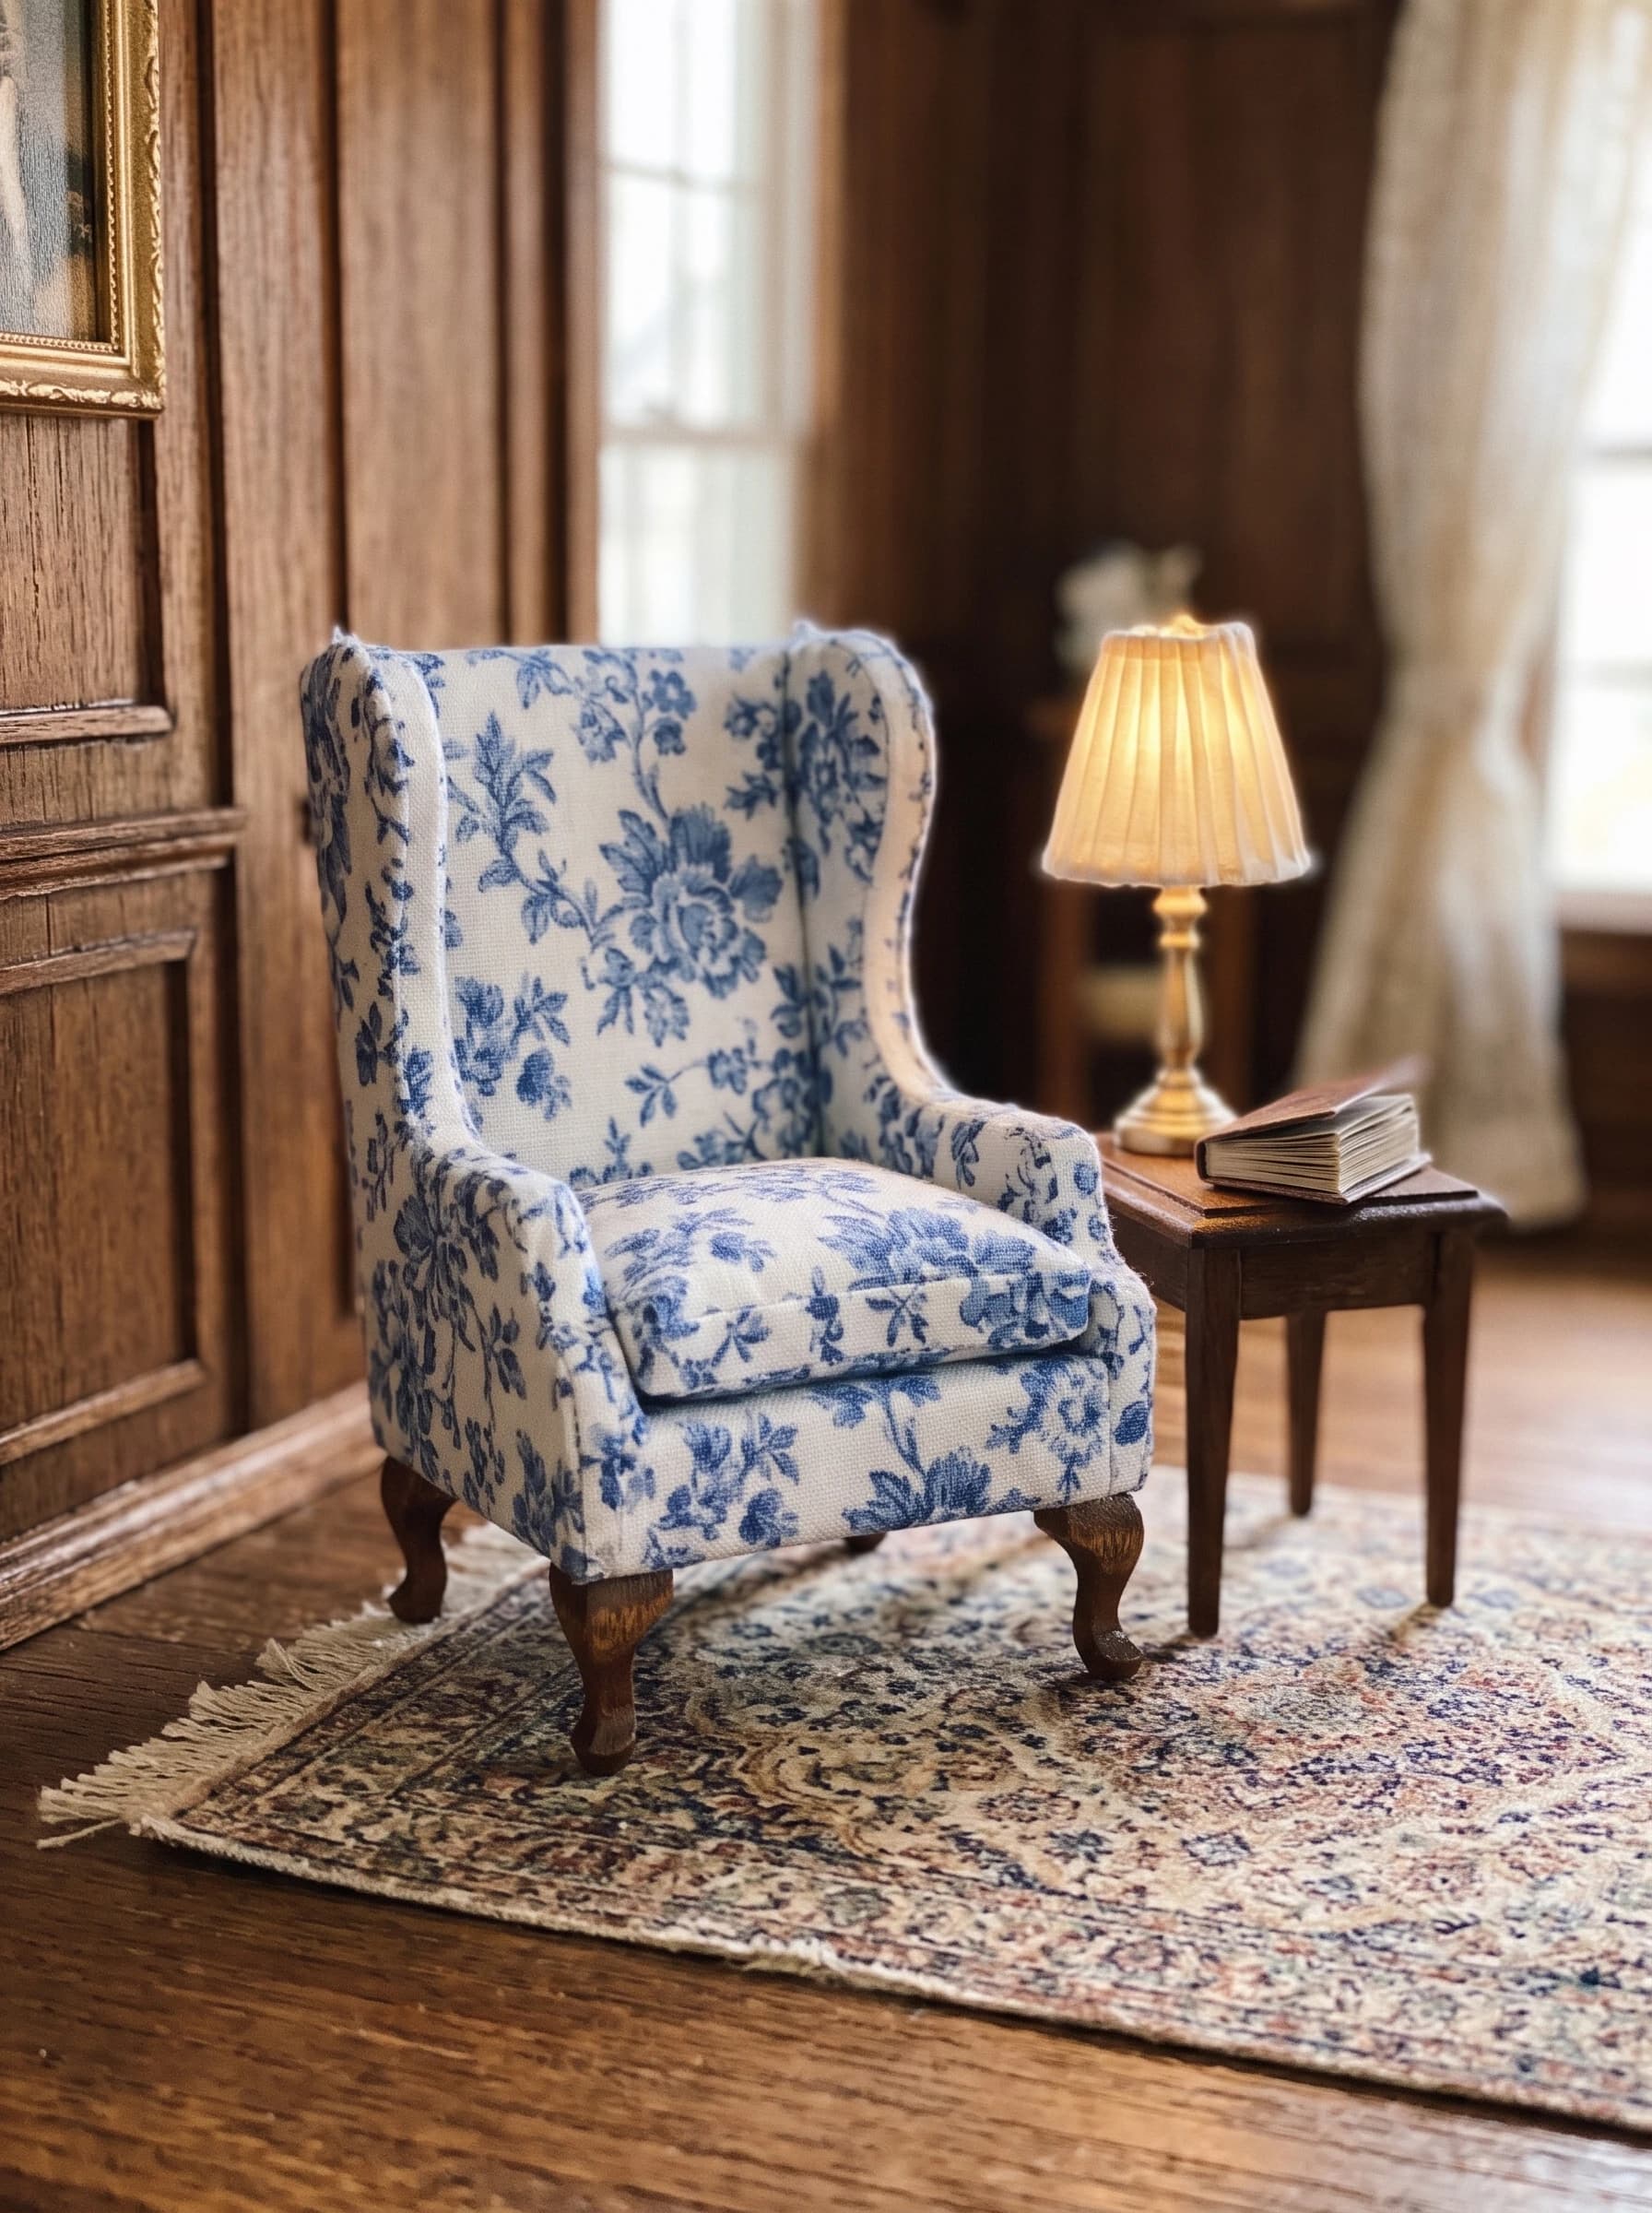
Want a tiny armchair that looks like a real antique? A miniature wingback chair is one of the easiest ways to add charm to a dollhouse, roombox, or miniature scene. You only need foam board, a scrap of printed fabric, tacky glue, and a few wooden strips. This short tutorial shows exactly how to make it in four steps.
What You'll Need
You need white foam board or thick mat board, a craft knife, a ruler, tacky glue, a small flat brush, tweezers, and a cutting surface. For the finish, add thin cotton fabric with a small print (floral works best), thin wooden strips, small wooden furniture legs or scraps shaped into legs, and a little batting or thin foam for the seat cushion. Scale tip: this is a 1:12 chair, so the seat sits about 1.5 inches (4 cm) high. Always use thin, lightweight fabric so it folds neatly around small curves.
Step 1: Cut and Build the Chair Frame
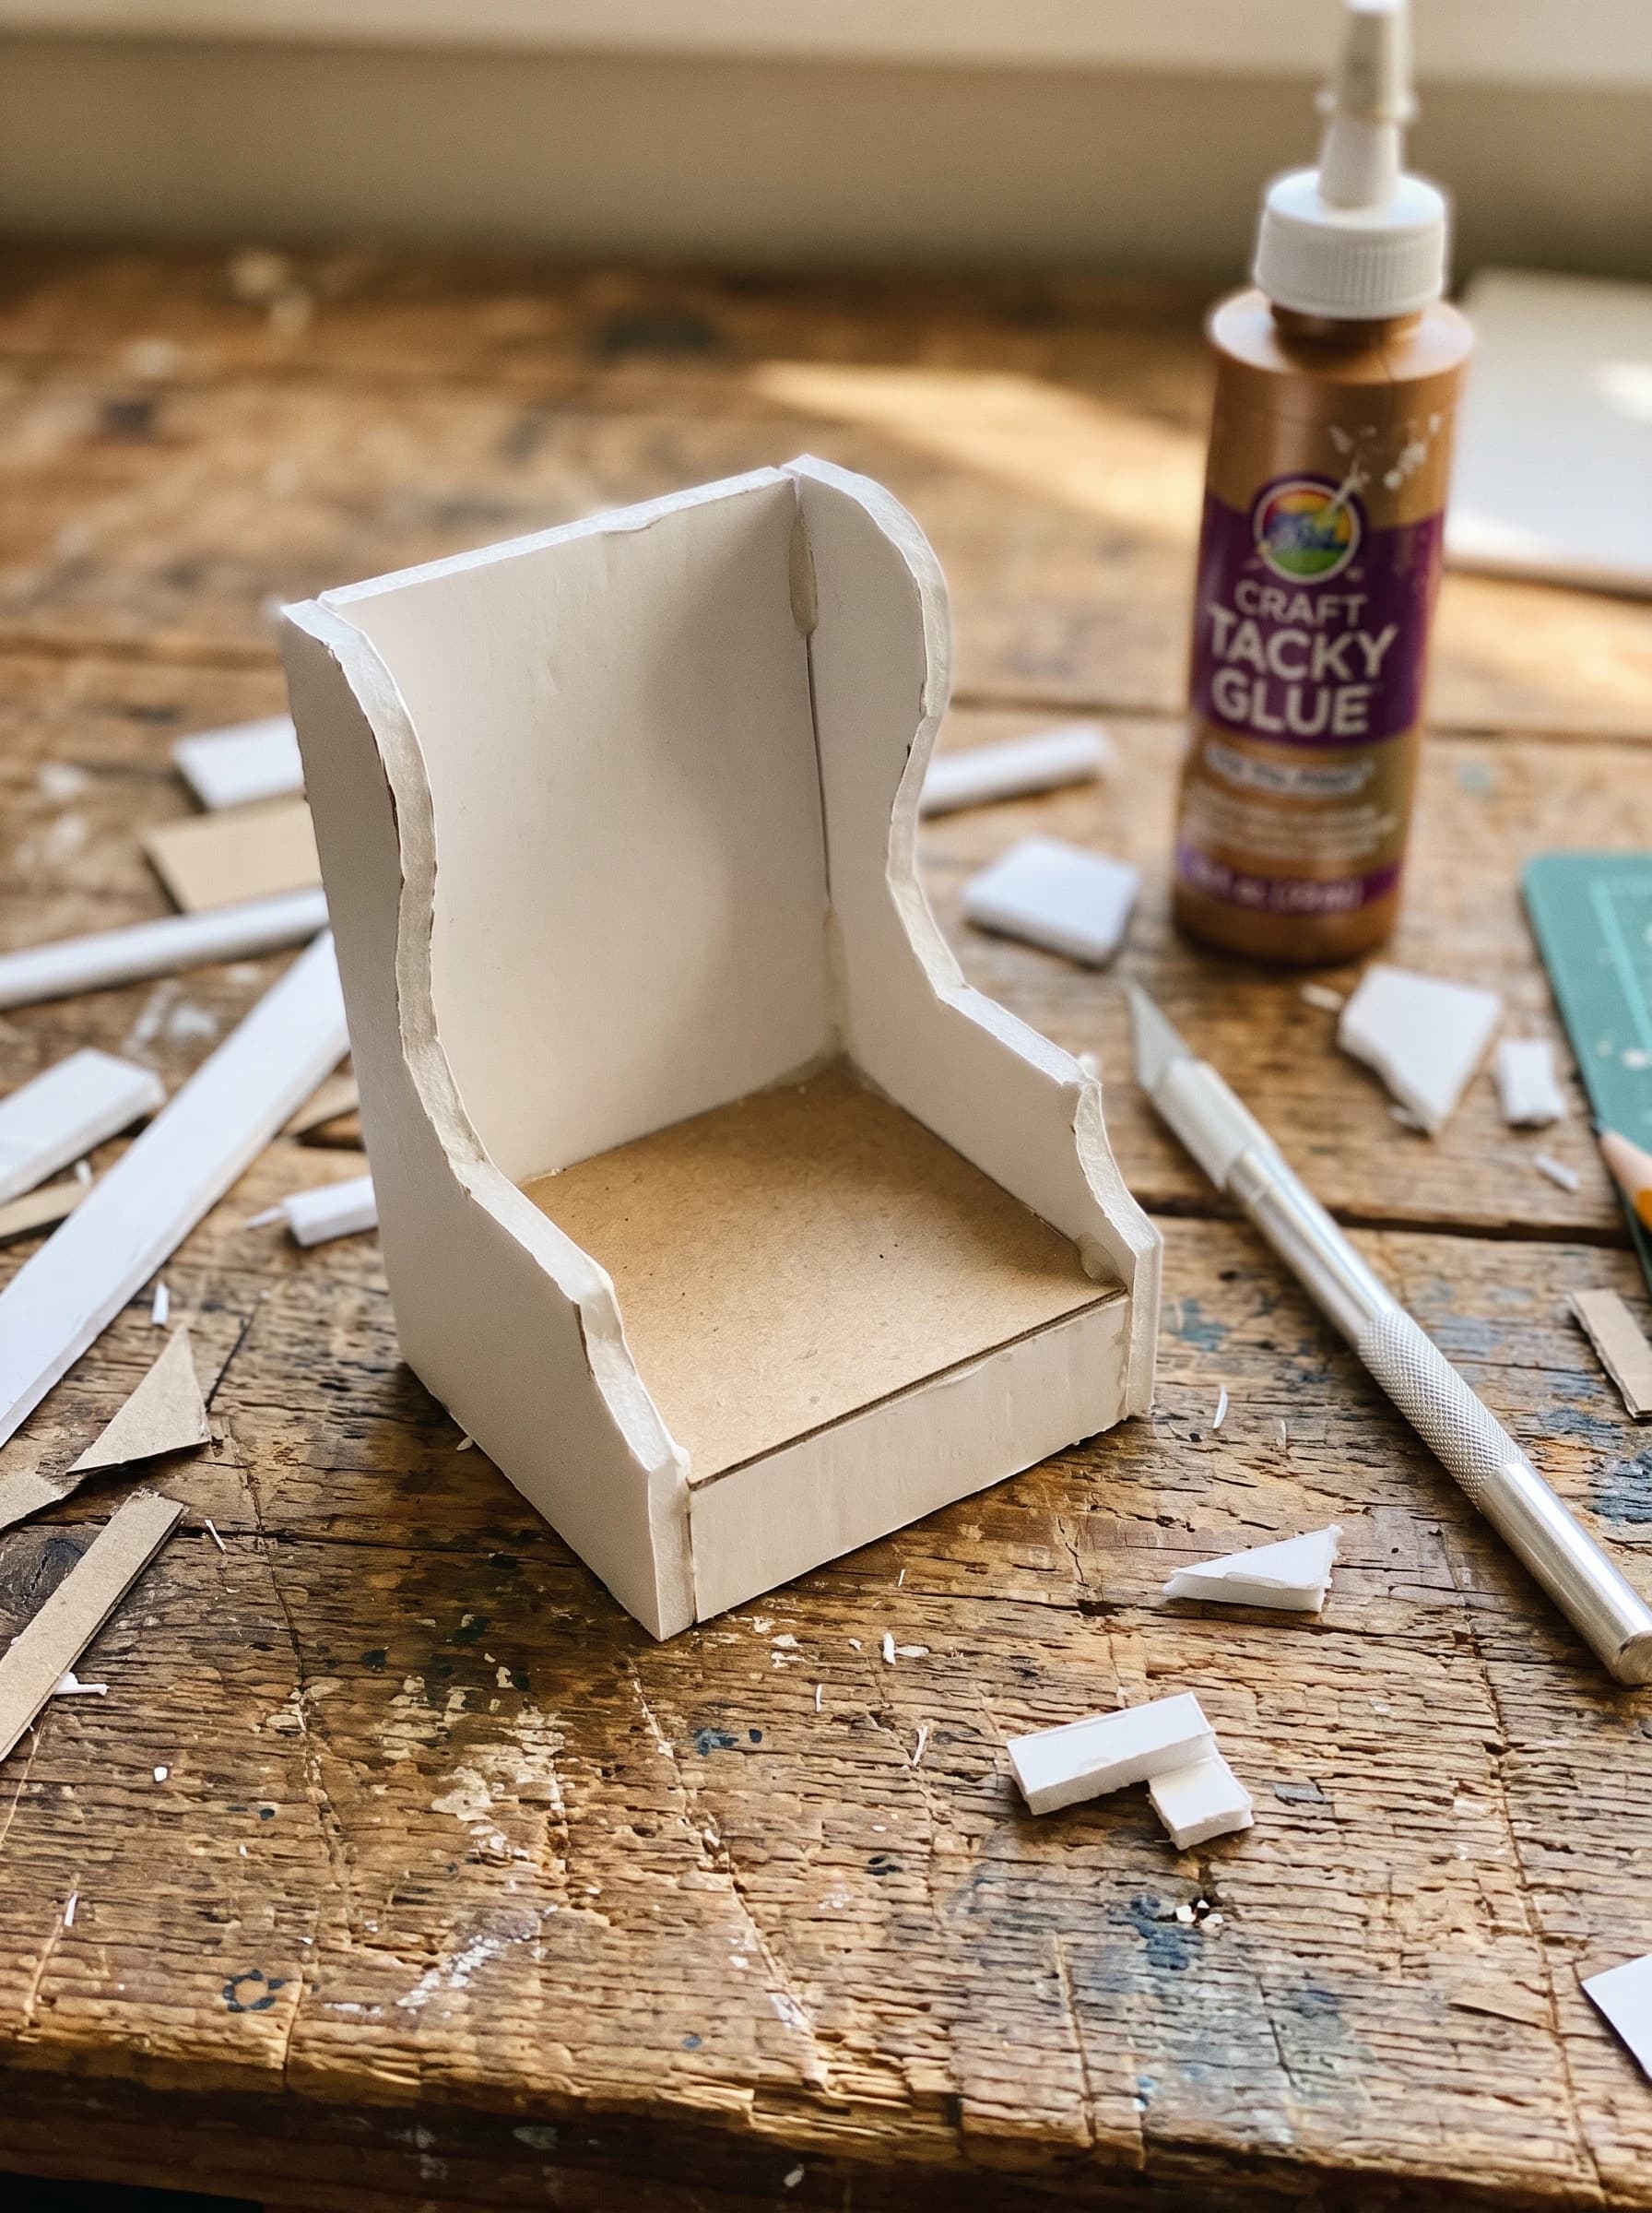
Cut the pieces from foam board: a back with a gently curved top, two side wings with curved arms, a seat base, and a front panel under the seat. Test-fit the pieces before gluing, then glue them together with tacky glue, holding each joint until it grips. Use a sharp blade and make light passes so the edges stay clean. Keep the frame white and neat, because the shape of the frame decides how good the finished chair looks.
Step 2: Cover the Frame with Fabric
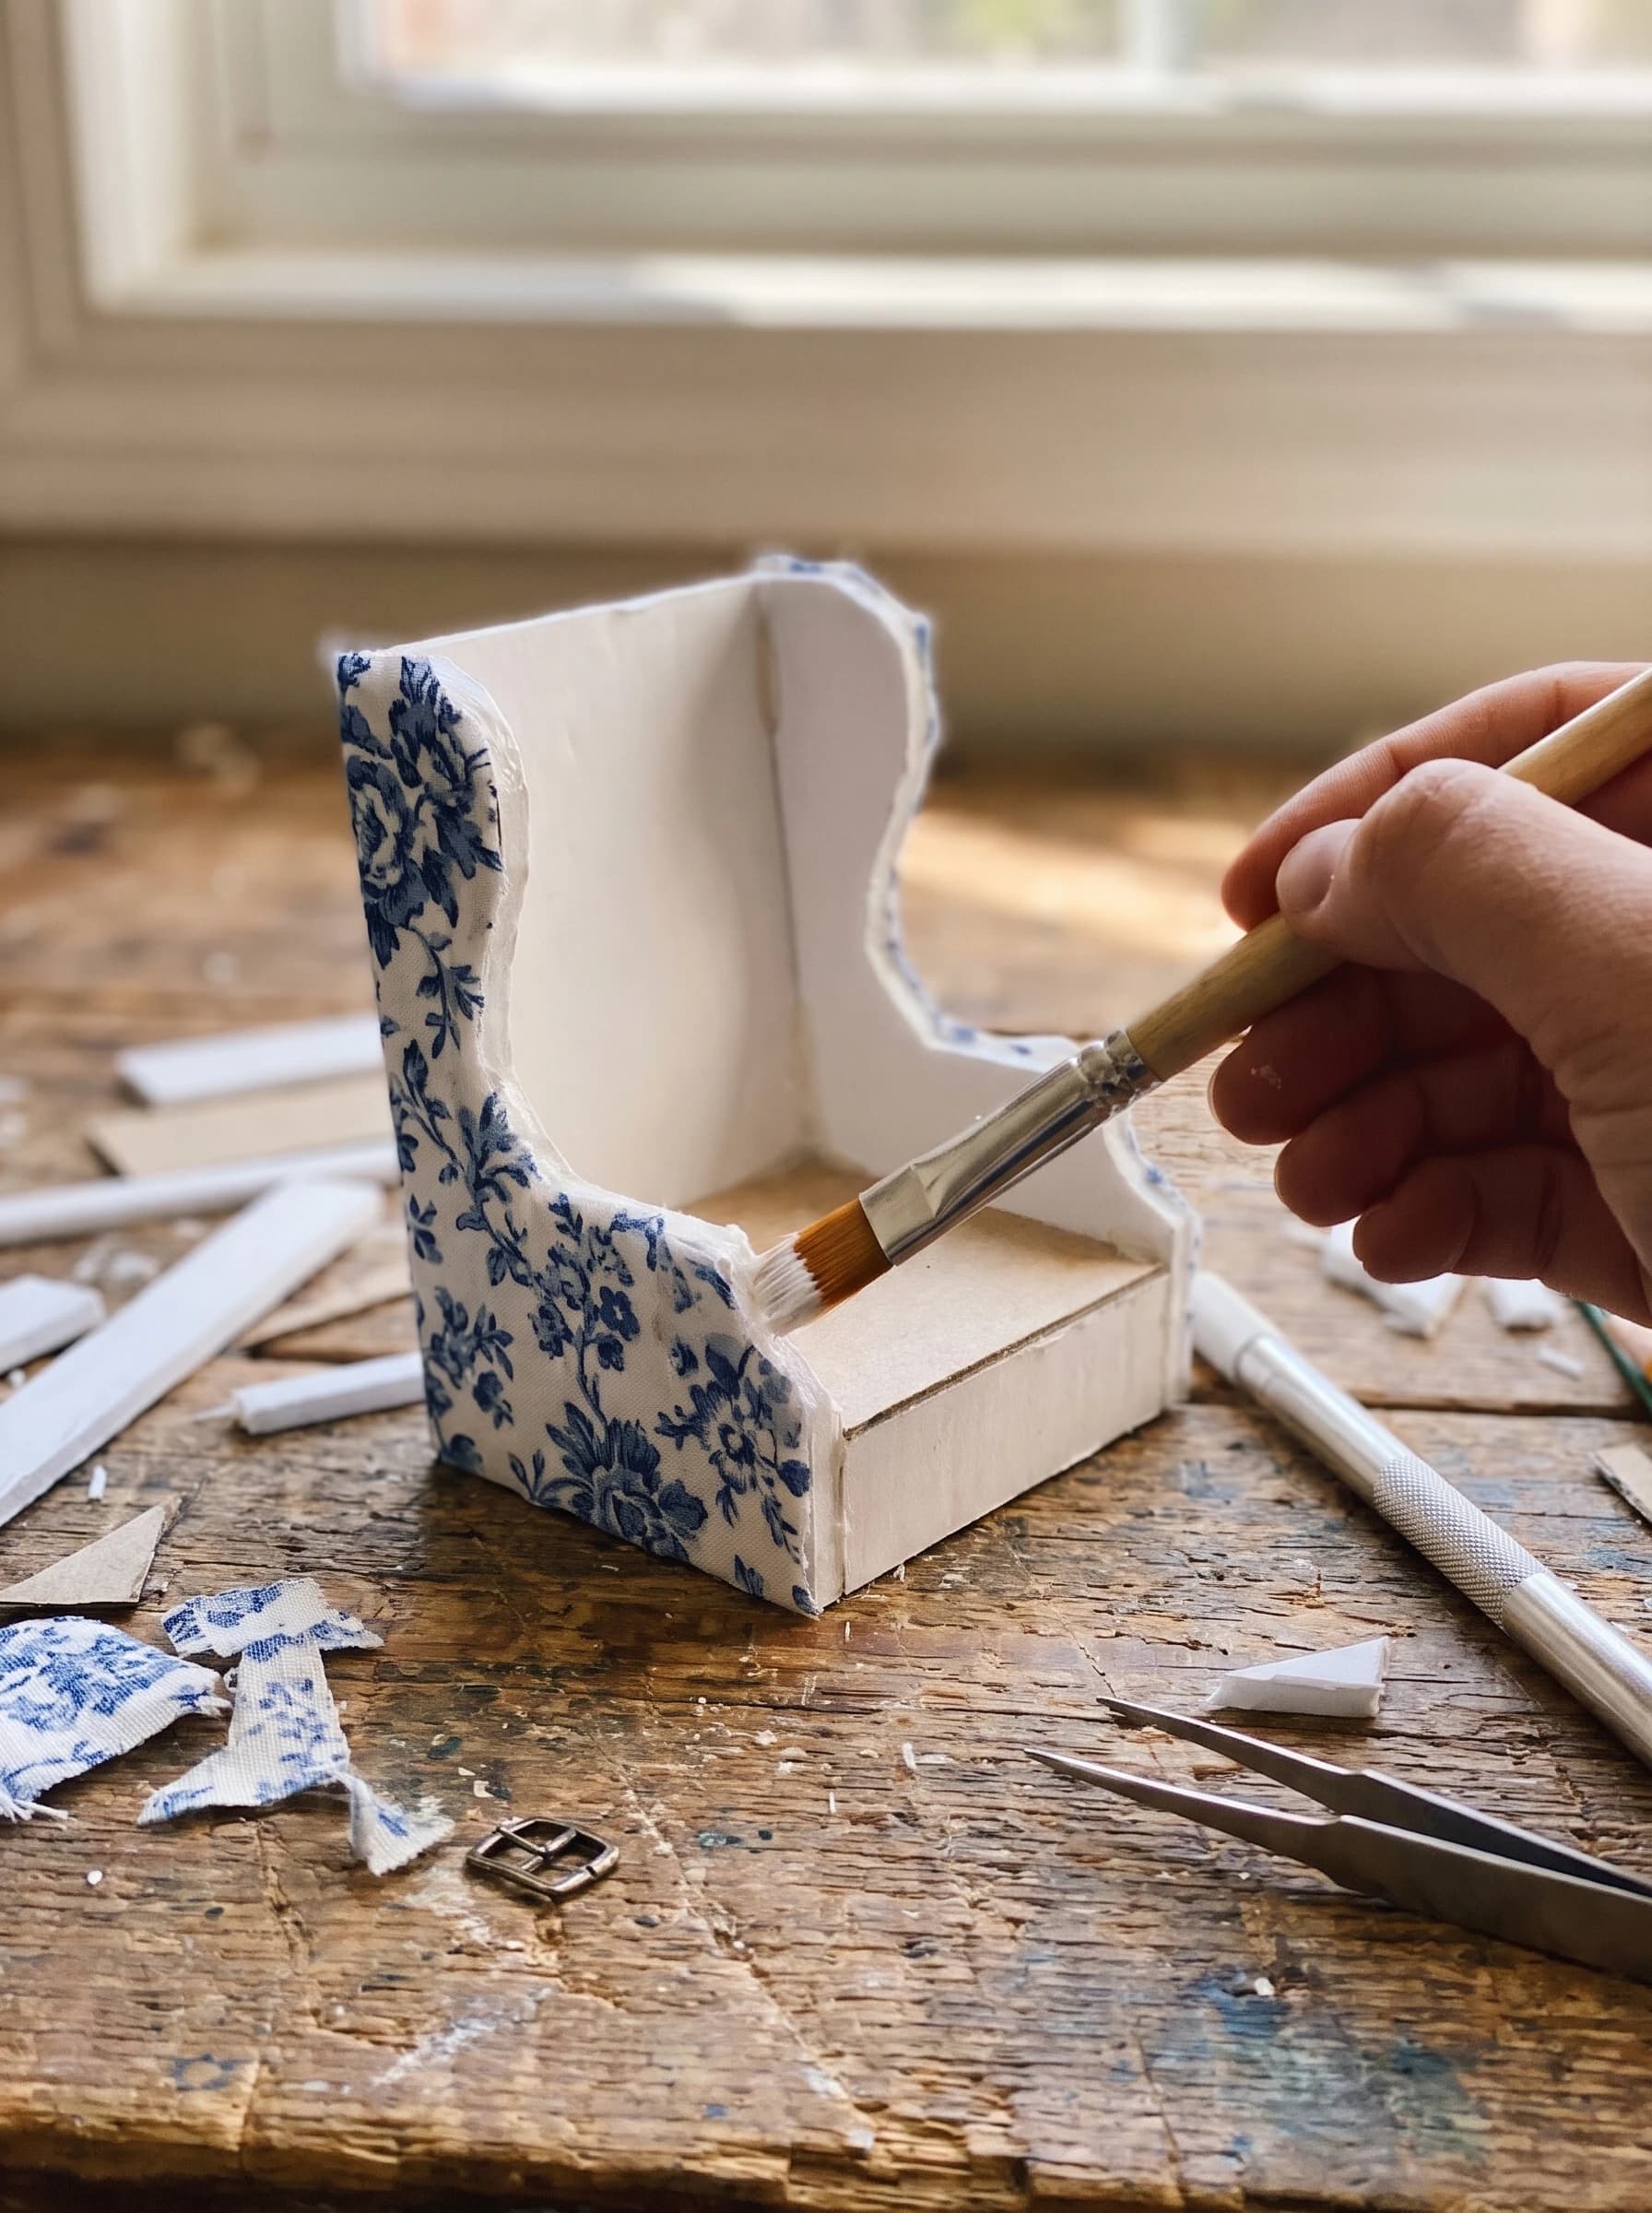
Cut the fabric into small panels slightly larger than each part of the chair. Brush a thin layer of tacky glue onto one section of the frame, then press the fabric on and smooth it with your fingers. Use tweezers to tuck the edges into corners and under the arms. Work one section at a time, and match the print direction so the flowers stay upright on the back and arms. A thin layer of glue prevents stains and keeps the fabric flat.
Step 3: Add the Seat Cushion, Legs, and Trim
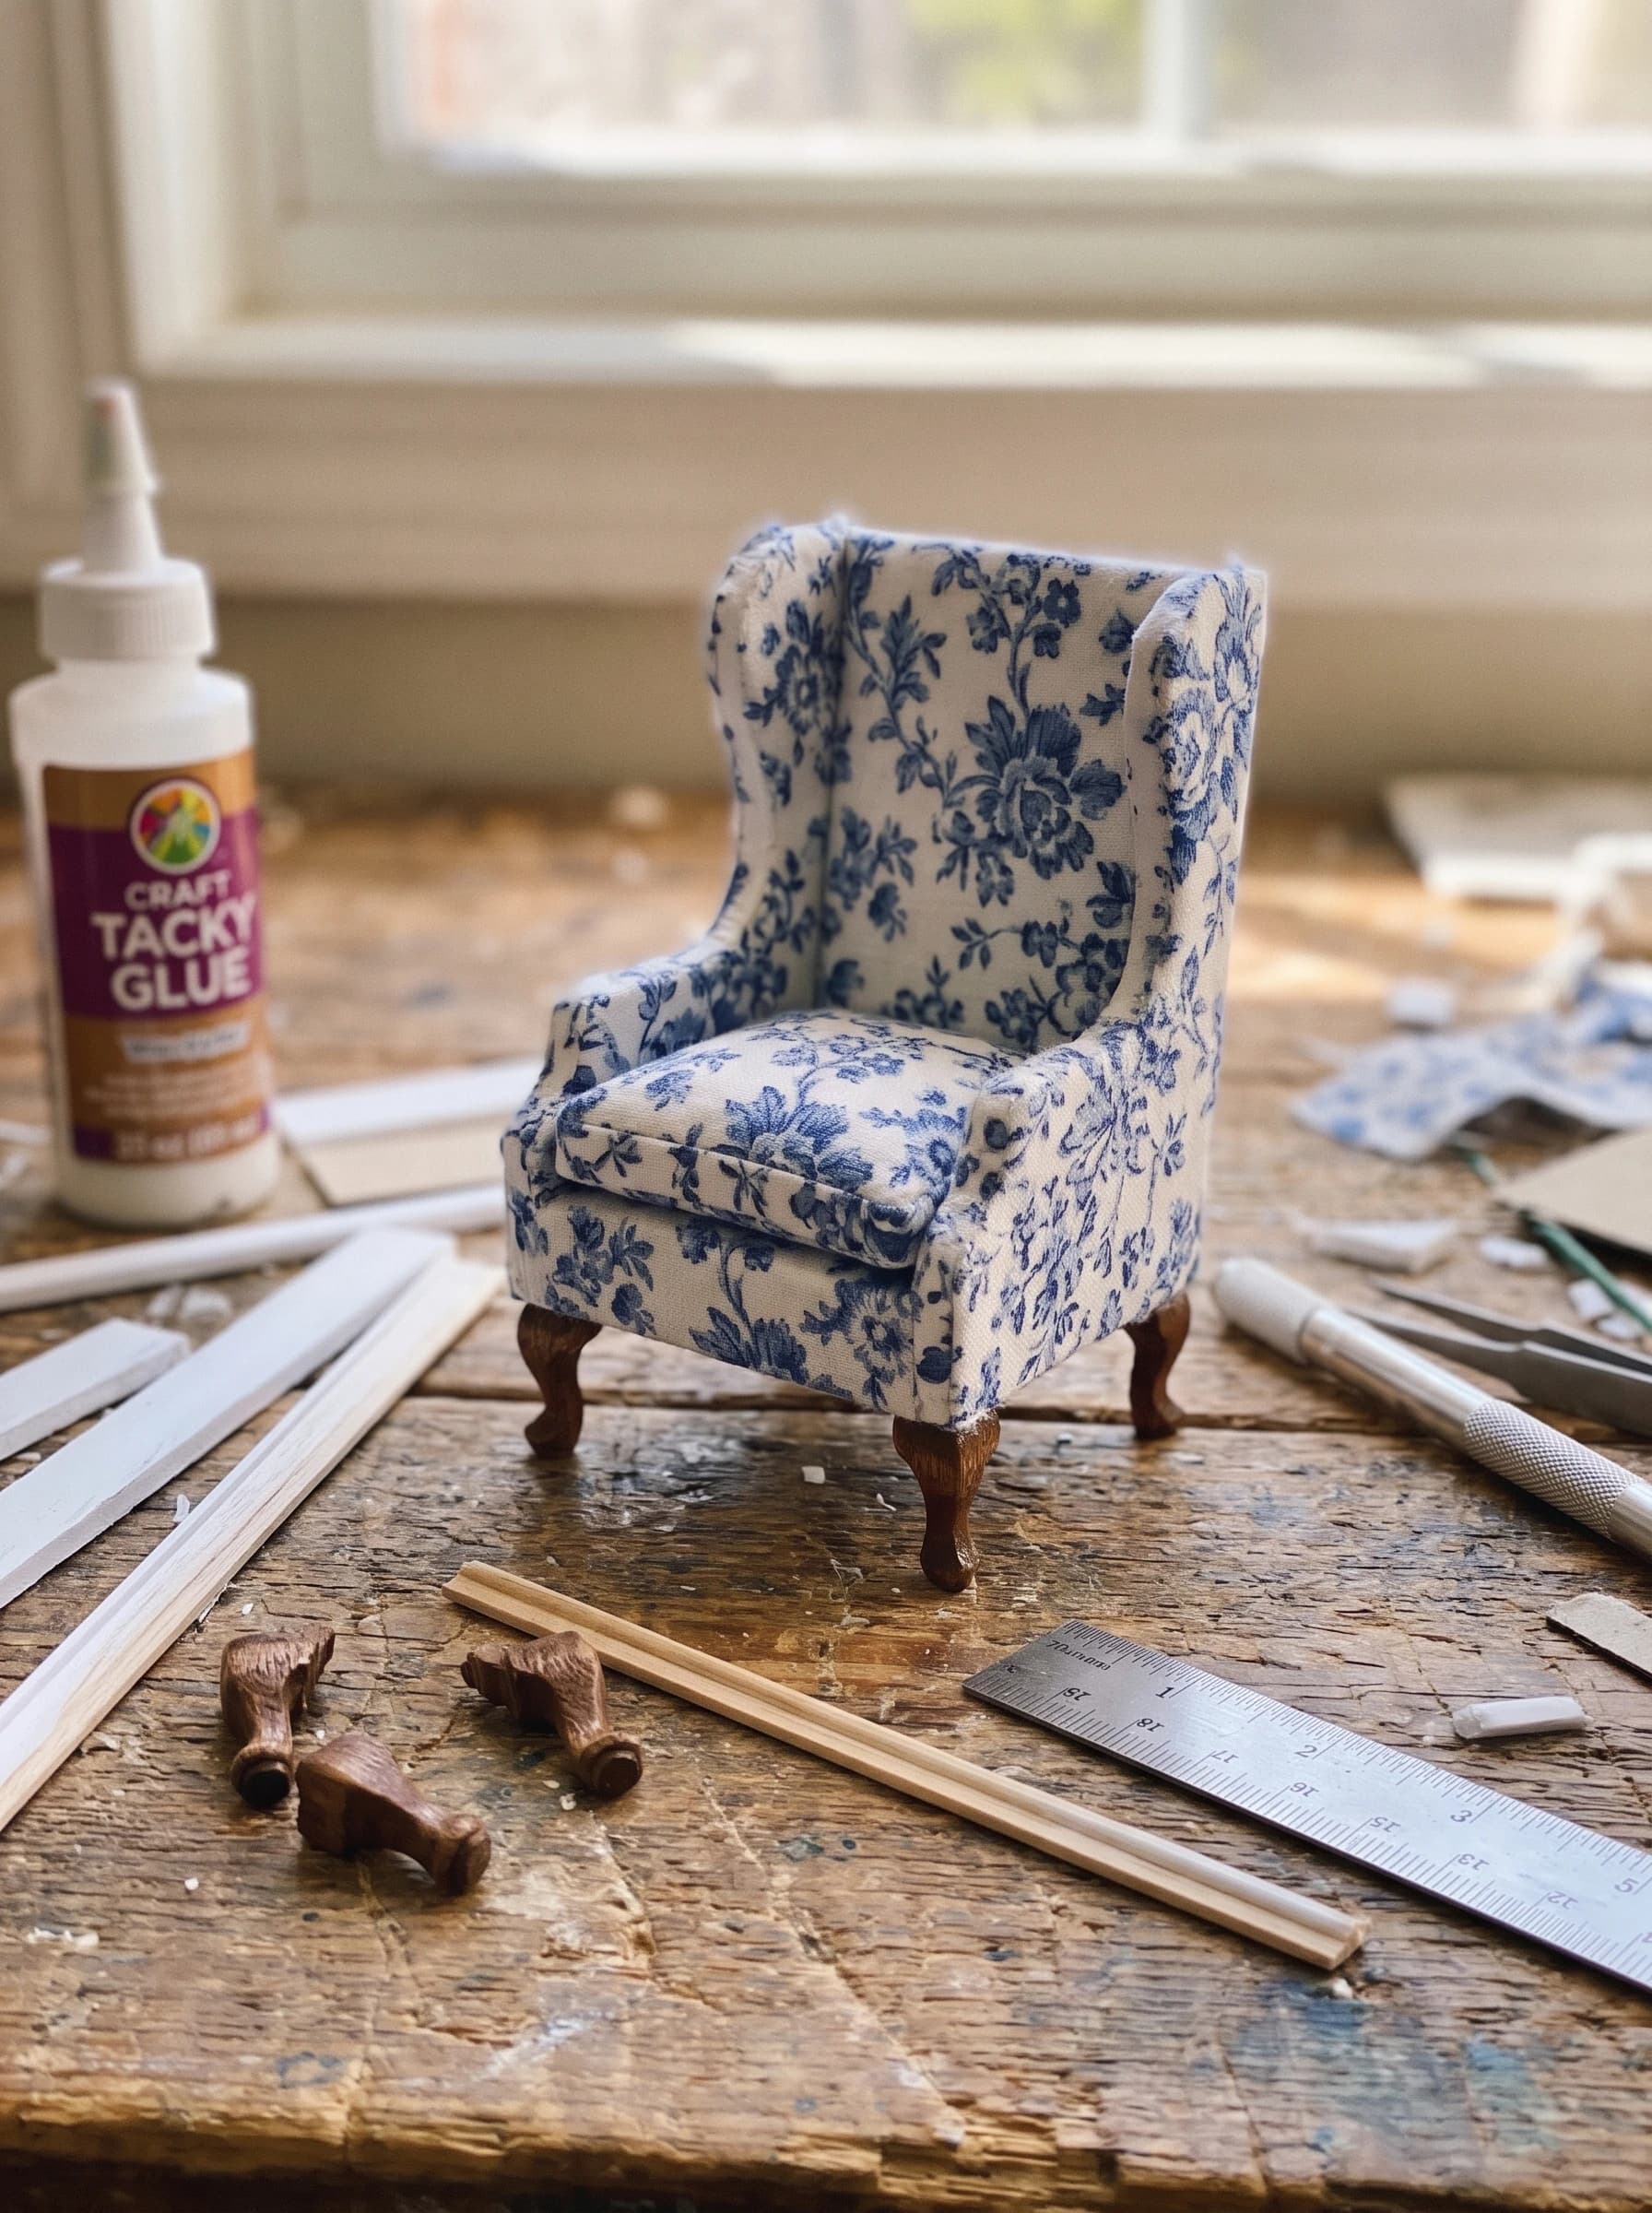
Cut a small cushion from thin foam or batting, wrap it in the same fabric, and glue it onto the seat. Then glue on the wooden legs at all four corners and add a thin trim strip along the front edge. Paint or stain the legs before gluing for a more realistic antique look. Let everything dry fully, then check that the chair stands level.
Step 4: Style Your Miniature Scene
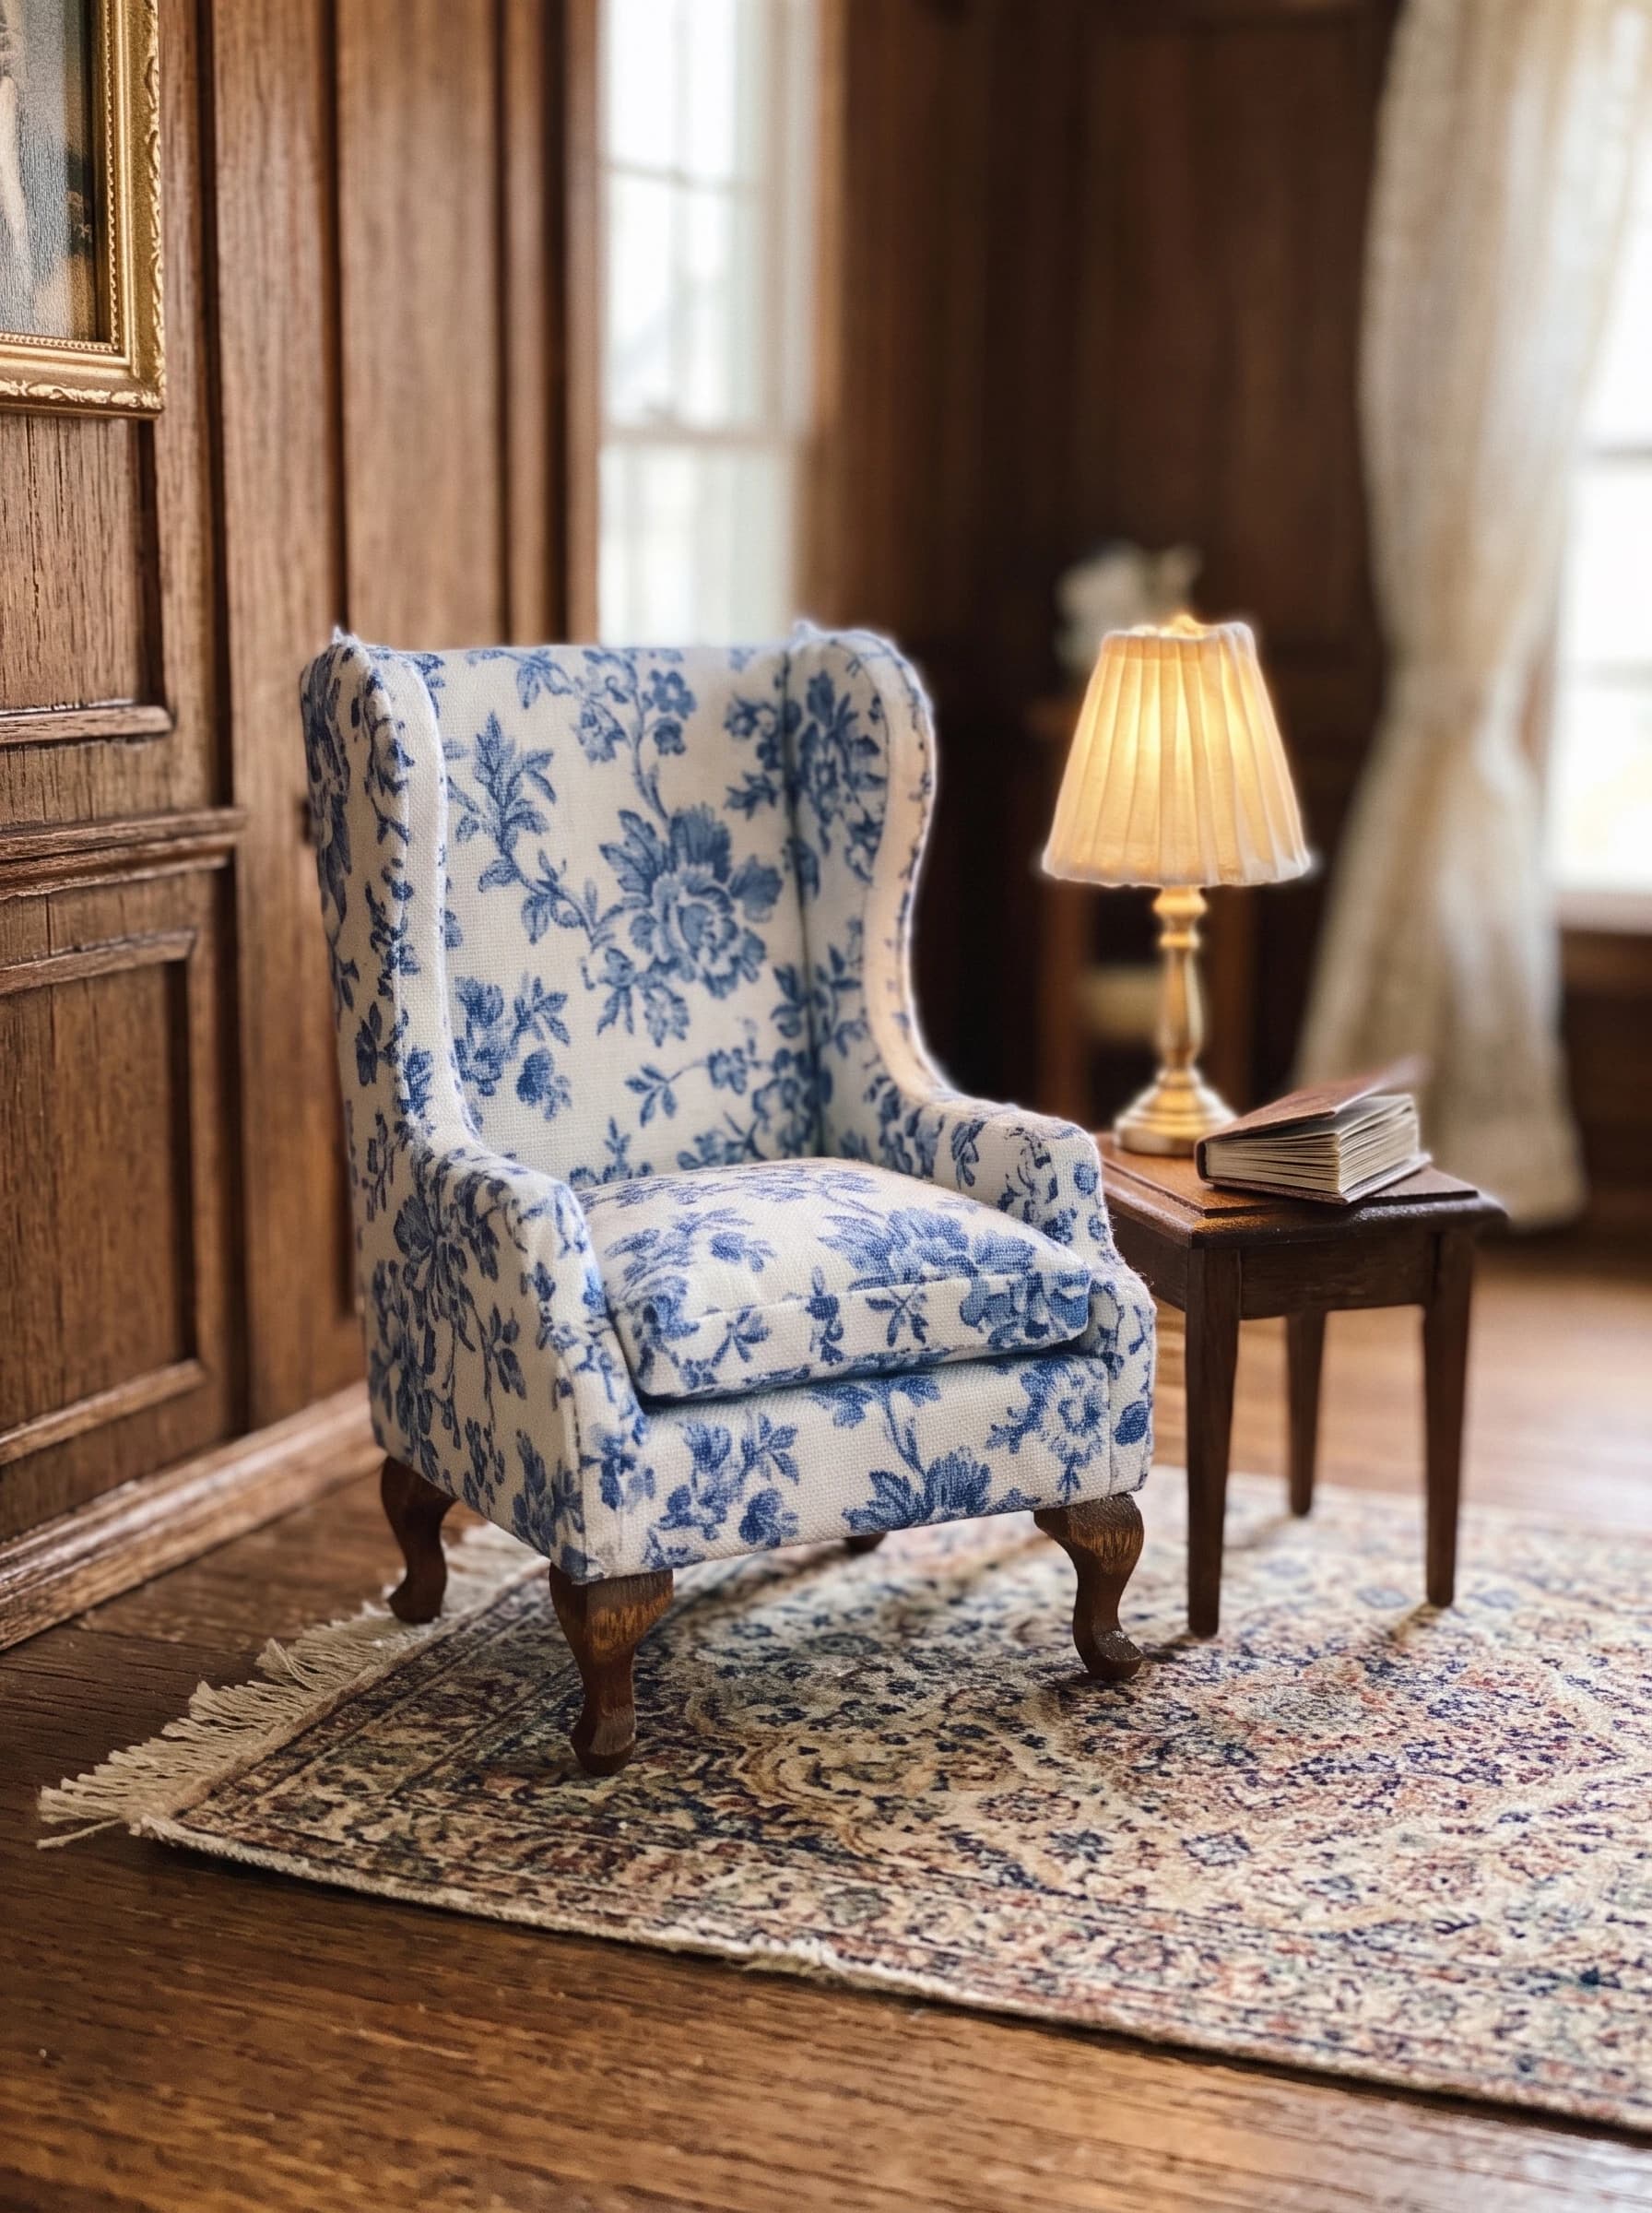
Place the chair in a dollhouse room or roombox. Add a small side table, a tiny book, a mini lamp, and a patterned rug to give it a lived-in look. Warm lighting makes the fabric colors glow and the whole scene feel real.
Tips for a Professional Finish
Choose tiny prints so the pattern looks in proportion. Use tacky glue sparingly, since too much will soak through the fabric. Make the frame slightly oversized rather than undersized, and keep a few extra fabric scraps for repairs. Try solid velvet or linen for a modern look.
FAQ
What glue works best? Tacky glue. It dries clear, grabs quickly, and does not soak through thin fabric. Can I use cardboard instead of foam board? Yes. Use thin cardboard layers or mat board, but foam board is easier to cut cleanly. How long does it take? About 1 to 2 hours, plus drying time. What scale is this? 1:12, the most common dollhouse scale. Resize the template for 1:6 or 1:24.
Conclusion
With a few simple materials, you can make a miniature wingback chair that looks like handmade antique furniture. Try different fabrics to build a full set, share a photo of your chair, and check out our related posts. Internal link ideas: Cardboard Craft Ideas, DIY Miniature Cardboard House (Article 2), Miniature Furniture DIY.
More in this topic: all Furniture tutorials