
DIY Miniature Spooky Lighthouse Easy Cardboard Halloween Craft with Glowing Lights
- Difficulty
- Beginner
Introduction
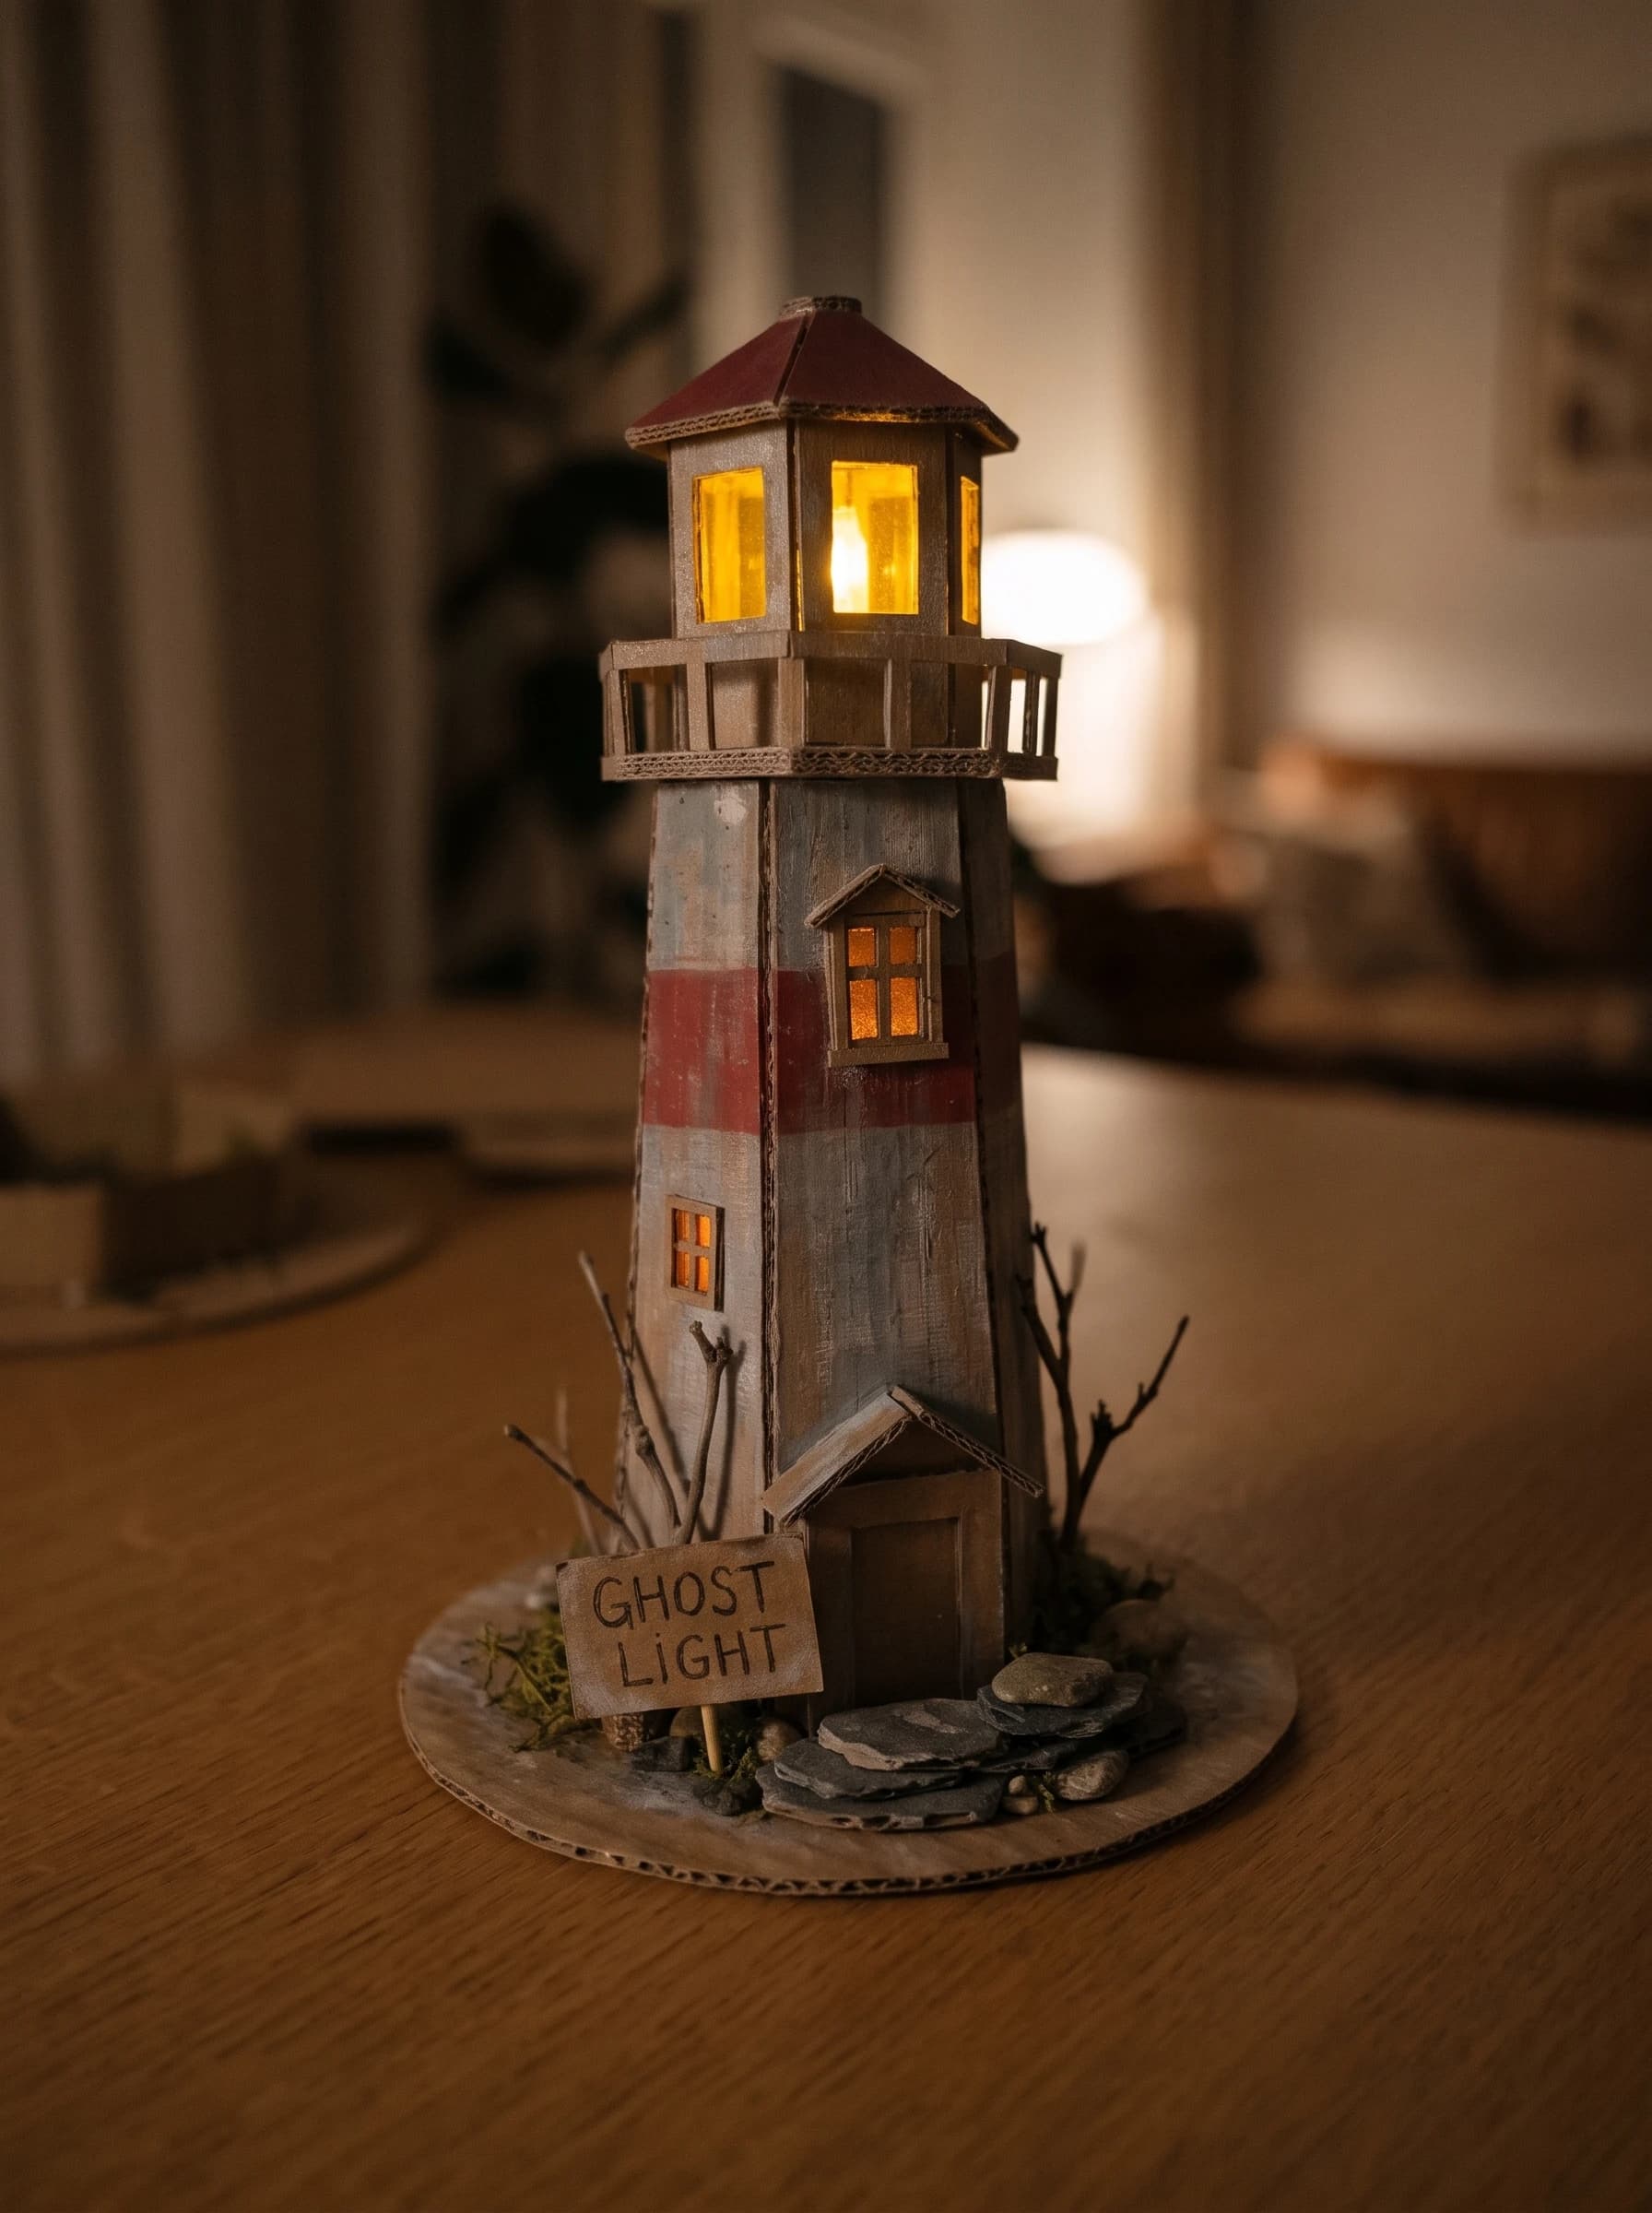
Every Halloween needs a centerpiece, and this one turns a pile of recycled cardboard into a moody, glowing lighthouse. With a weathered red-and-gray paint finish, a mossy rock base, and a flickering "ghost light" in the lantern room, this miniature looks far more expensive than it is. It also works as a year-round coastal-gothic shelf piece. In this DIY miniature lighthouse tutorial, you will go from flat cardboard to a glowing spooky landmark in seven easy steps.
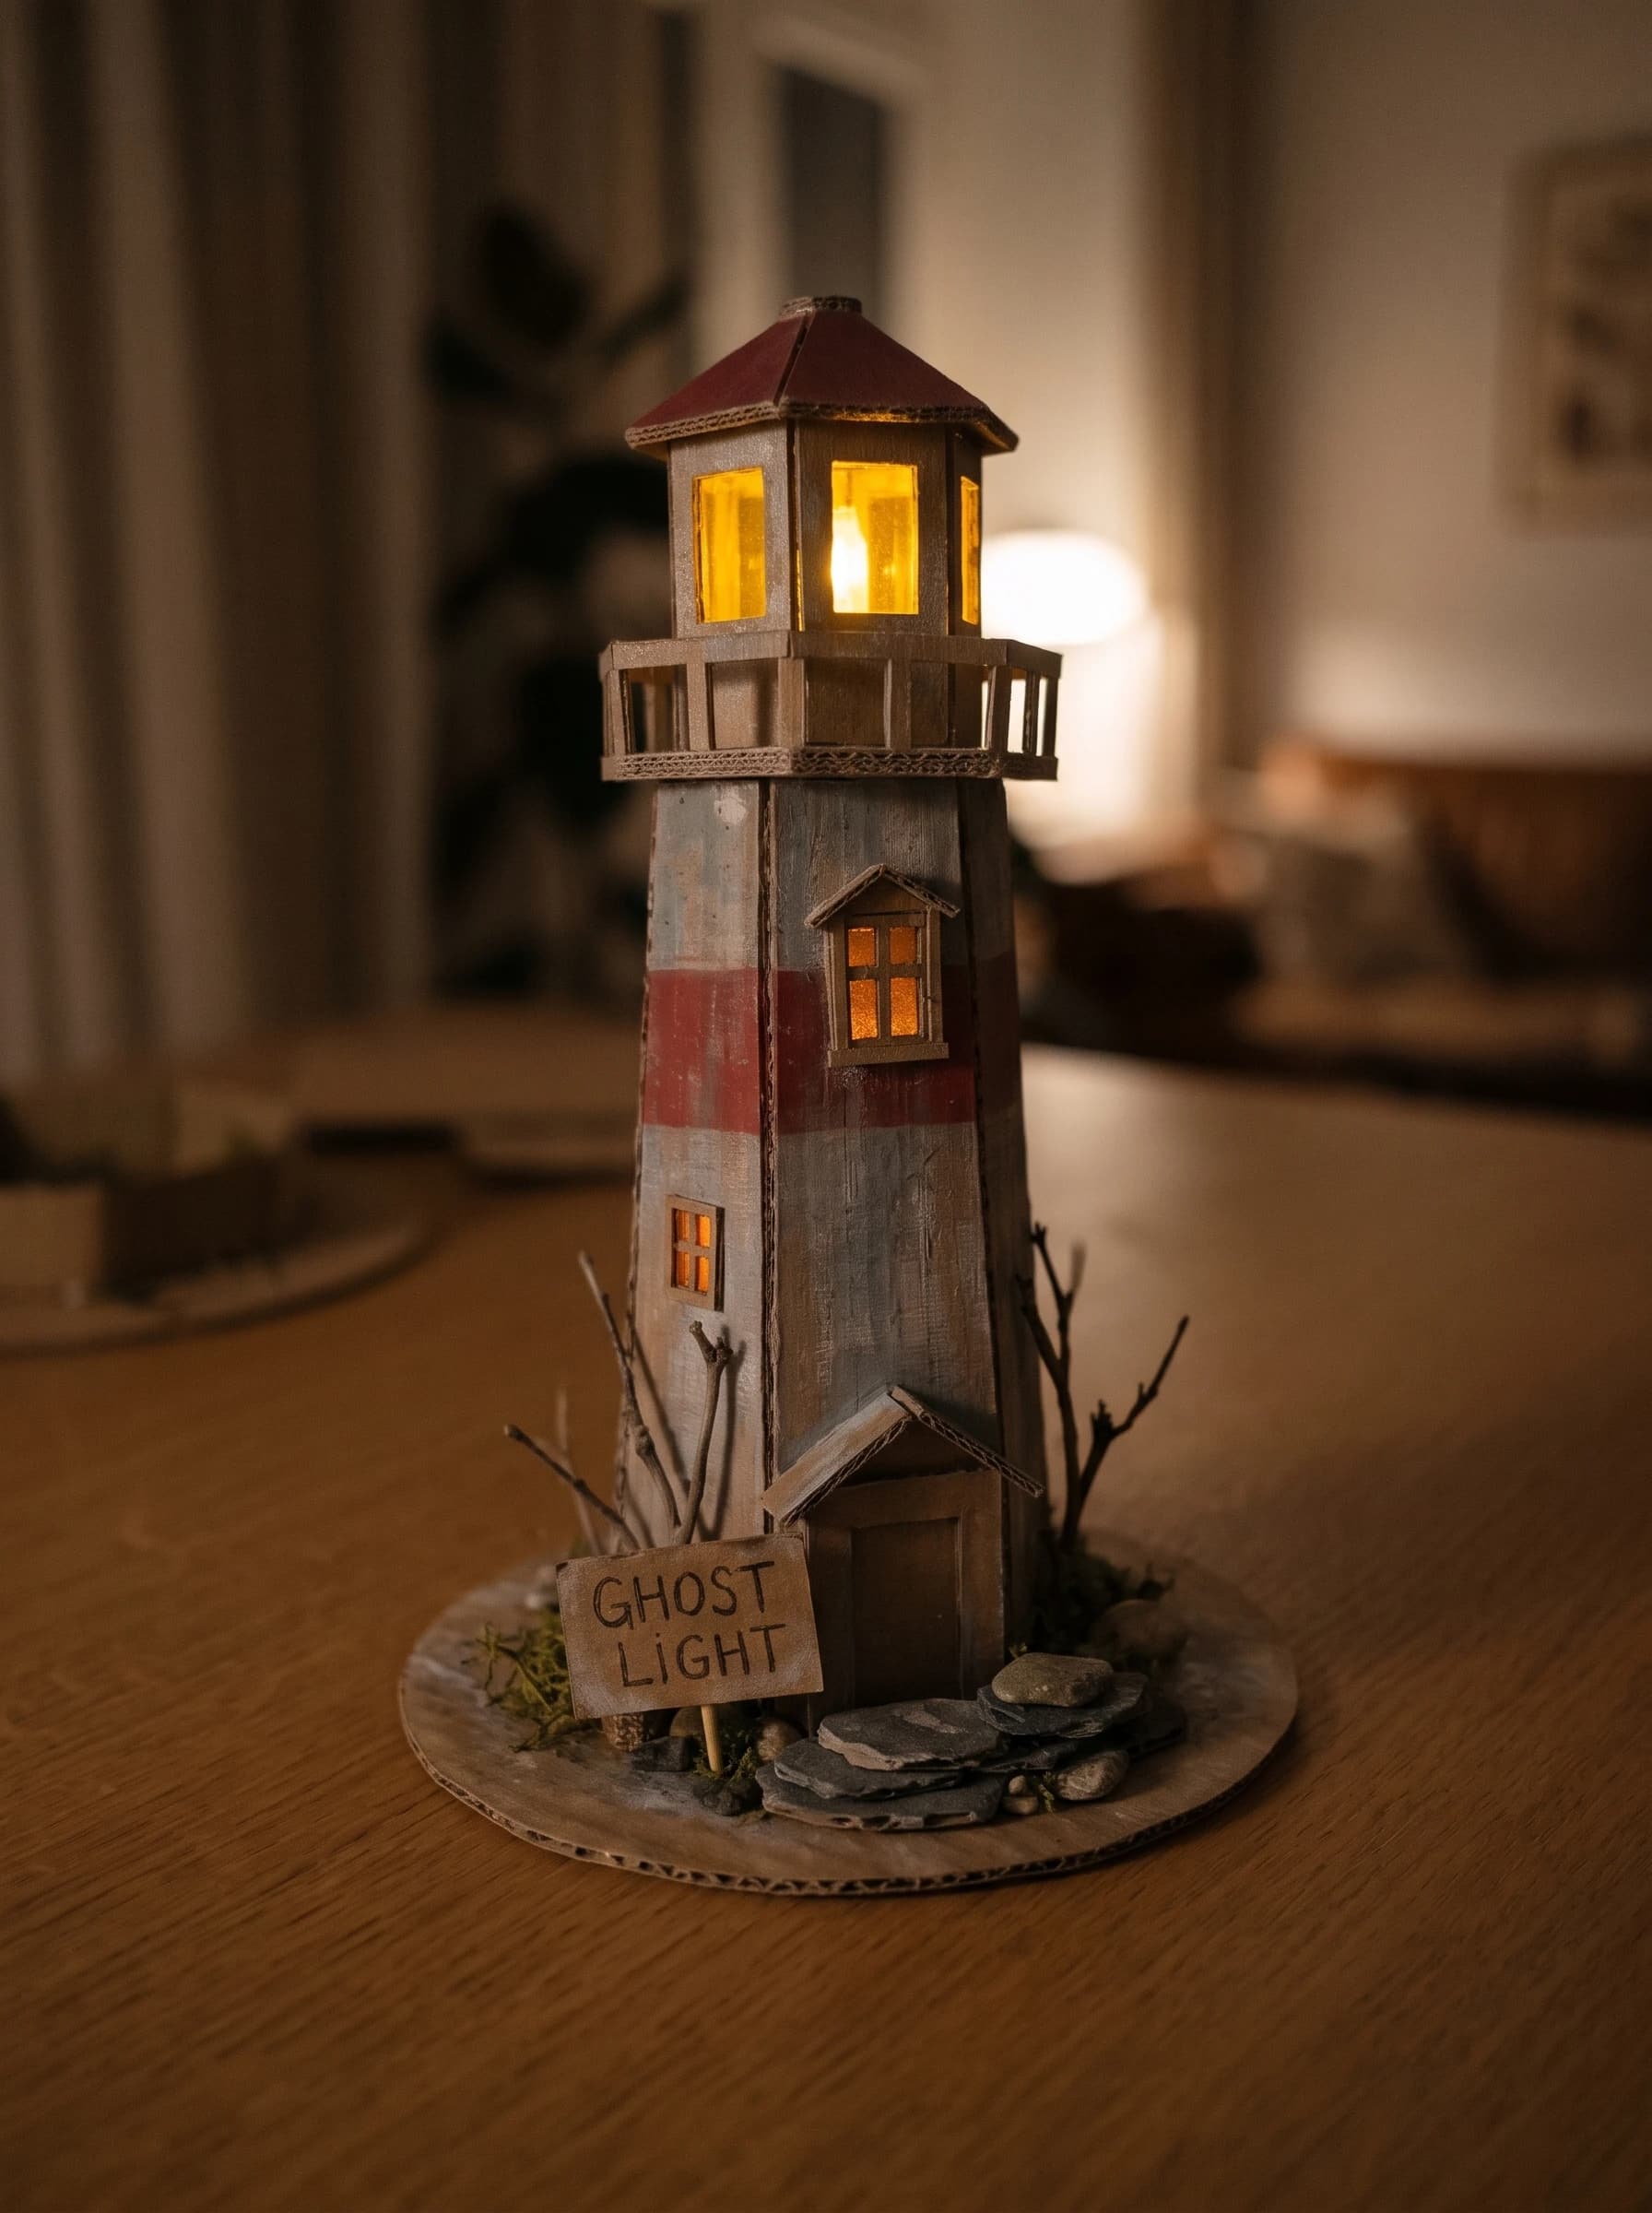
What You'll Need (Materials and Tools)
Gather everything before you start so the build flows smoothly. For the structure you need corrugated cardboard (shipping boxes are perfect), white craft glue, and scissors. For the finish you need acrylic paint in gray, white, red, black, and brown, plus two flat brushes, one small and one medium. For decoration you need dried moss, small twigs, tiny pinecones, small pebbles, and a string of fairy lights or an LED tealight.
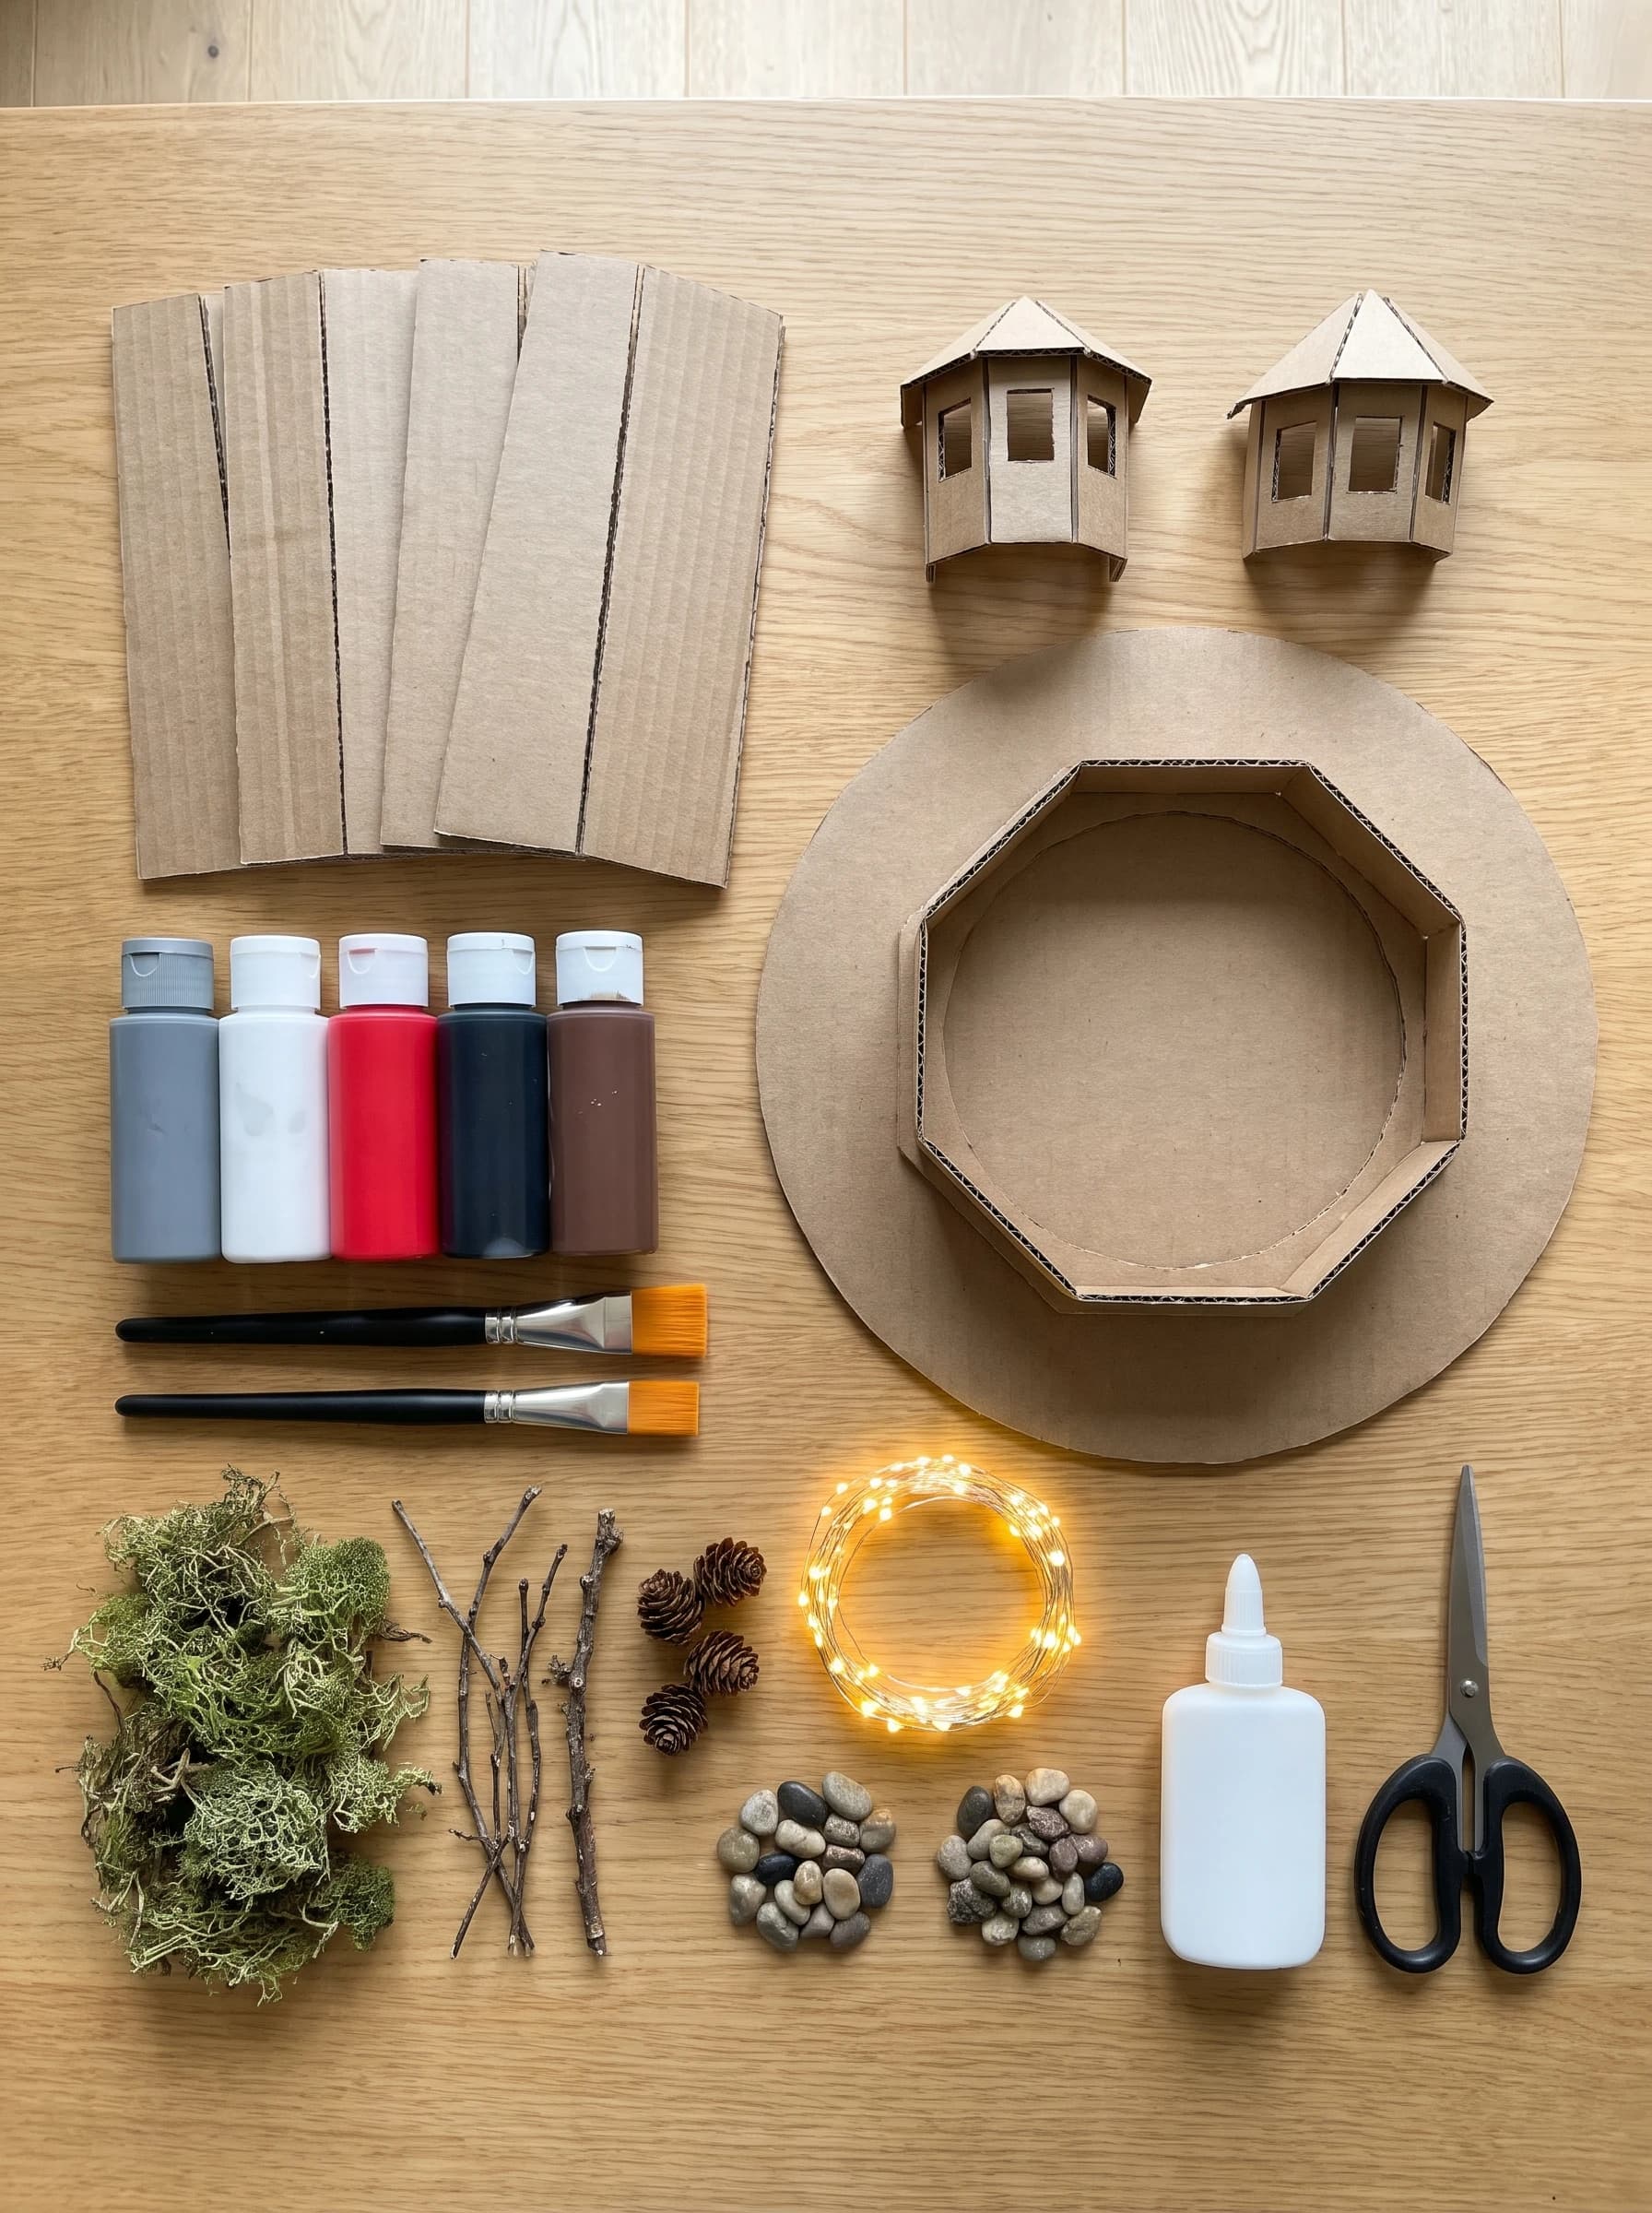
Step 1: Cut the Cardboard Pieces
Start by cutting four or more tapered tower panels that are wider at the bottom and narrower at the top, with a door cutout on one of them. Then cut two small lantern-room roof and window pieces, an octagonal gallery ring for the balcony, and one large circle for the base. Make the panels taller or shorter to scale the tower to your shelf. Pro tip: mark fold lines with a ruler and the back of your scissors so the panels bend cleanly.
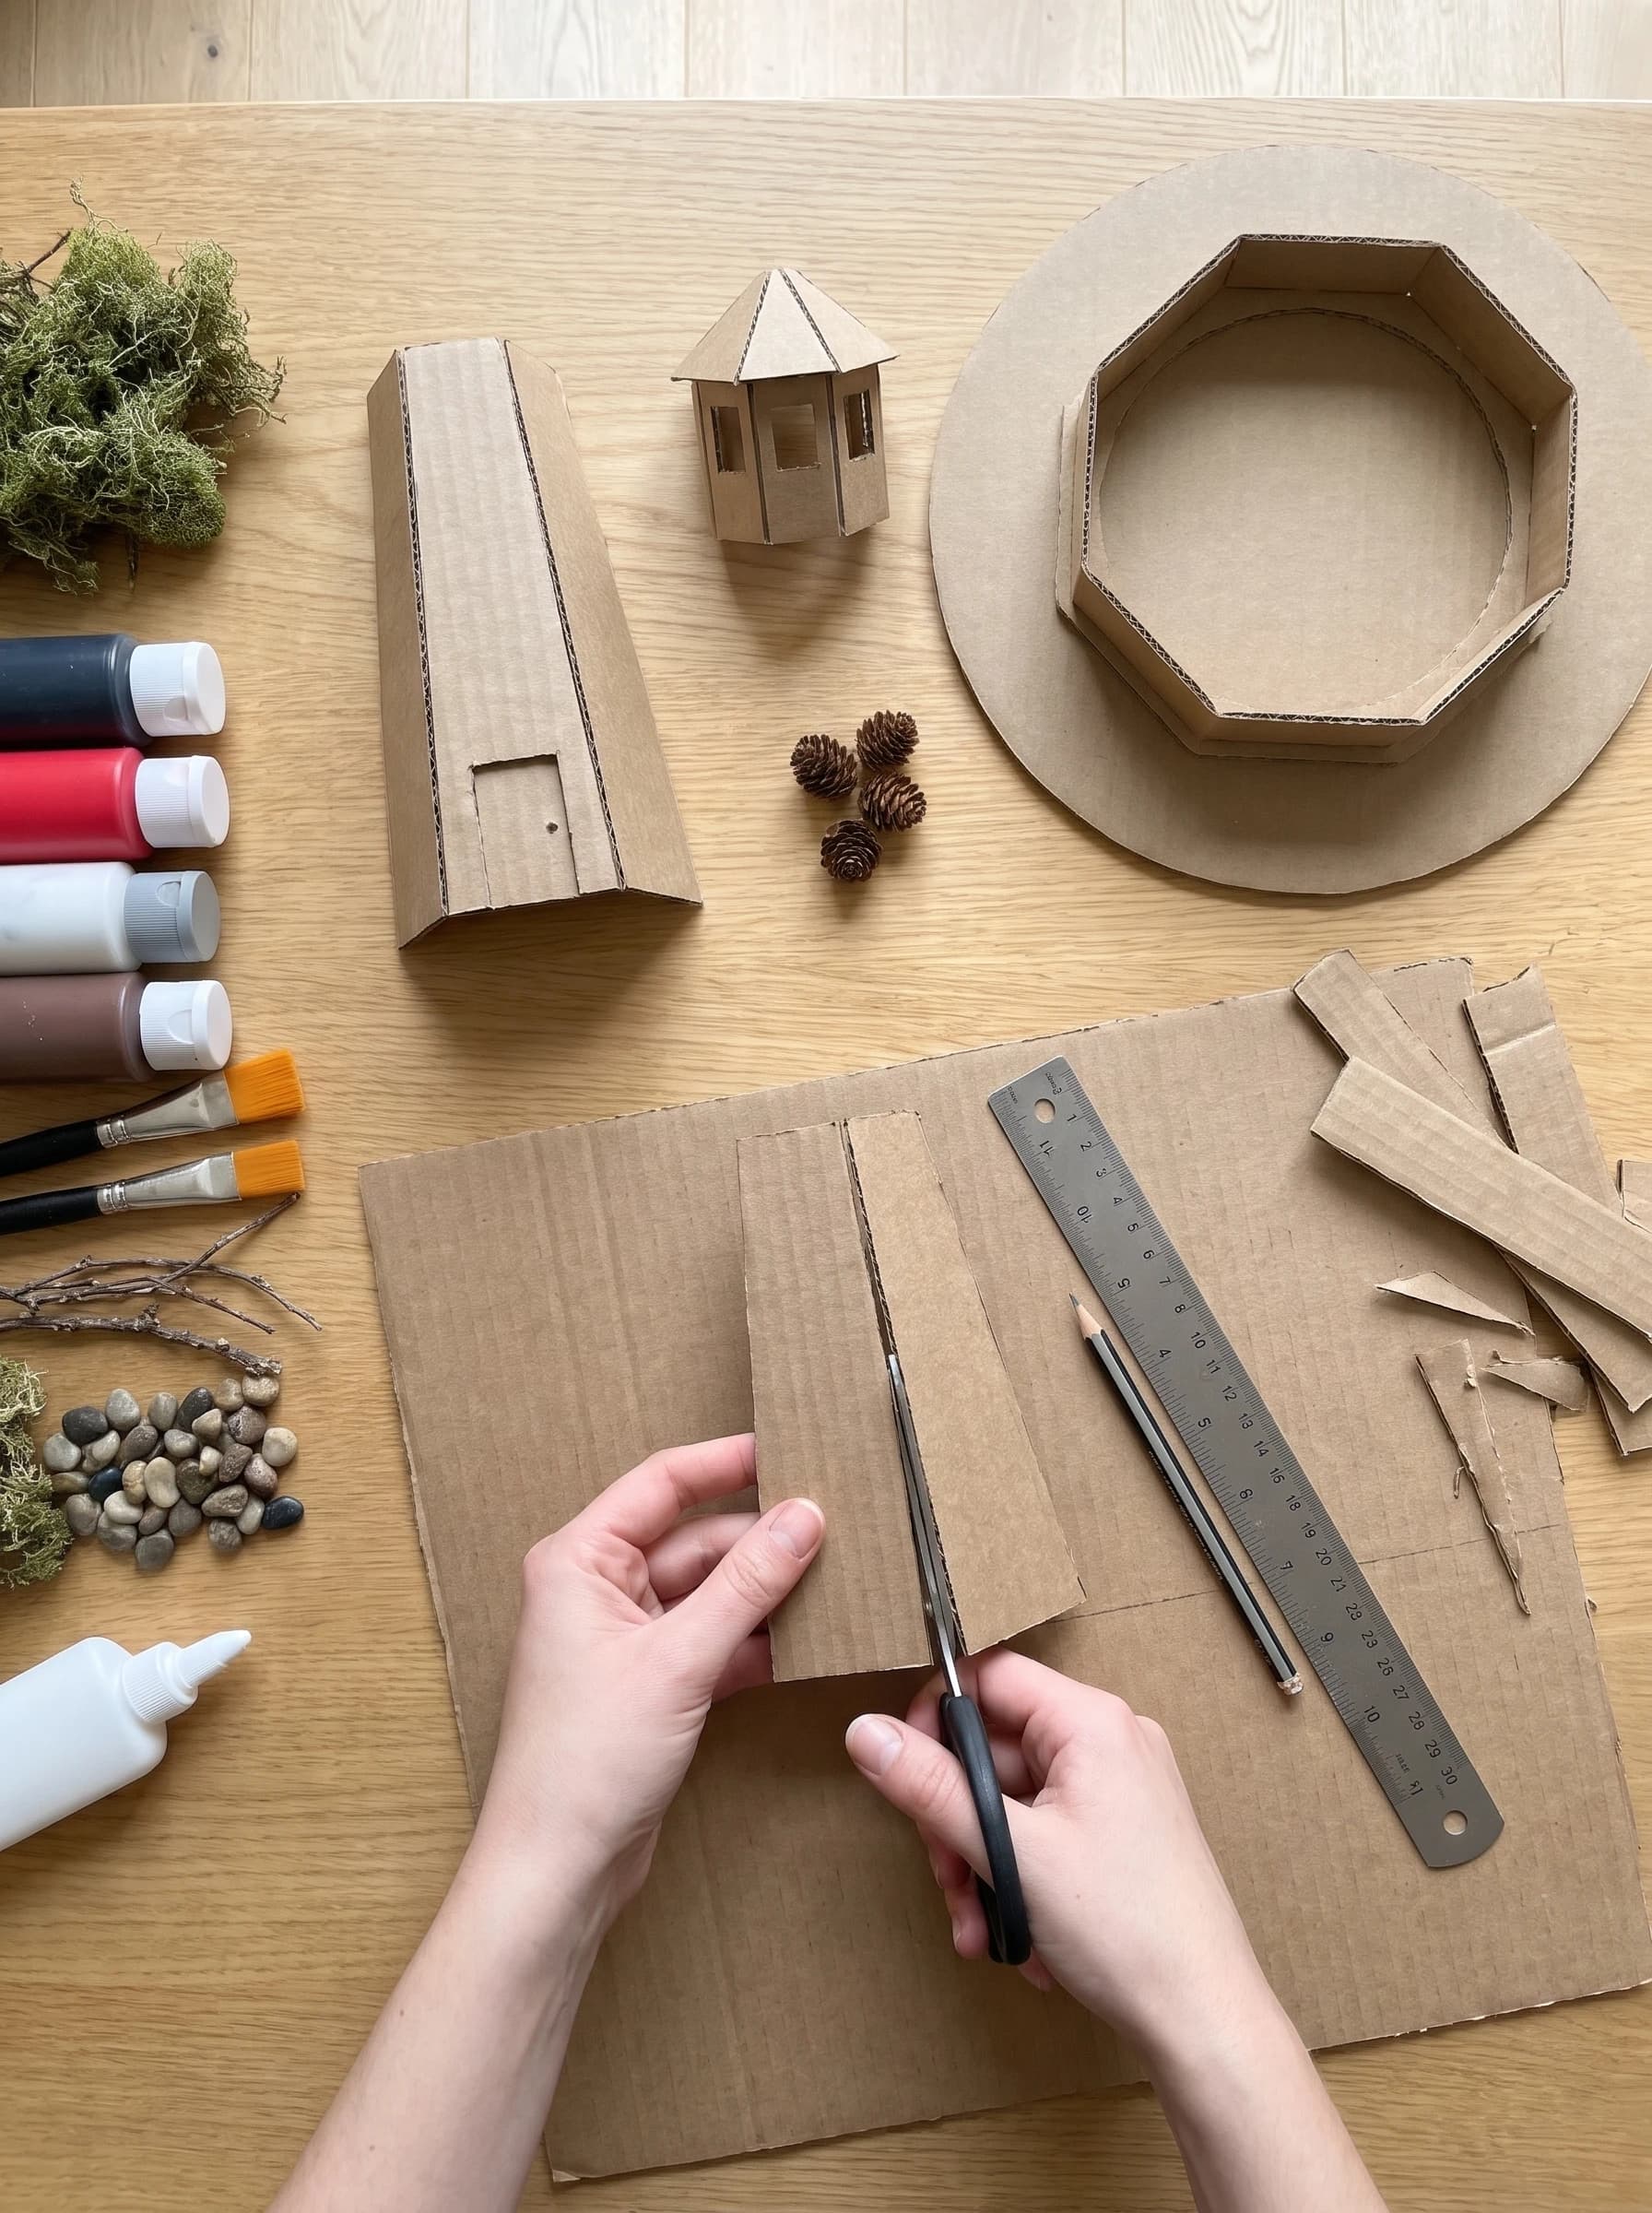
Step 2: Assemble the Tower
Glue the tapered panels together into a hollow four-sided tower, running a thin line of white glue along each seam and holding it until it sets. Attach the tower to the circular base, then add narrow cardboard strips along the corners and around the door as framing. Let the glue dry fully before moving on, because a weak tower will wobble once the lantern room is added.
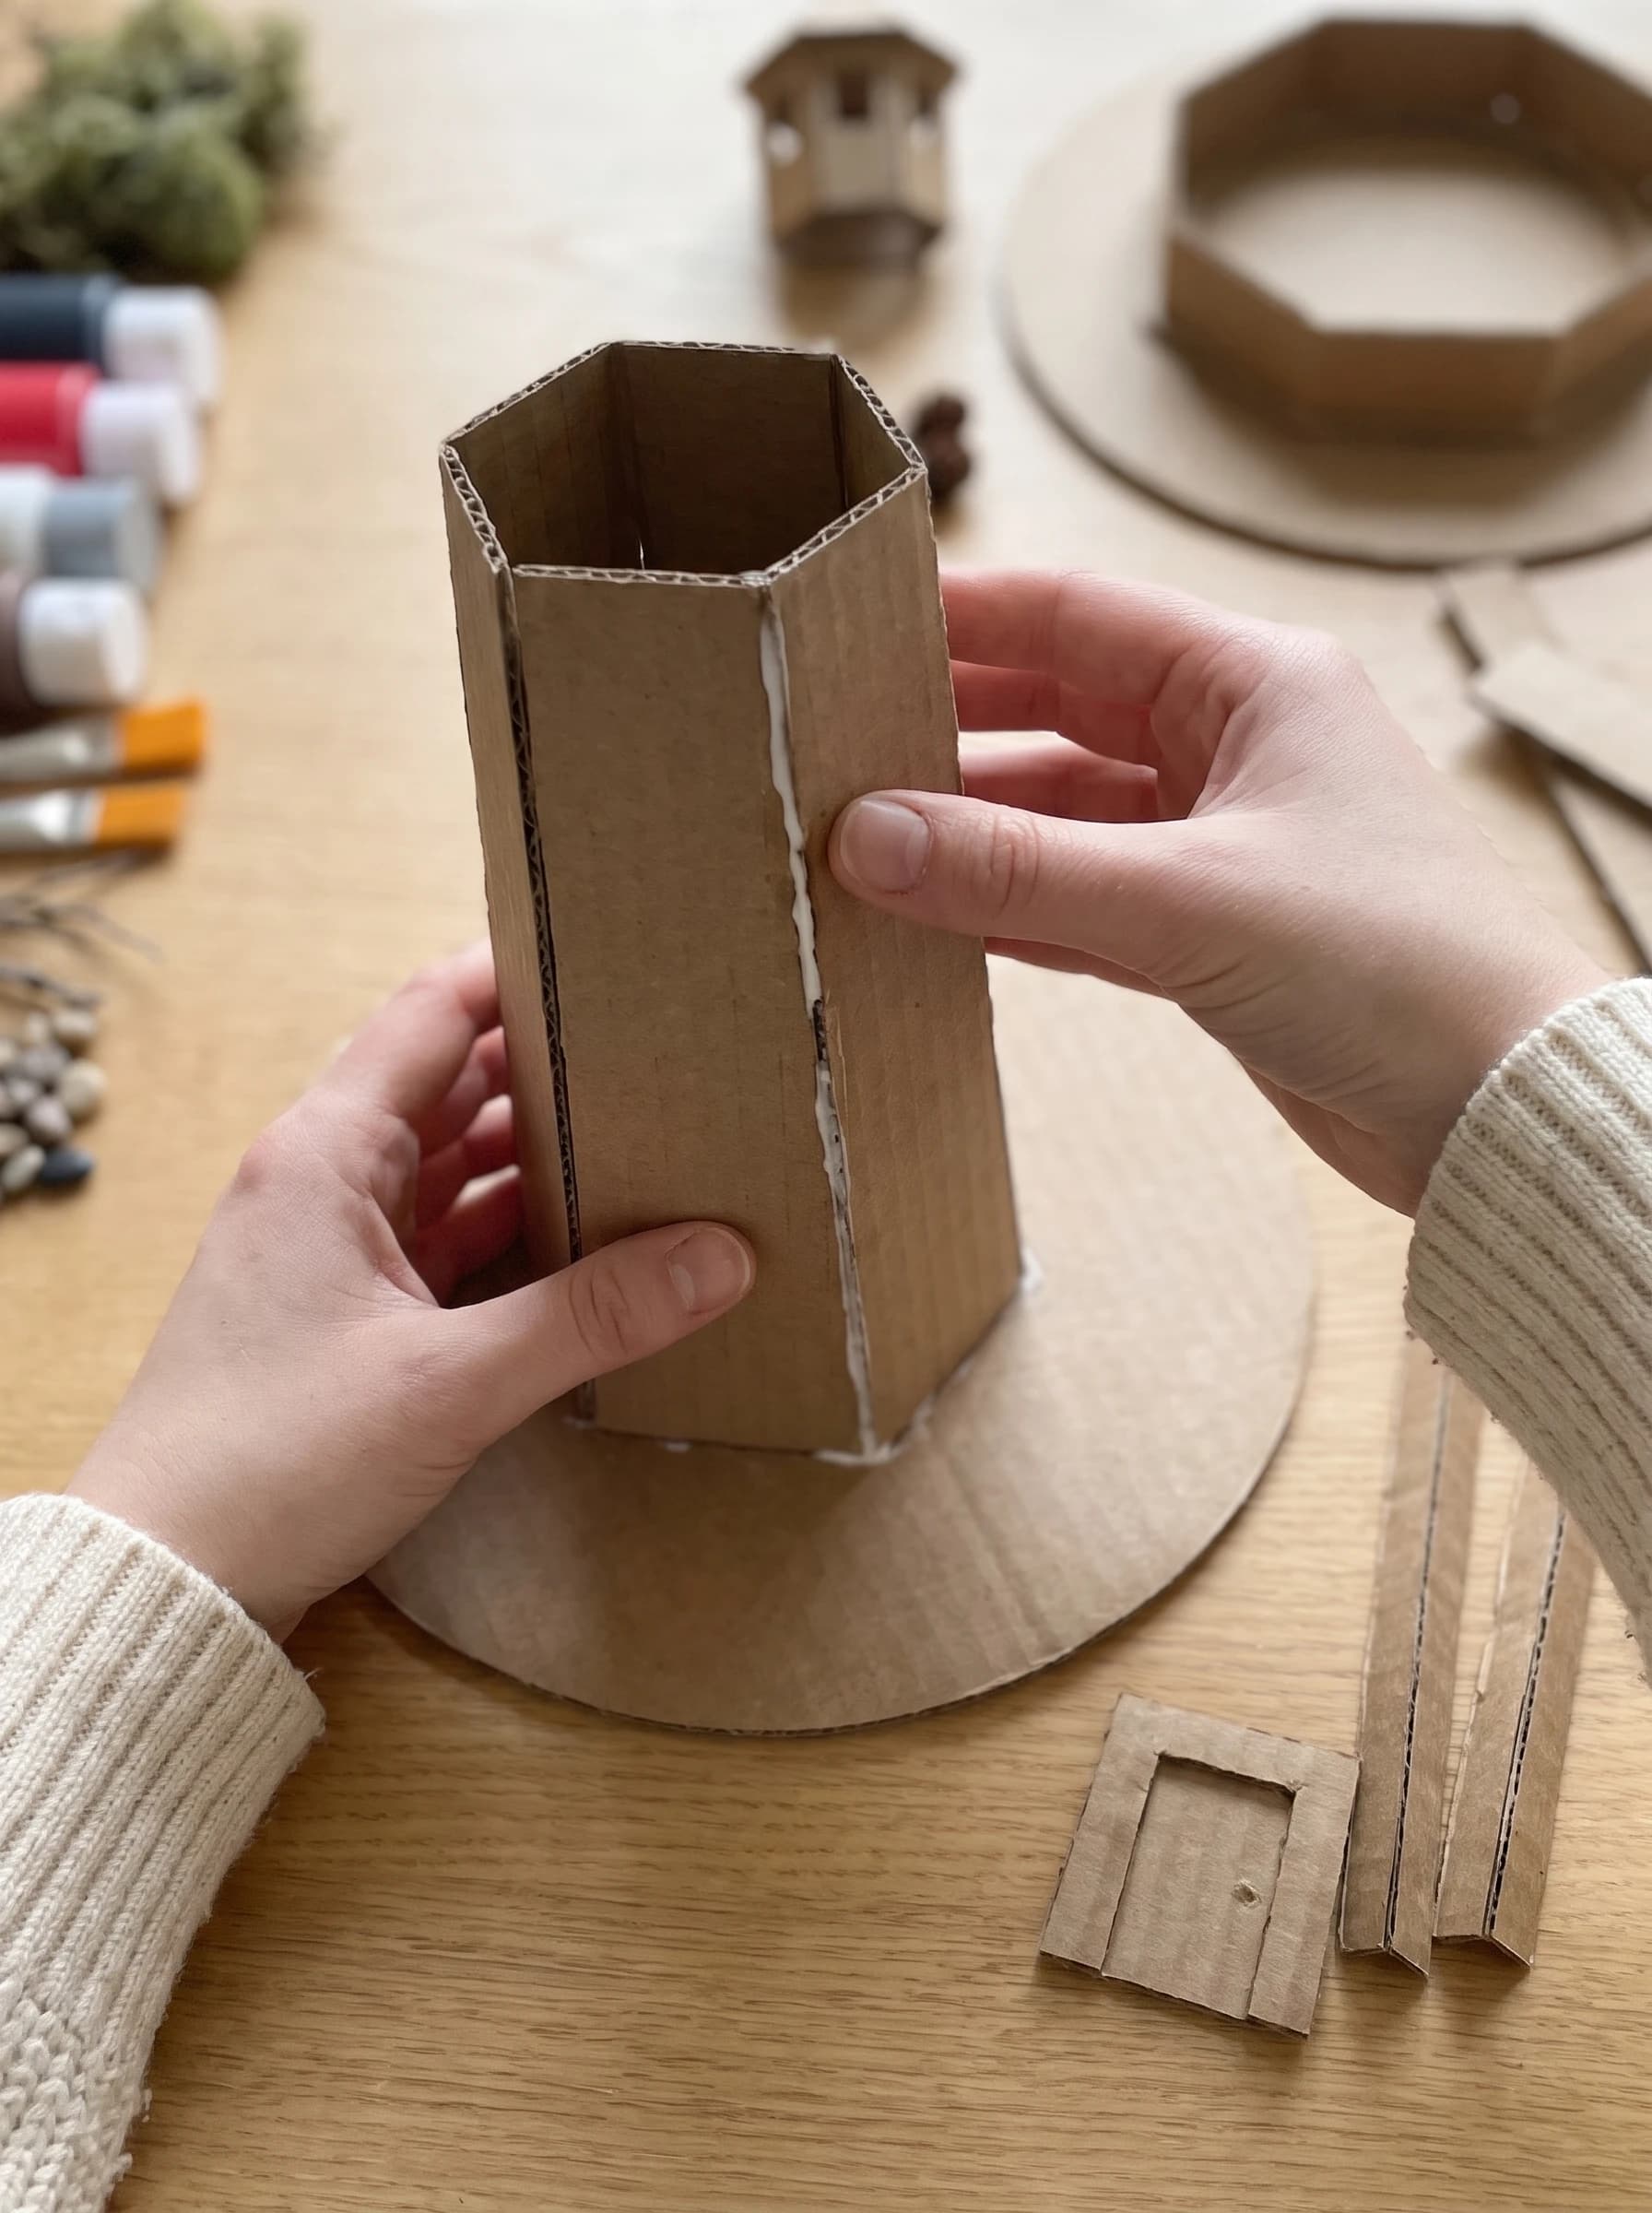
Step 3: Build the Lantern Room and Balcony
Glue the octagonal gallery ring near the top of the tower to form the balcony, then add a thin cardboard railing around its edge. Build the lantern room from window frames topped with a pointed roof, and fit it onto the gallery. Place an LED tealight or fairy lights inside so the room glows. Never use a real candle, since cardboard is flammable.
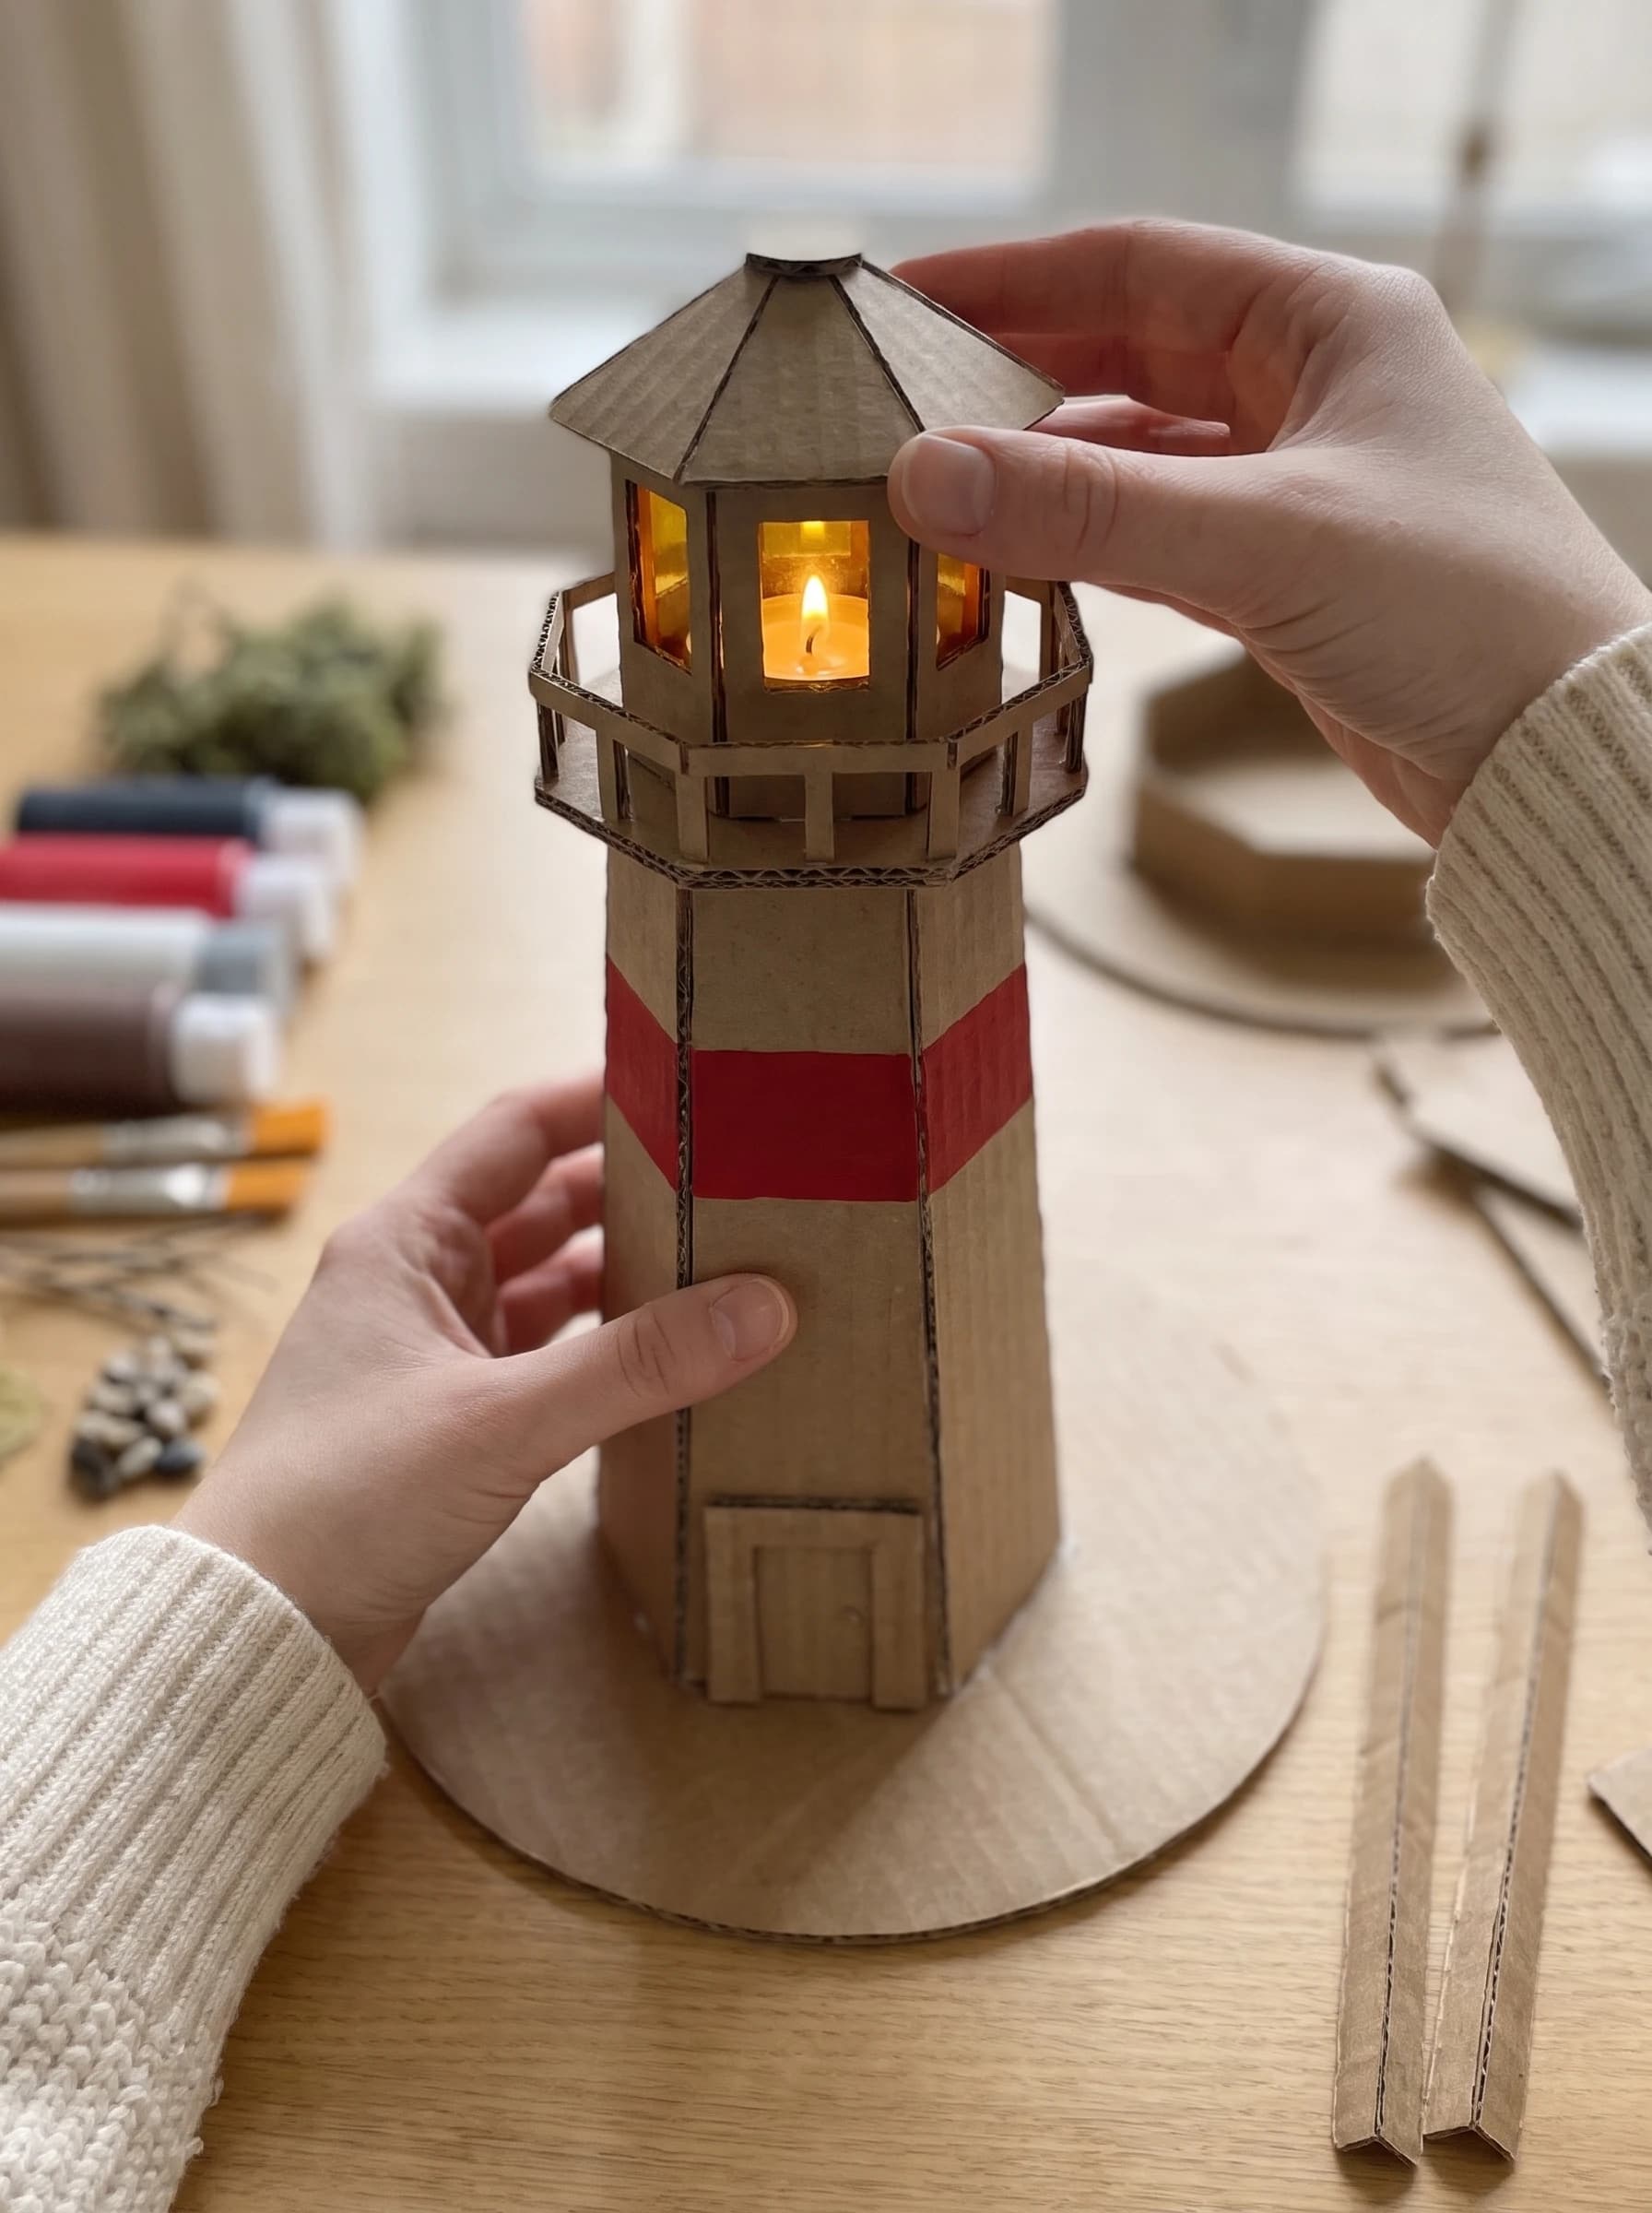
Step 4: Paint the Spooky Weathered Finish
Base coat the whole tower in gray, then paint the red stripes. Dry-brush white and black over everything for a distressed, haunted look, paint the roof dark red, and the door brown. Use a nearly dry brush and dab instead of stroking, because uneven, chipped paint is what makes the tower look weathered by years of sea storms.
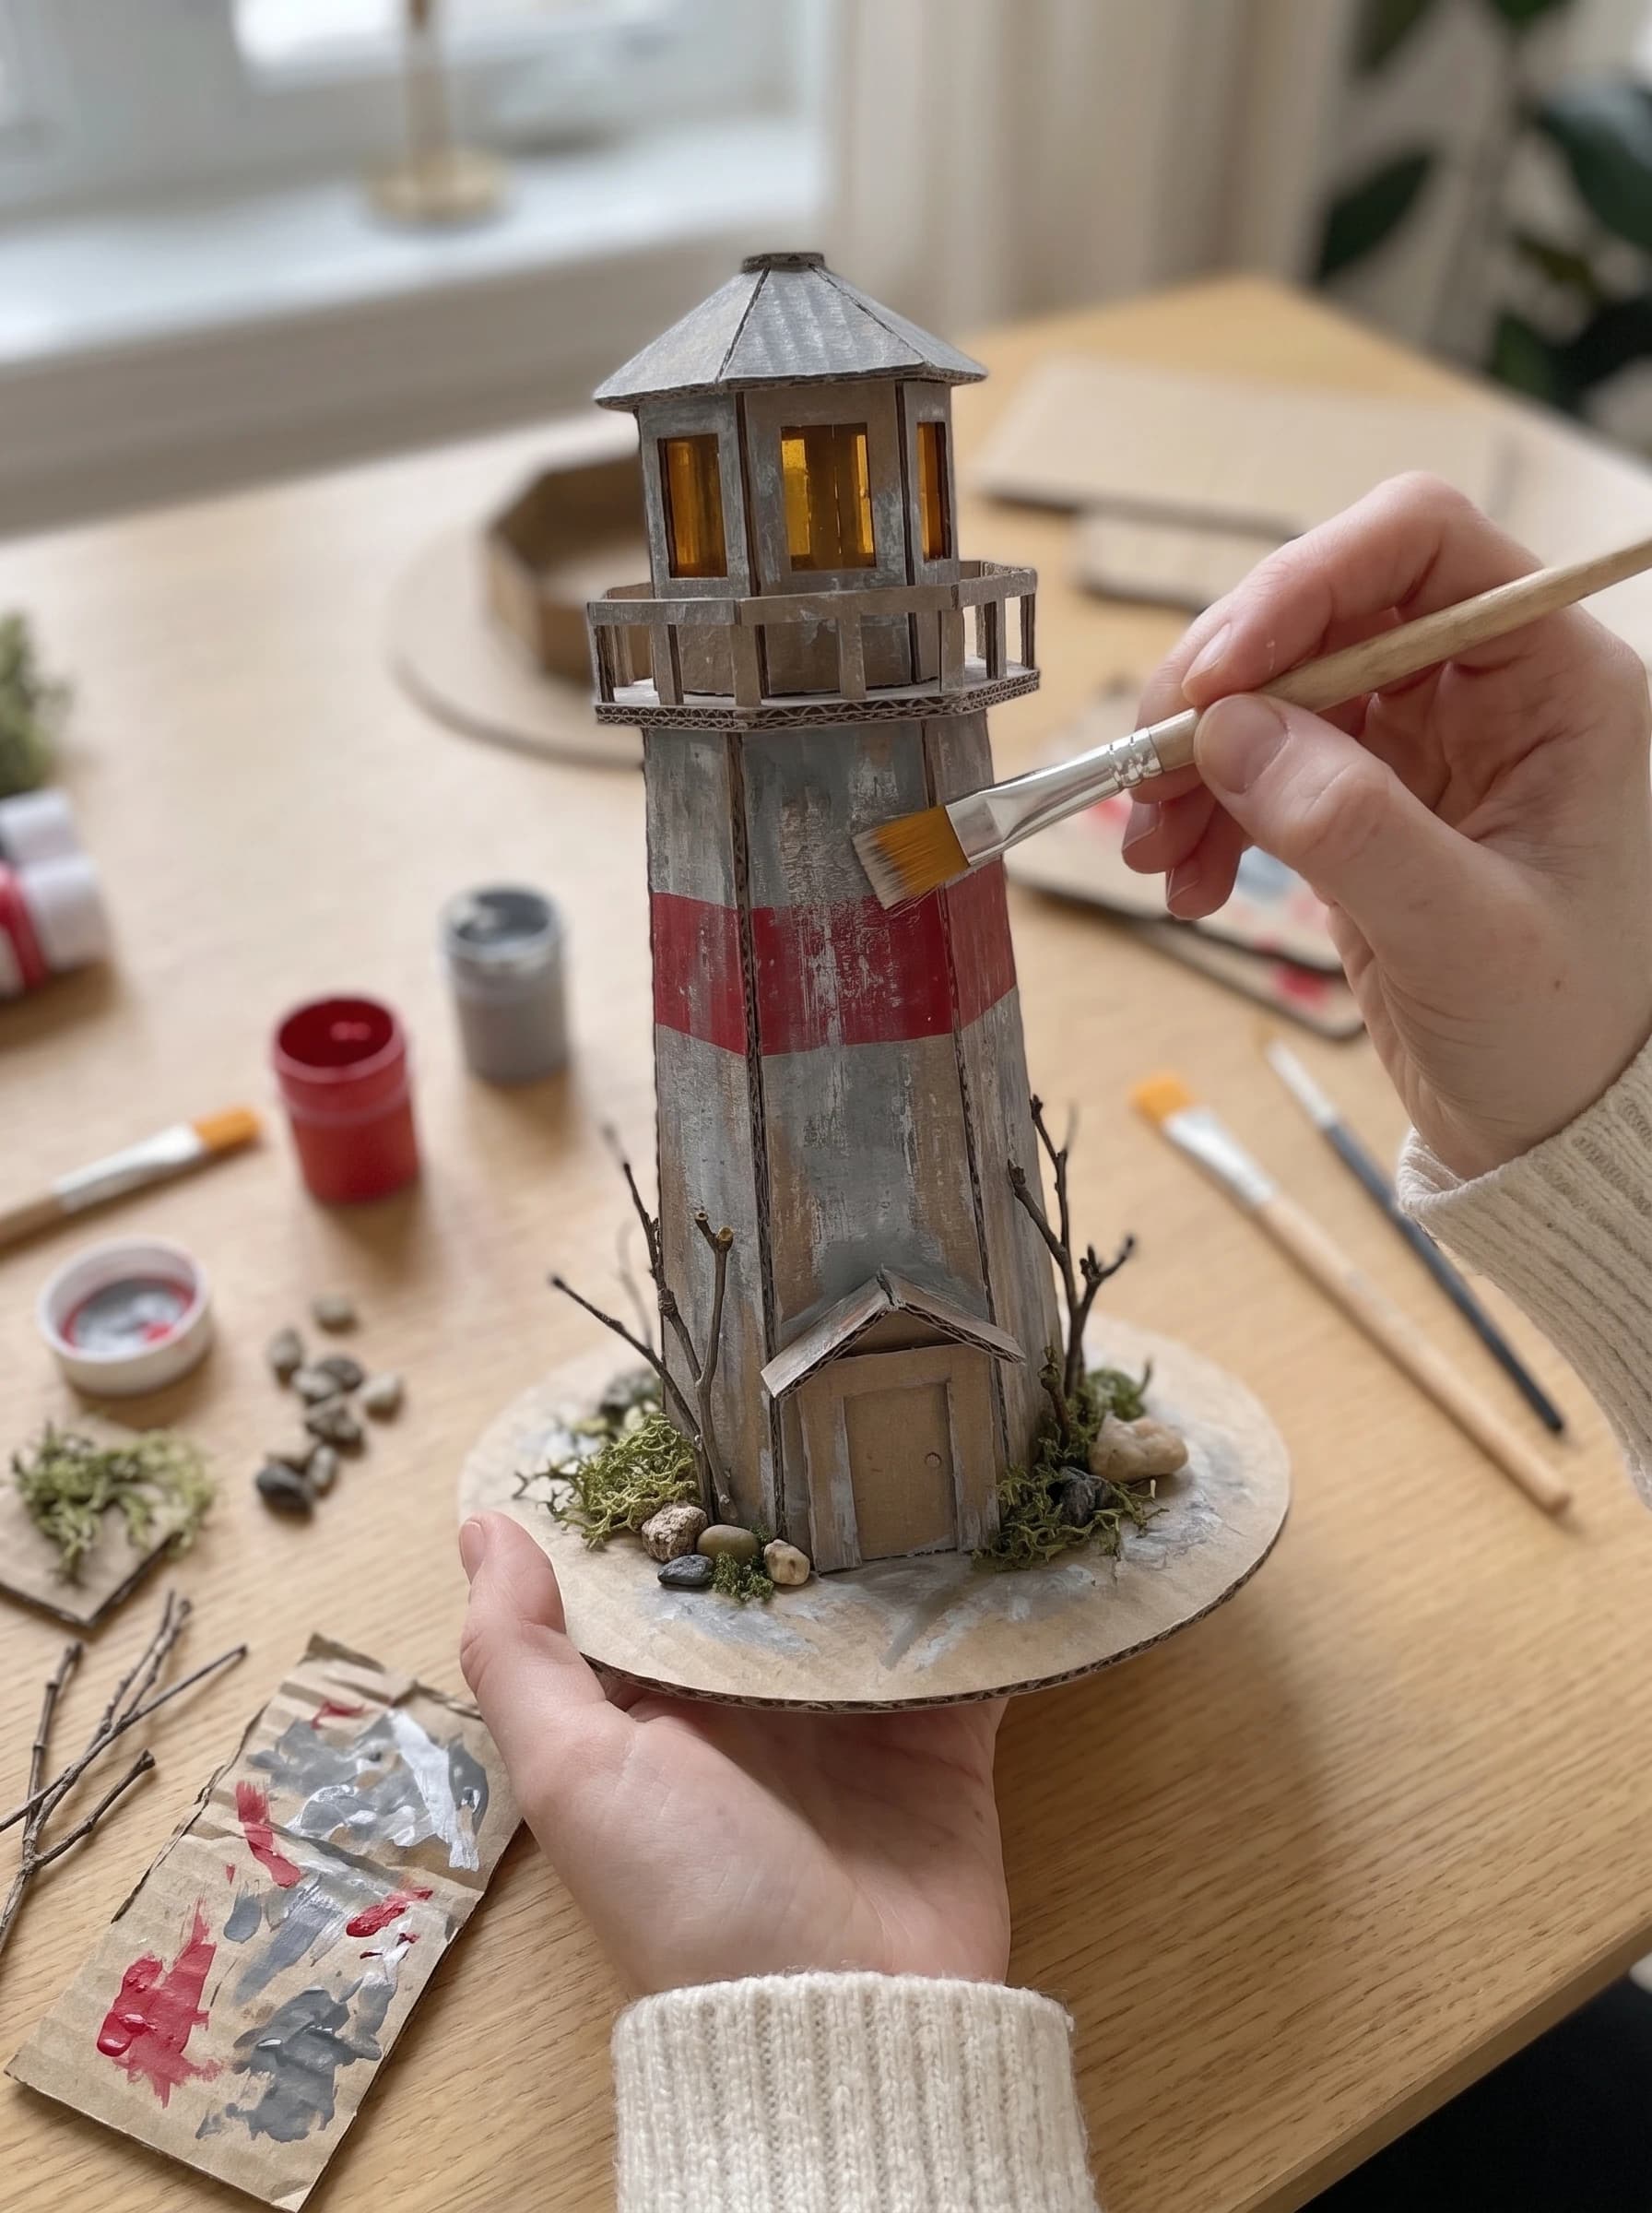
Step 5: Add Windows, Door, and Details
Glue small cardboard window frames onto the tower and add a framed door with a tiny pitched roof. Finish with the details that bring the story to life: a doorknob, plank lines on the door, and a mini sign reading "GHOST LIGHT". Tweezers make placing the tiny pieces much easier.
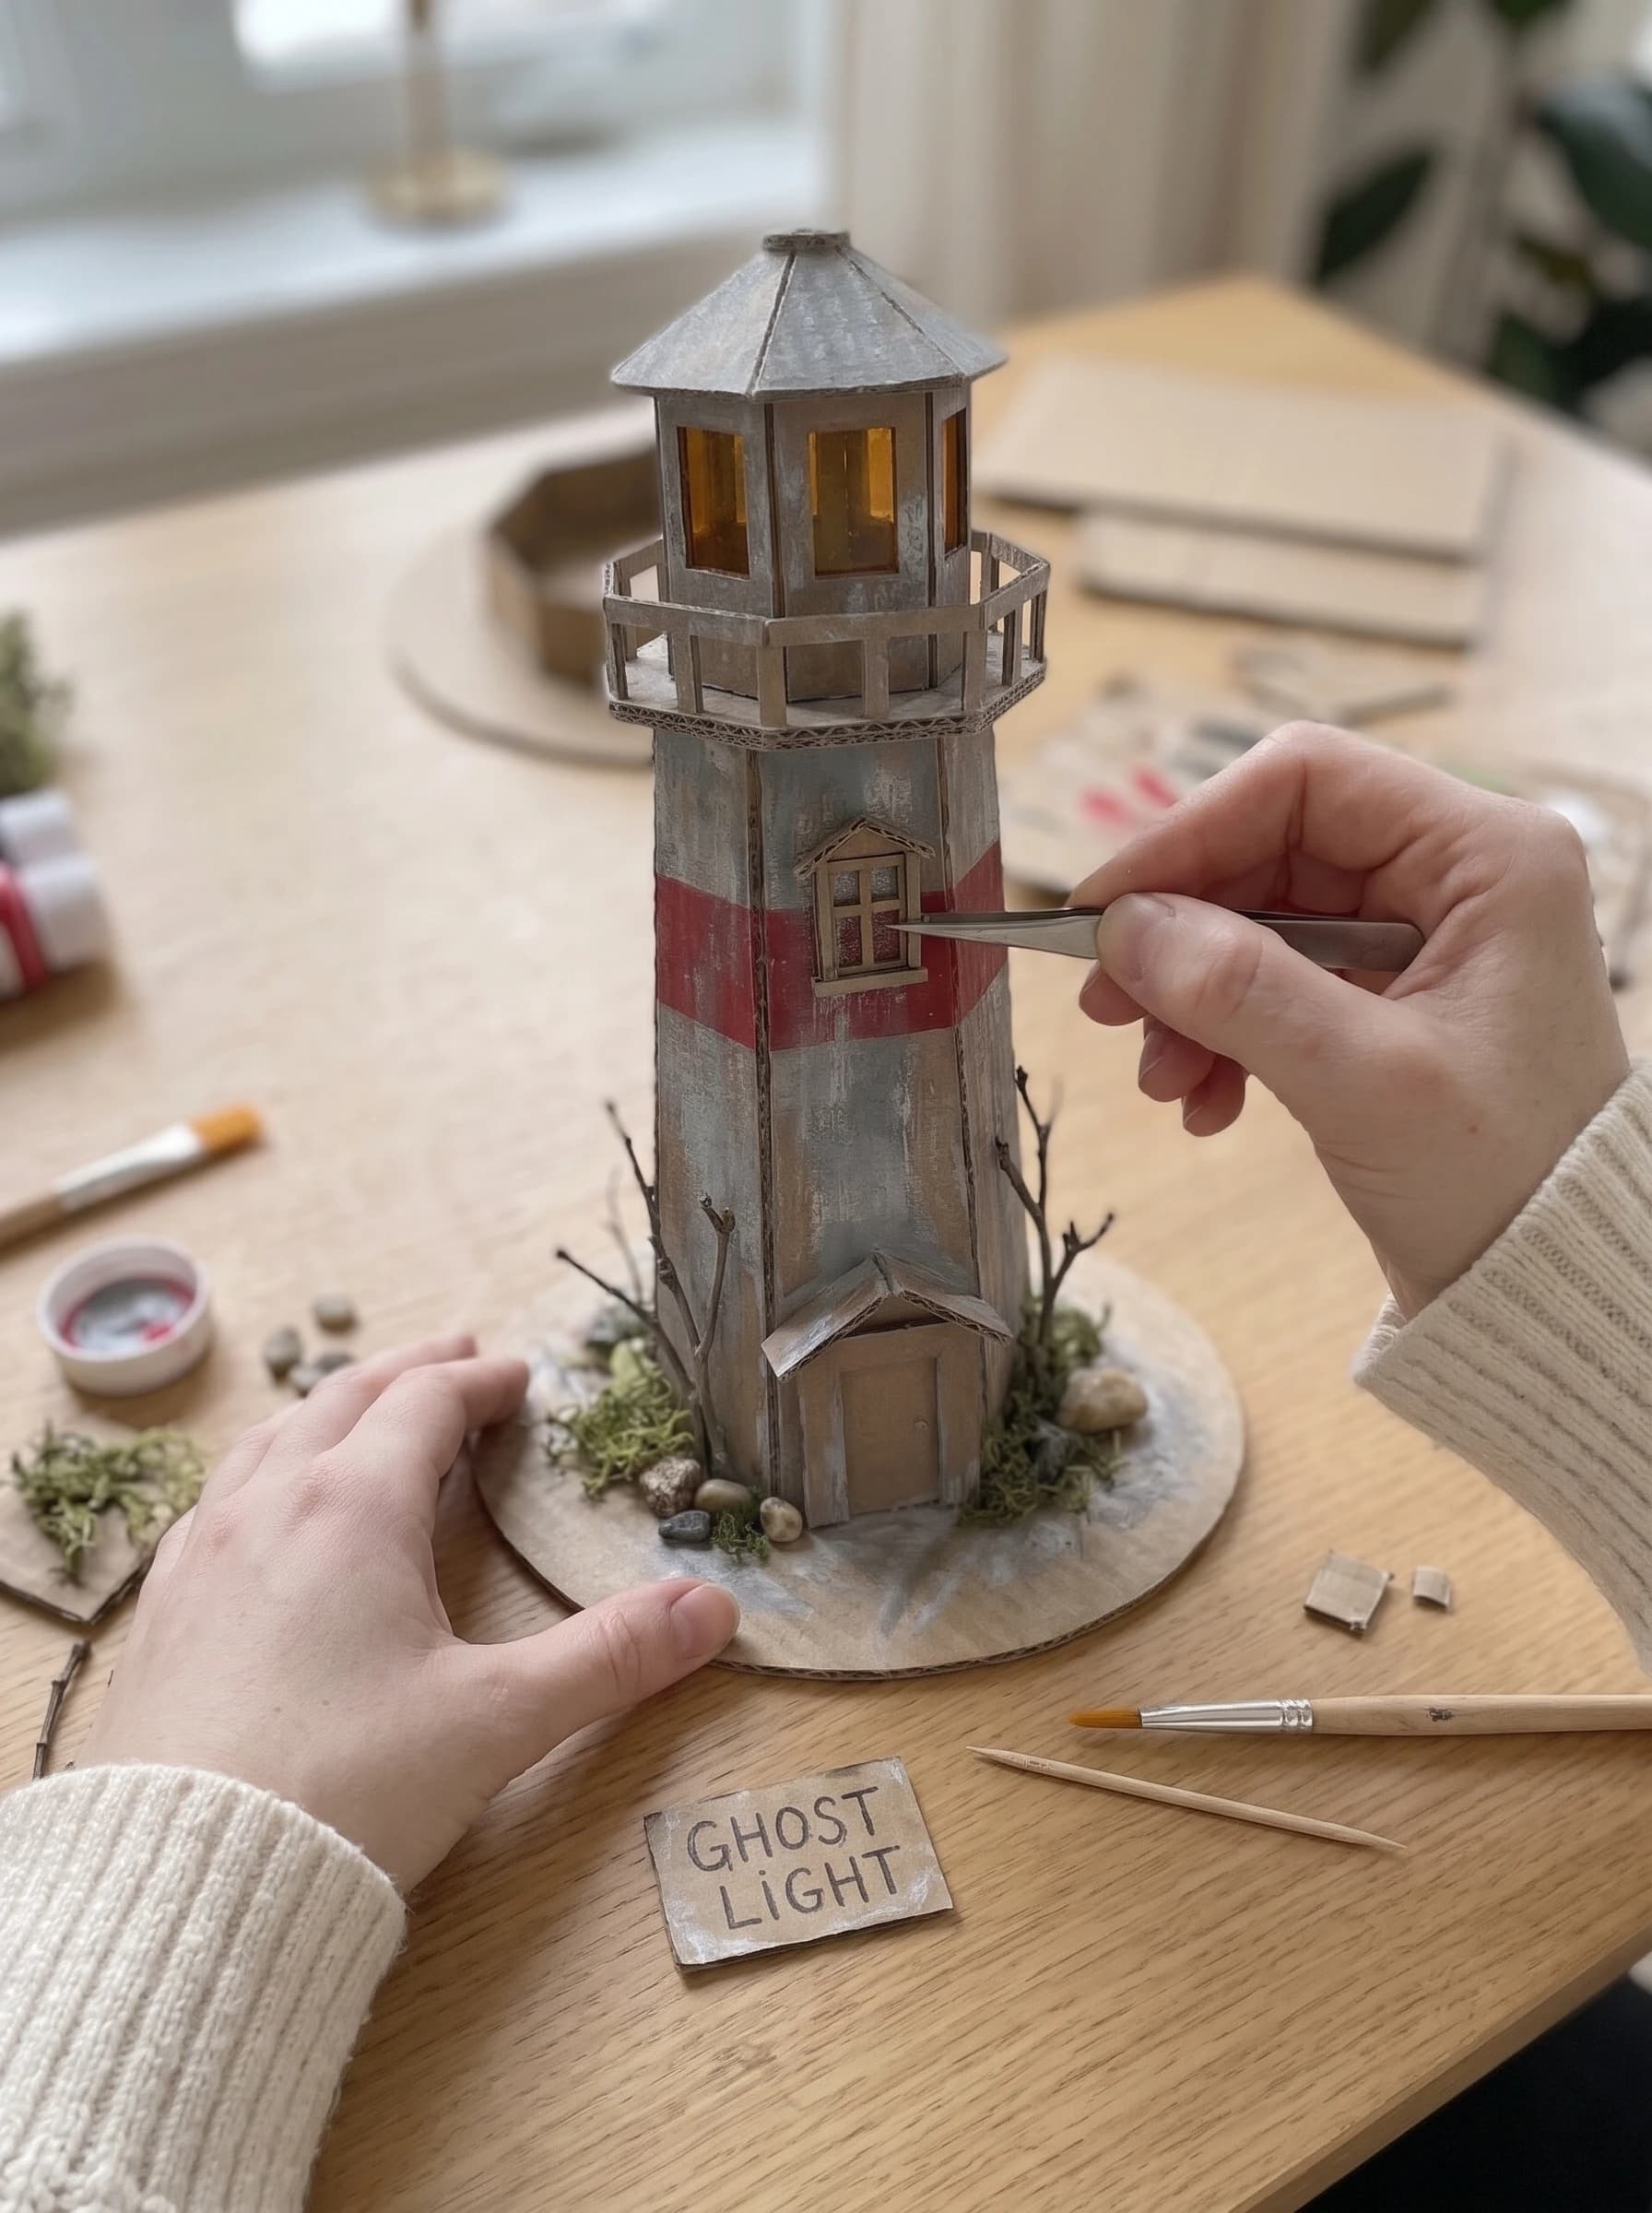
Step 6: Create the Rocky, Mossy Base
Glue pebbles and small stones around the base in layers so they look like a rocky cliff. Fill the gaps with dried moss, add tiny pinecones, and stand twigs upright to look like bare, dead trees. Place the "GHOST LIGHT" sign near the door, then let everything dry.
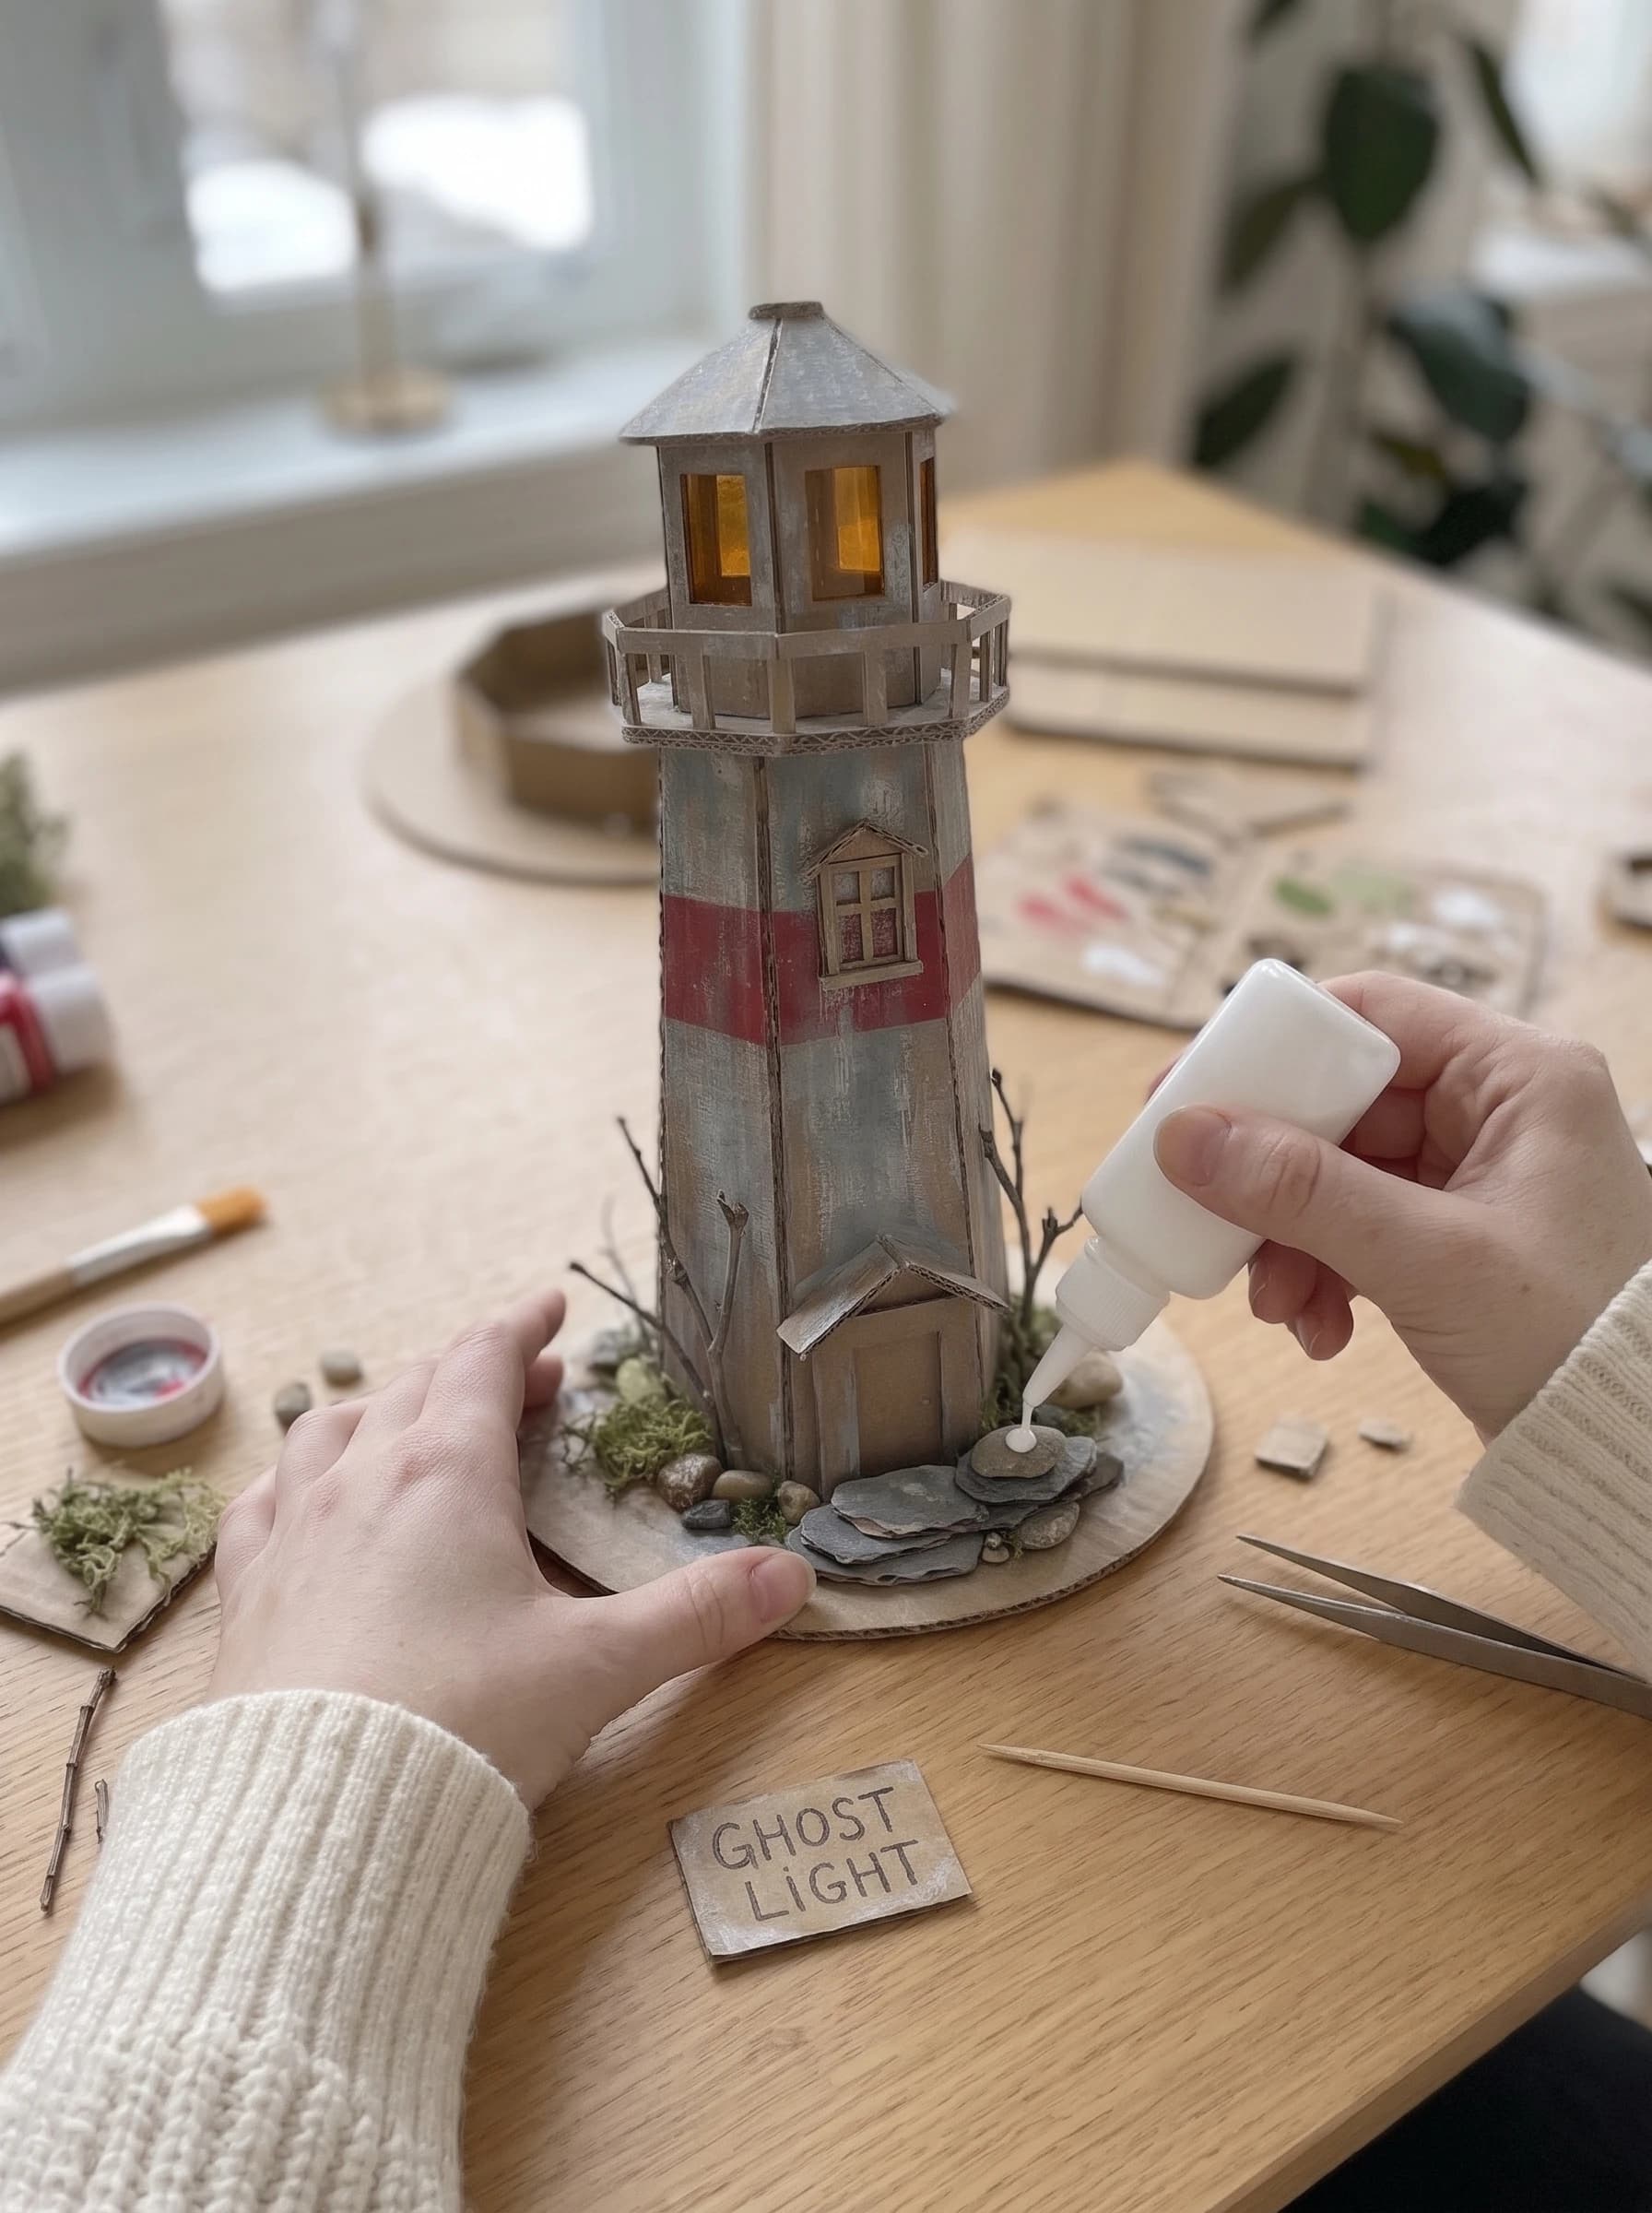
Step 7: Light It Up
Slide the fairy lights or LED tealight into the lantern room, and add a second small light inside the tower so the windows glow. Turn off the room lights and enjoy your very own ghost light.
Tips for Best Results
Use thicker corrugated cardboard for stability. Seal the finished piece with a matte spray if you want it to last for years. For a softer look, swap the colors for a pastel coastal version.
FAQ
Is this craft beginner-friendly? Yes. If you can cut and glue, you can finish it. How long does it take? About 3 to 5 hours, plus drying time. Can I use real candles? No. Use LED lights, because cardboard is flammable. Where can I display it? On a mantel, shelf, entryway table, or Halloween party table.
Conclusion
With a few scraps of cardboard, some paint, and a little moss, you have built a haunting miniature that glows on its own. Share a photo of your version, subscribe for more crafts, and try our related posts. Internal link ideas: DIY Halloween Decor, Cardboard Craft Ideas, Fairy Light Crafts.
More in this topic: all Cardboard tutorials